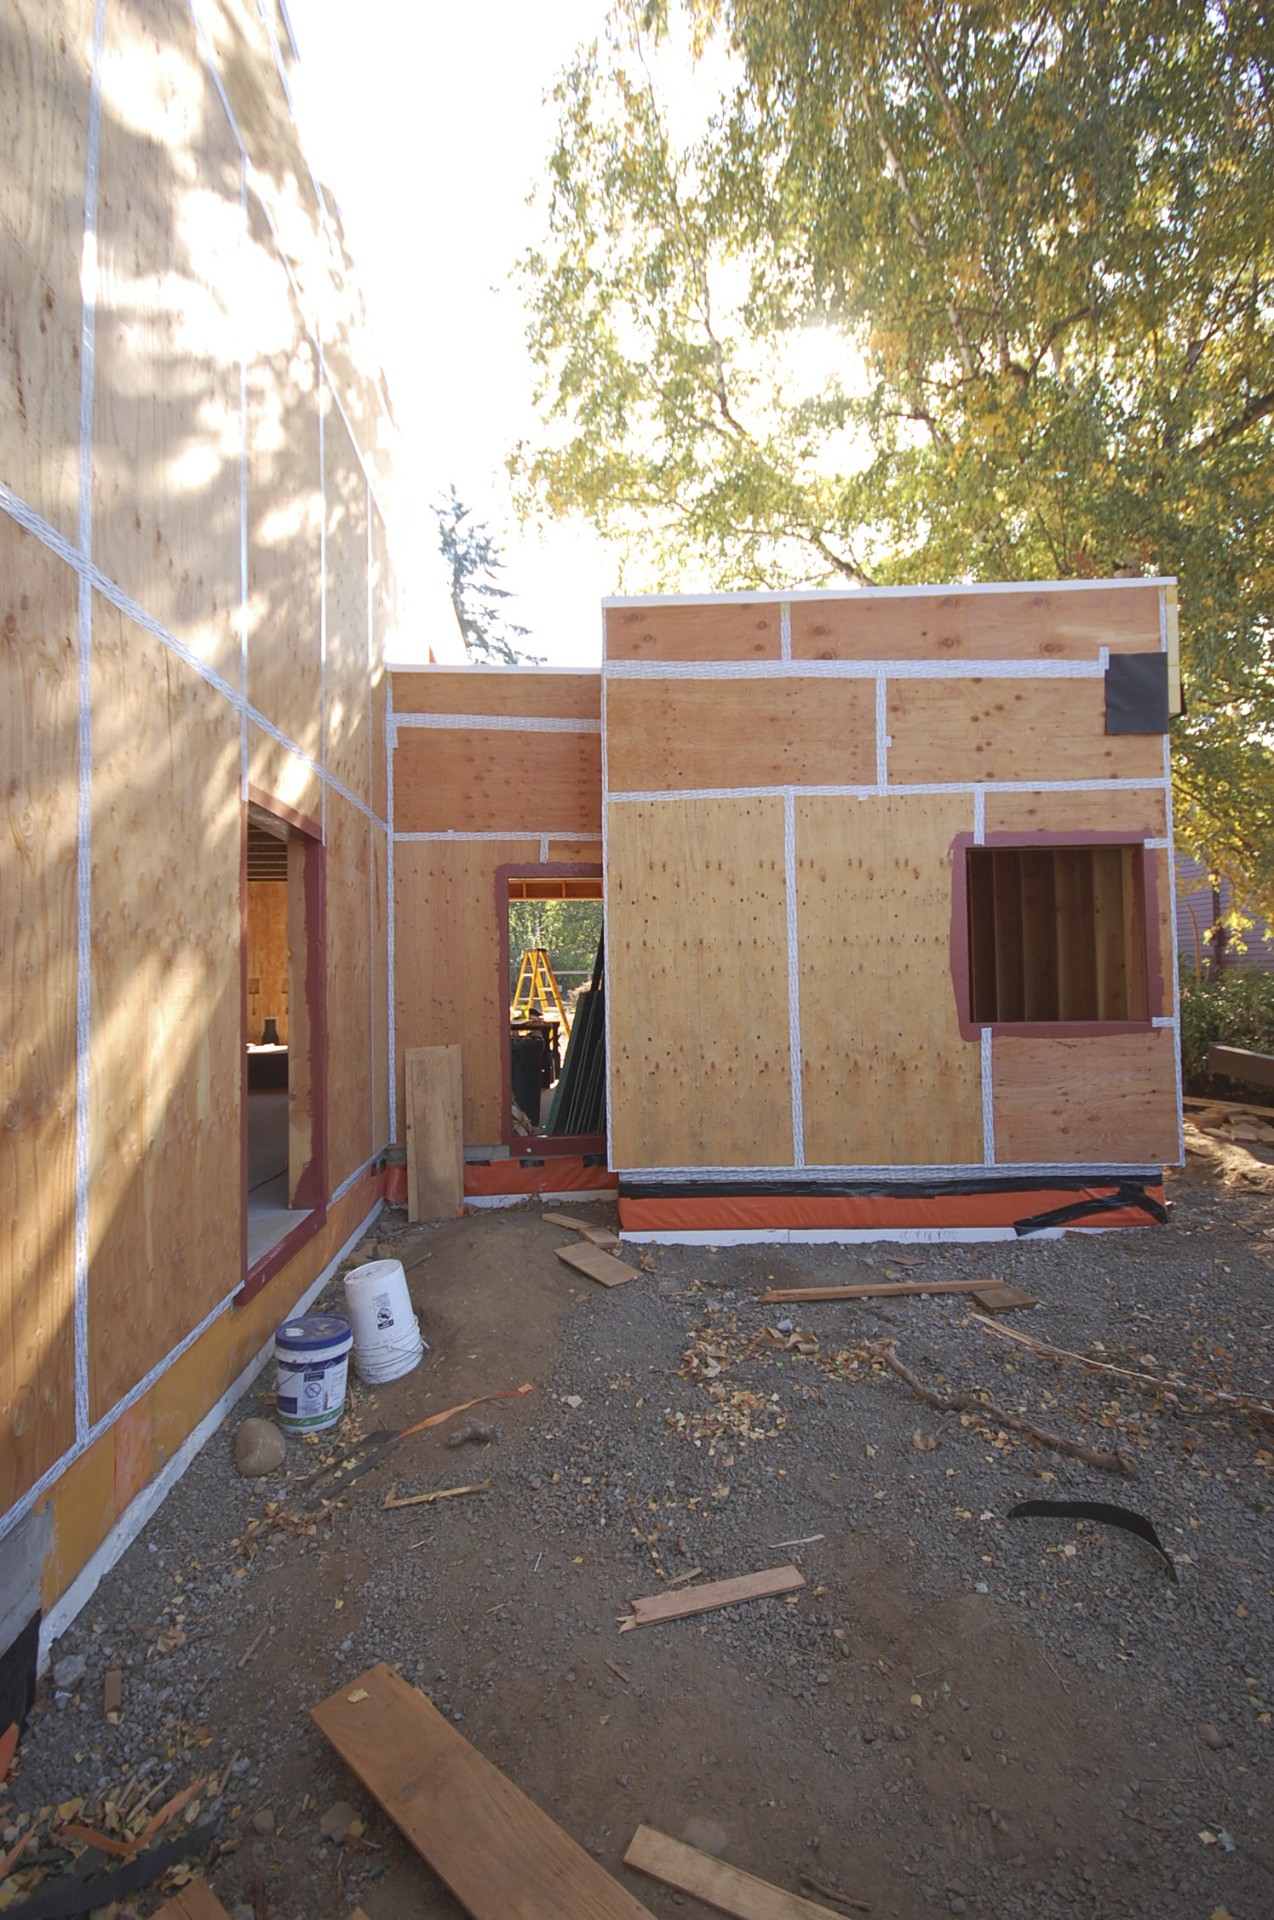
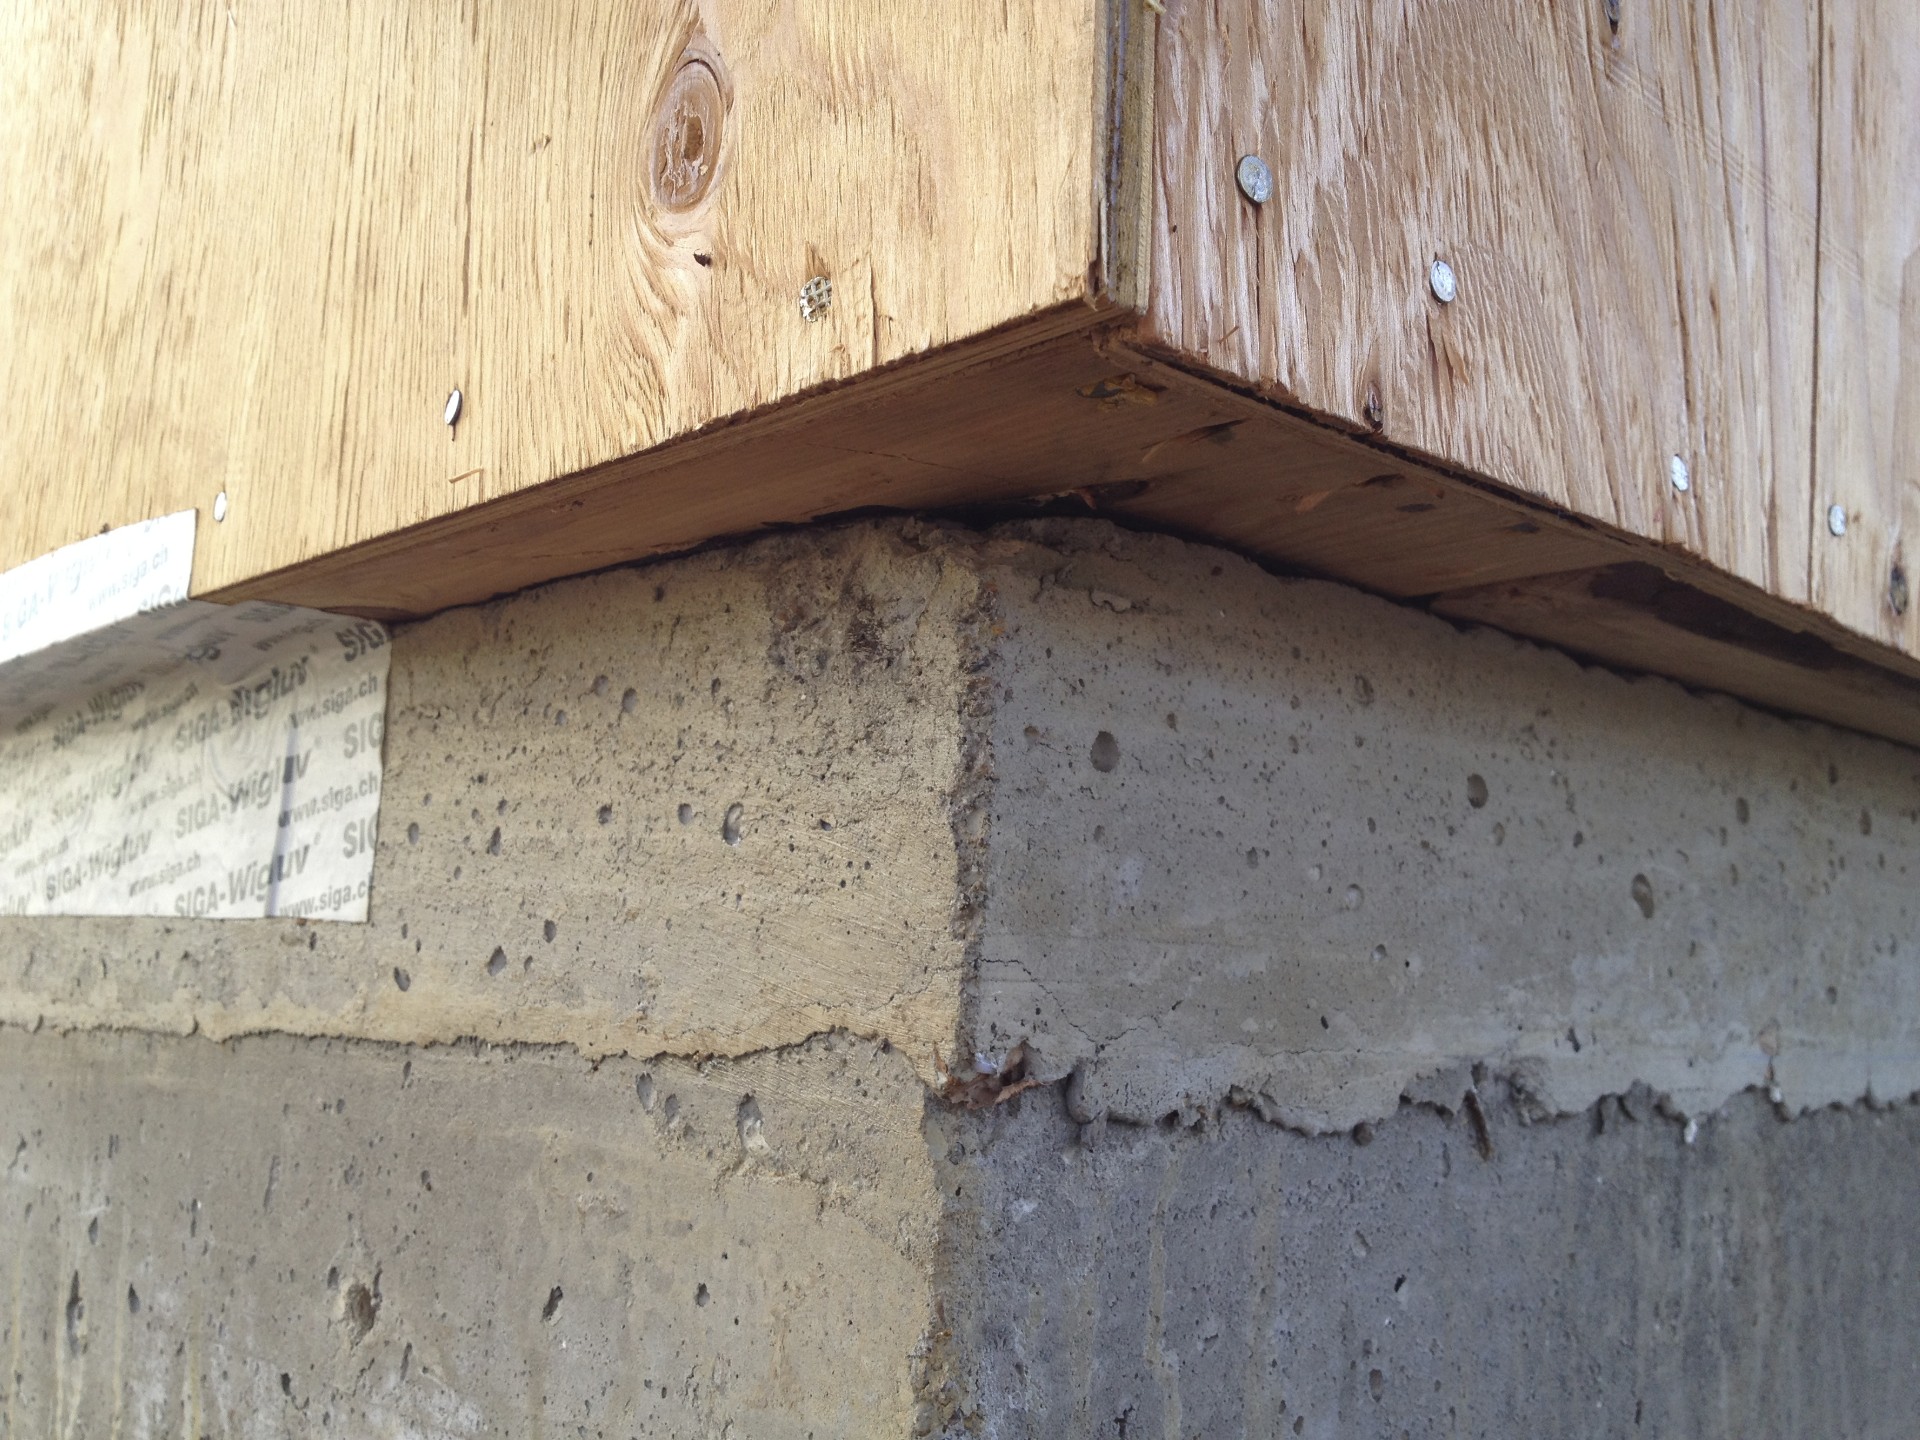
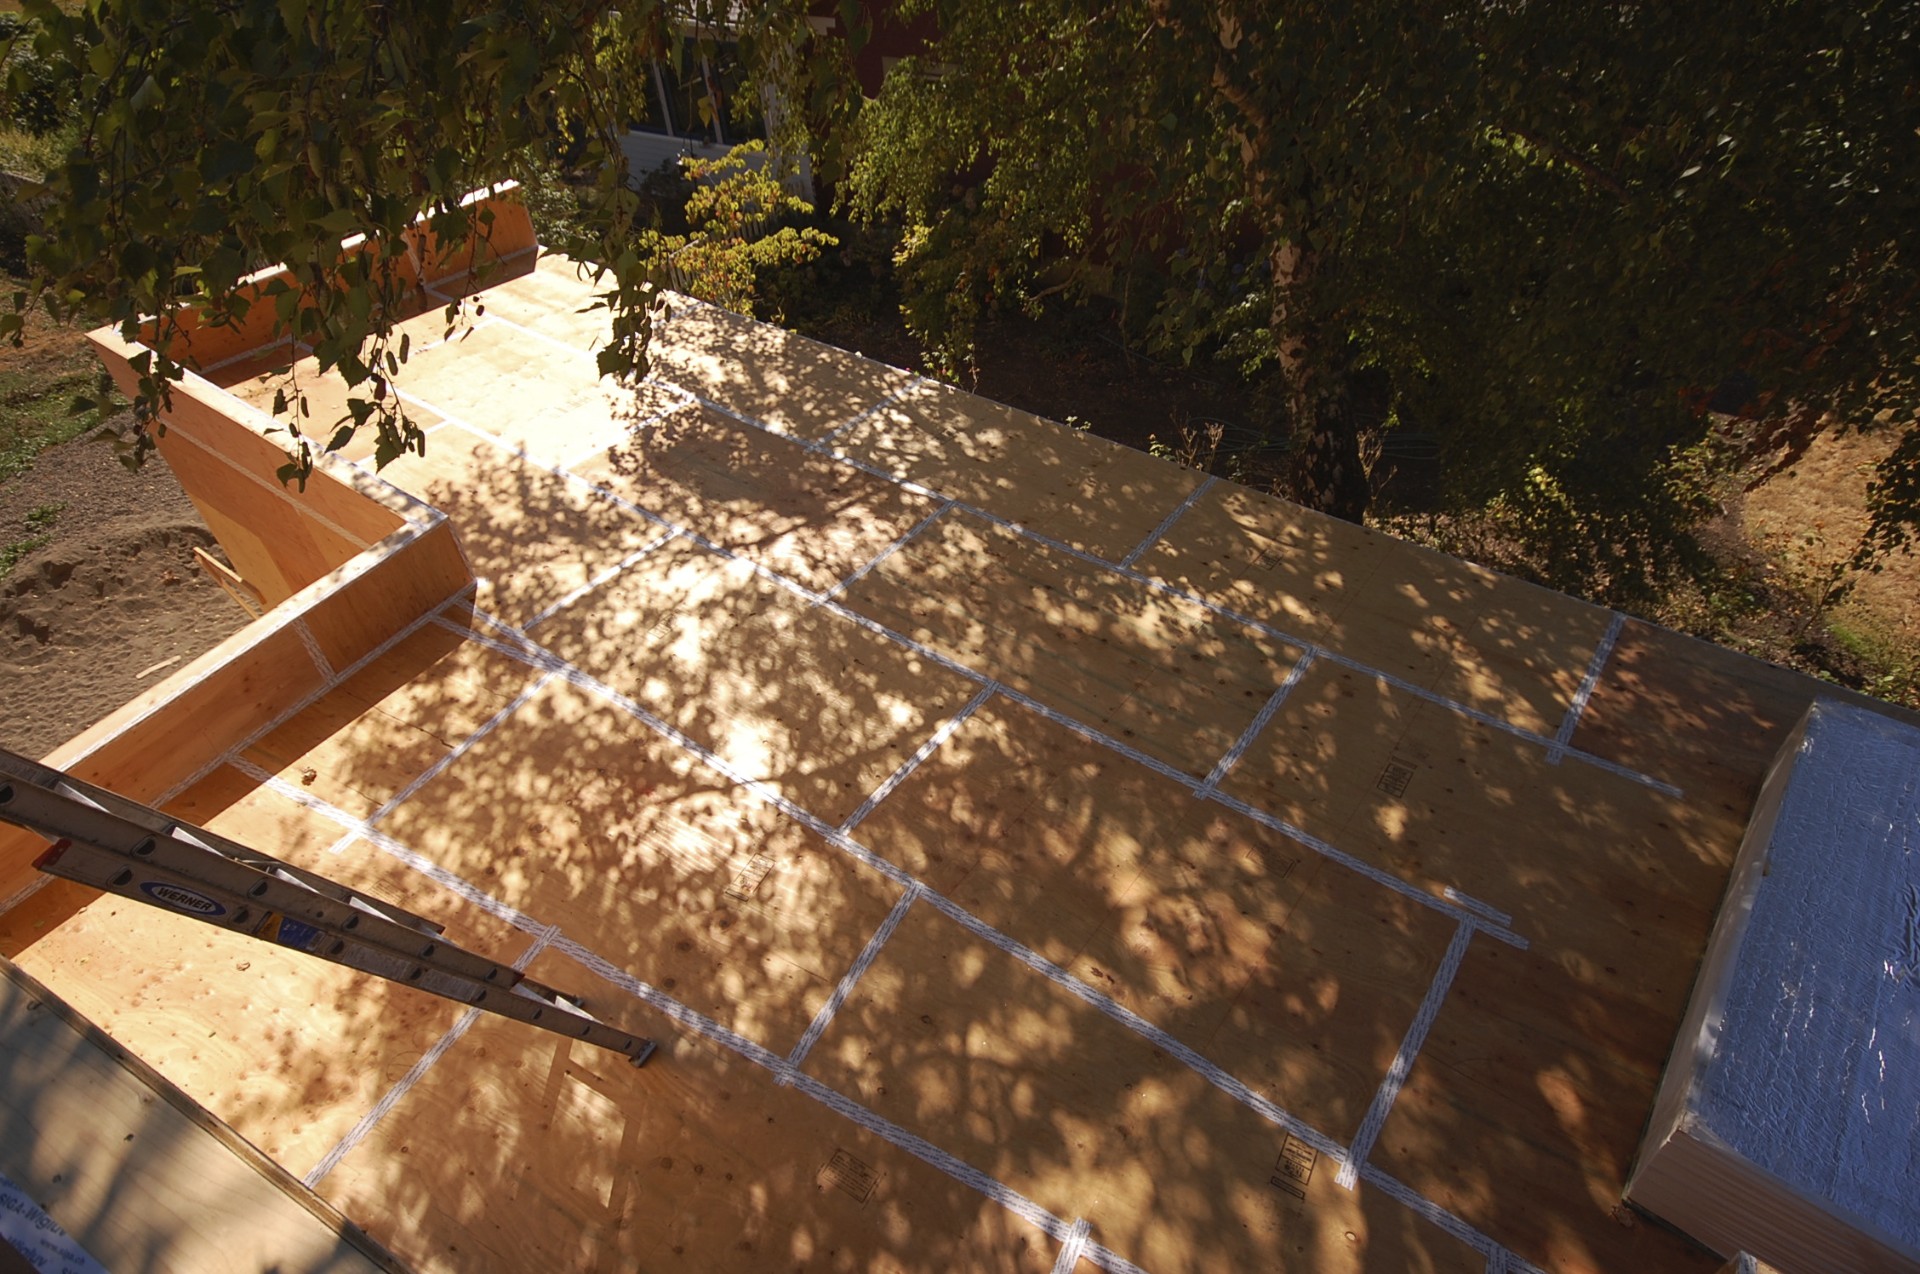
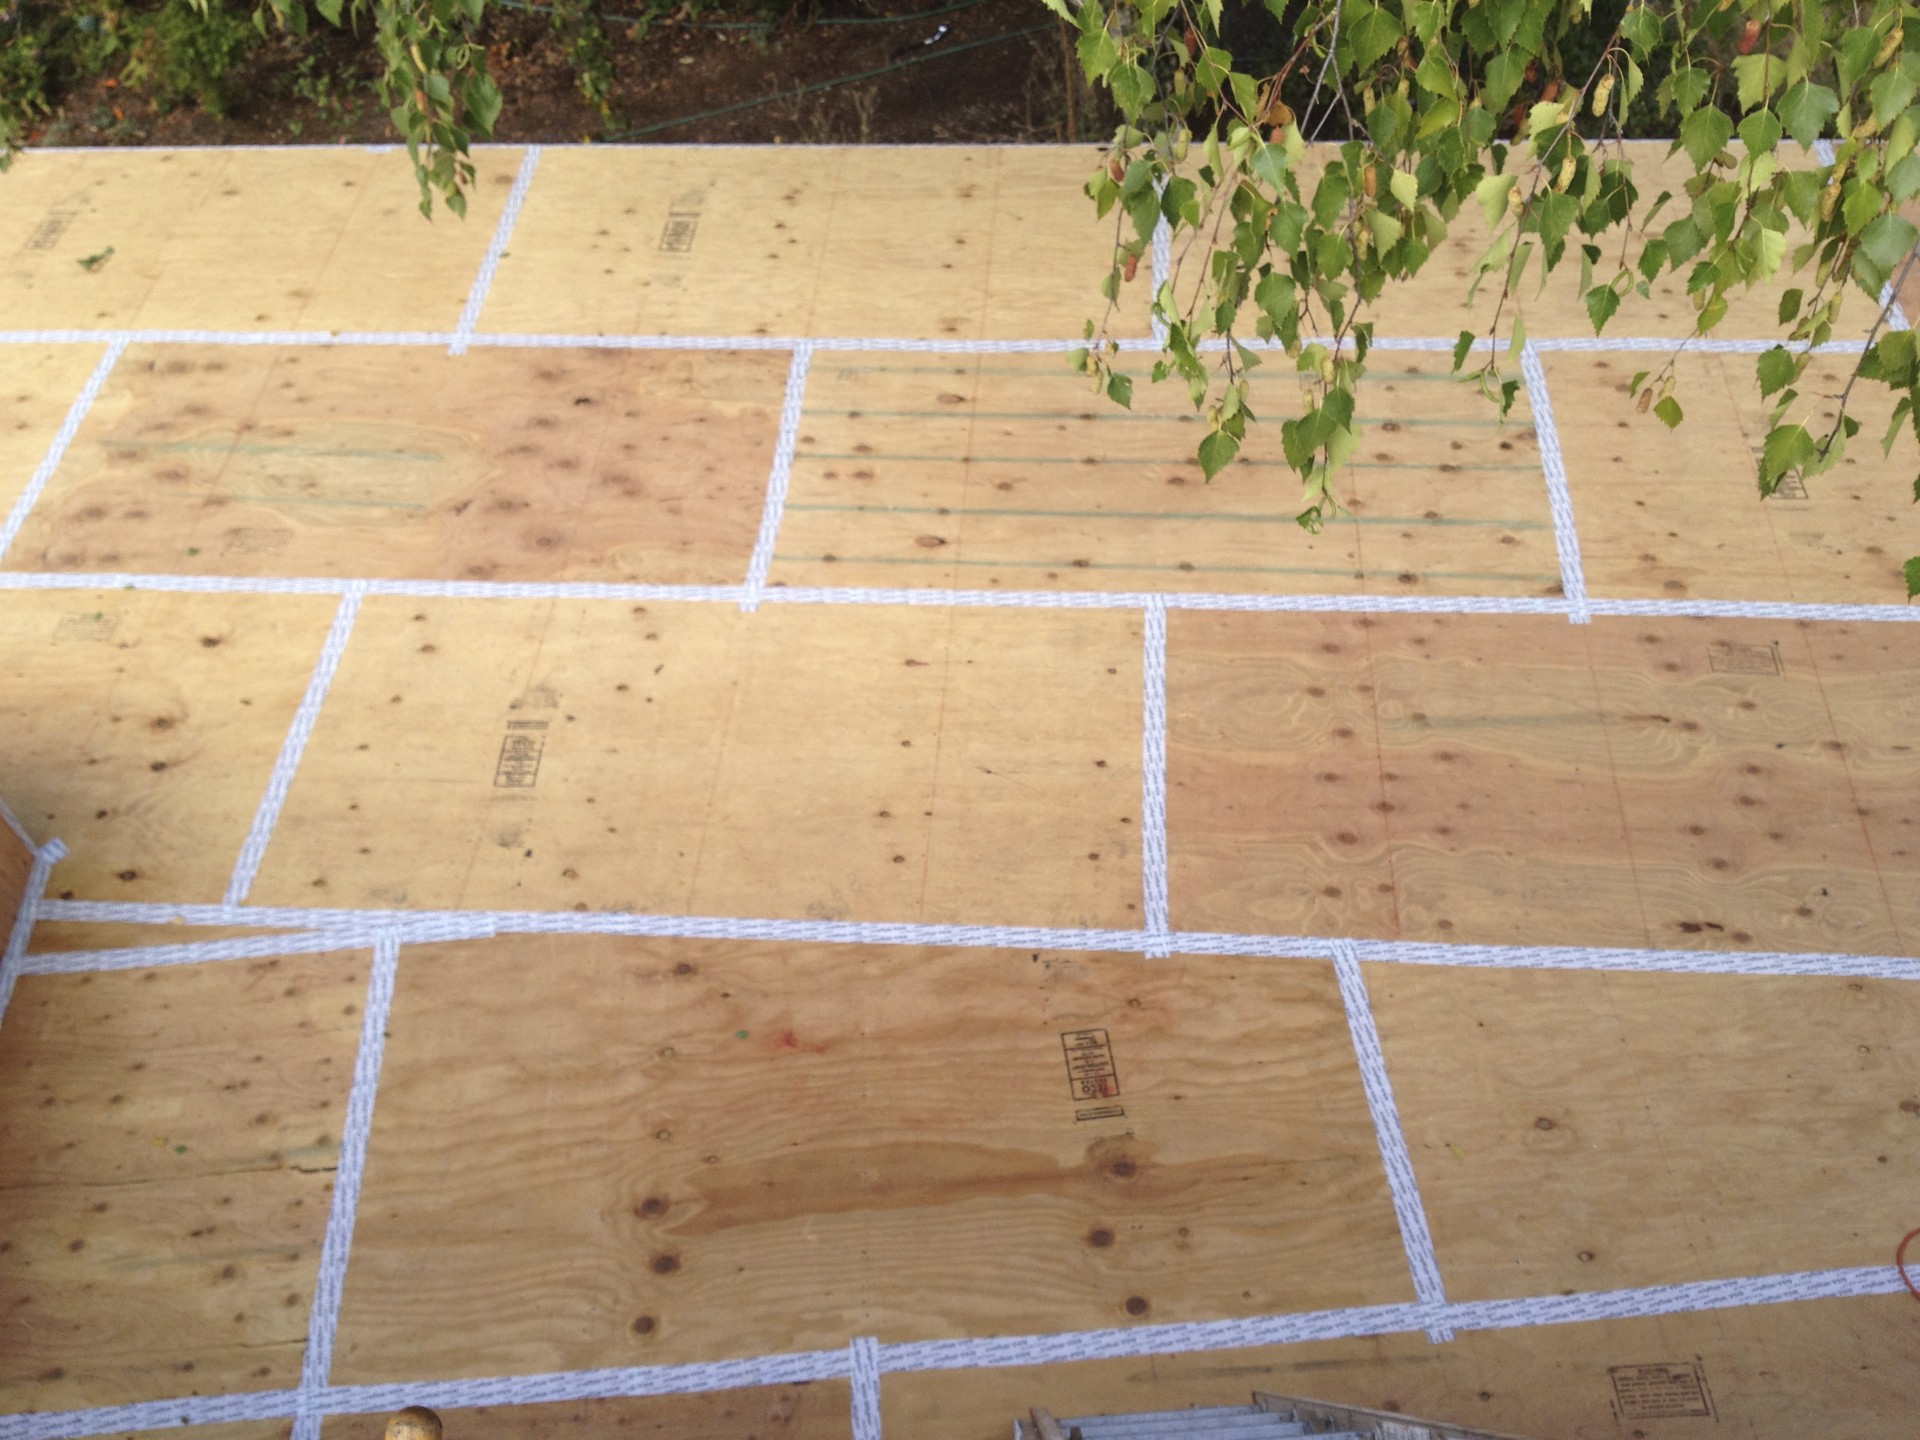
After many many months (years really) of scheming and planning, we finally broke ground on our new house. A lot has happened since our last look at the project in passivhaus progression. It took us a bit of time to get our house ready for sale, but we eventually sold it, found a great house to rent complete with chickens, moved, and are getting settled in our temporary digs.
First up was getting our delinquent and non-responsive tenant out of the house. We got our first (and hopefully last) taste of the eviction process. A few checks and a couple of weeks later we took possession and had a close up look at the sorry state of the house. Next we removed some of the existing trees. A few were unhealthy, a few were in or too close to the footprint, and a couple were creating massive shade. While we struggled with this decision and upset at least one neighbor, in the end we decided it was best in the long run to remove the largest Oak in the backyard. It was sad to see it come down but the lot has been transformed back into a sunny paradise and we hope over the next decade to develop a well designed and much more beautiful landscape.
While the first bank we approached about construction financing had favorable rates and seemed easy to work with, the process quickly turned sour as they began to question first the green roof, then the single ply membrane, separate structures, and finally the lack of a garage. In the end it became apparent that they didn't get it and it was time to try another route. At the same time, we decided that the separate structures created some domestic challenges in addition to lowering the value of the property in the eyes of the bank, so we quickly redesigned the house to incorporate the space between the buildings as interior living space. Although it adds more square footage and cost, it does make for a better surface to floor area ratio and had a favorable impact on our PHPP calculations. We then approached a local bank with our revised design complete with green roof, no garage, and modern aesthetic, and it was basically smooth sailing right up to the loan closing. Aside from their annoying tagline, so far I have nothing but good things to say about my experience with my local bank.
The permit process went a little more smoothly. After responding to a simple structural checksheet, answering some questions from the plans examiner about the Passive House specific details, filing a required Operations and Maintenance agreement for the ecoroof with the County, and smoothing out some internal confusion at the city about an existing cesspool tank and drywell, we got our new building permit as well as demolition permits for the existing house and garage. Next up was testing for Asbestos; the demolition contractor was required to have paperwork certifying that the debris was free from Asbestos. Somewhat to my surprise, Asbestos was found in a number of unusual places including window glazing, caulking at the roof penetrations, and drywall compound. Another check and about a week later the Asbestos was abated and demolition could finally begin.
Here's a quick progression of what's happened over the last 2 months:

Trees are cut and asbestos abatement in progress.

House and garage are gone!

Old tanks are decommissioned and building area is stripped.

Building pad is prepped with compacted gravel.

Footings are formed, EPS placed and moisture barrier taped.

Concrete is placed in footings.

Gravel backfill is placed and compacted underslab.

Underslab EPS insulation is getting set on sand bed.
Now that we've started, there's much to talk about. Some possible ideas:
- A better way to build an insulated slab on grade?
- PHPP calculations and optimization of systems
- PH certification: PHIUS+ vs PHA
- Passive House Windows
There are many people to thank for their help (directly and indirectly) in getting us to this point. Here are just a few:
- Aaron and Mike at Brute Force Collective
- Dan Whitmore at Blackbird Builders
- Florian at Zola European Windows
- Don Tankersley Construction
- John Russell (Concrete) Construction
- Matt at Zehnder
- Skylar at Hammer and Hand
- Ryan at Earth Advantage
All for now. Check back soon.
Jeff
www.insituarchitecture.net

