
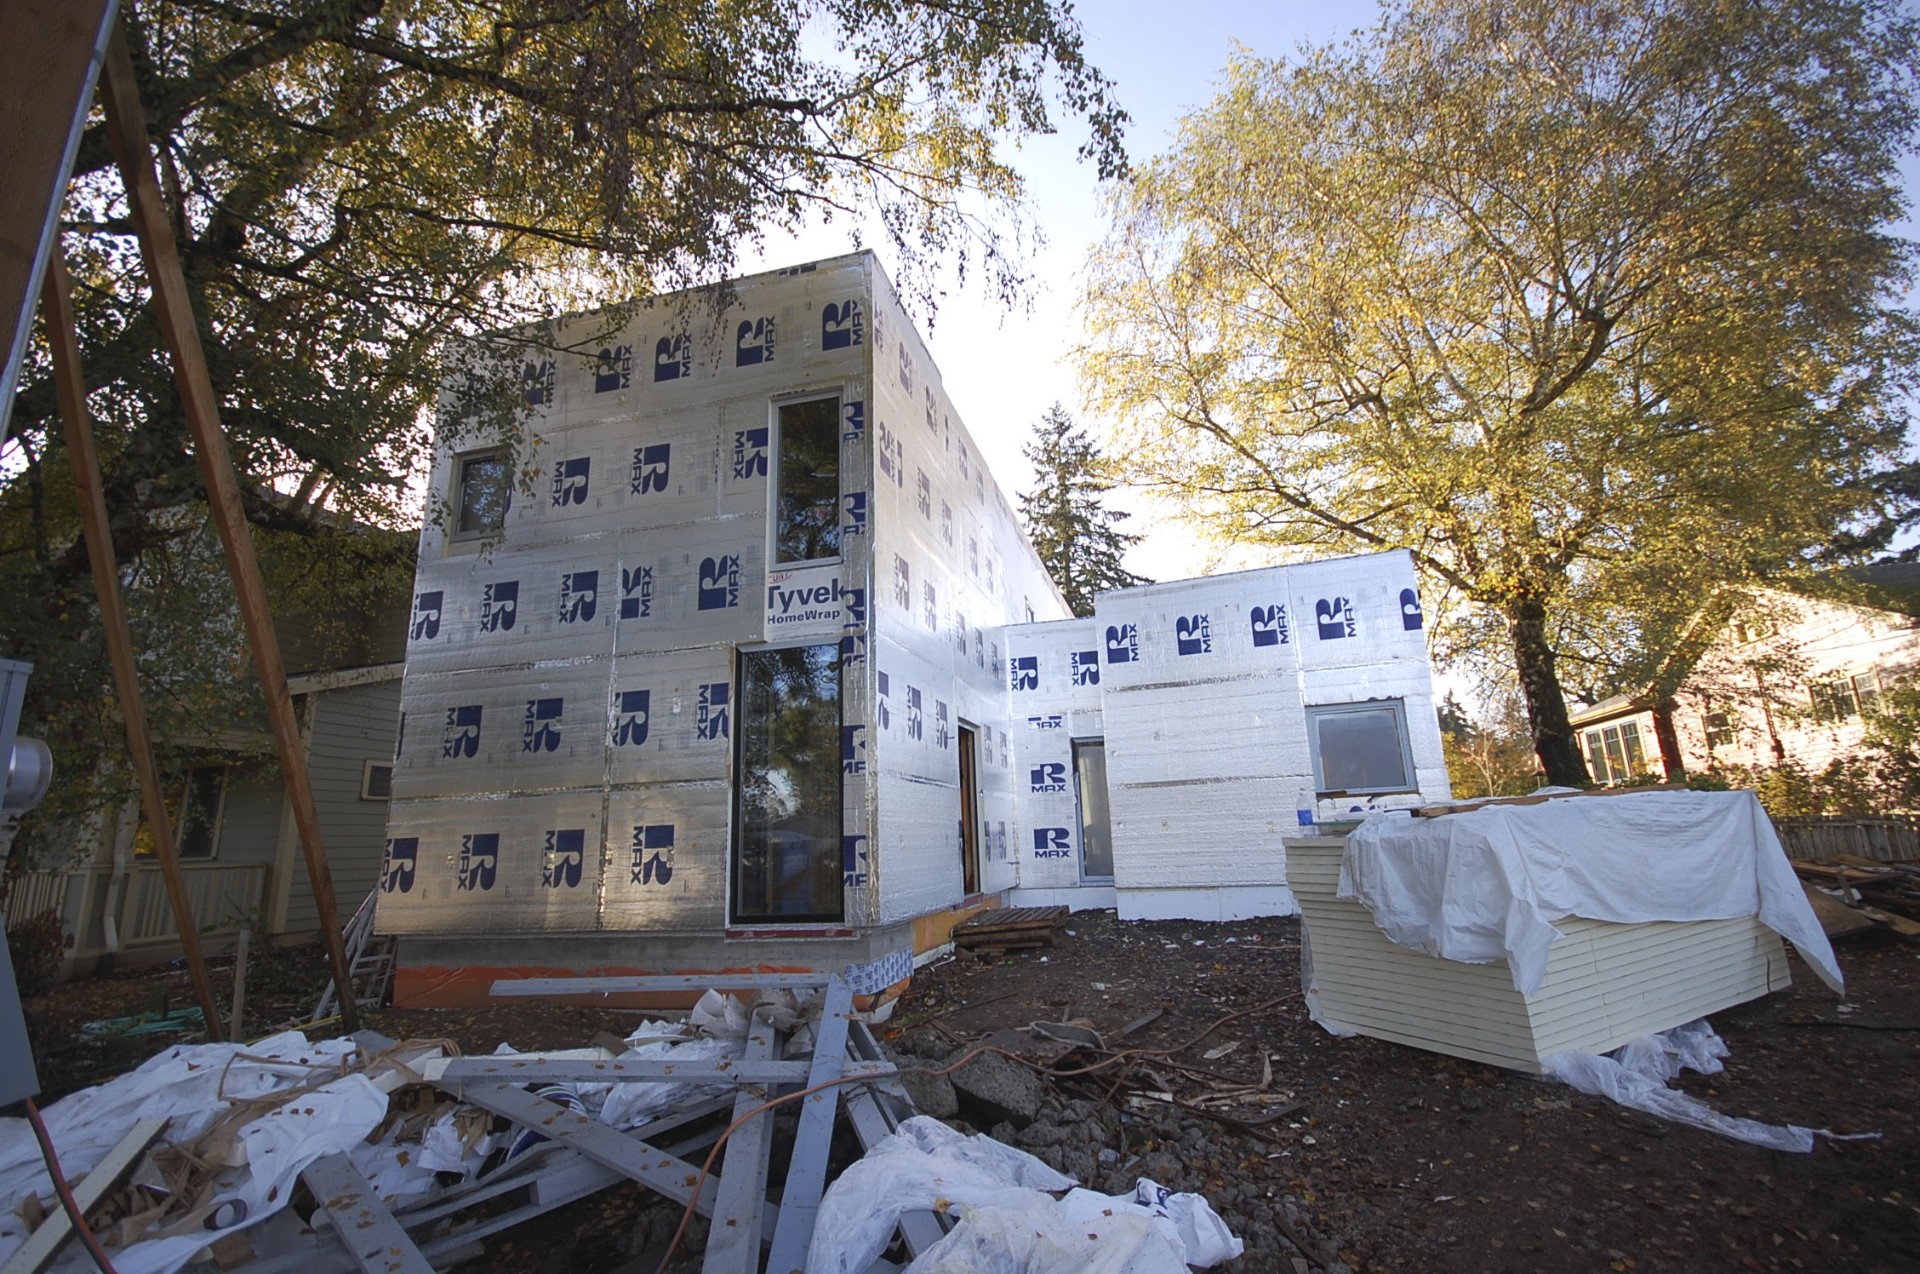
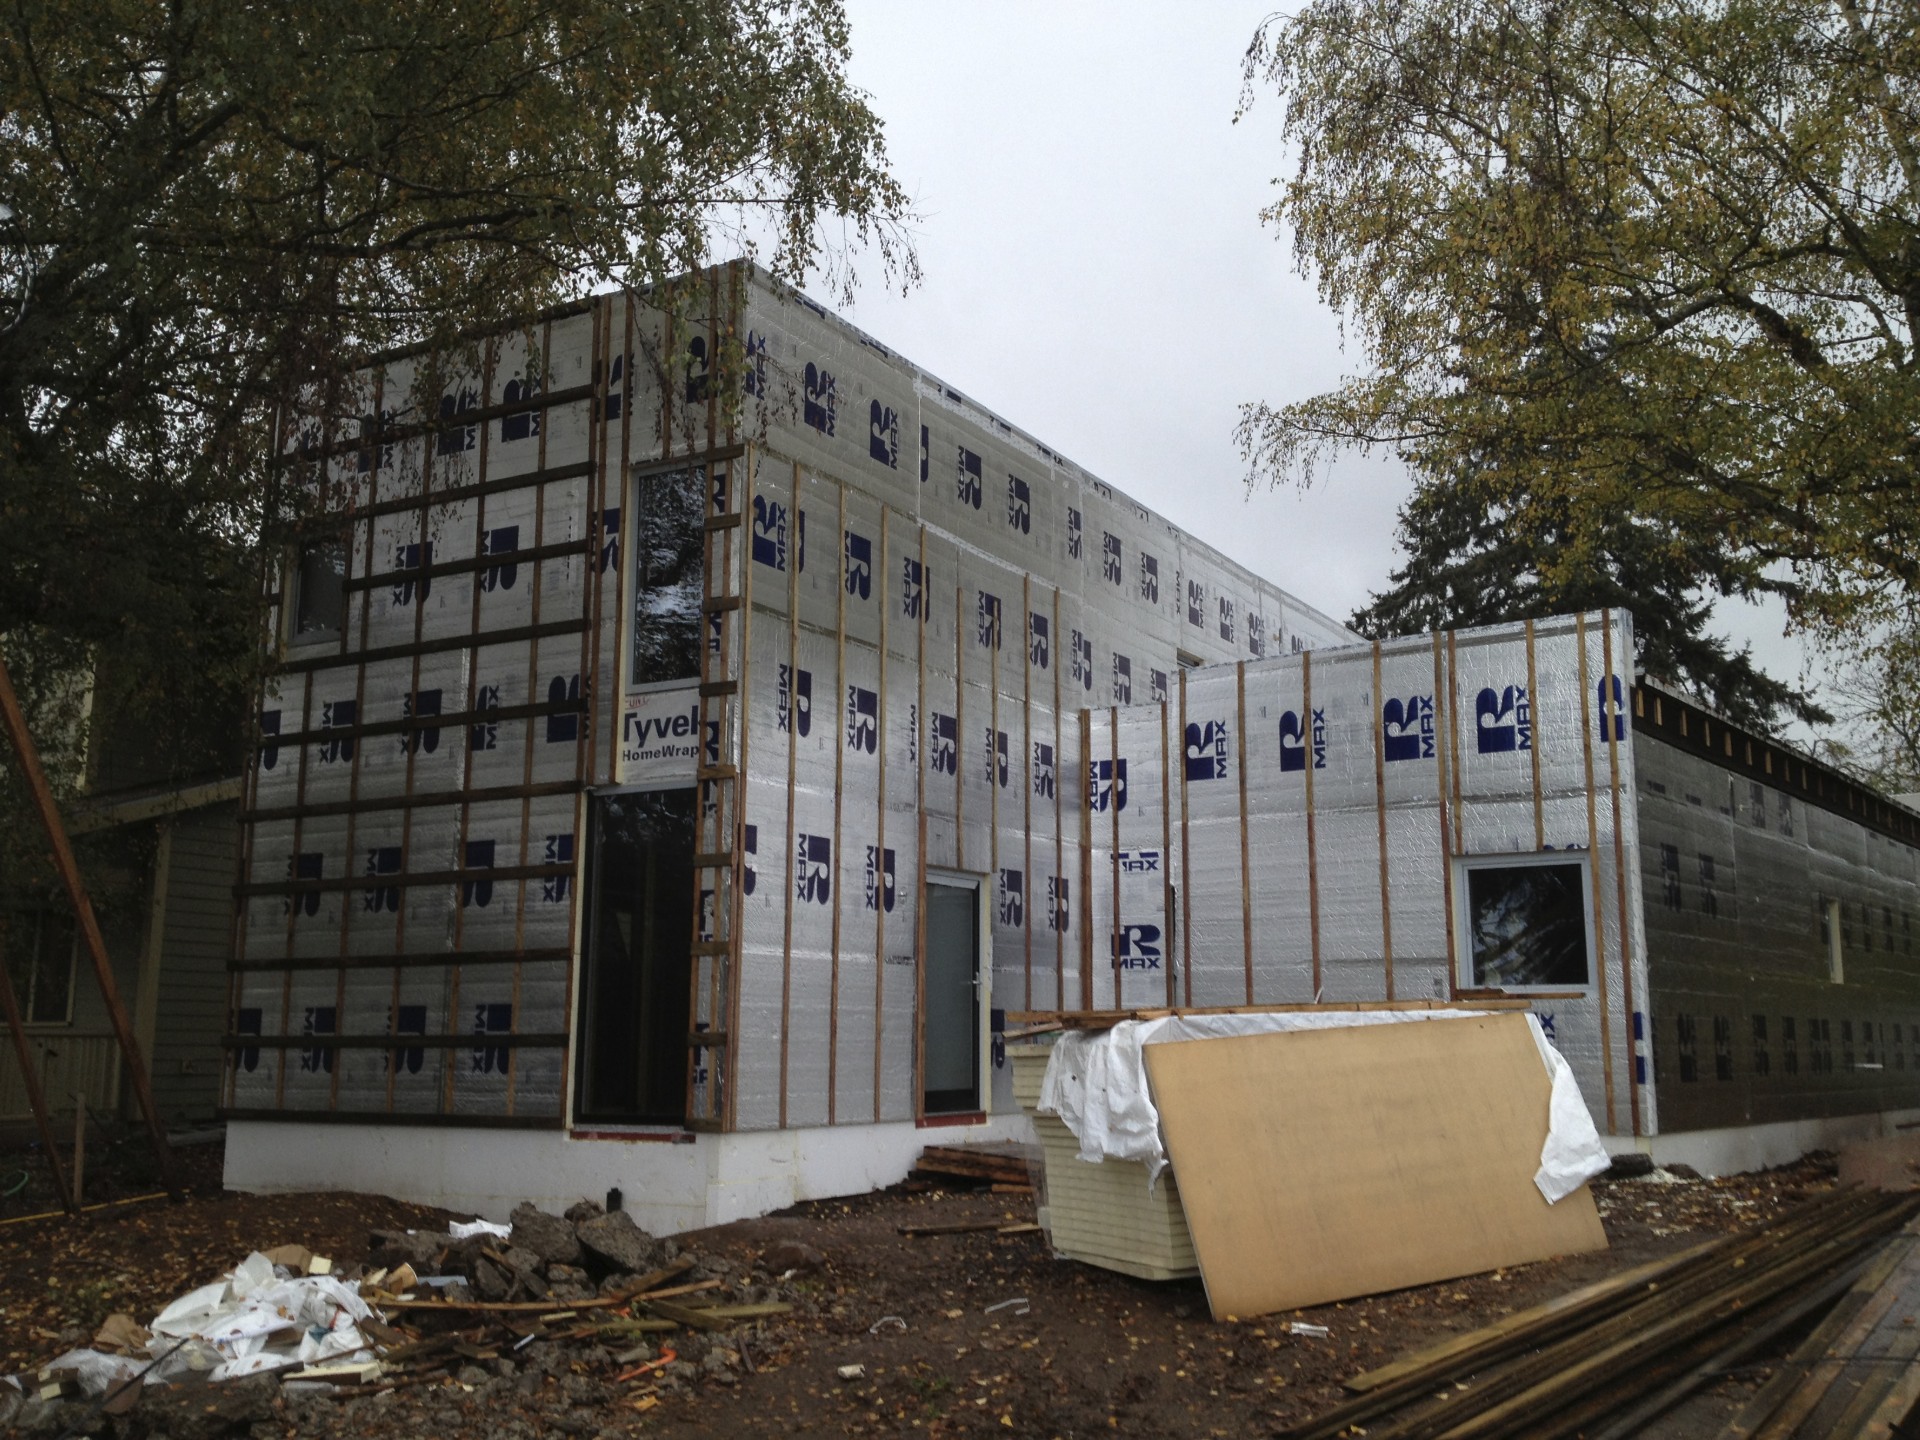
next up on skidmore passivhaus is installing the outsulation on the walls along with the rainscreen furring.
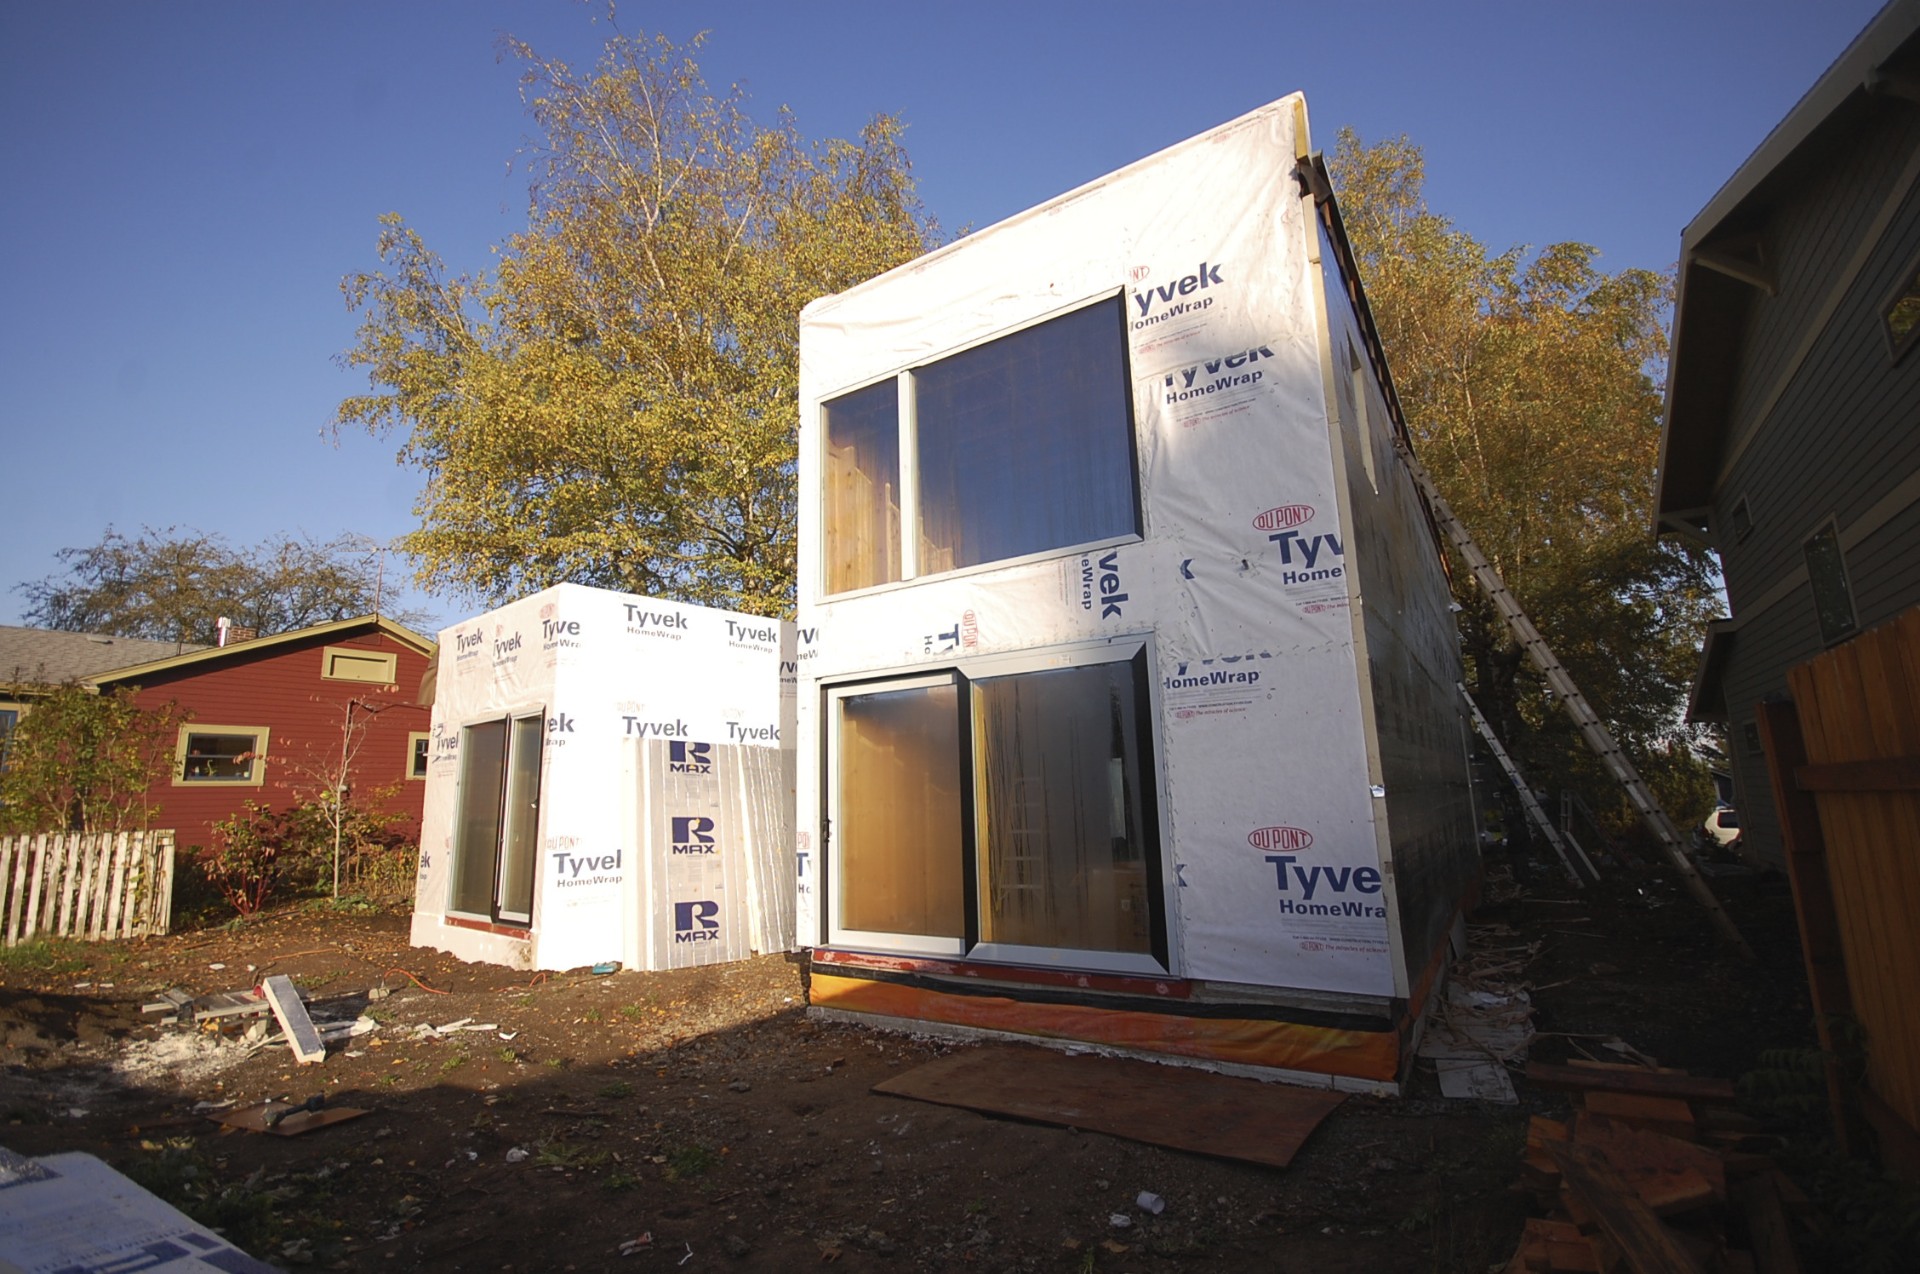
the plywood sheathing was first covered by a weather resistive barrier with metal head flashings at the windows and doors.
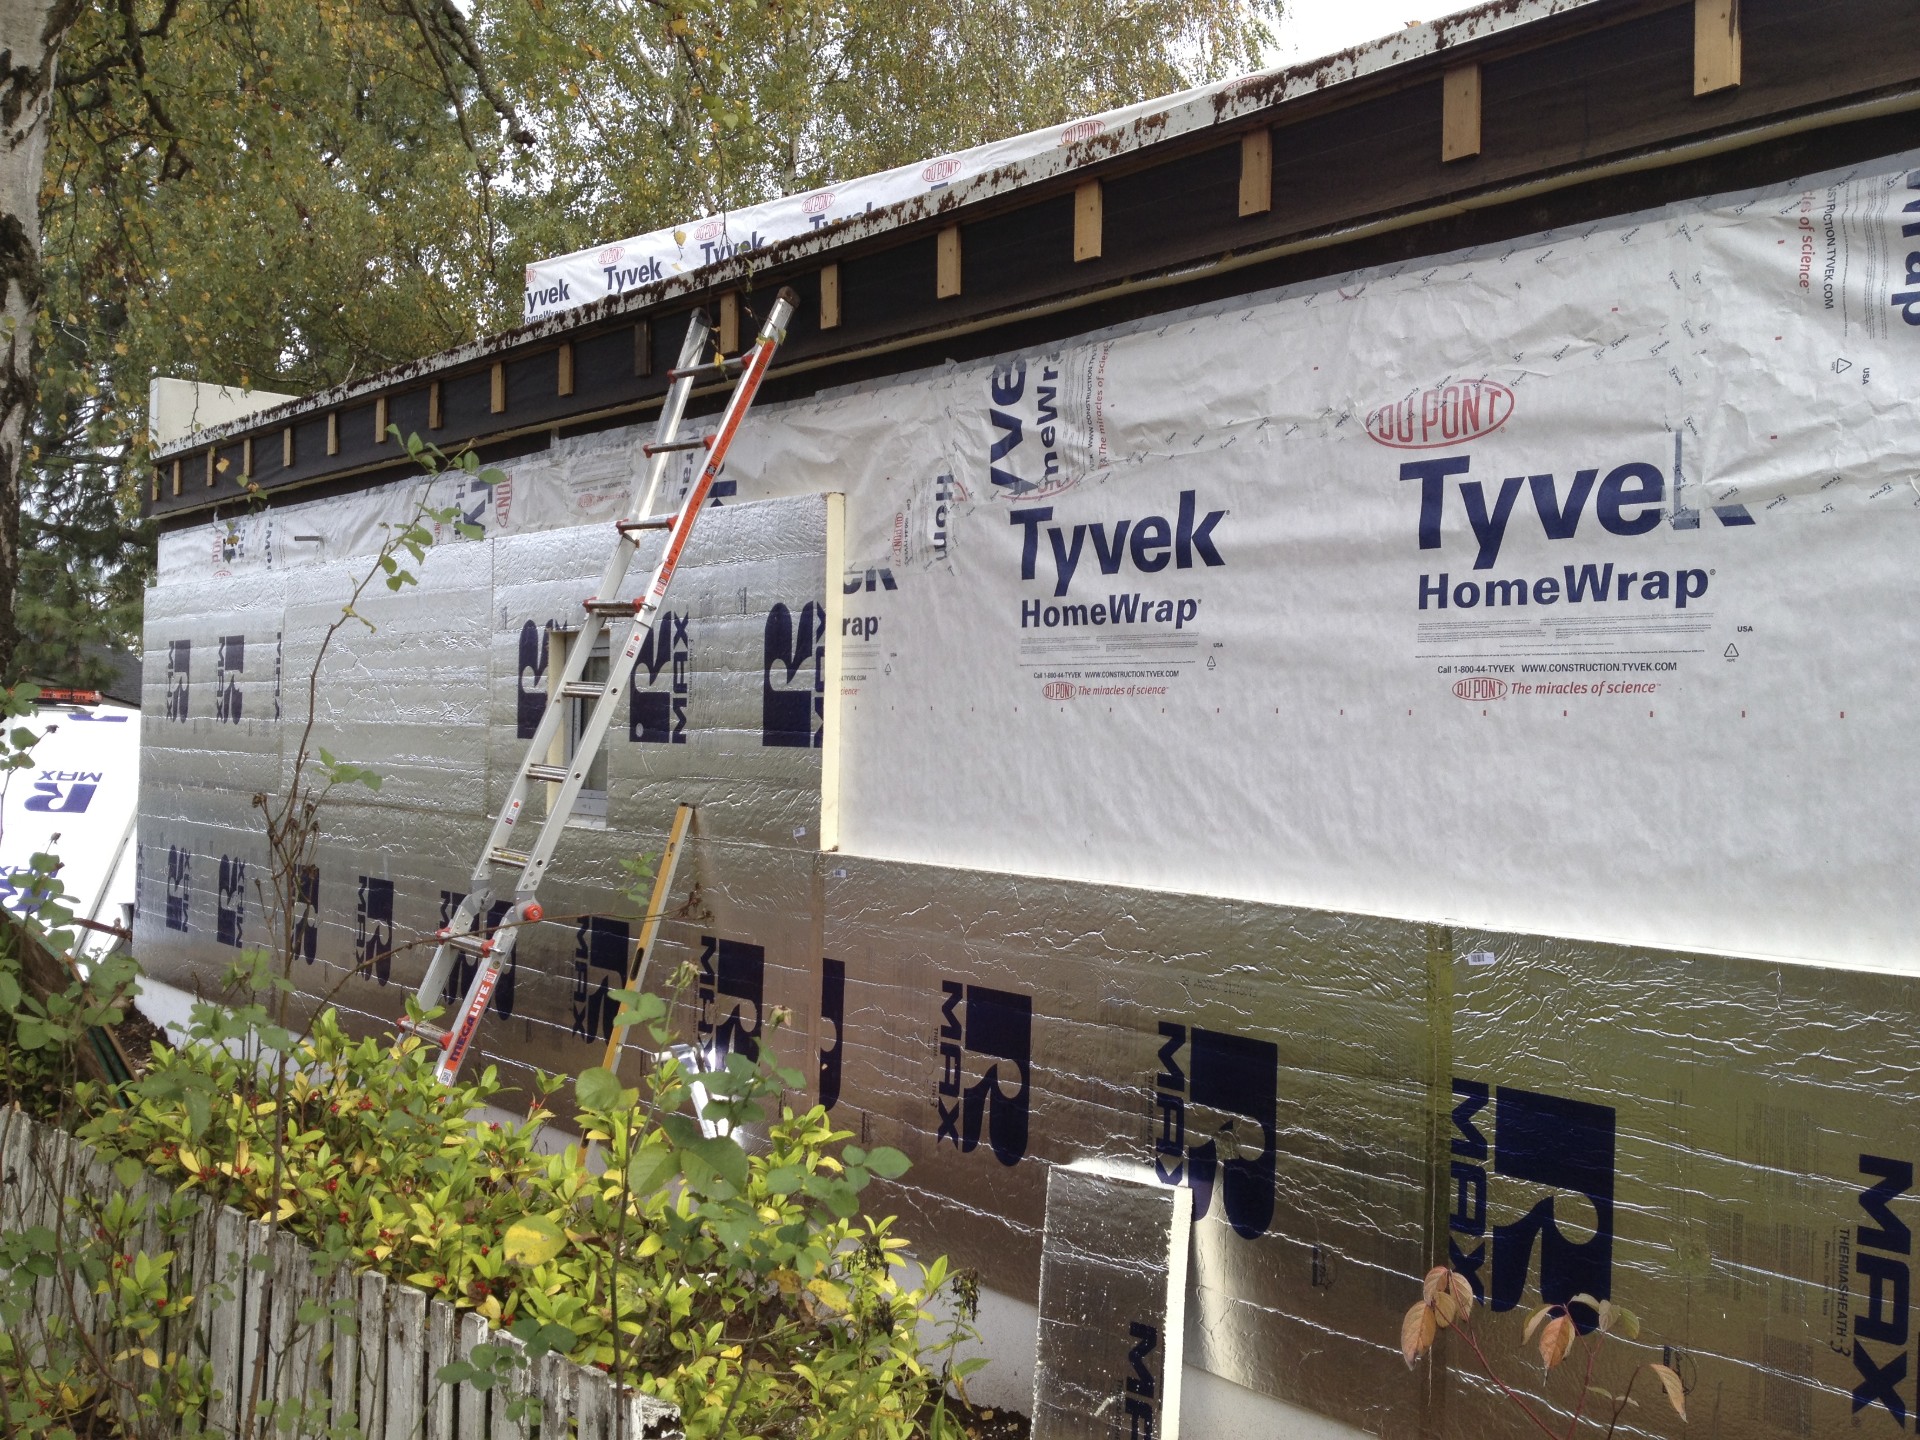
most walls get a layer of 3" poly-iso, while the south wall will get 4" to match the recessed pocket for the exterior shades.
2 screws (with plastic washer) per 4x8 sheet hold it in place until the furring strips are installed.
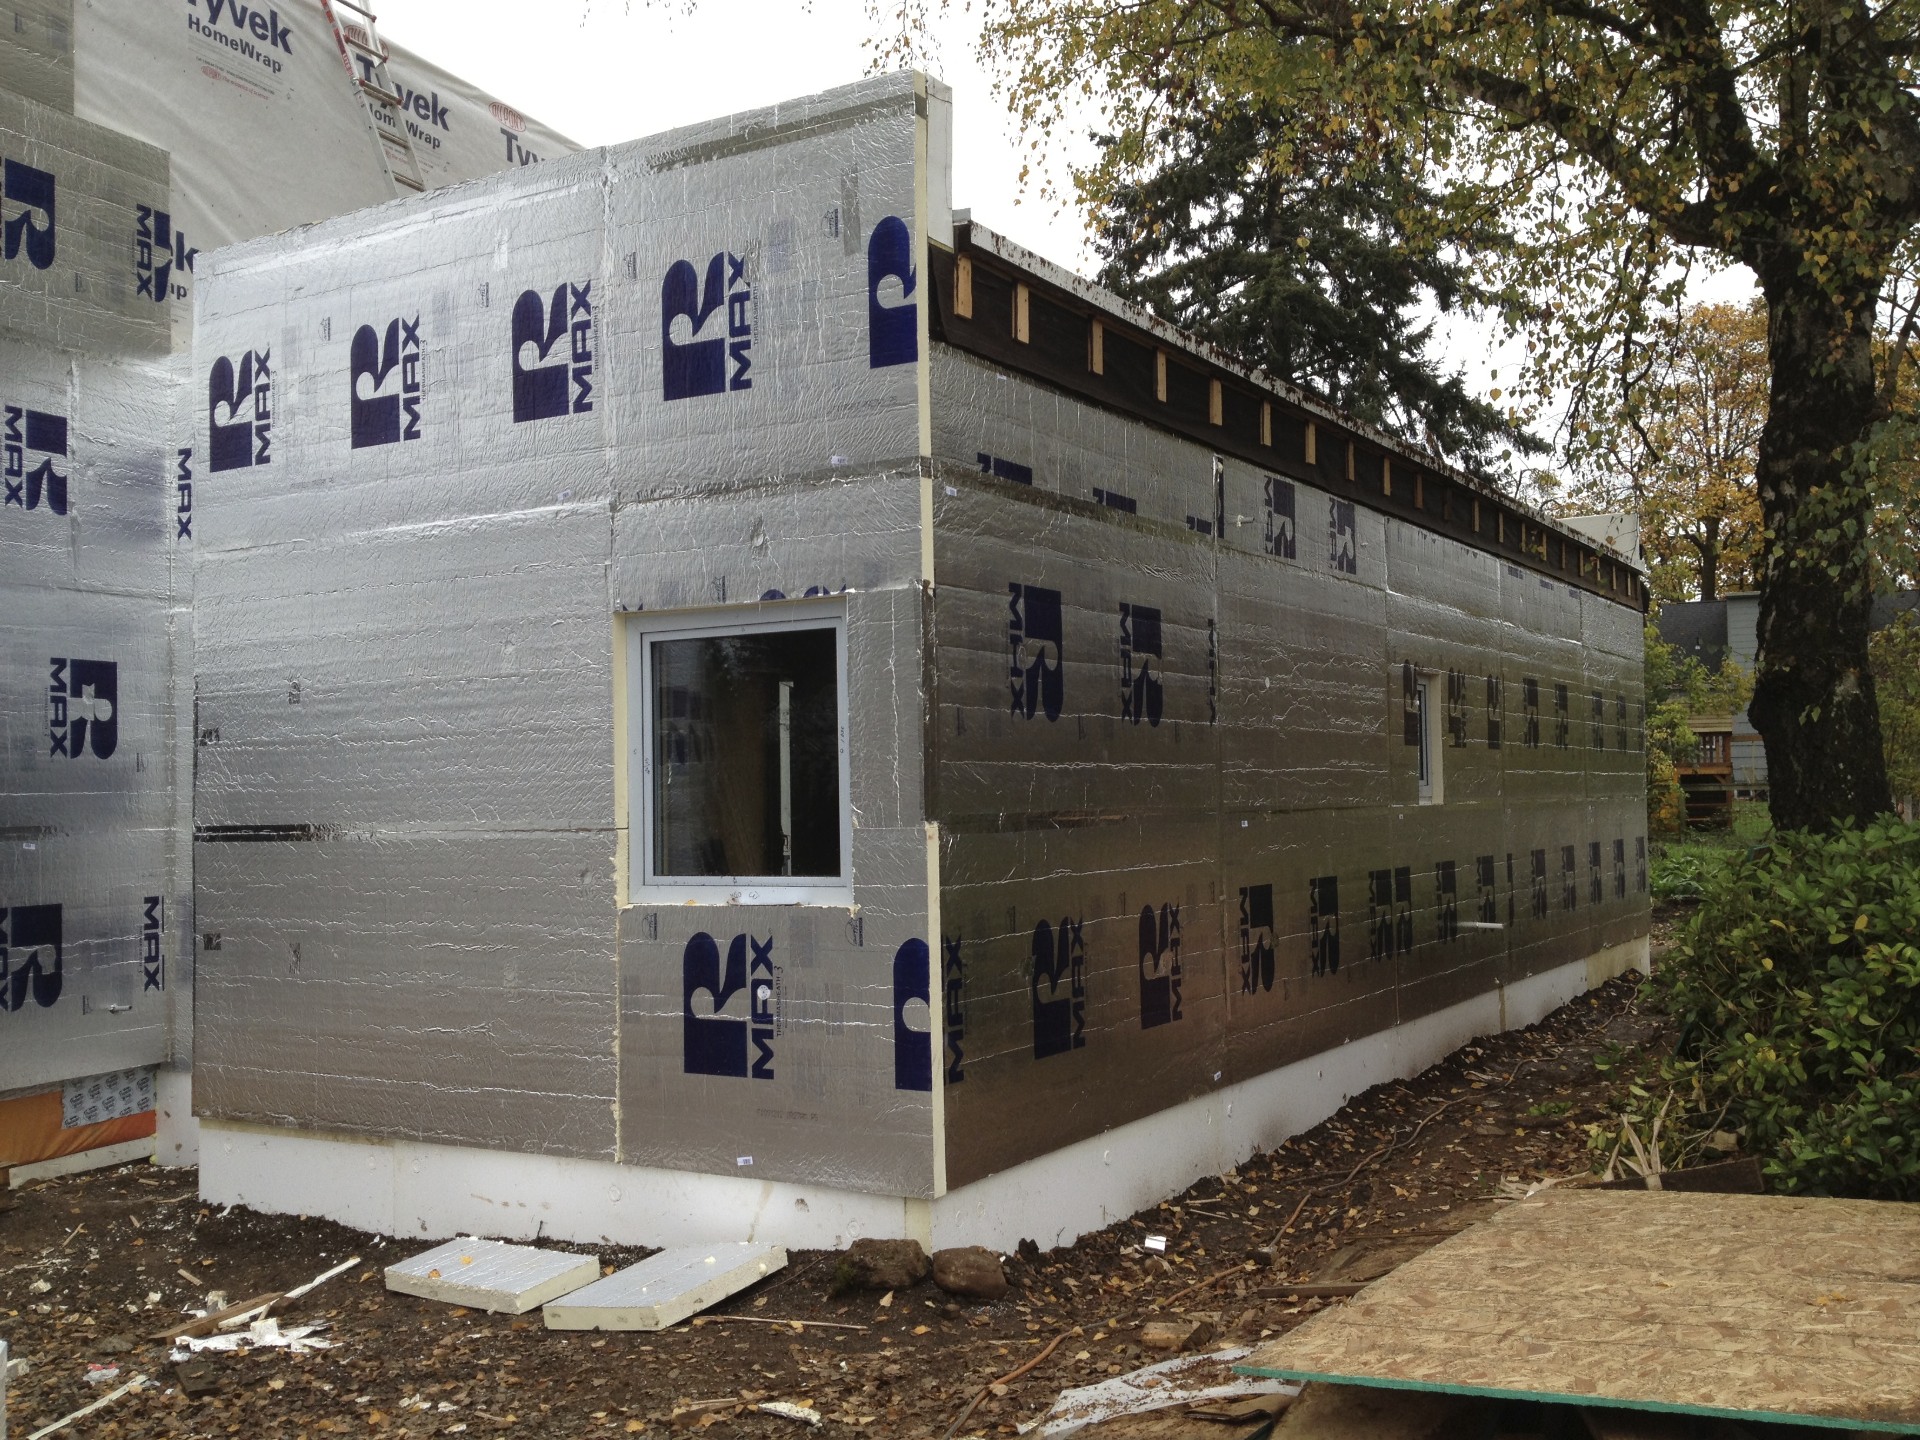
all seams and fasteners are taped. the face of the insulation is treated as a second weather resistive barrier.
additional flashings at all doors and windows will be taped to the insulation as the wood trim is installed.
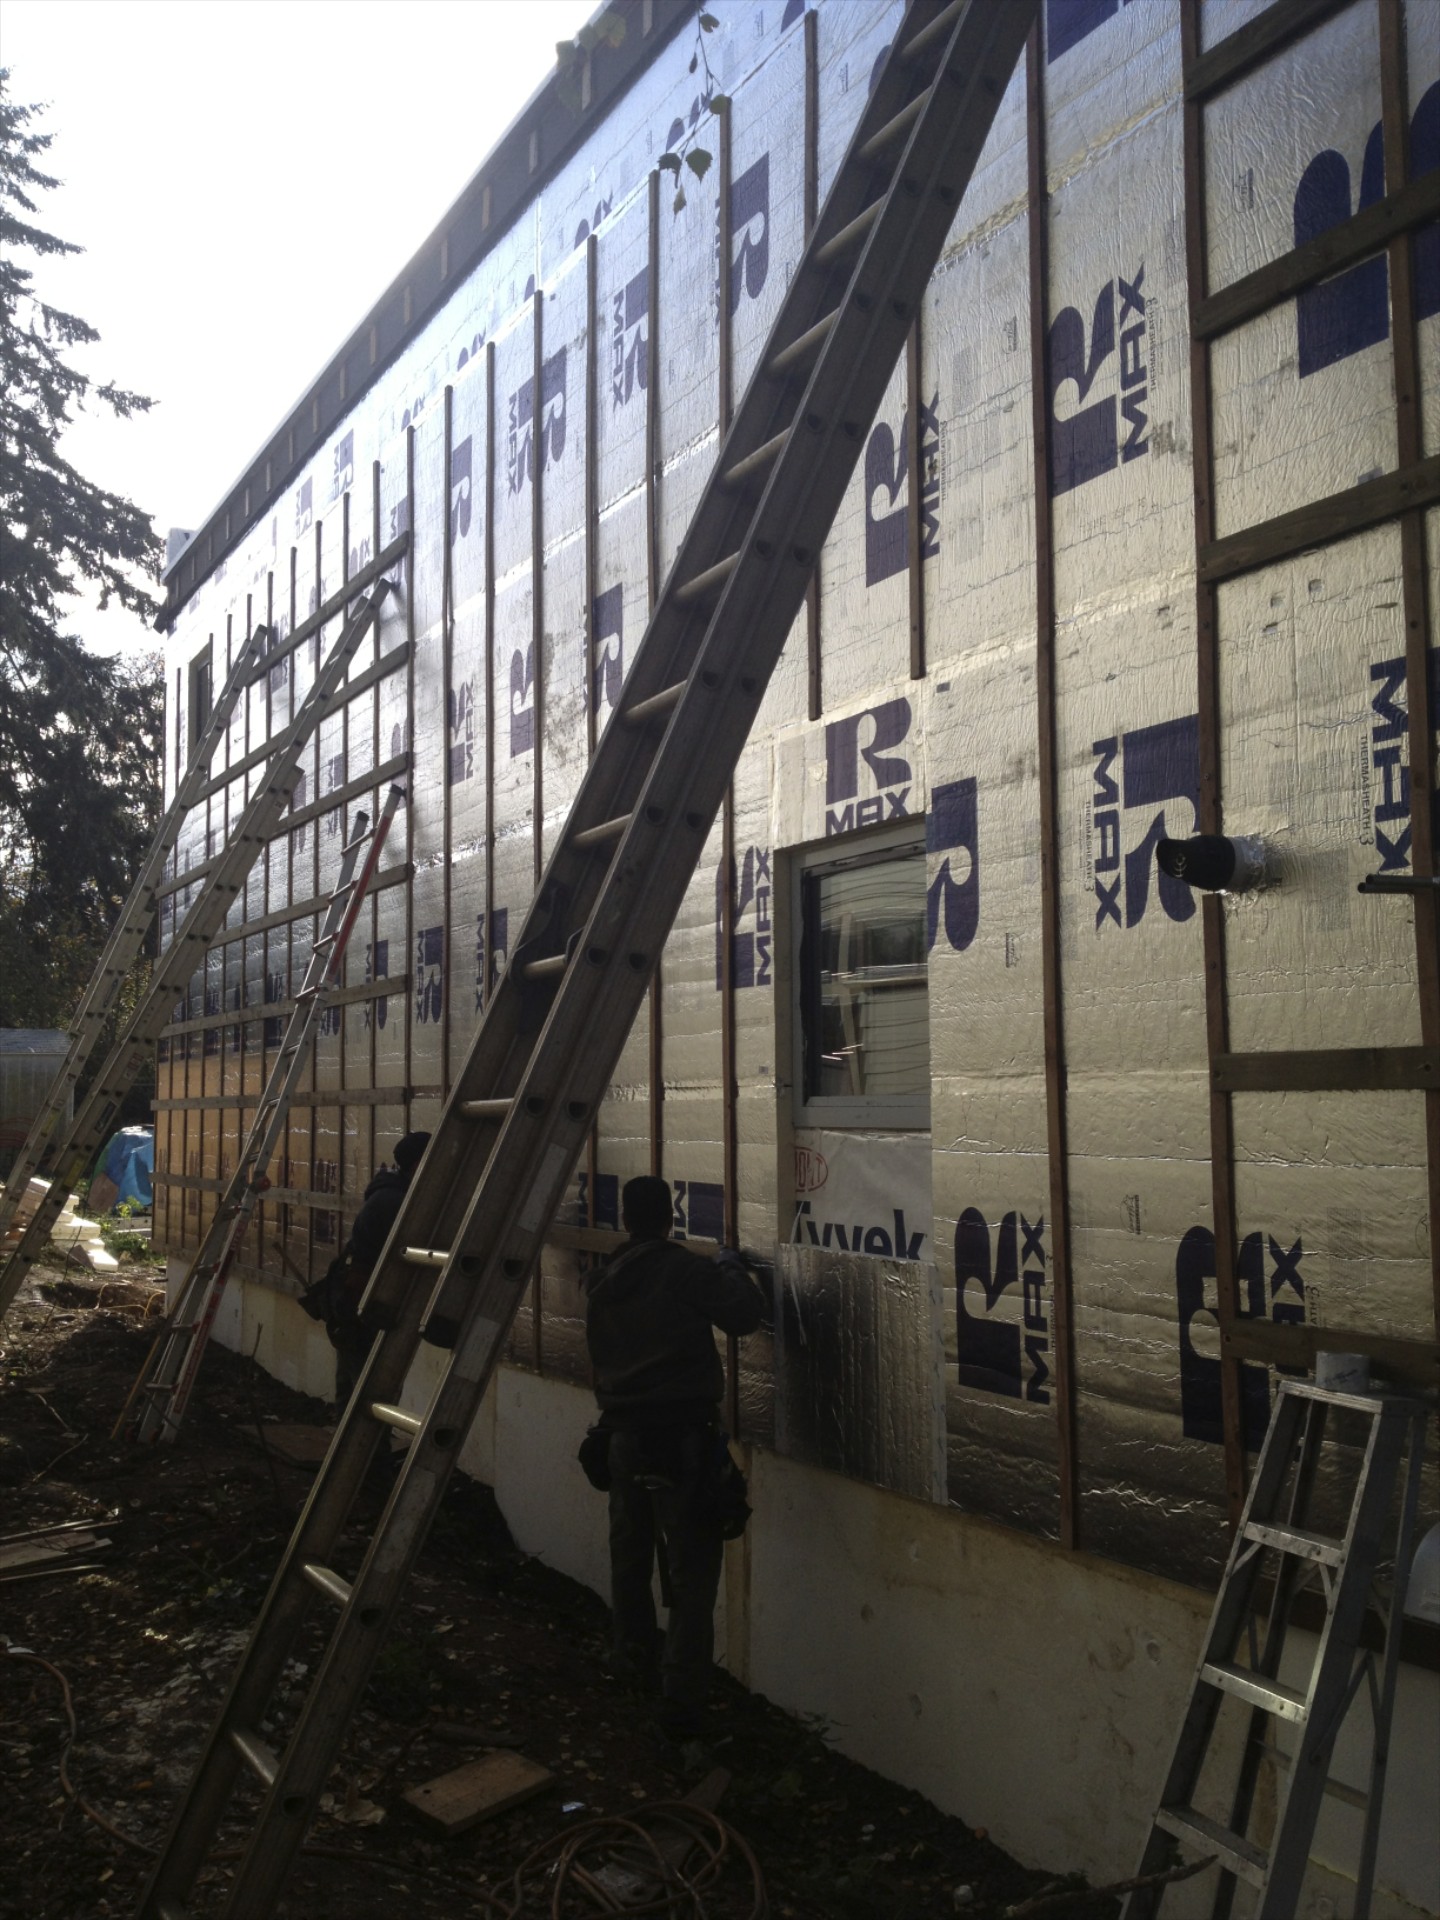
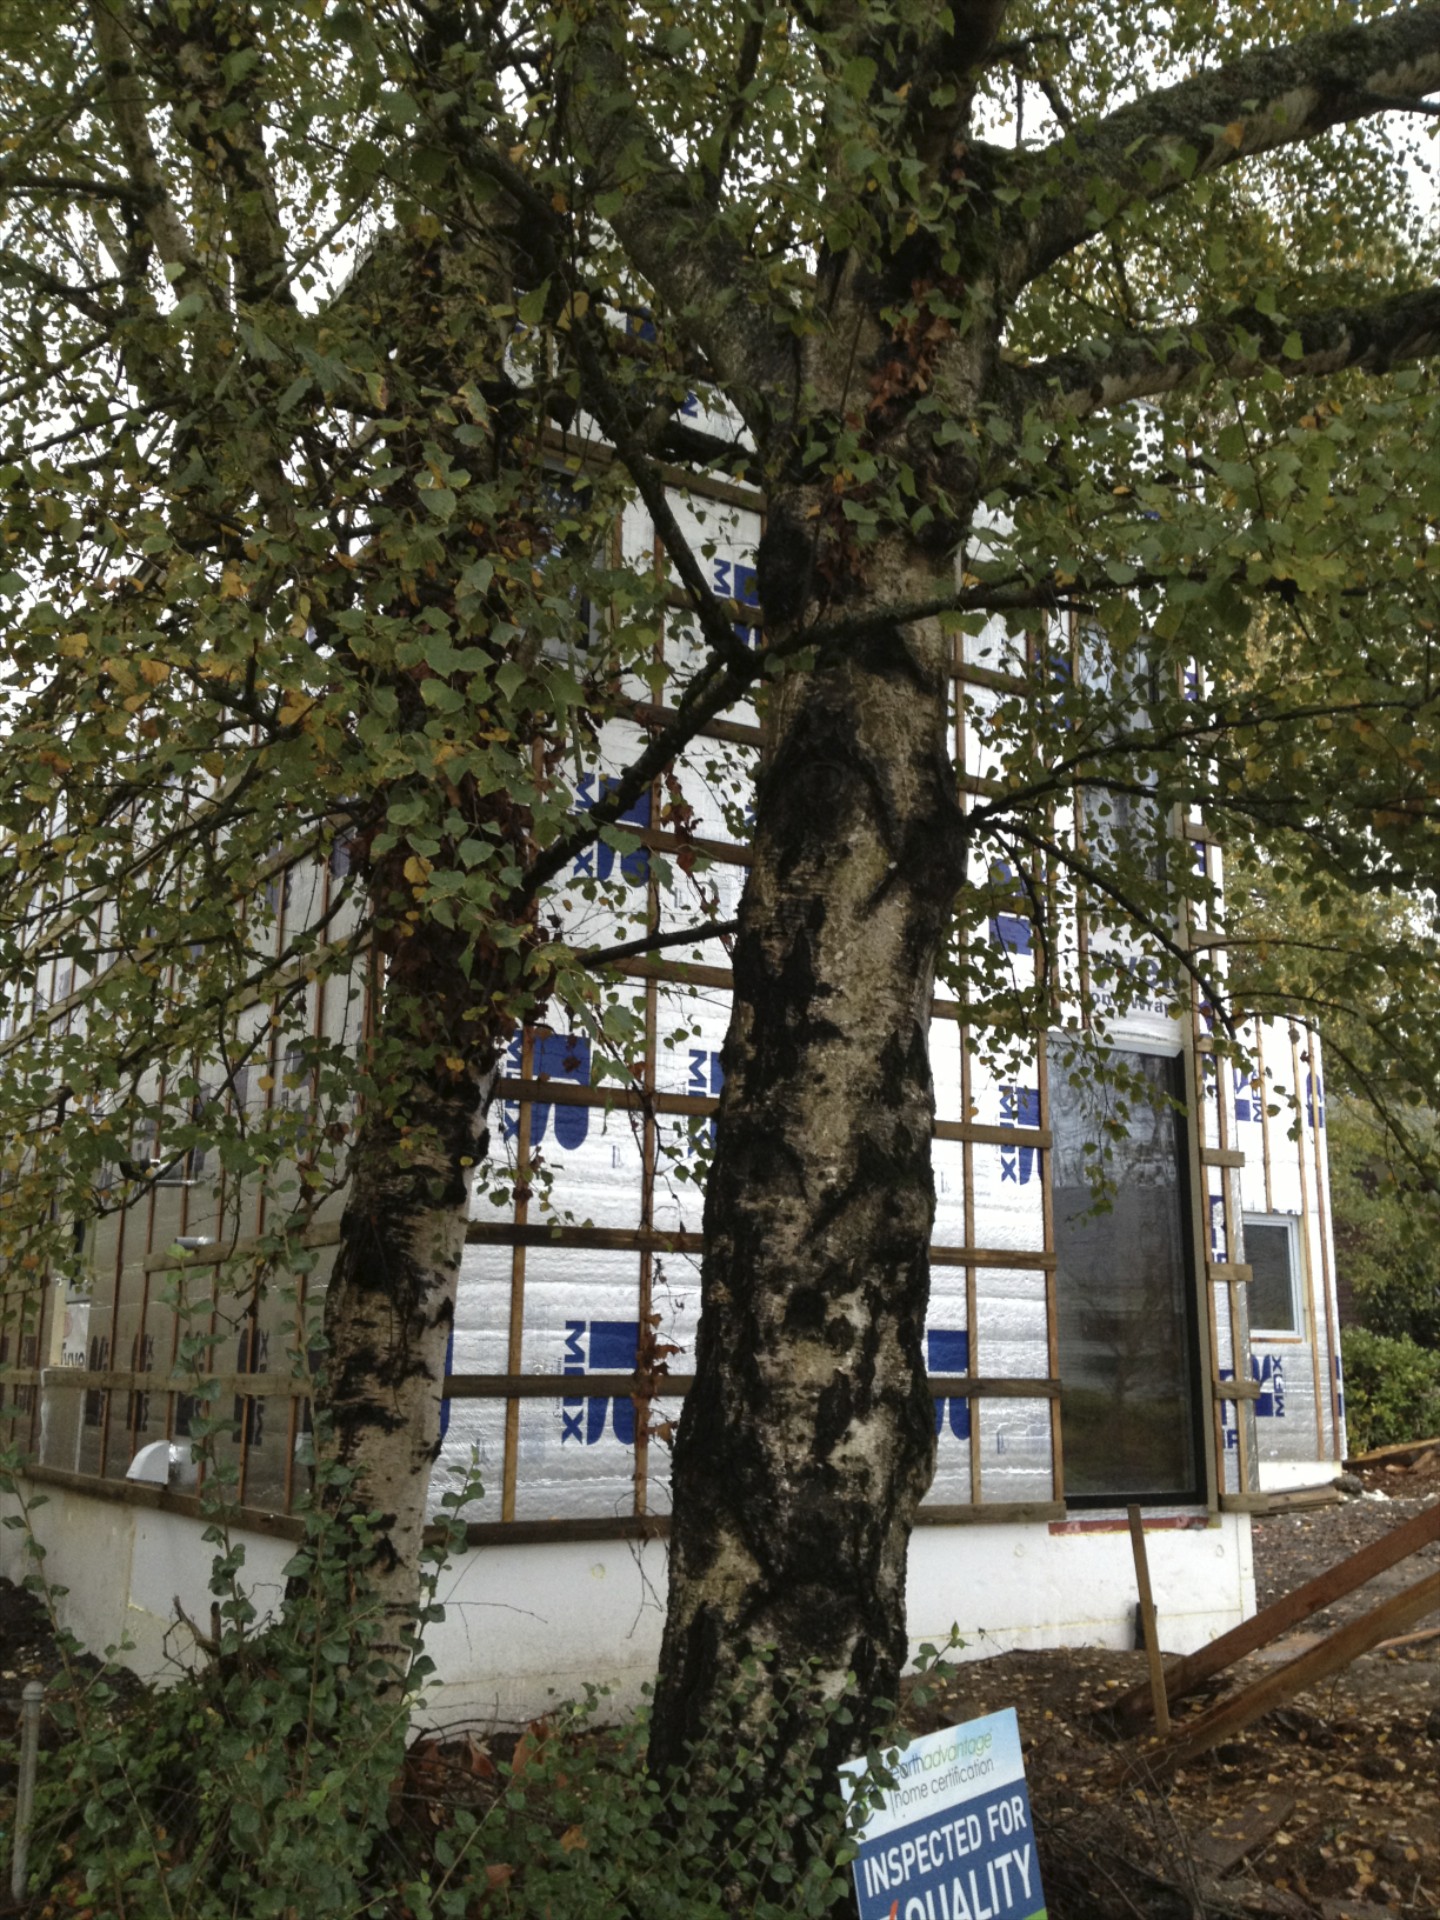
1/2" x 2" pt plywood furring strips run vertically to create the drainage plane. they are held in place by just a few fasteners until the next layer is installed.
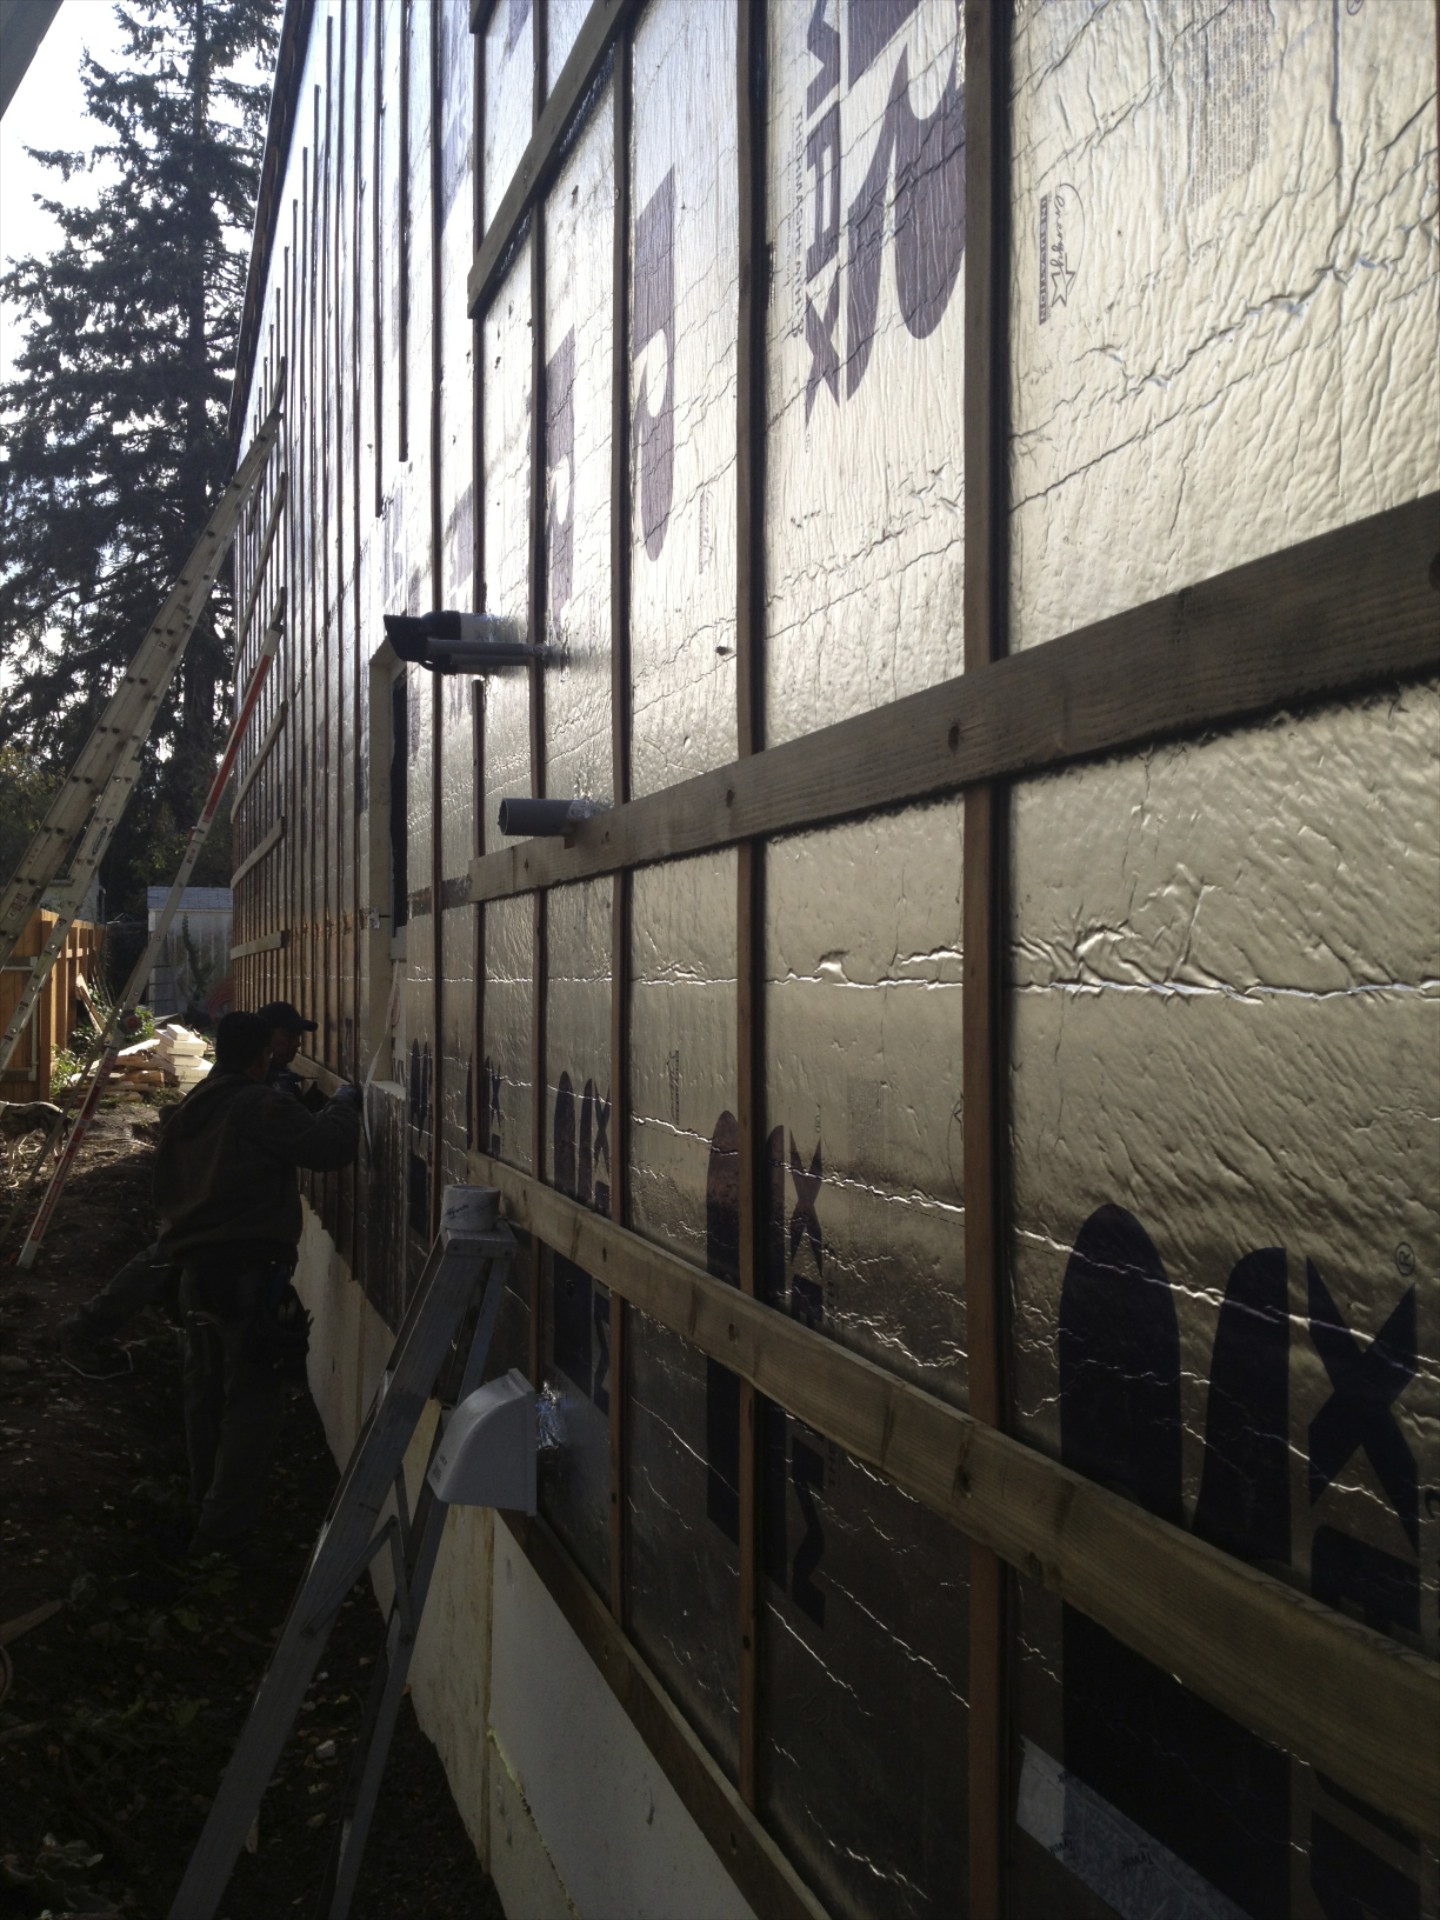
since we are using vertical siding, a second layer of furring runs horizontally. we used pt 1x4 as a solid nailing base for the siding.
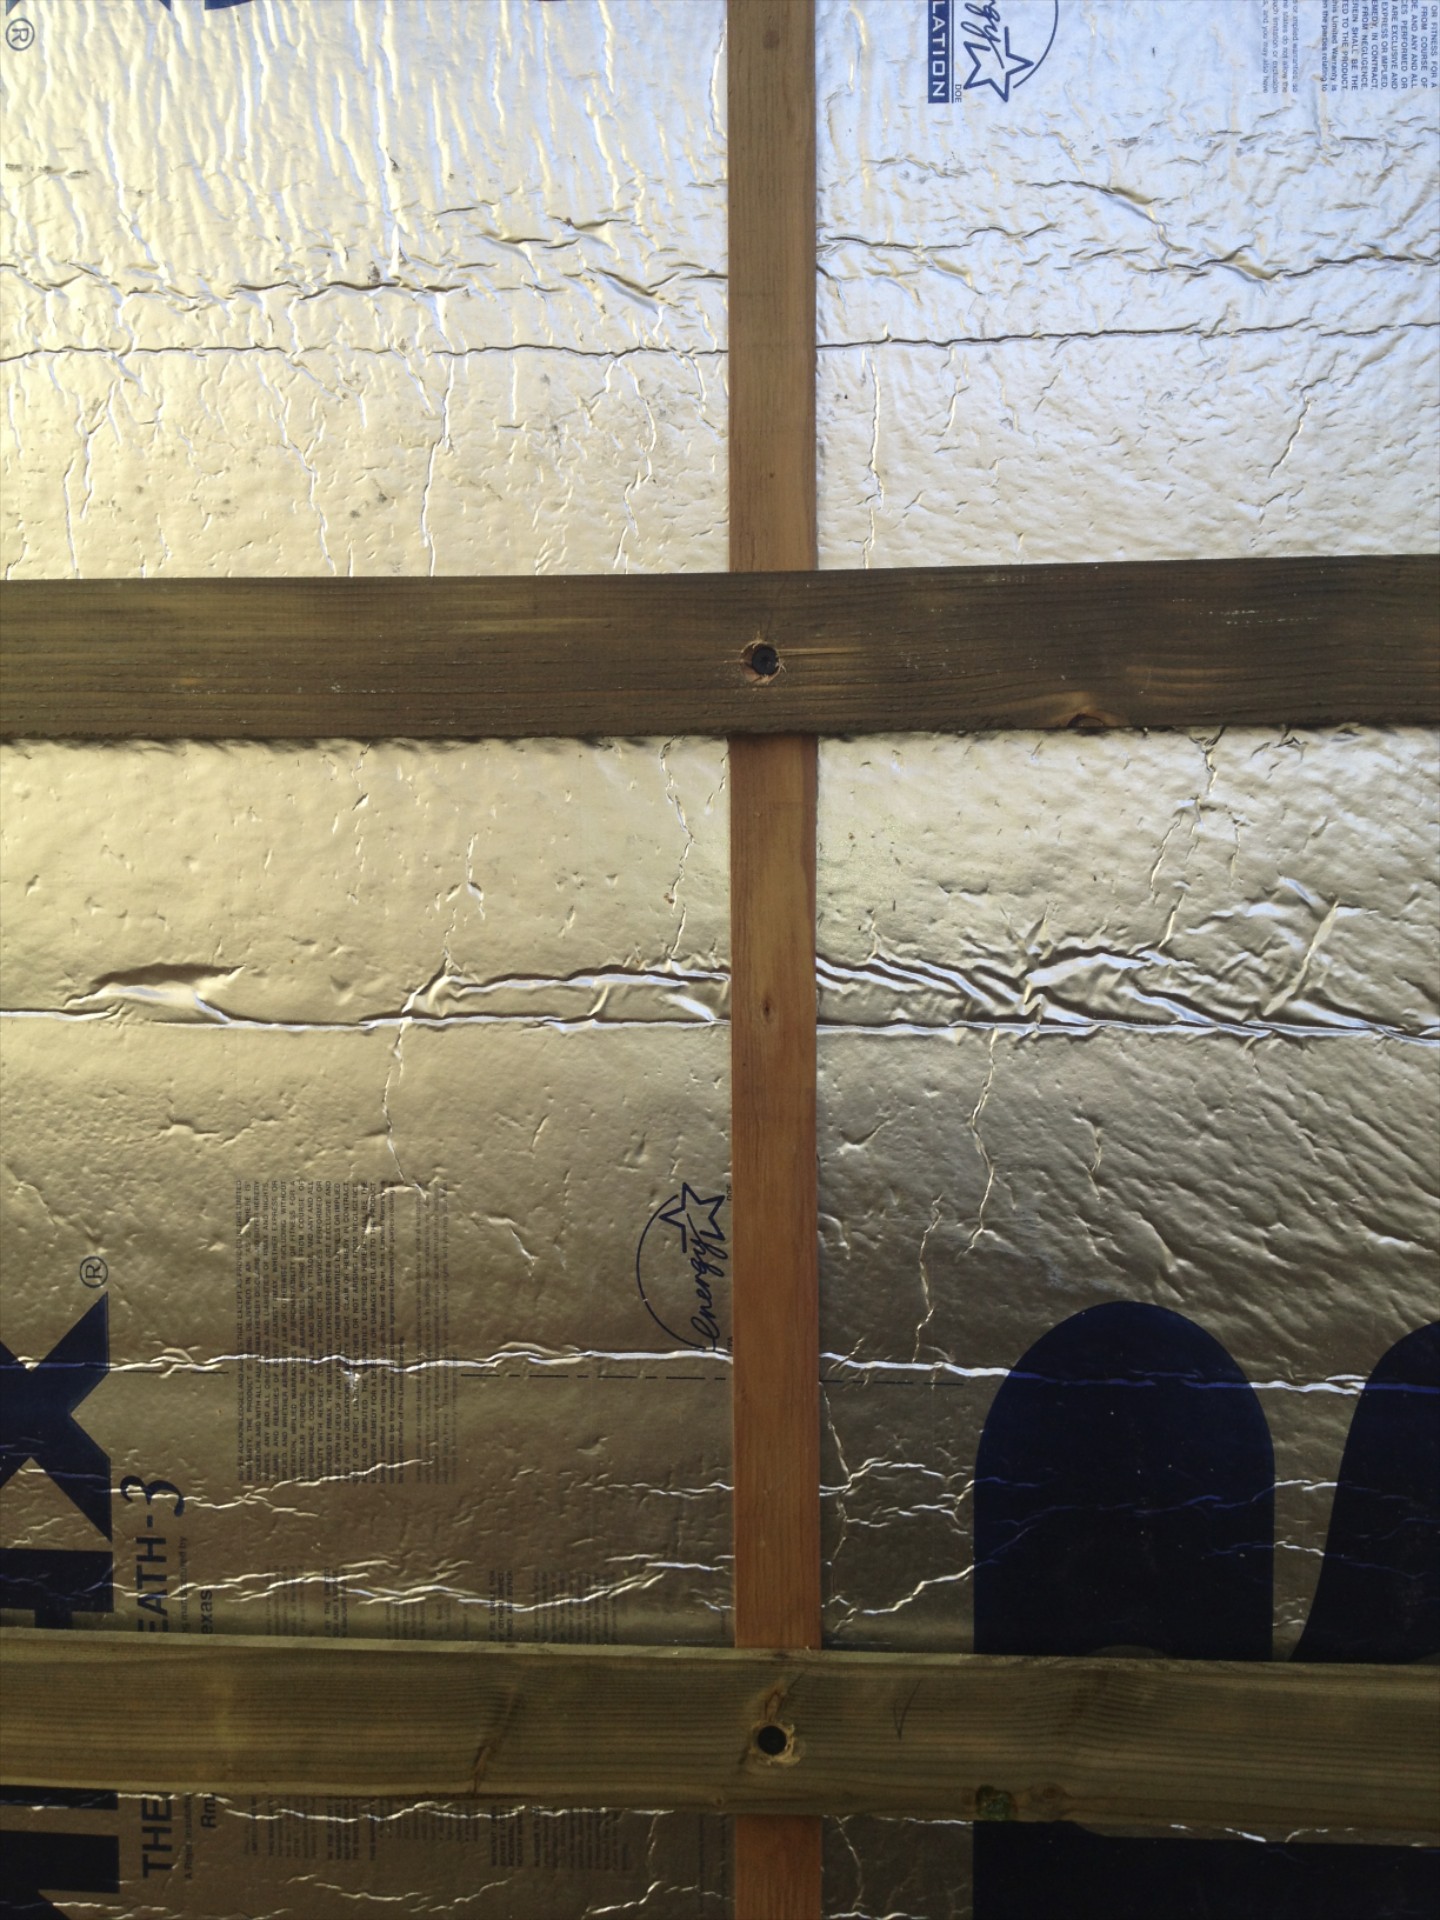
long fasteners secure the second layer of furring strips running horizontally through the foam to the studs. the straightforward framing layout makes the studs much easier to locate.
keep in mind that long fasteners get expensive. we settled on grabber #10 x 6" square drive coated screws (from nw staple).
next up on the exterior is trimming windows and installing siding.
stop by again soon.