stained cedar siding

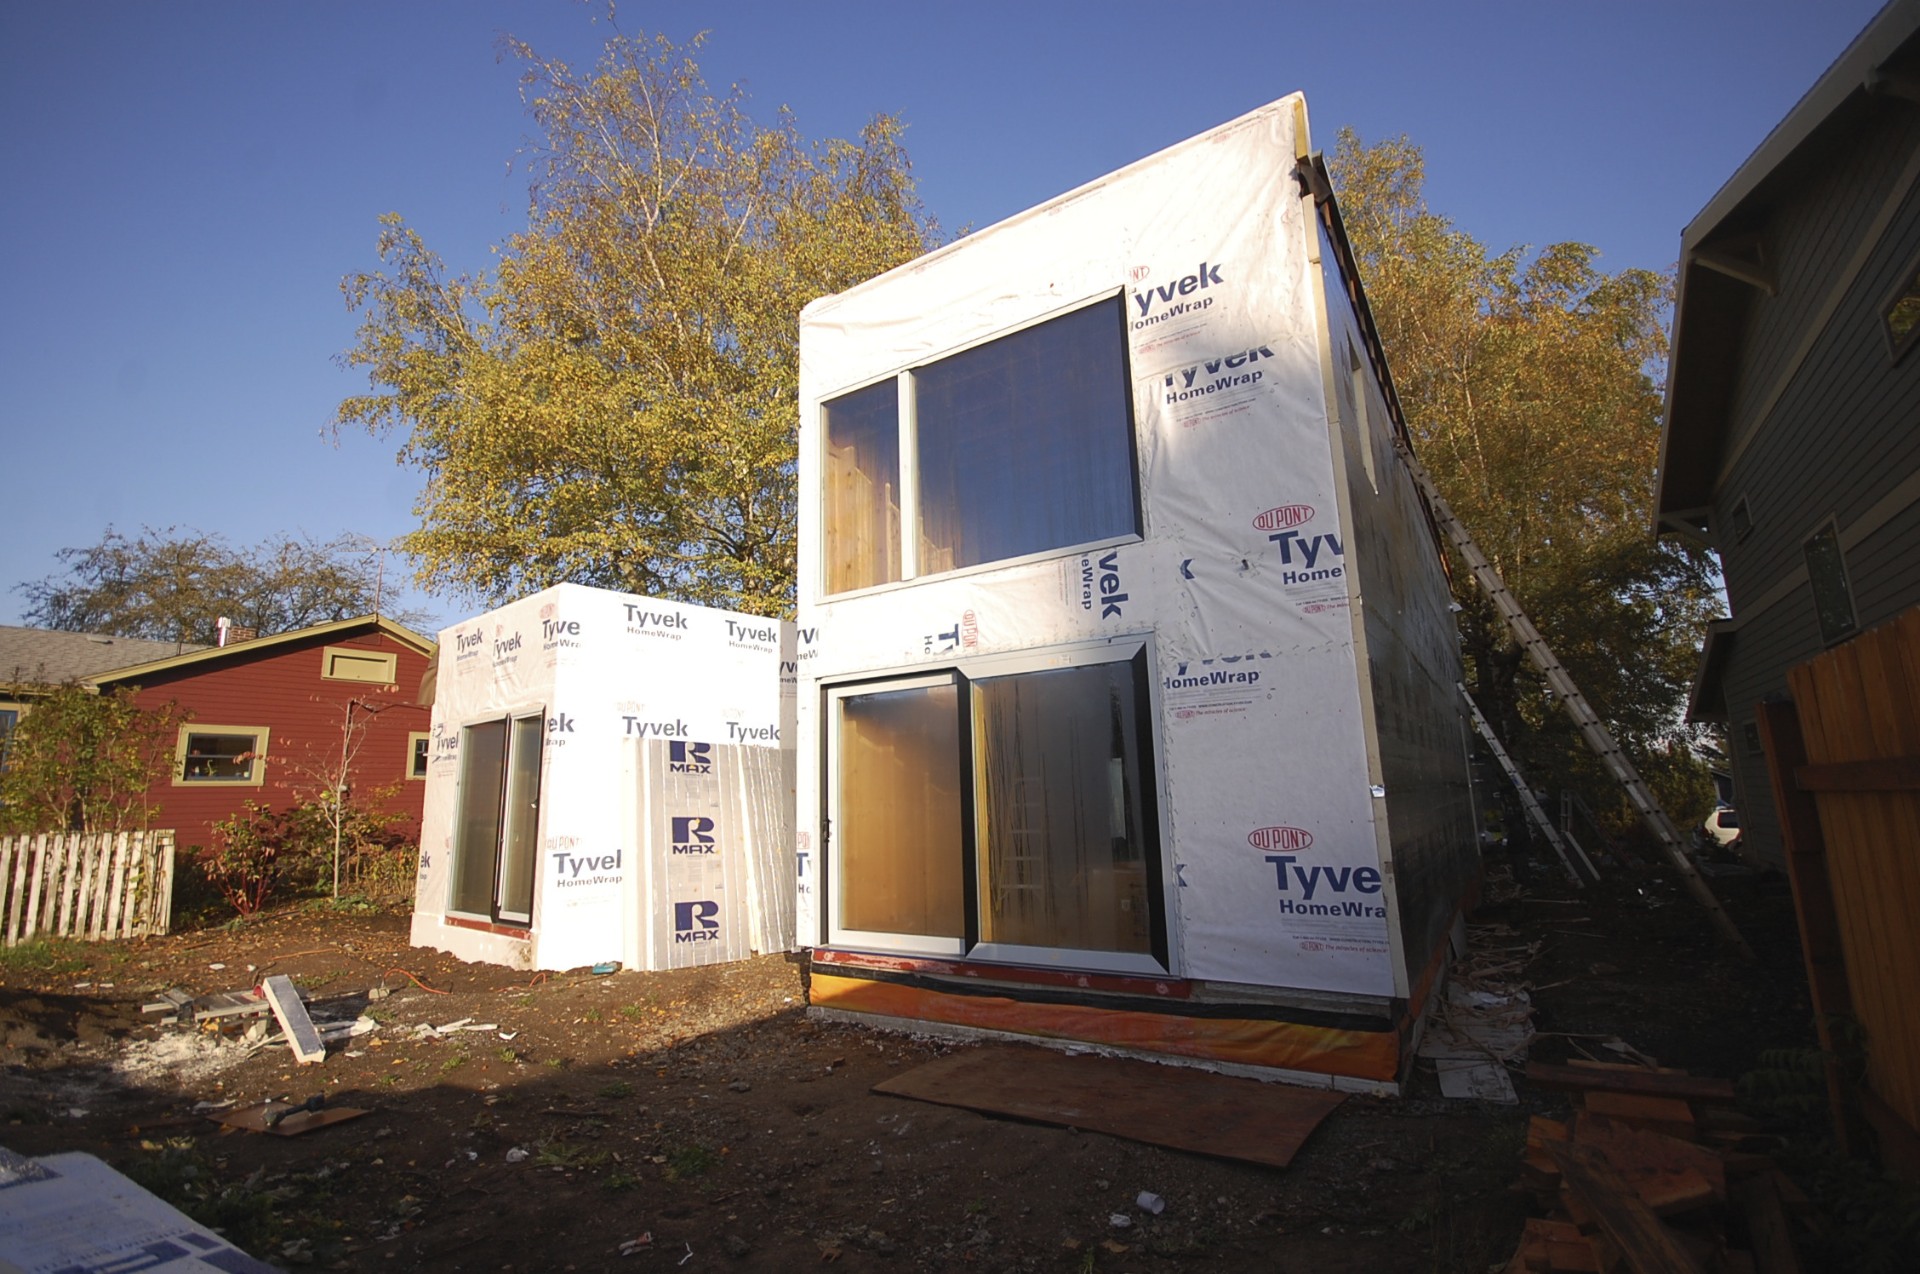
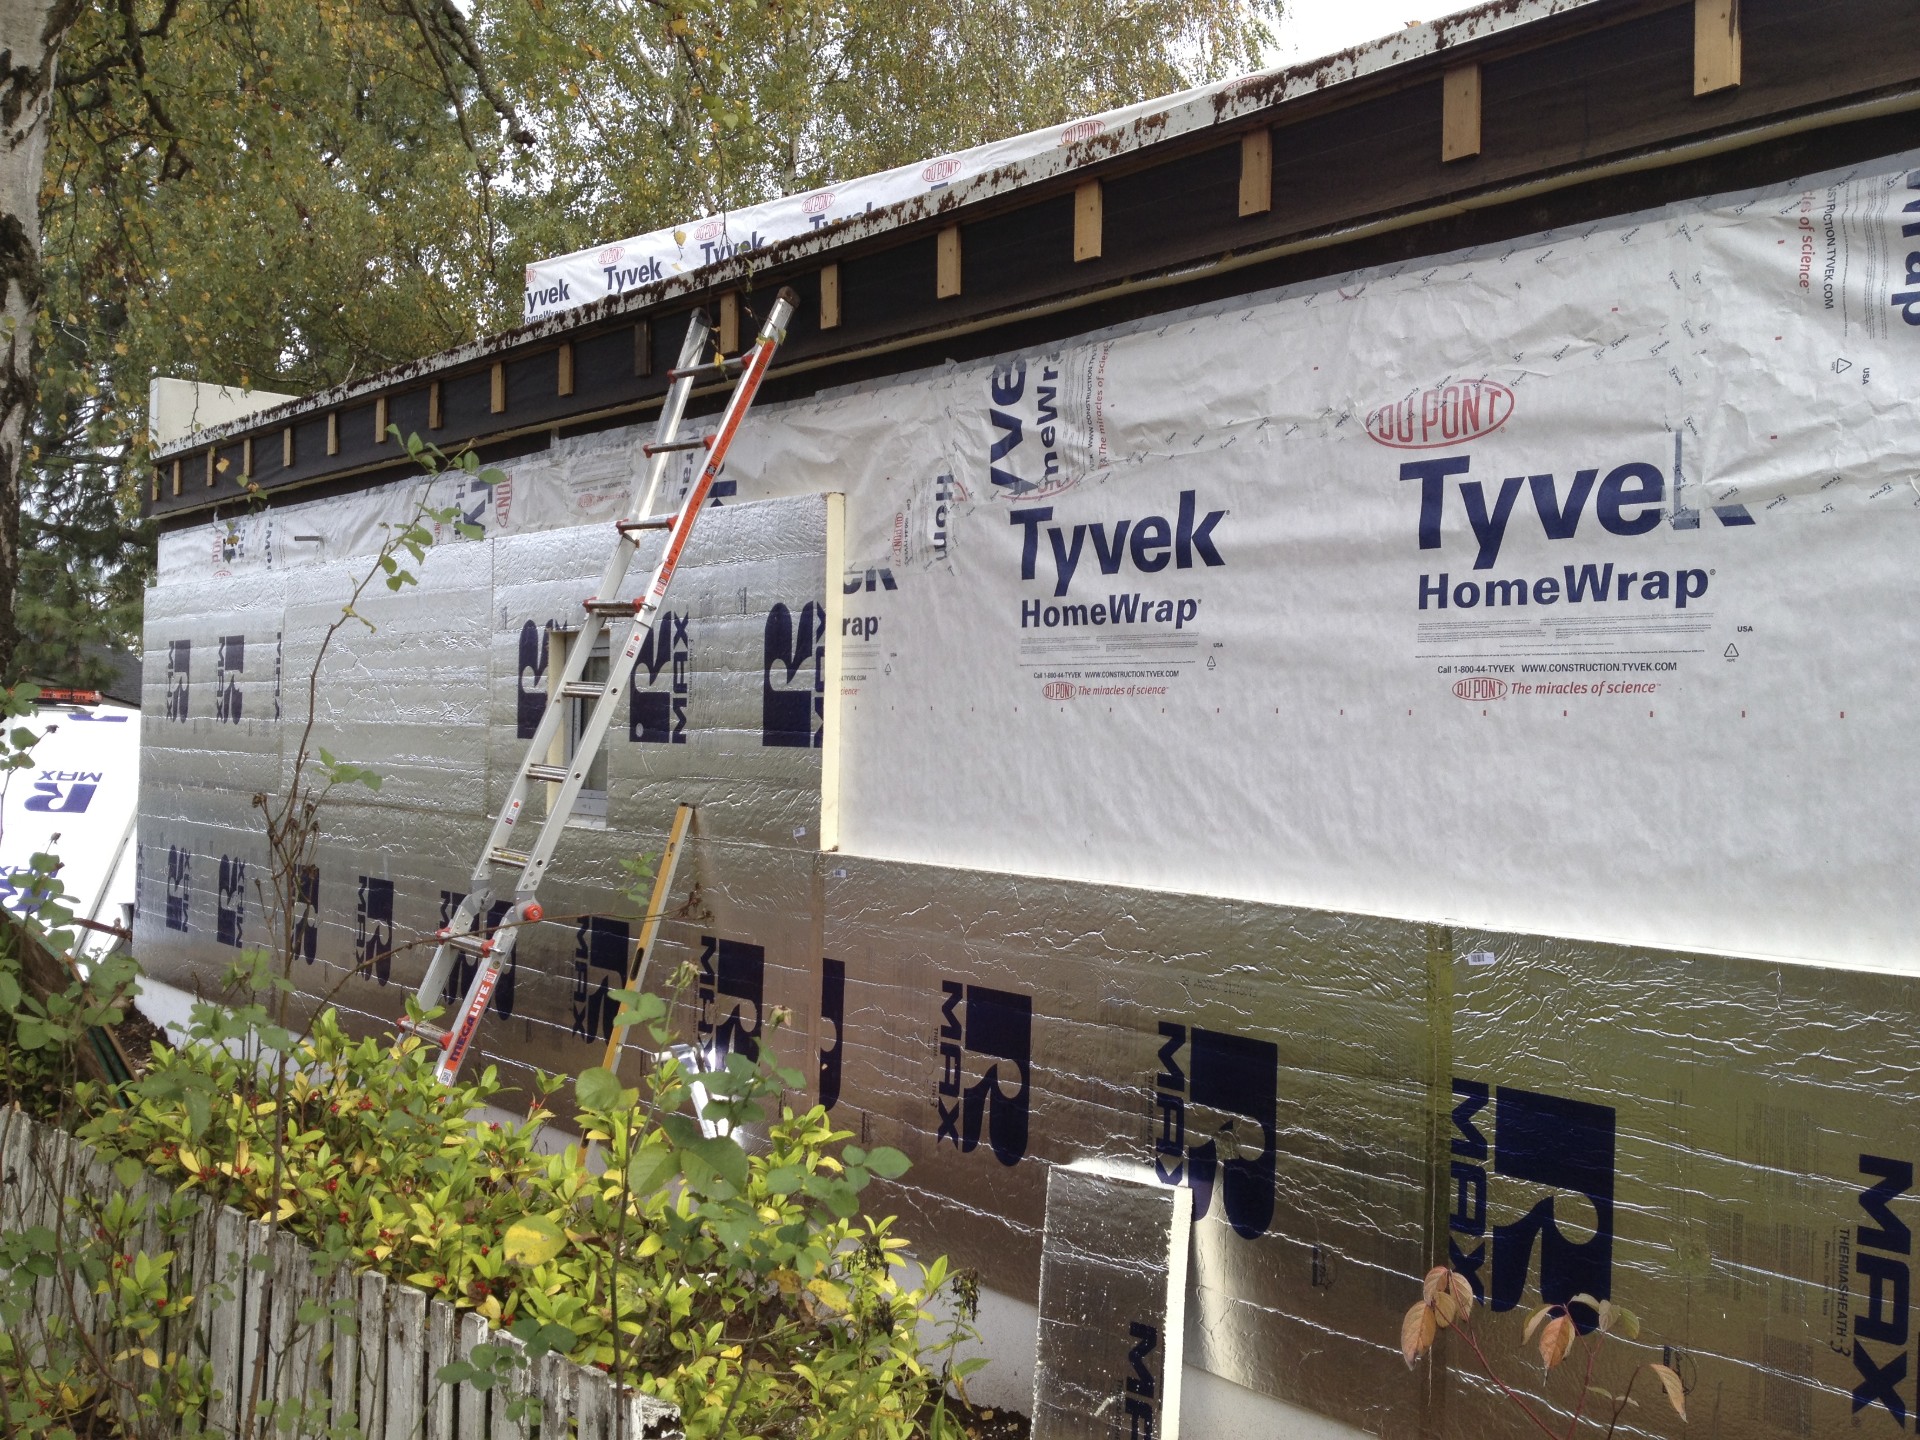
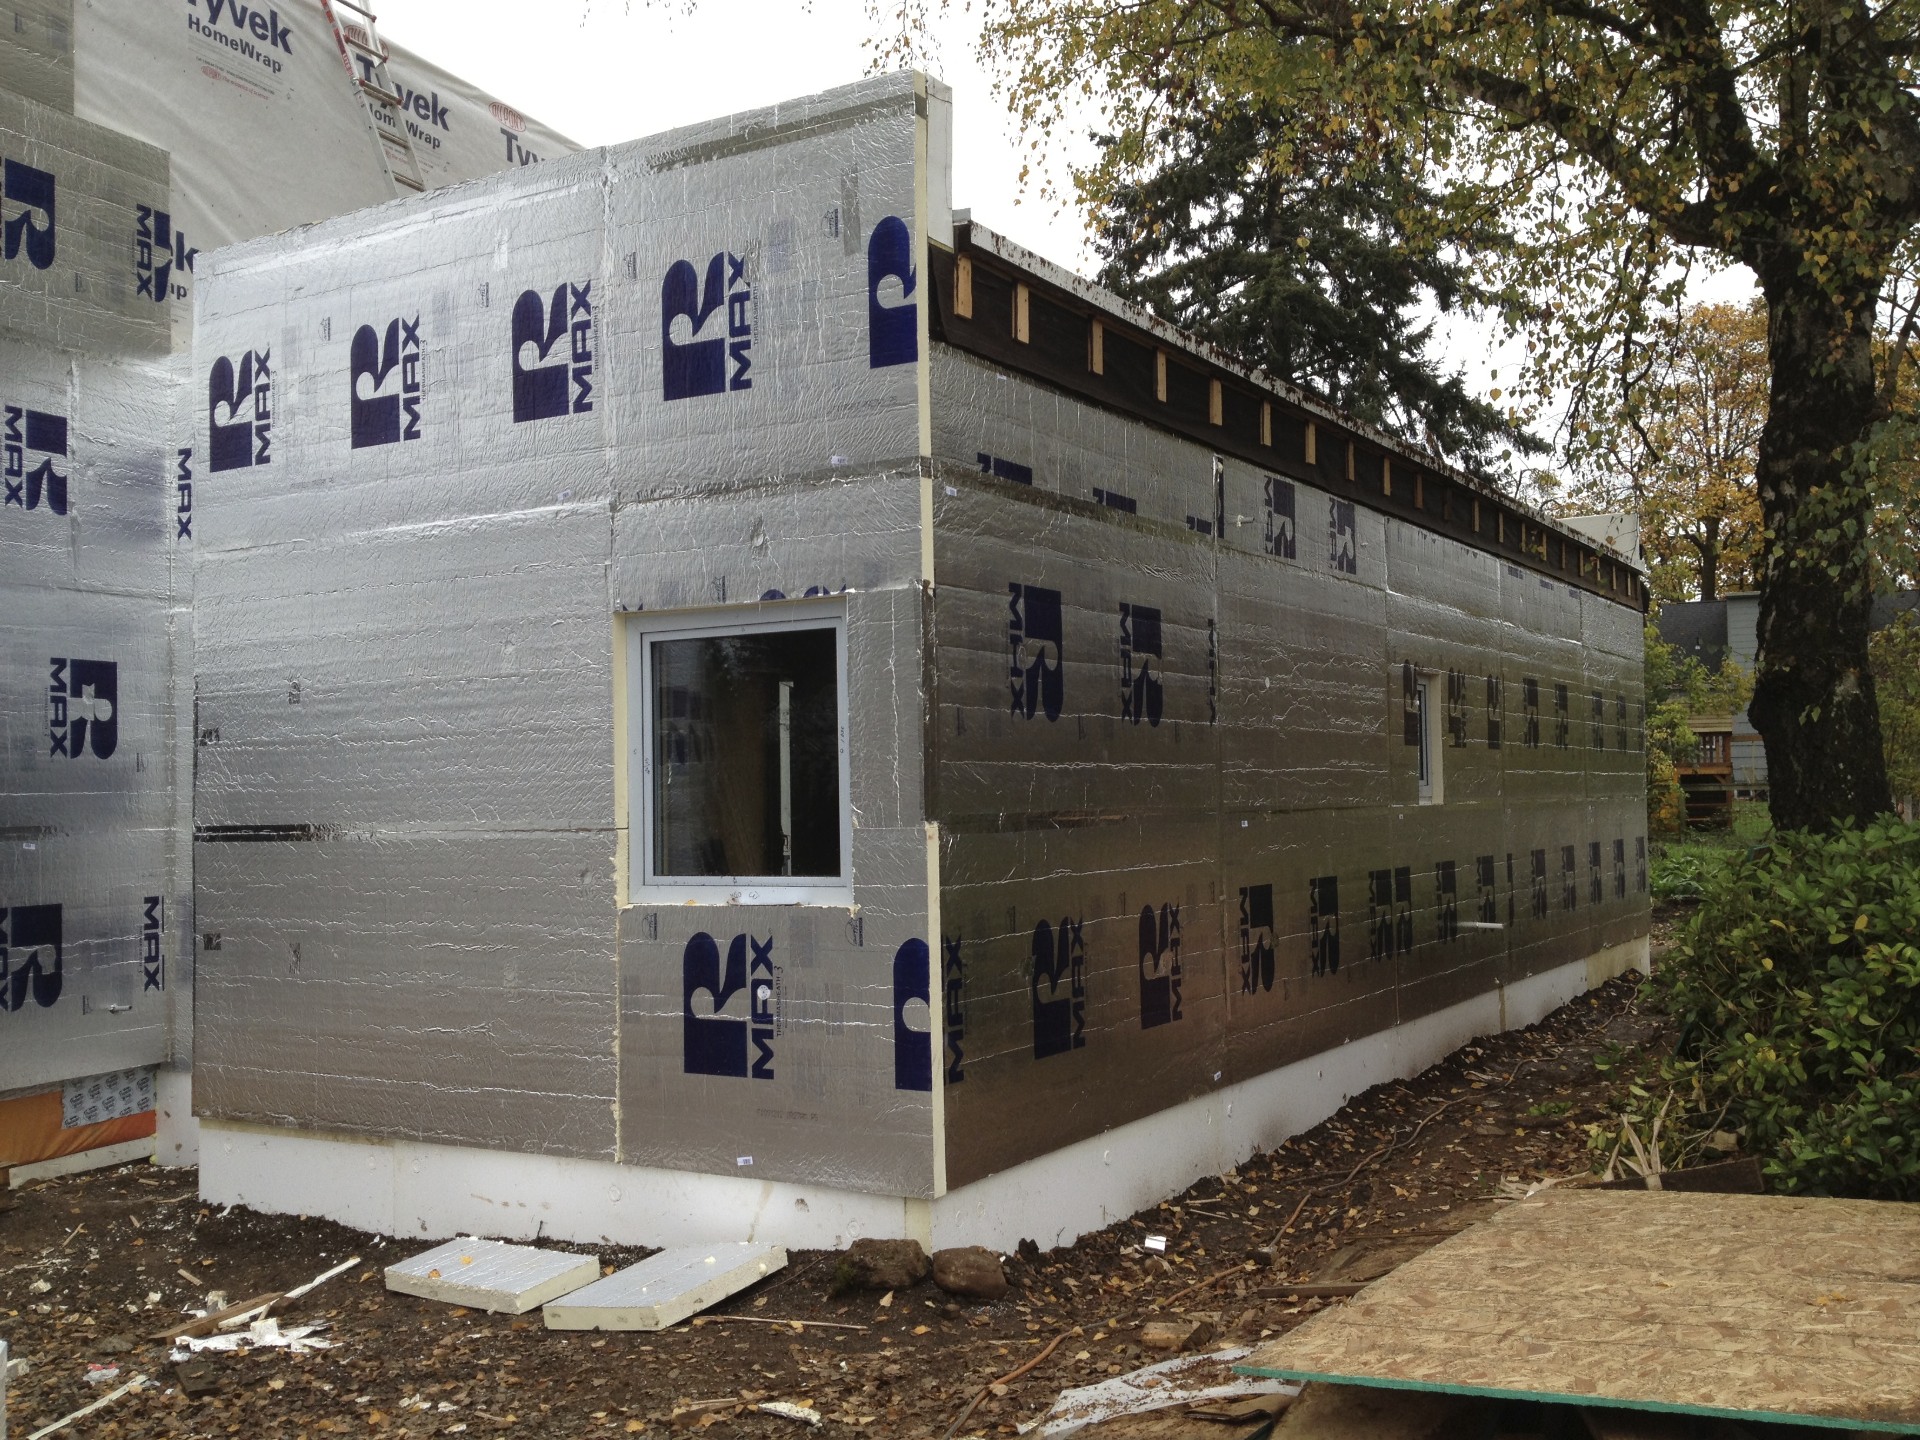
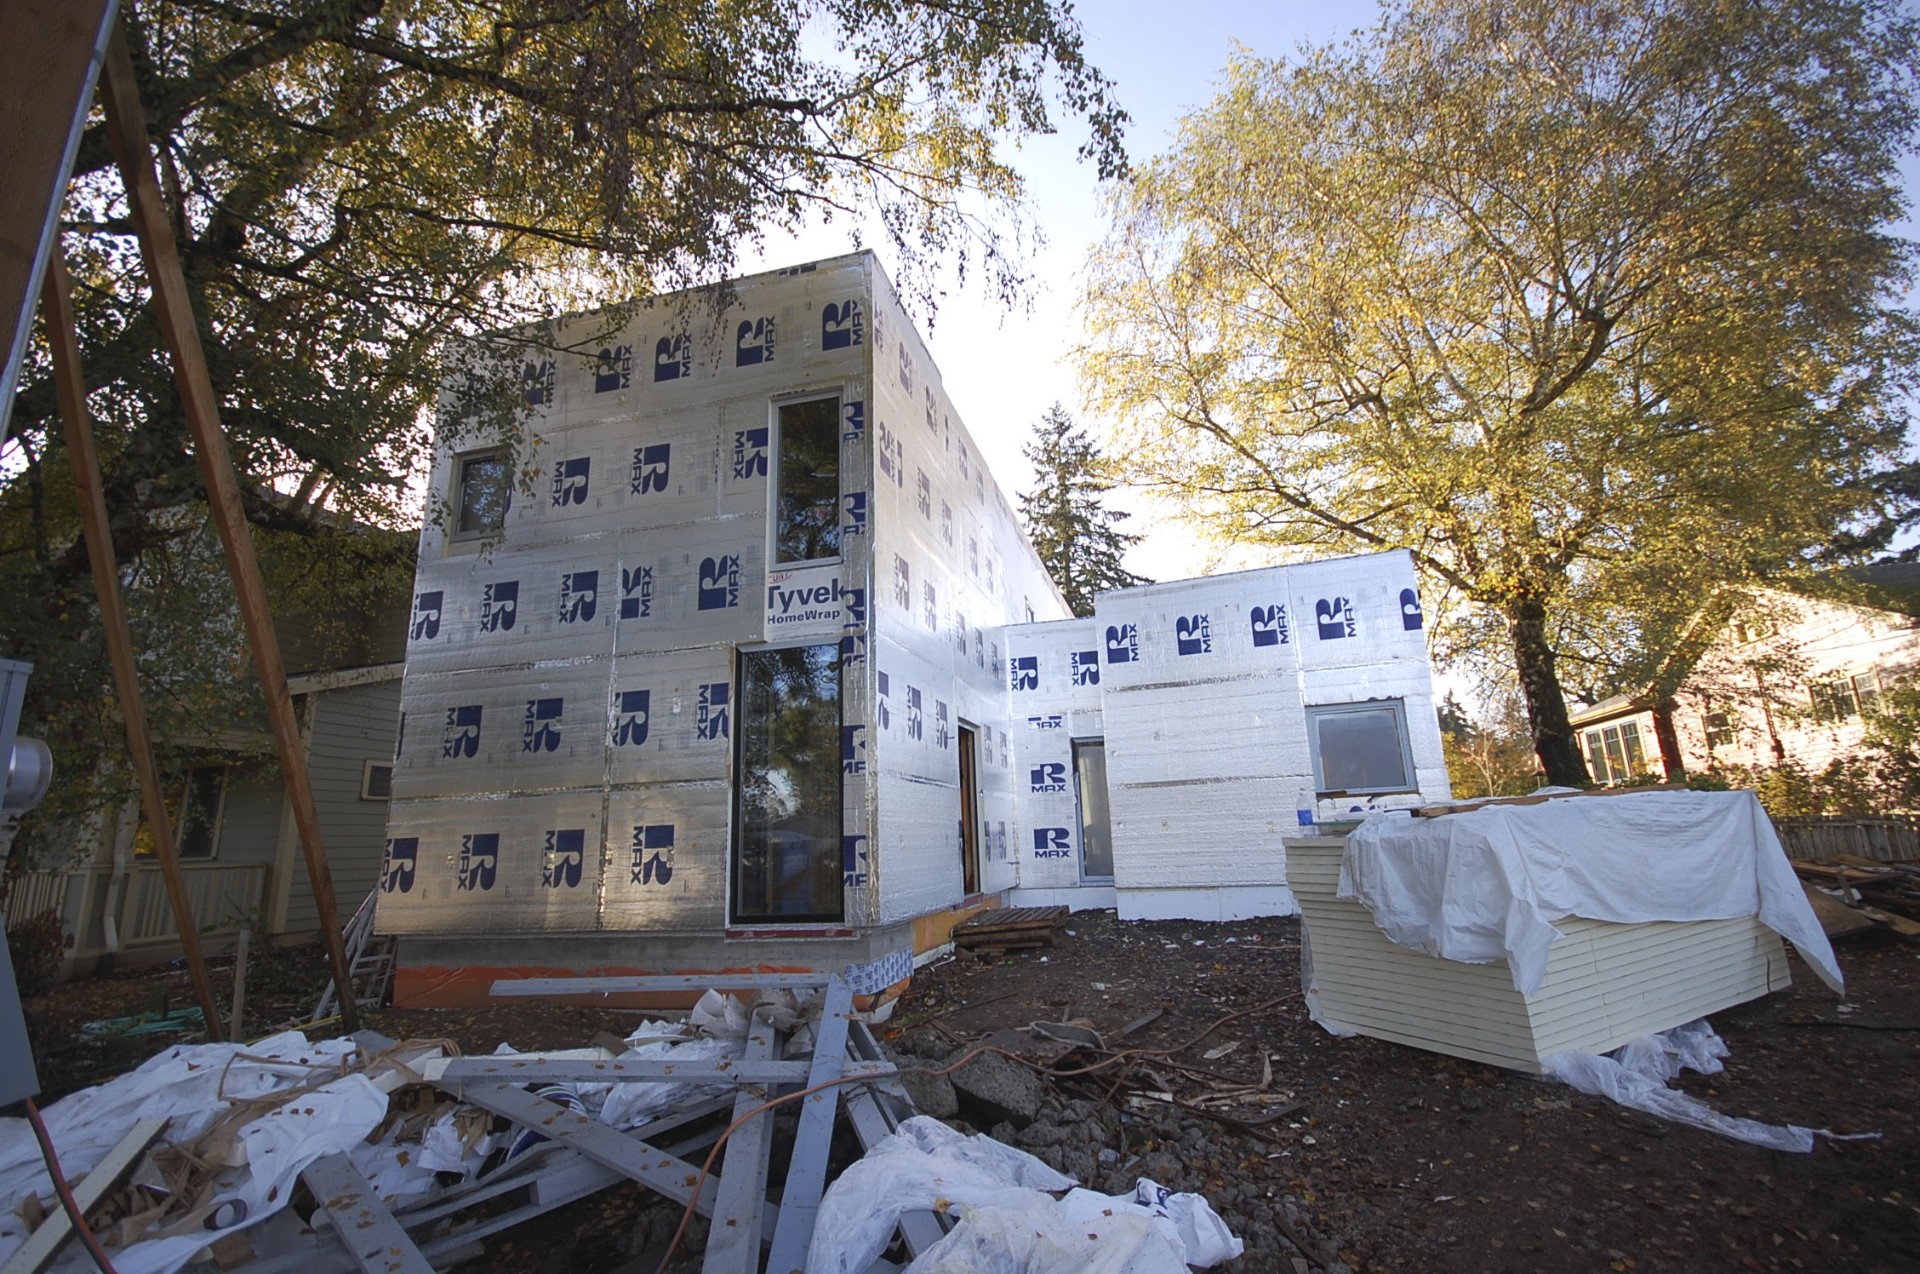
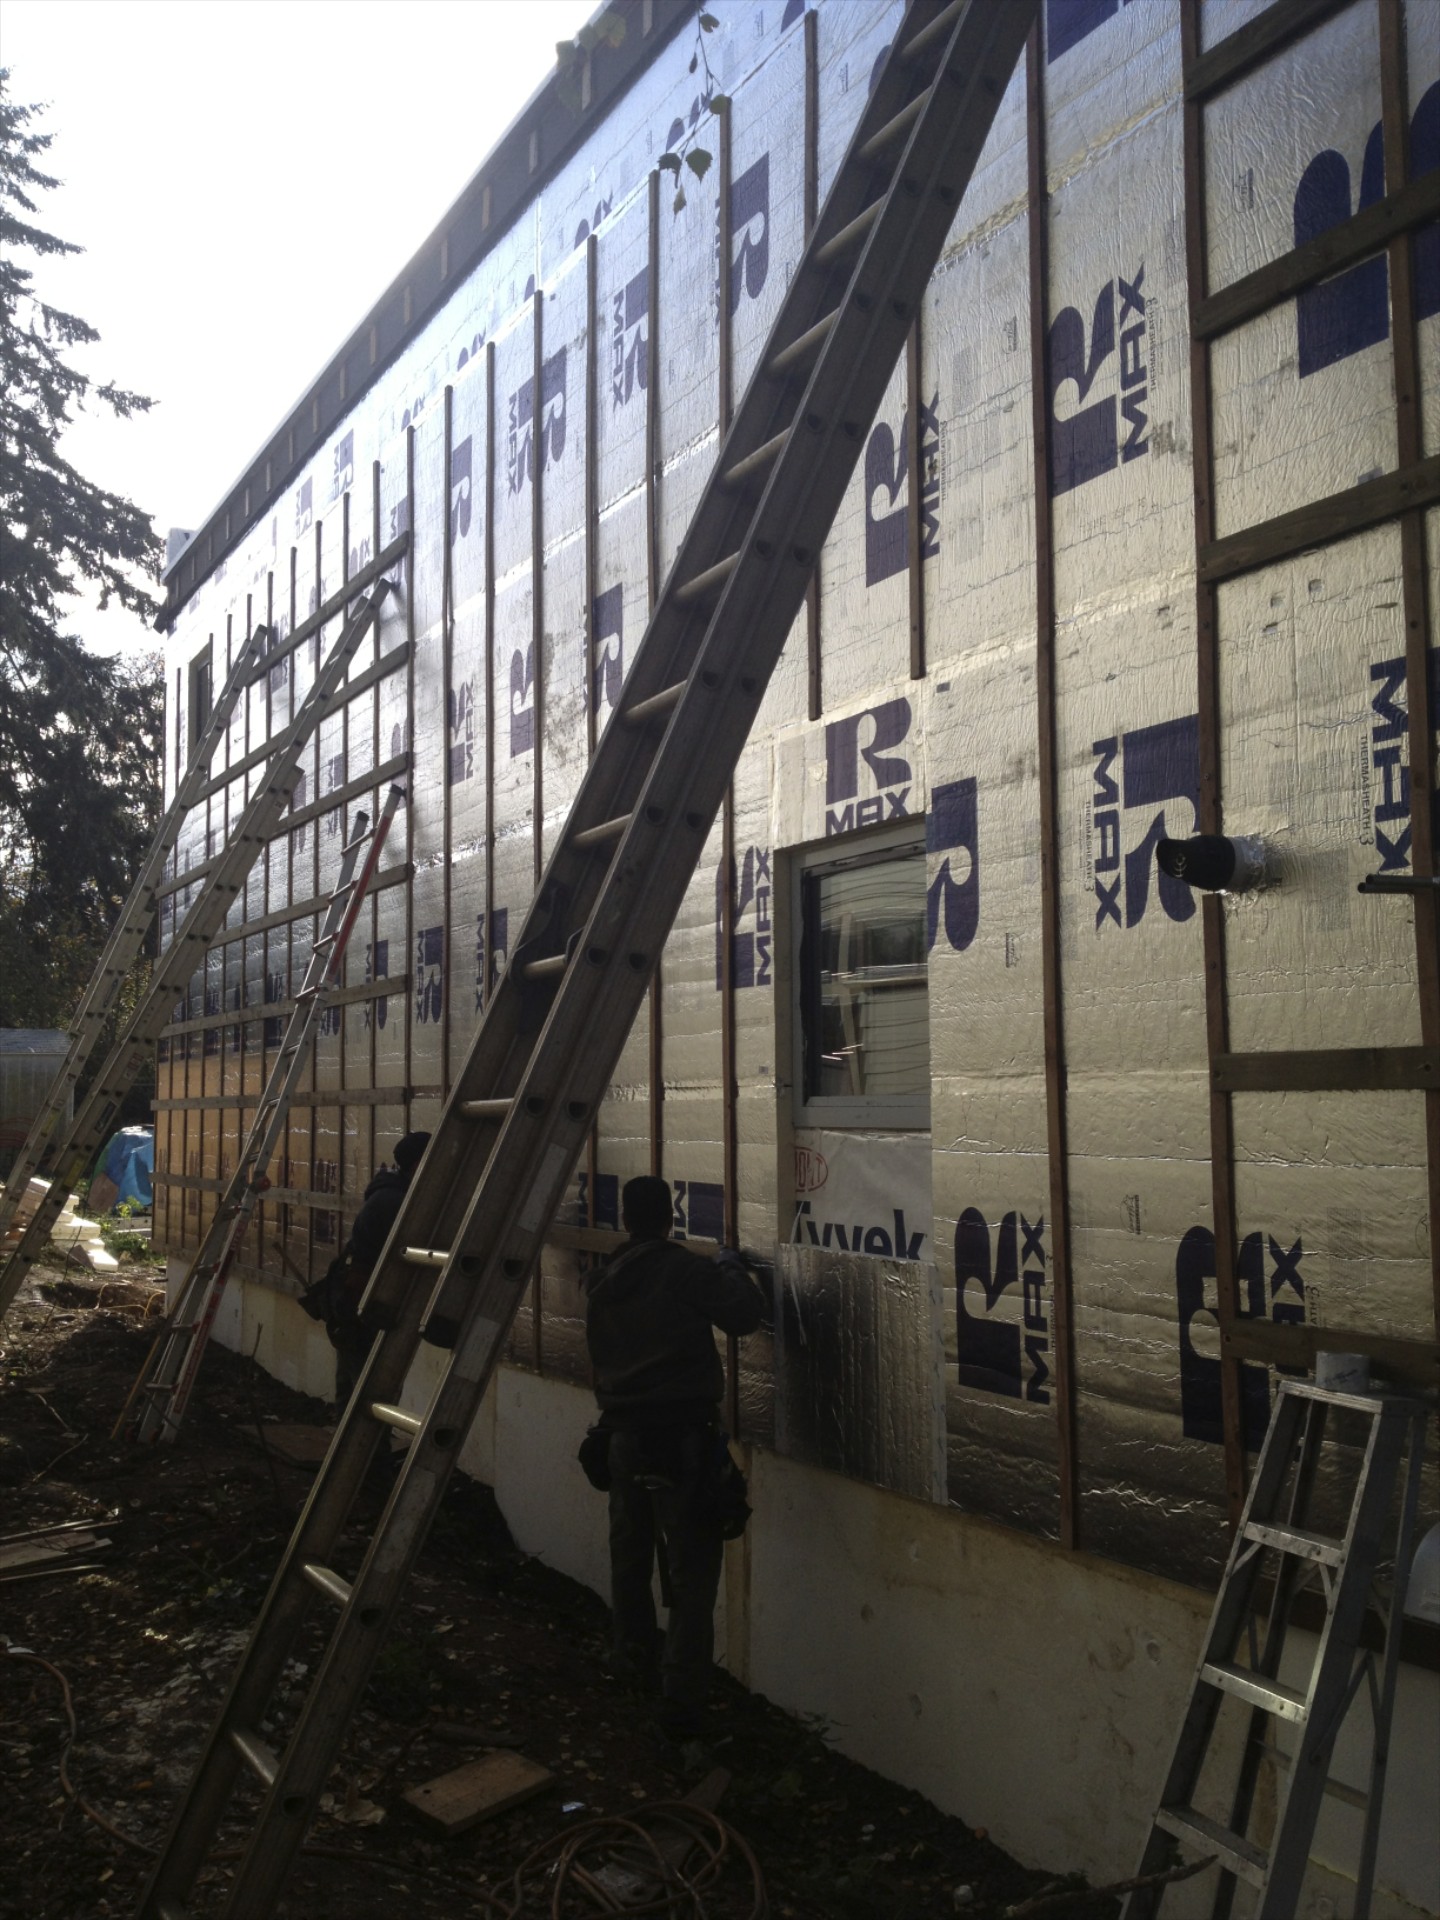
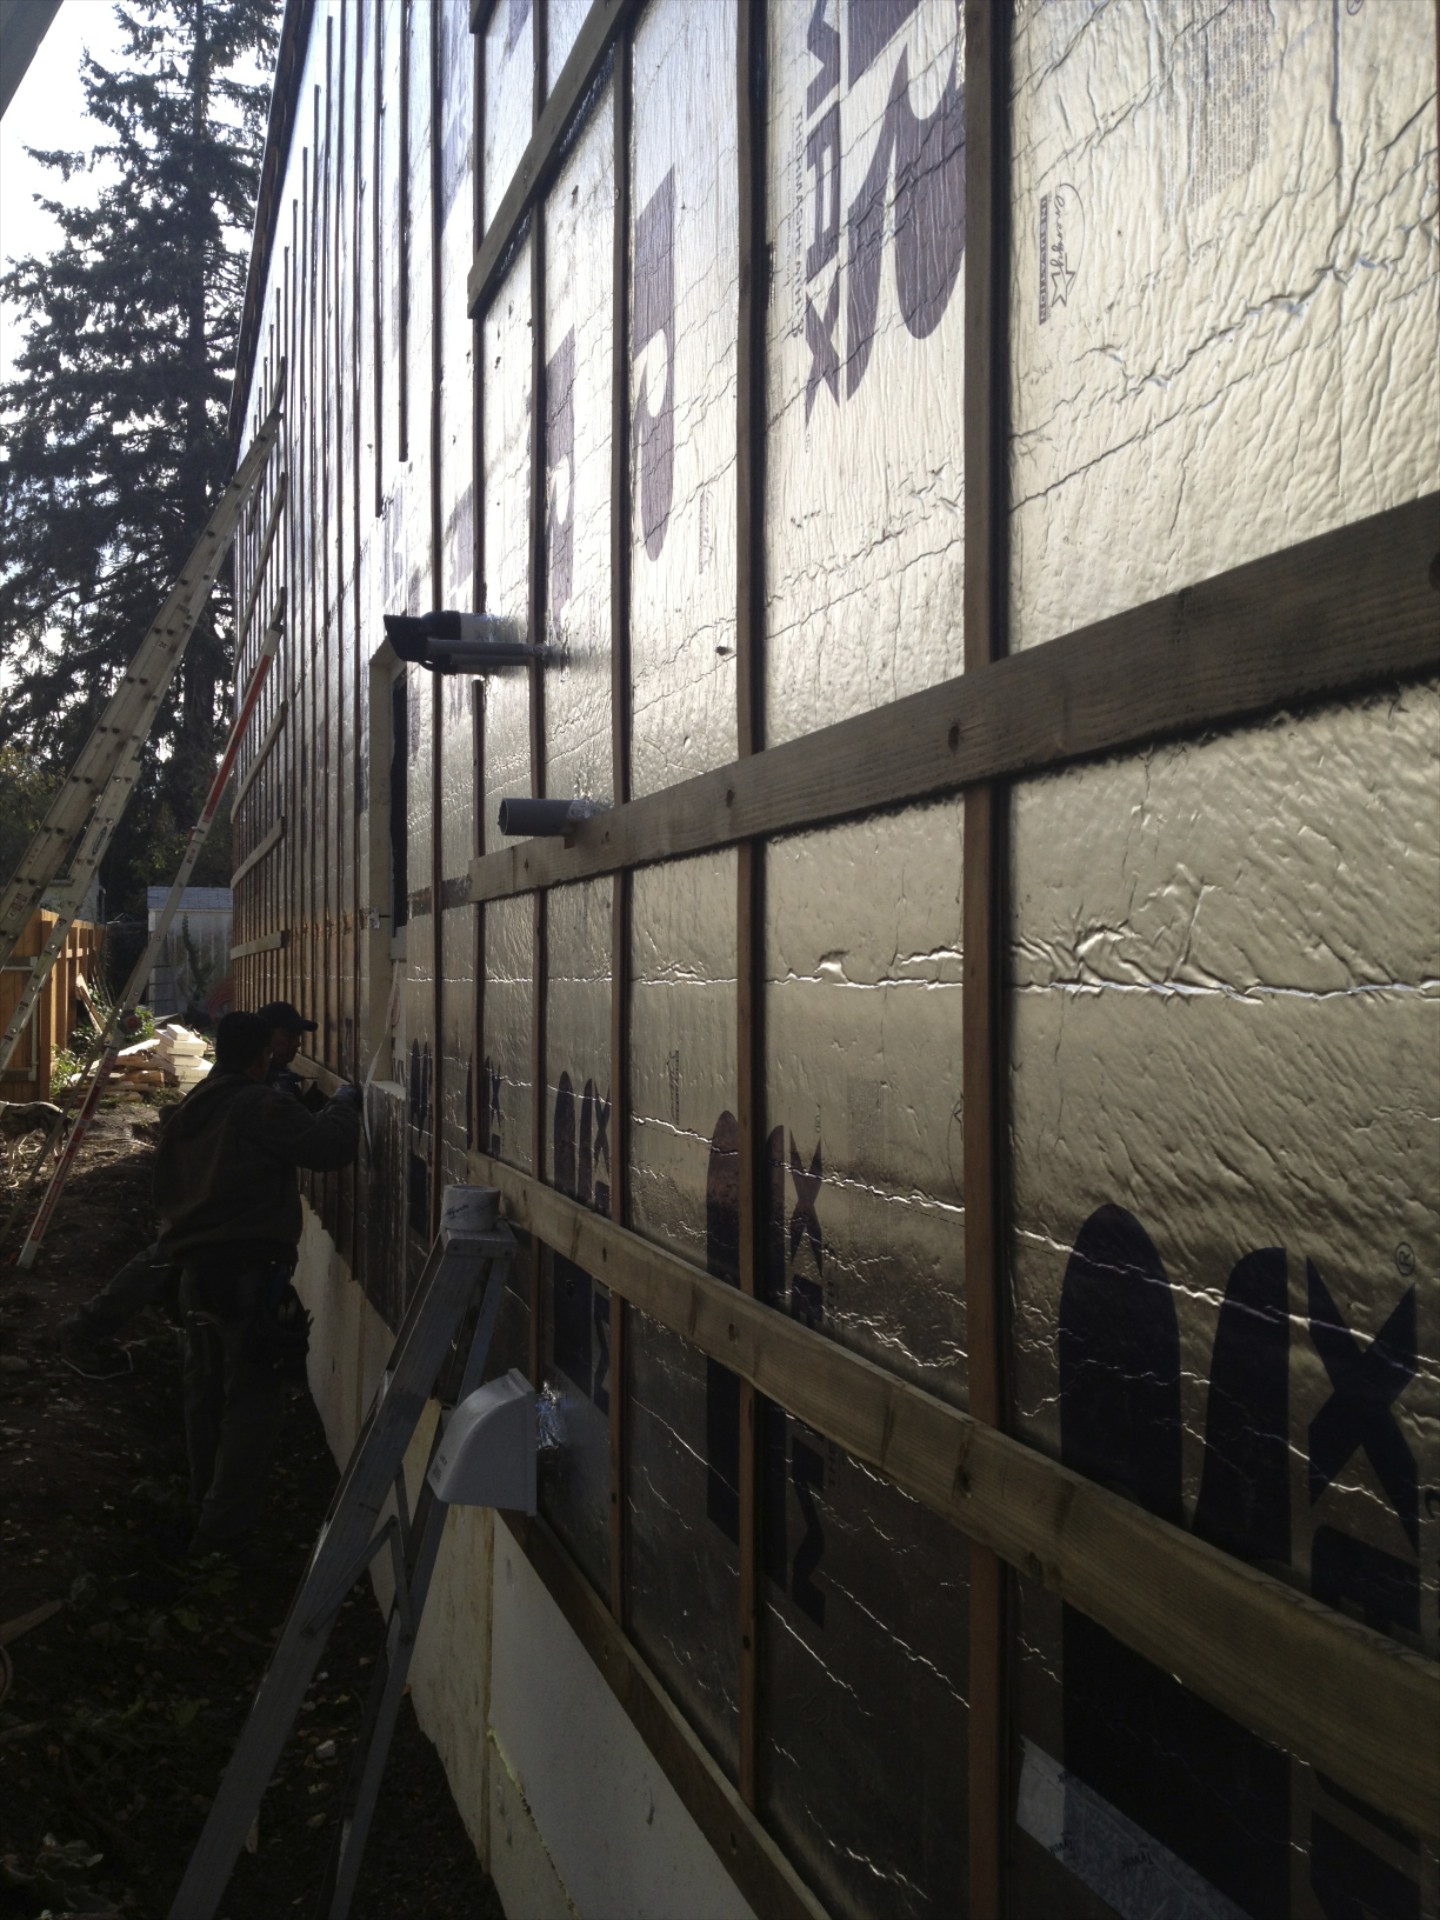
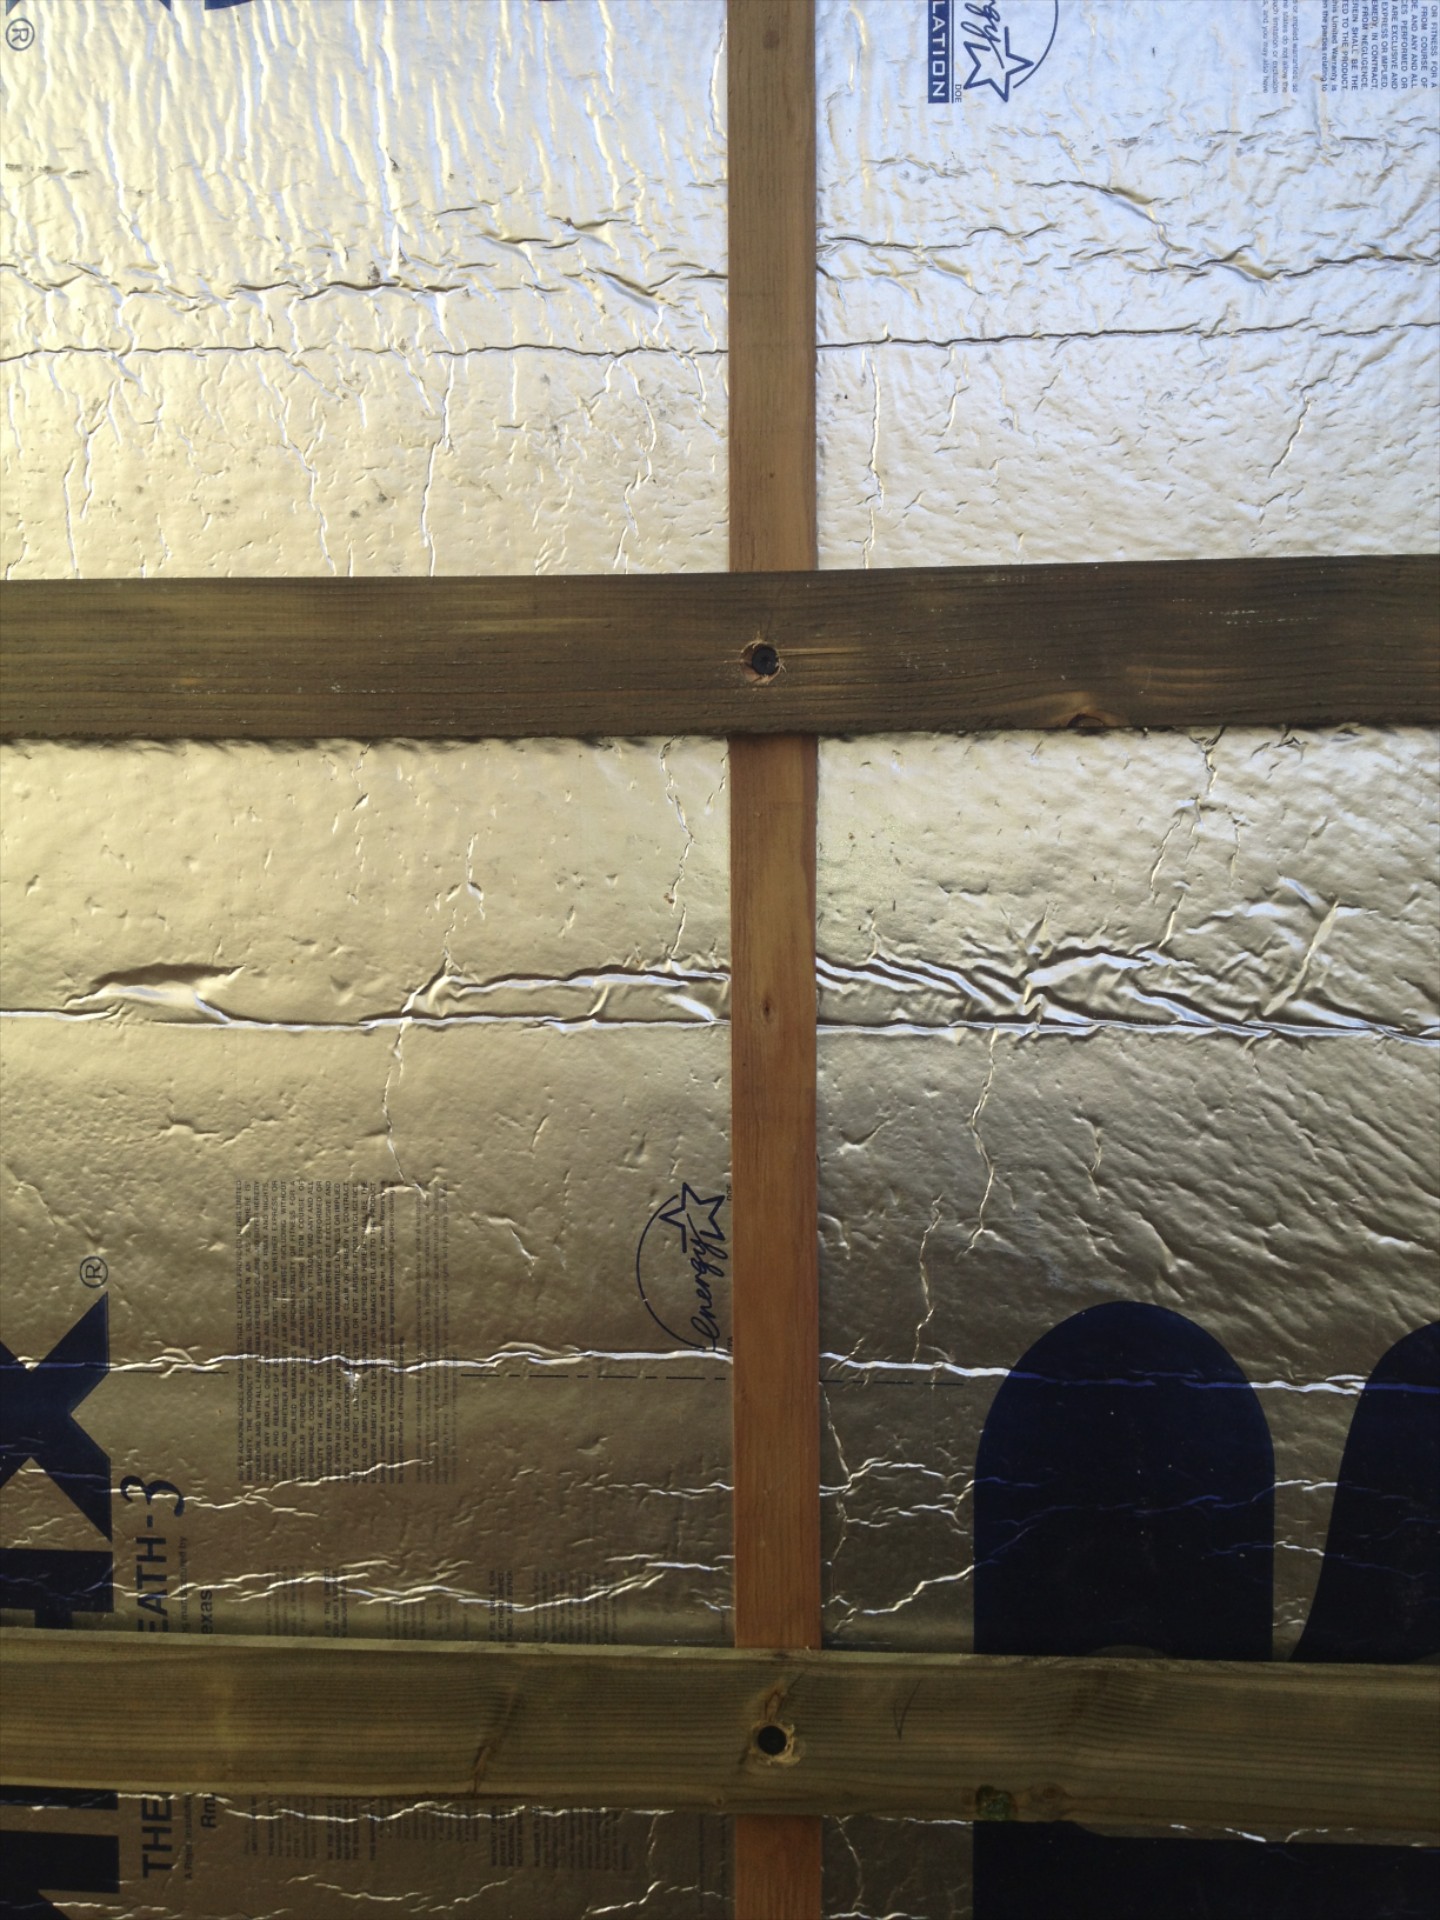
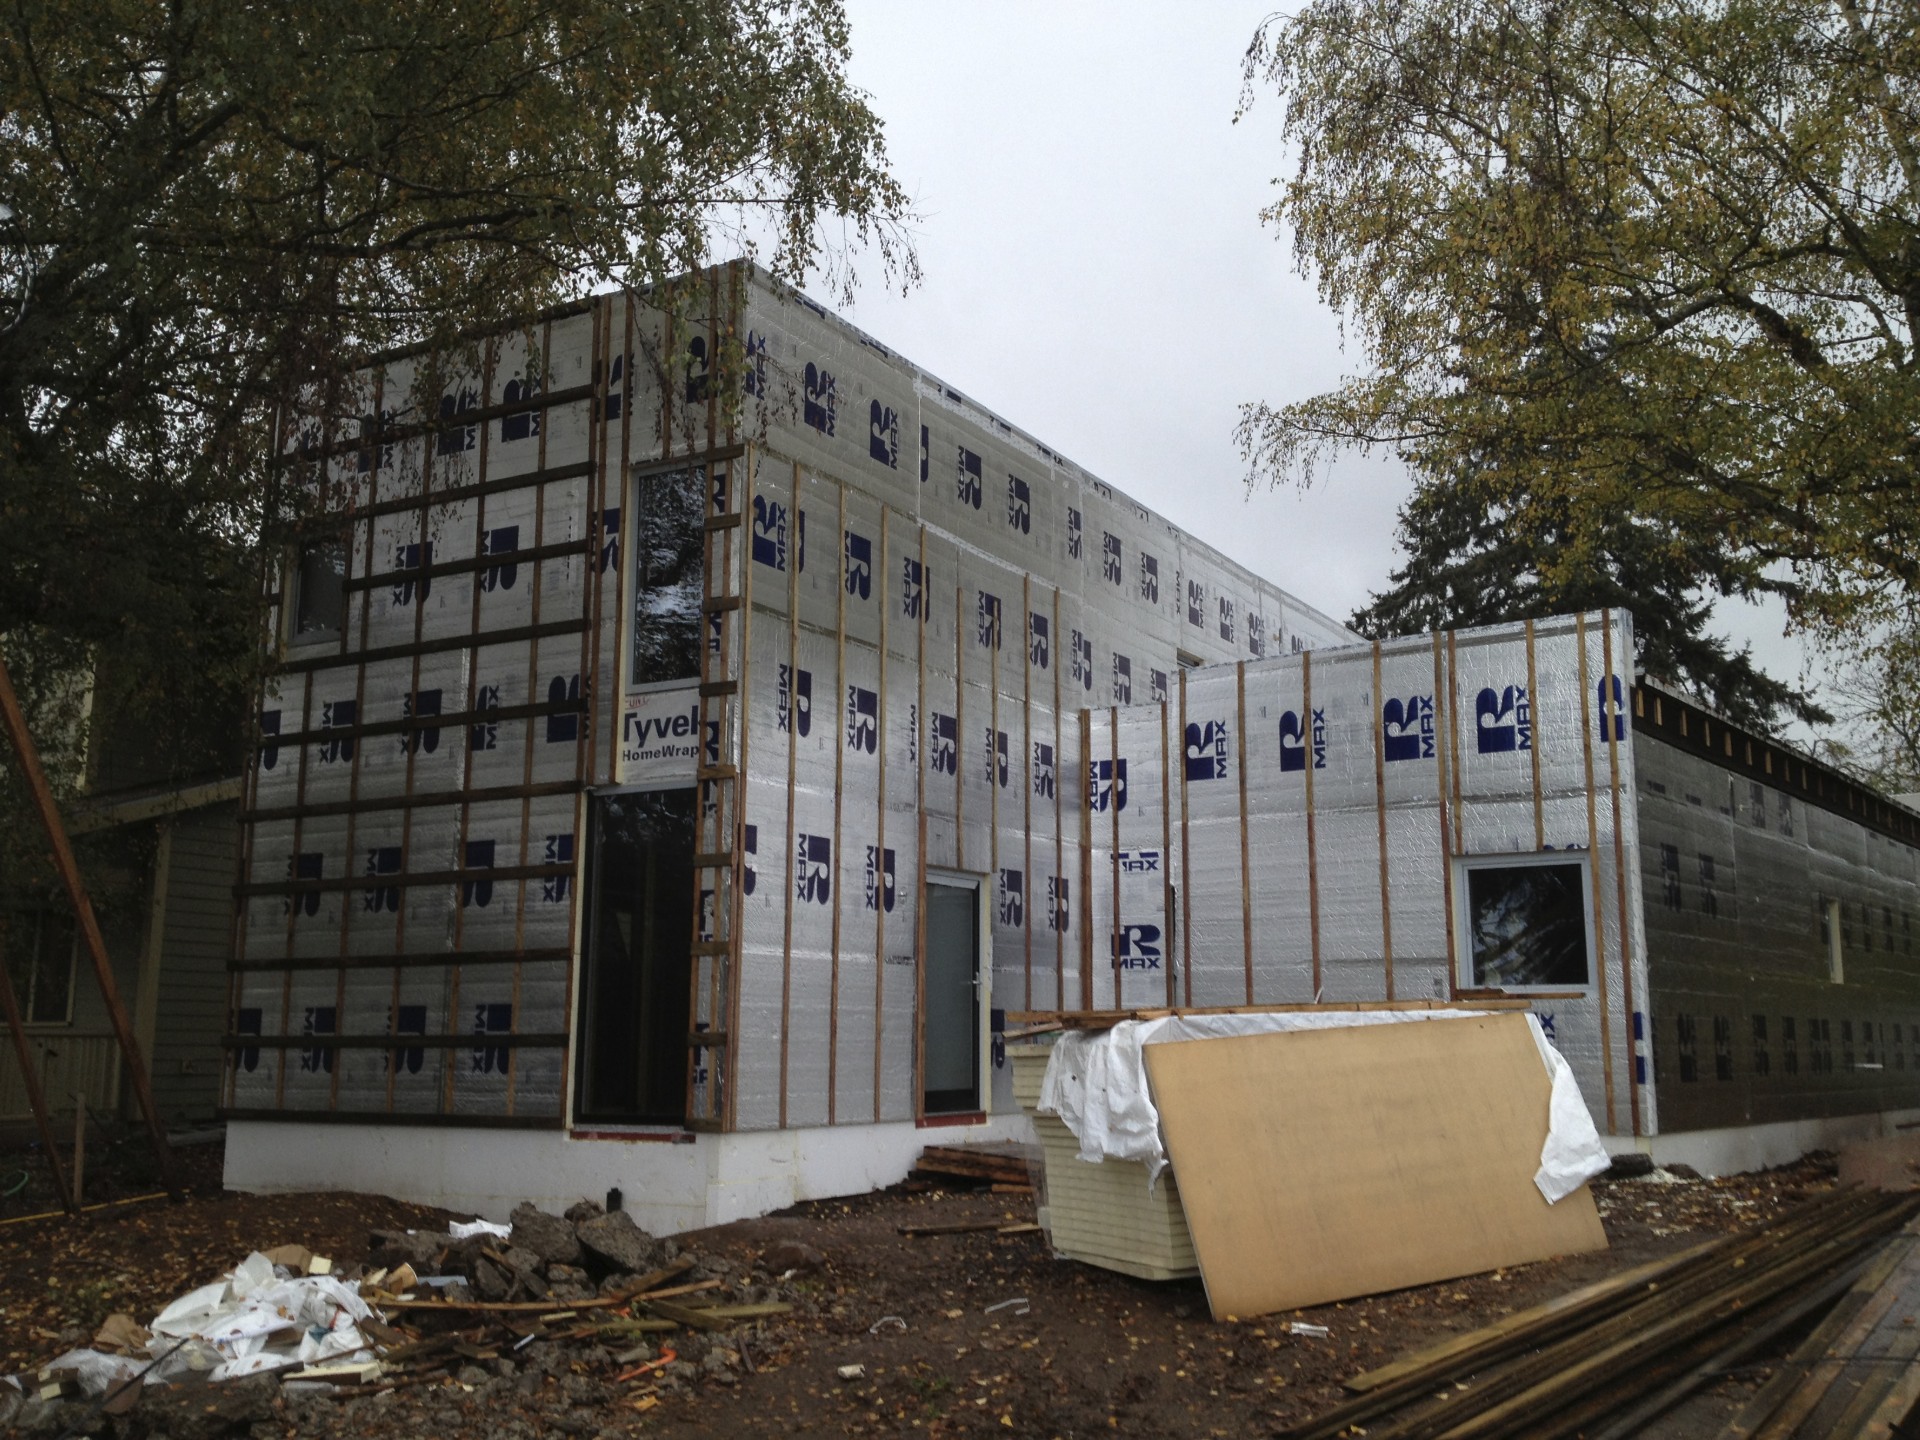
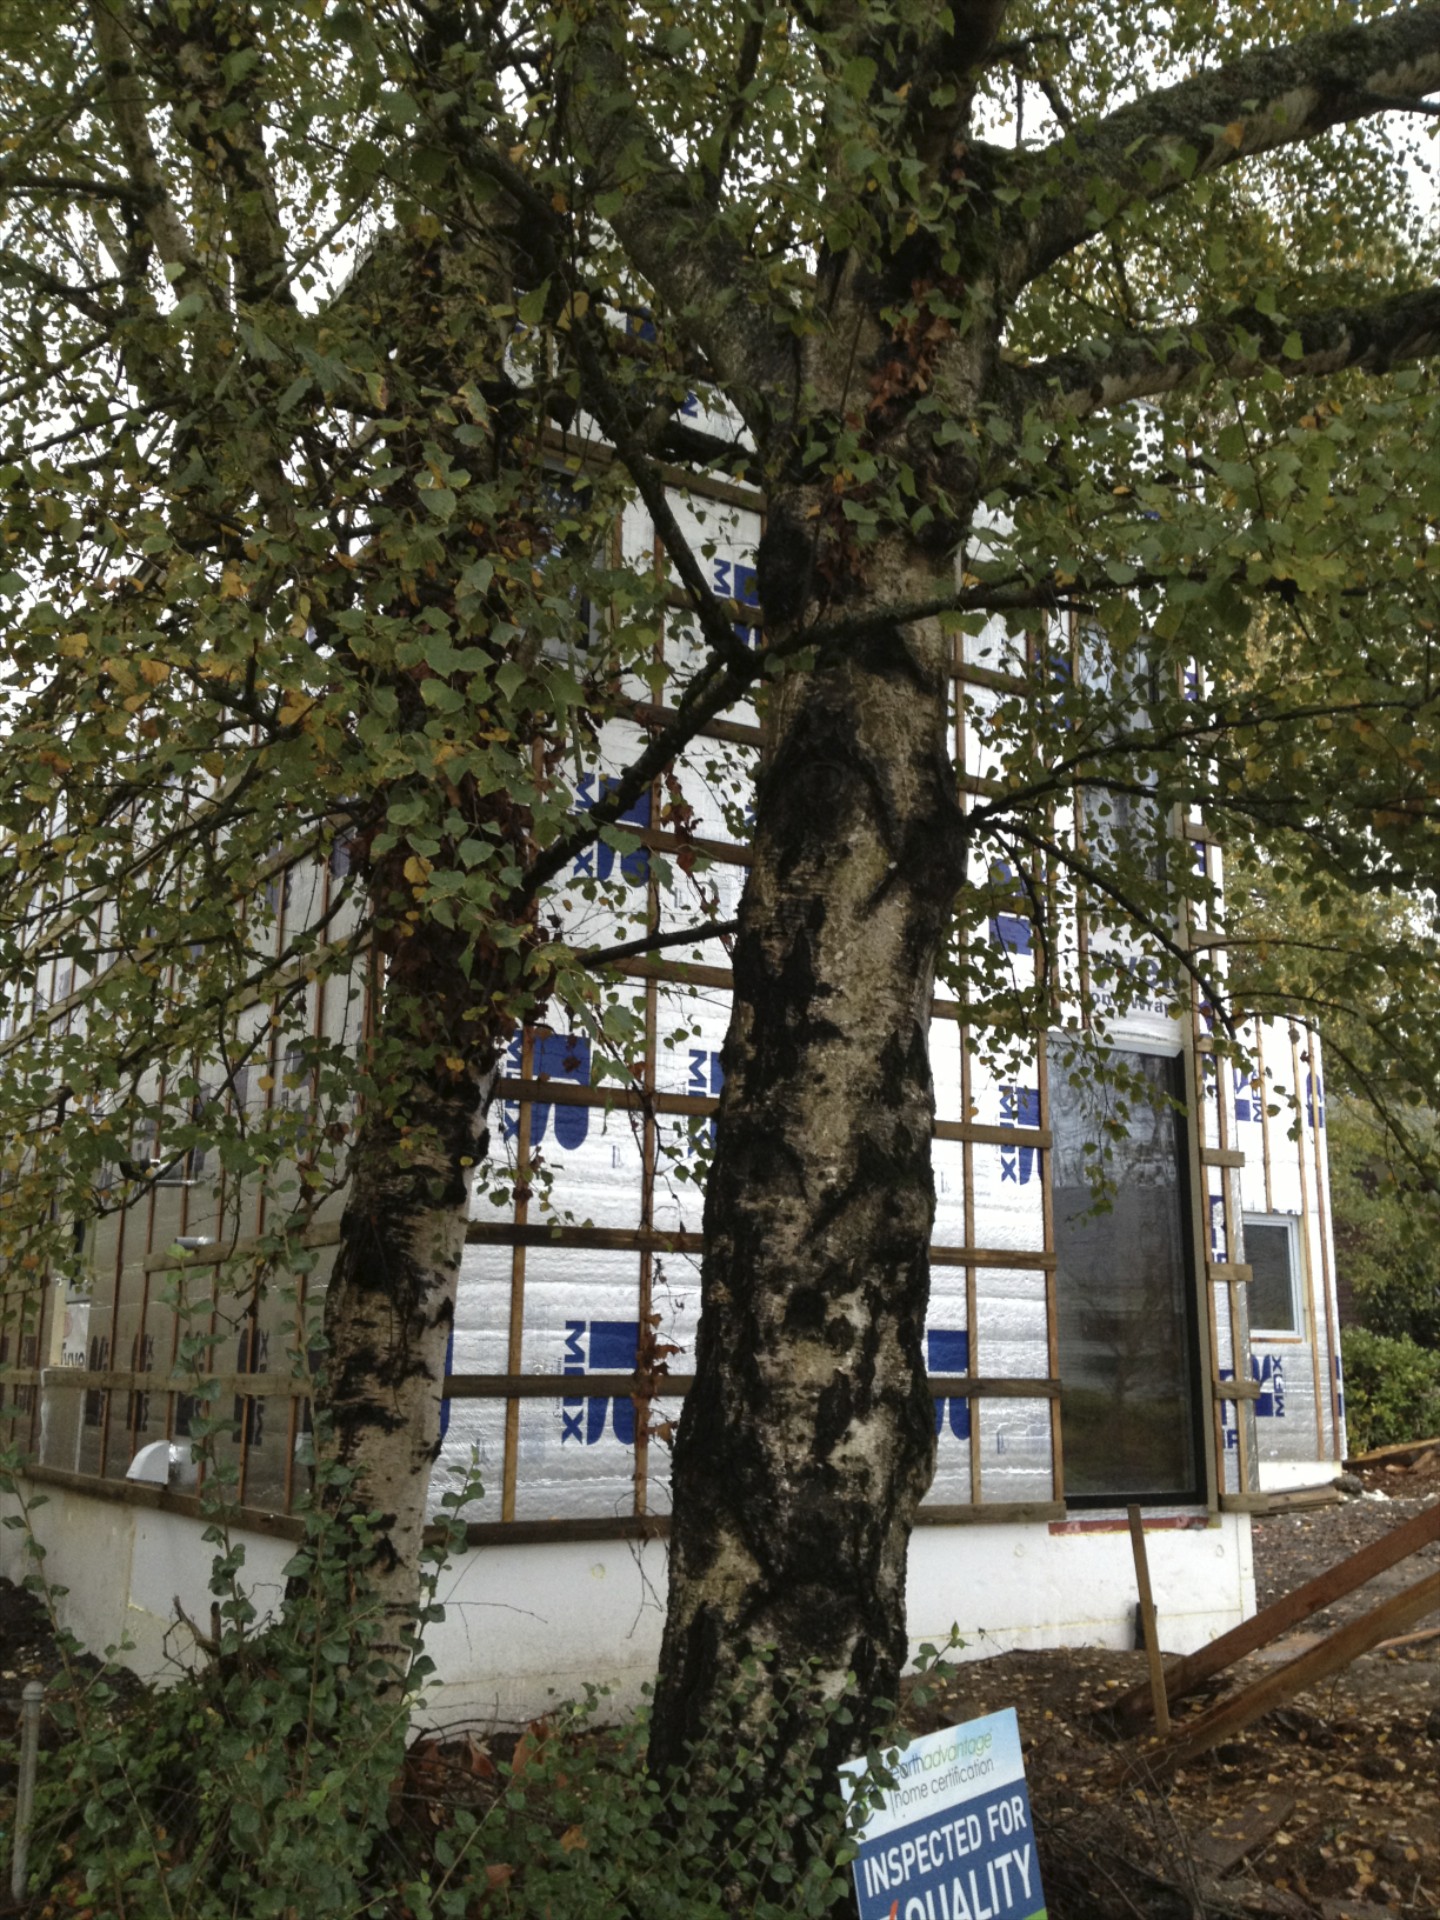
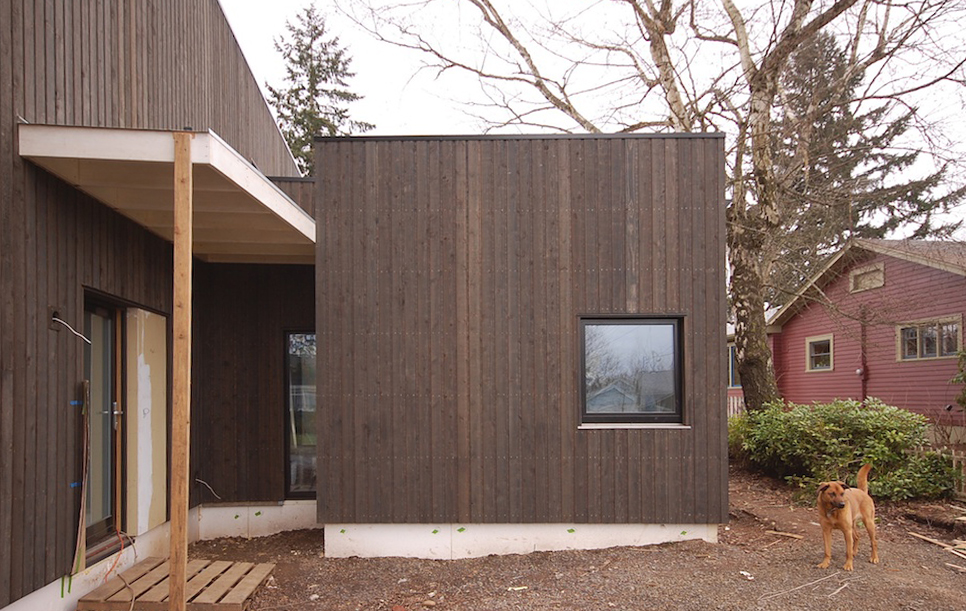
siding work has mostly wrapped up.  the vertical siding is installed on rainscreen over rigid exterior insulation.  see this past post for more info on the assembly. here's a first look at the siding pretty much completed.

skid 021013 5

the siding is off the shelf 1x6 channel made from tight knot cedar.  it's stained with 1 coat of olympic semi-transparent stain in ebony.

skid 021013 2

the large south windows (and doors) have exterior motorized aluminum sun shades supplied by hella.  the siding has been detailed to allow the shades to stack in recessed pockets.  in this photo the shades are down about 9 inches and just visible on the 2 living room units (lift / slide door and fixed upper unit).  more on the shading later.

skid 021013 8

the "breezeway" features a south facing door / window with a wood canopy (to be painted black) topped with clear tempered glass.

skid 021013 10

the entry door at left features acid etched glass for privacy and has a smooth accent panel adjacent that will be painted a deep red.  the wood canopy will painted black and features a simple galvanized metal pan roof.  steel rod will be used to hang the canopy from a bracket mounted to the wall above.  a mahogany deck will eventually complete the front porch.

skid 021013 9

the north street facade also features a narrow smooth accent panel that will be painted with the same deep red.  the same siding runs horizontally to form an accent between floors.

check back soon for more.

www.insituarchitecture.net

thermal bridge free exterior

next up on skidmore passivhaus is installing the outsulation on the walls along with the rainscreen furring. DSC_0849

the plywood sheathing was first covered by a weather resistive barrier with metal head flashings at the windows and doors.

IMG_1471

most walls get a layer of 3" poly-iso, while the south wall will get 4" to match the recessed pocket for the exterior shades.

IMG_1472

2 screws (with plastic washer) per 4x8 sheet hold it in place until the furring strips are installed.

IMG_1476

all seams and fasteners are taped.  the face of the insulation is treated as a second weather resistive barrier.

DSC_0843

additional flashings at all doors and windows will be taped to the insulation as the wood trim is installed.

IMG_1484

1/2" x 2" pt plywood furring strips run vertically to create the drainage plane.  they are held in place by just a few fasteners until the next layer is installed.

IMG_1485

since we are using vertical siding, a second layer of furring runs horizontally.  we used pt 1x4 as a solid nailing base for the siding.

IMG_1486

long fasteners secure the second layer of furring strips running horizontally through the foam to the studs.  the straightforward framing layout makes the studs much easier to locate.

IMG_1518

keep in mind that long fasteners get expensive.  we settled on grabber #10 x 6" square drive coated screws (from nw staple).

IMG_1521

next up on the exterior is trimming windows and installing siding.

stop by again soon.

small project update

we recently shared some drawings and photos of a small bathroom remodel inspired by the japanese bath house.   the work is complete and it turned out quite nicely (thanks to right arm construction).  here are some photos of the completed project:

a quick reminder of what it once was.

www.insituarchitecture.net

rainscreen installation

open joint cedar rainscreen siding aligns with existing lap siding

building paper for color only installed over air infiltration barrier

battens run behind belly band to maintain continuous airspace

view of battens and siding at corner in preparation for butt joint

pre-primed rough sawn cedar siding with open joints

closed cell spray foam against underside of roof deck

previous entries on this project:

construction progress

under construction