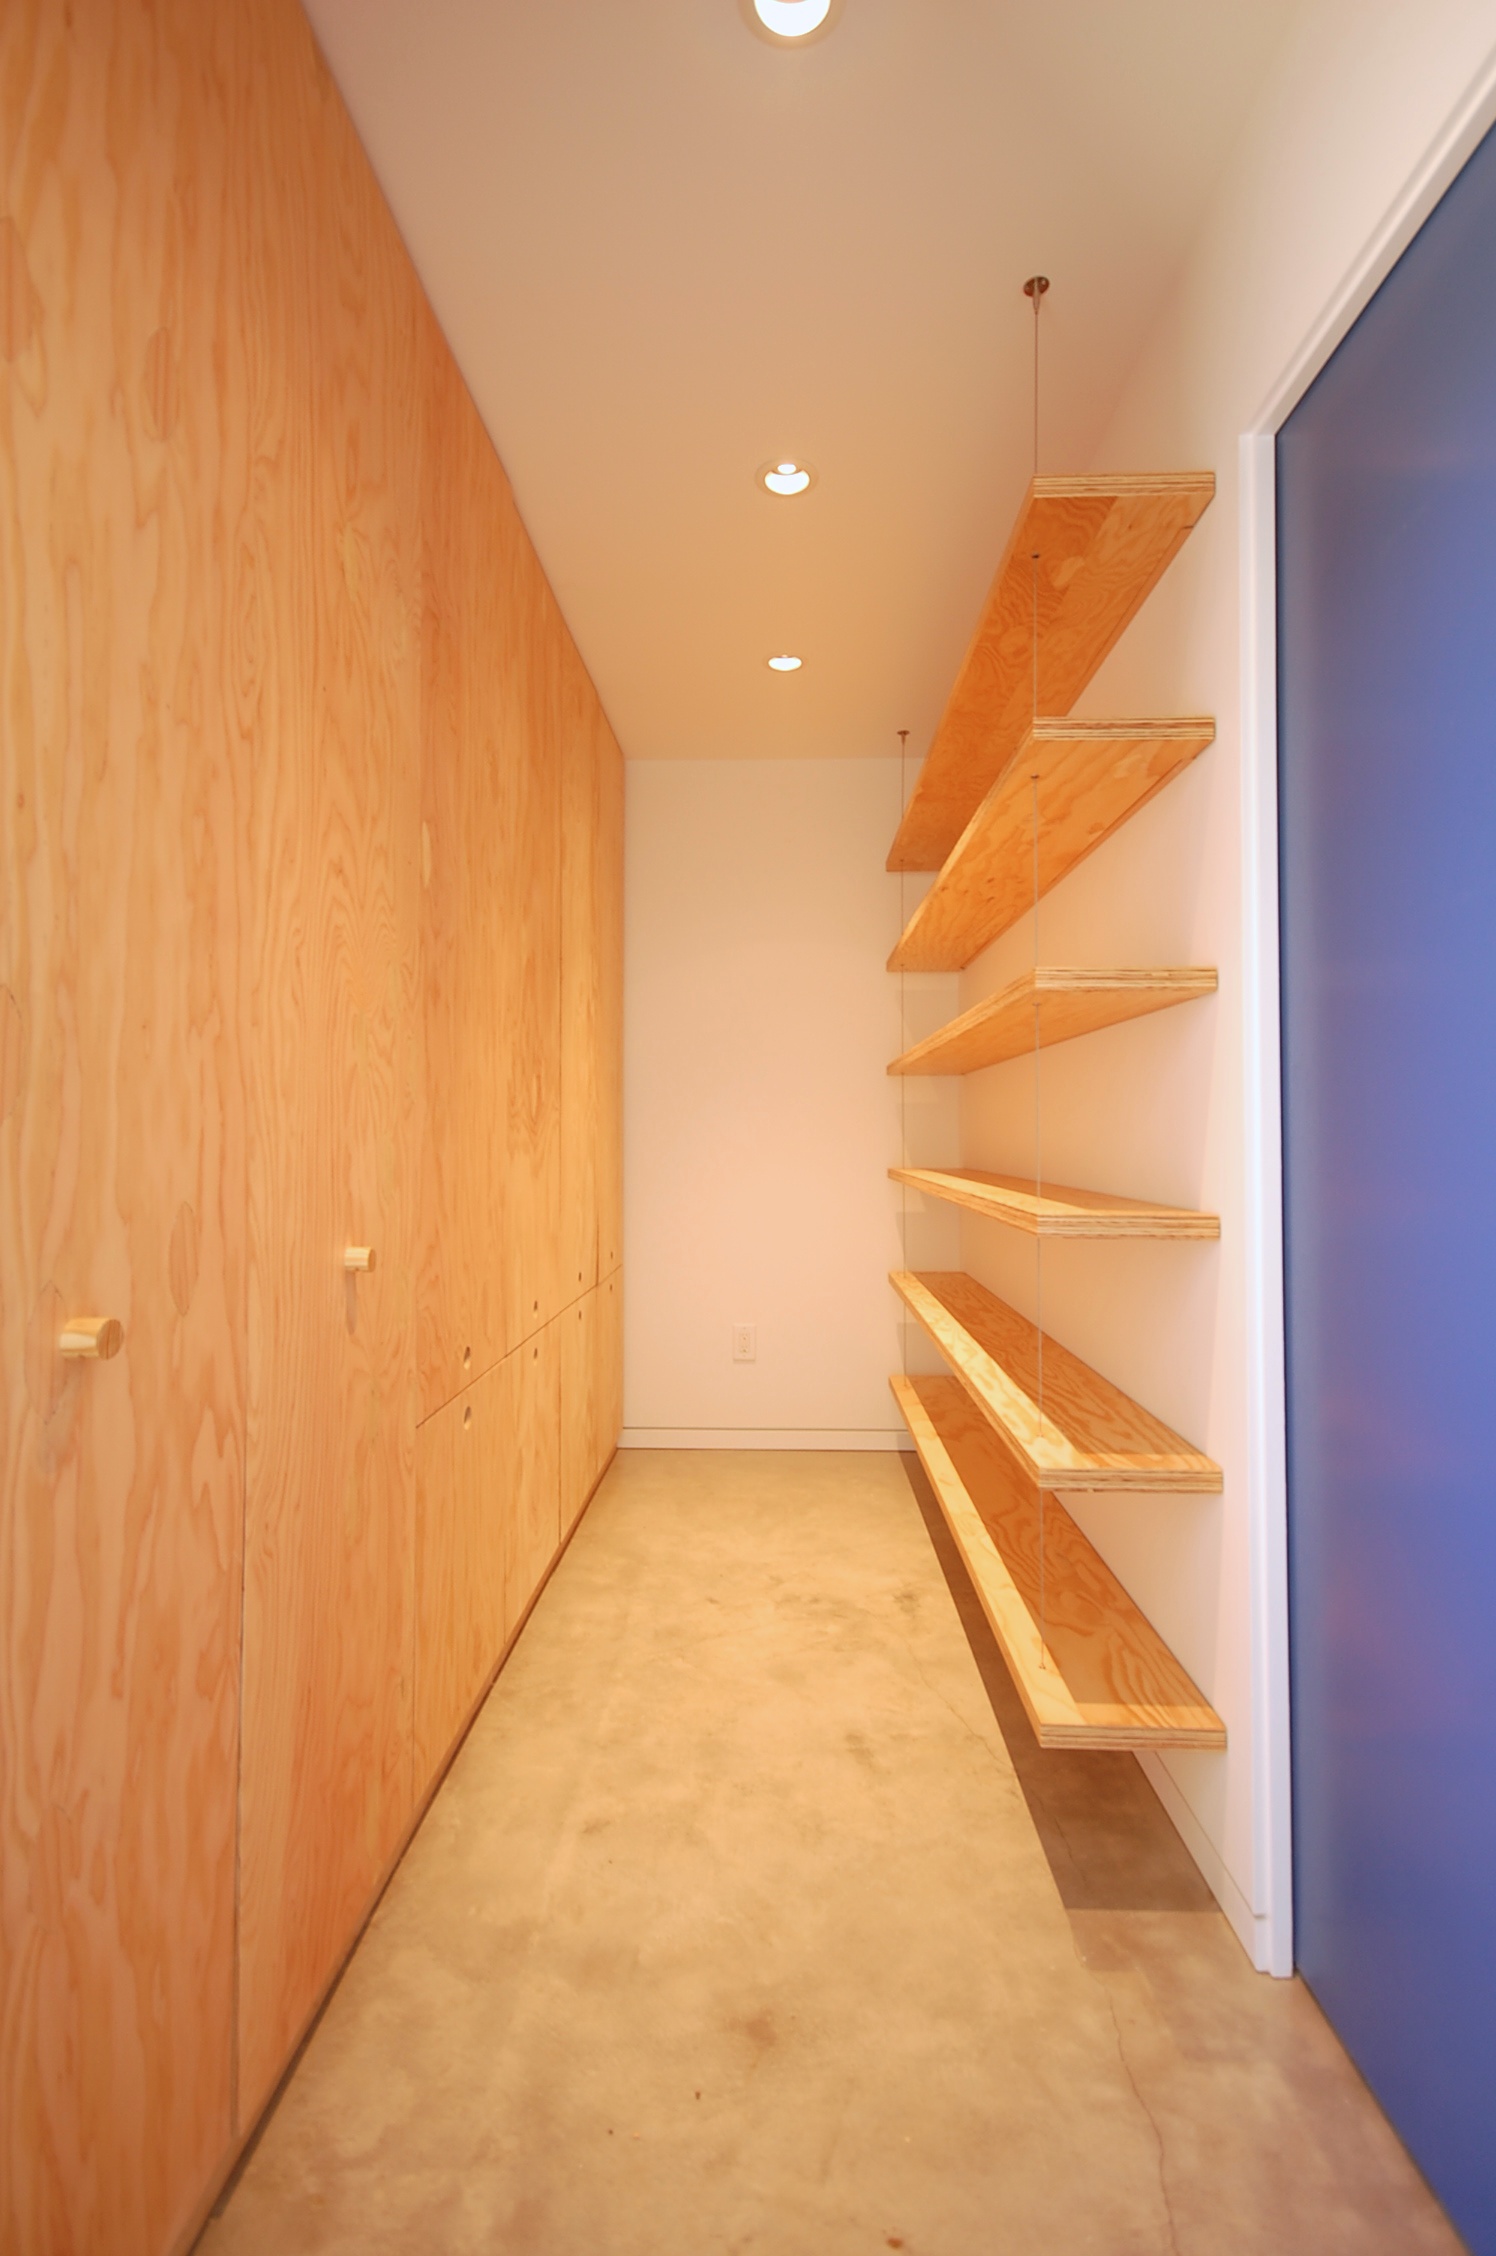
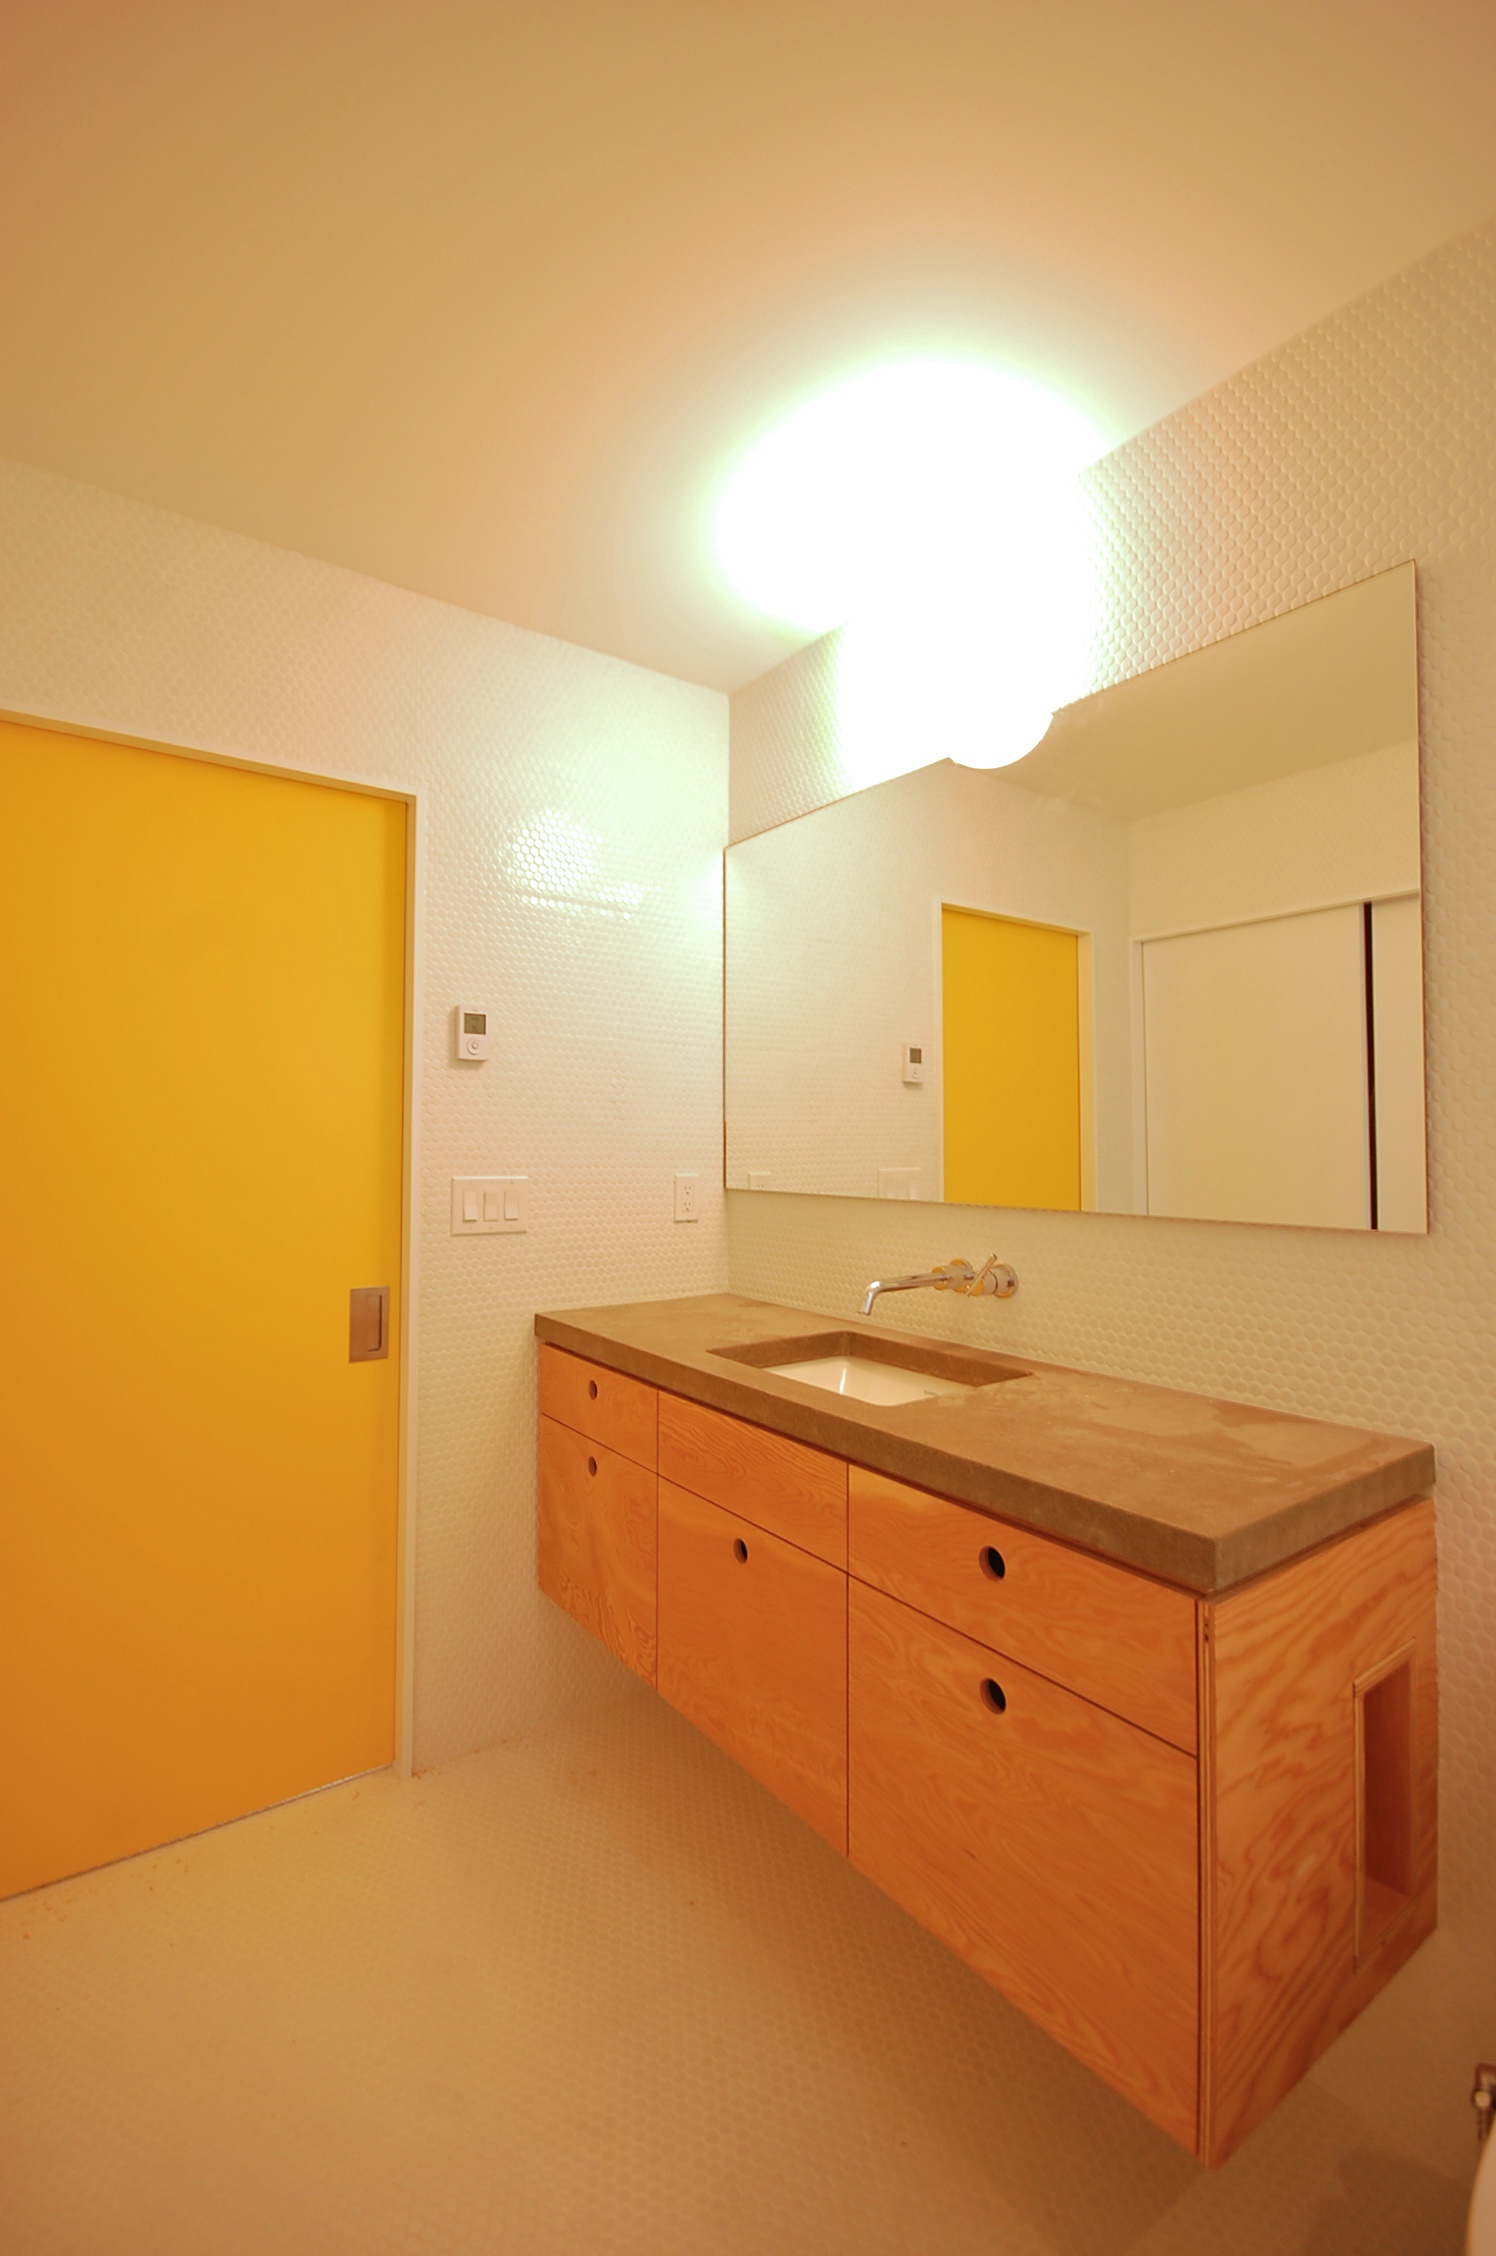
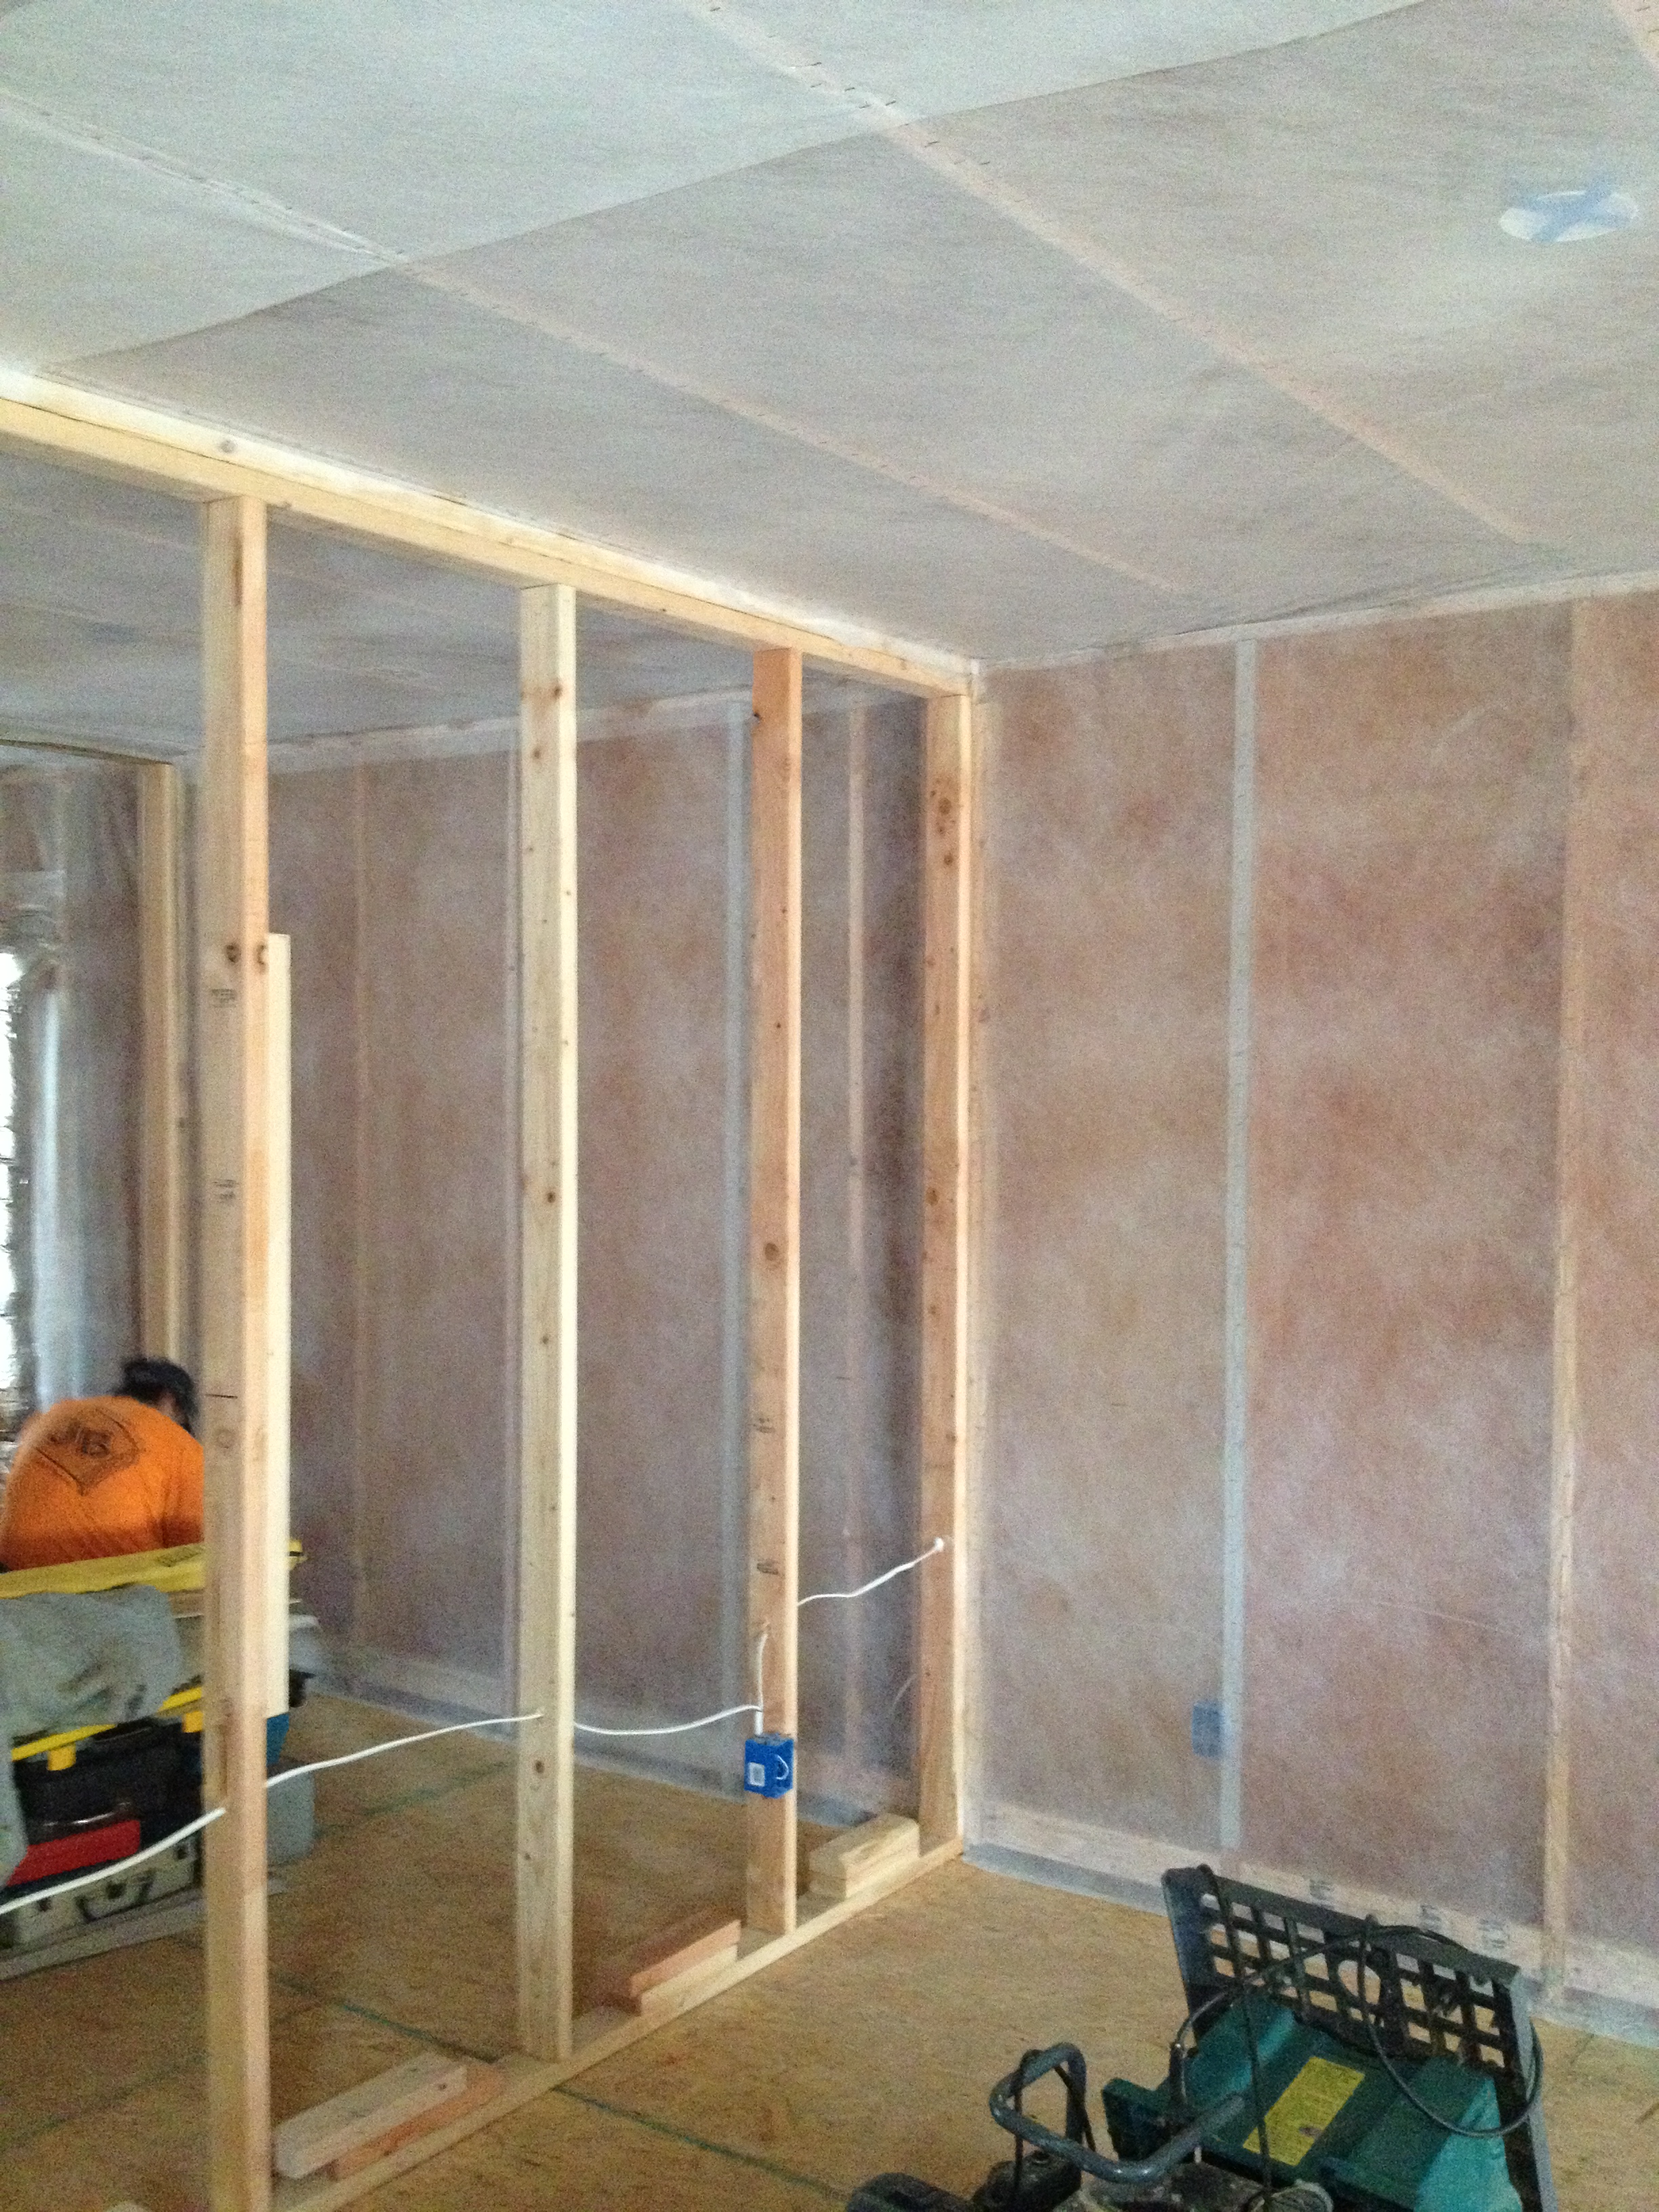
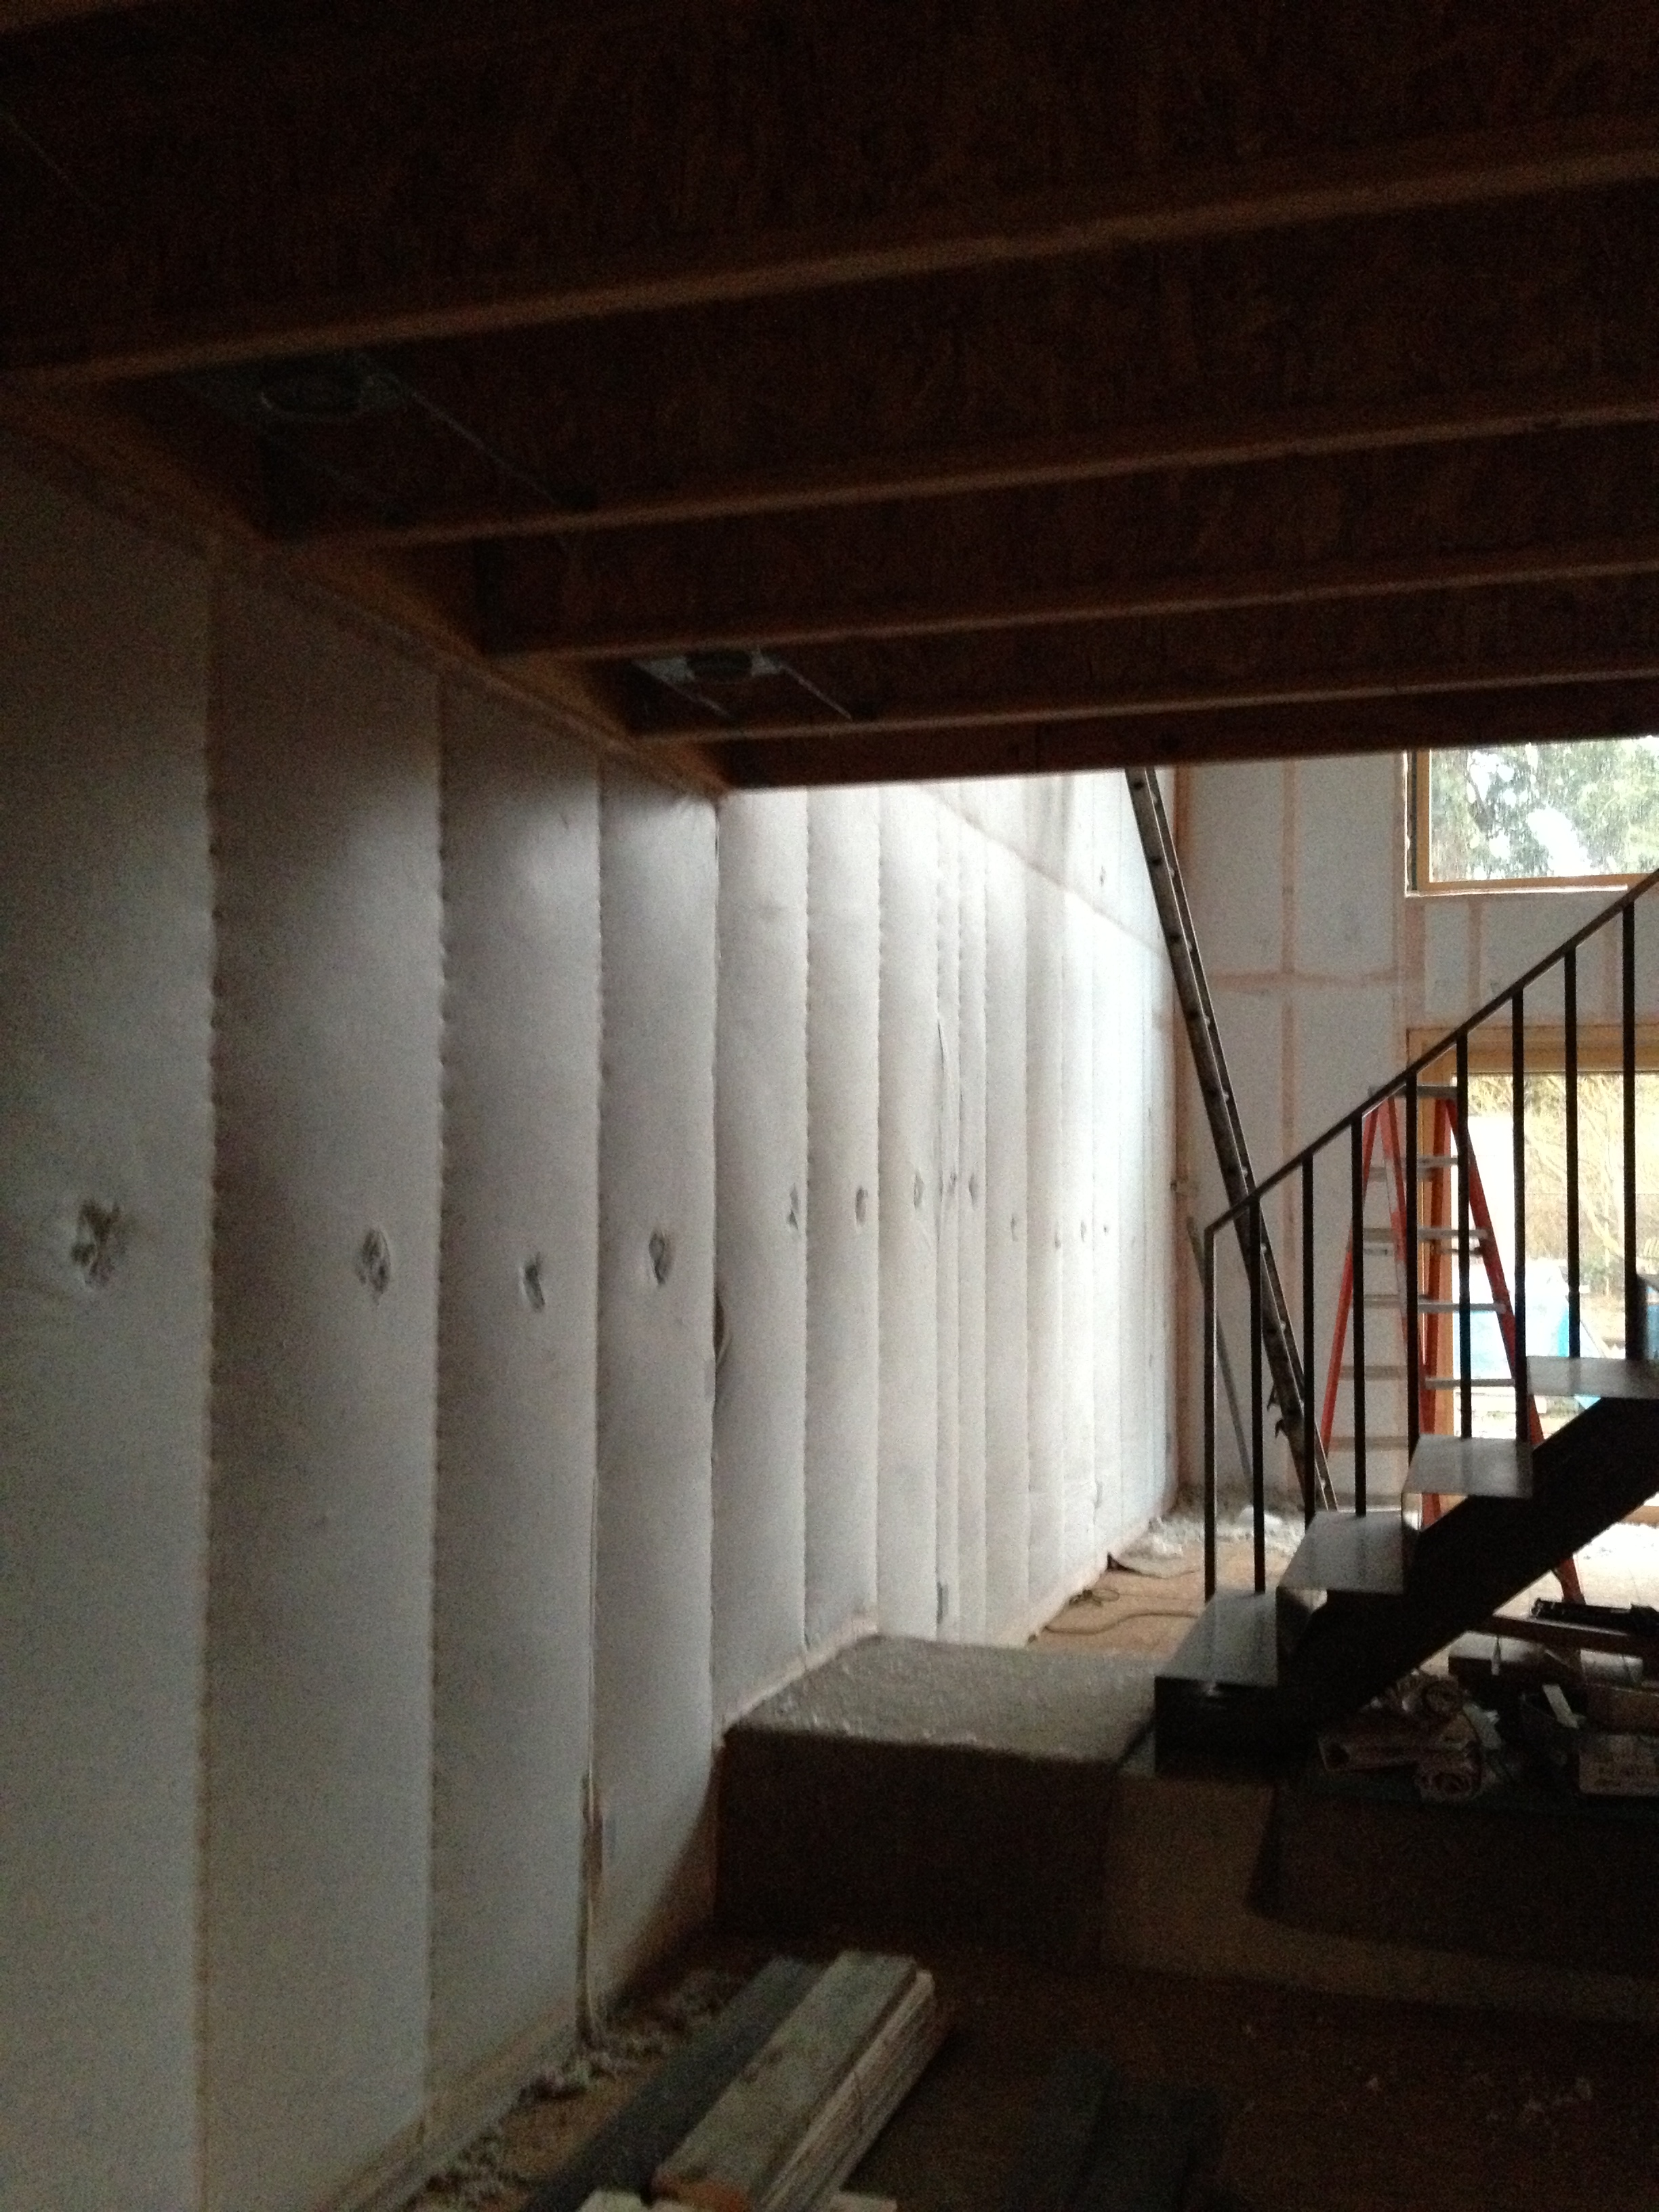
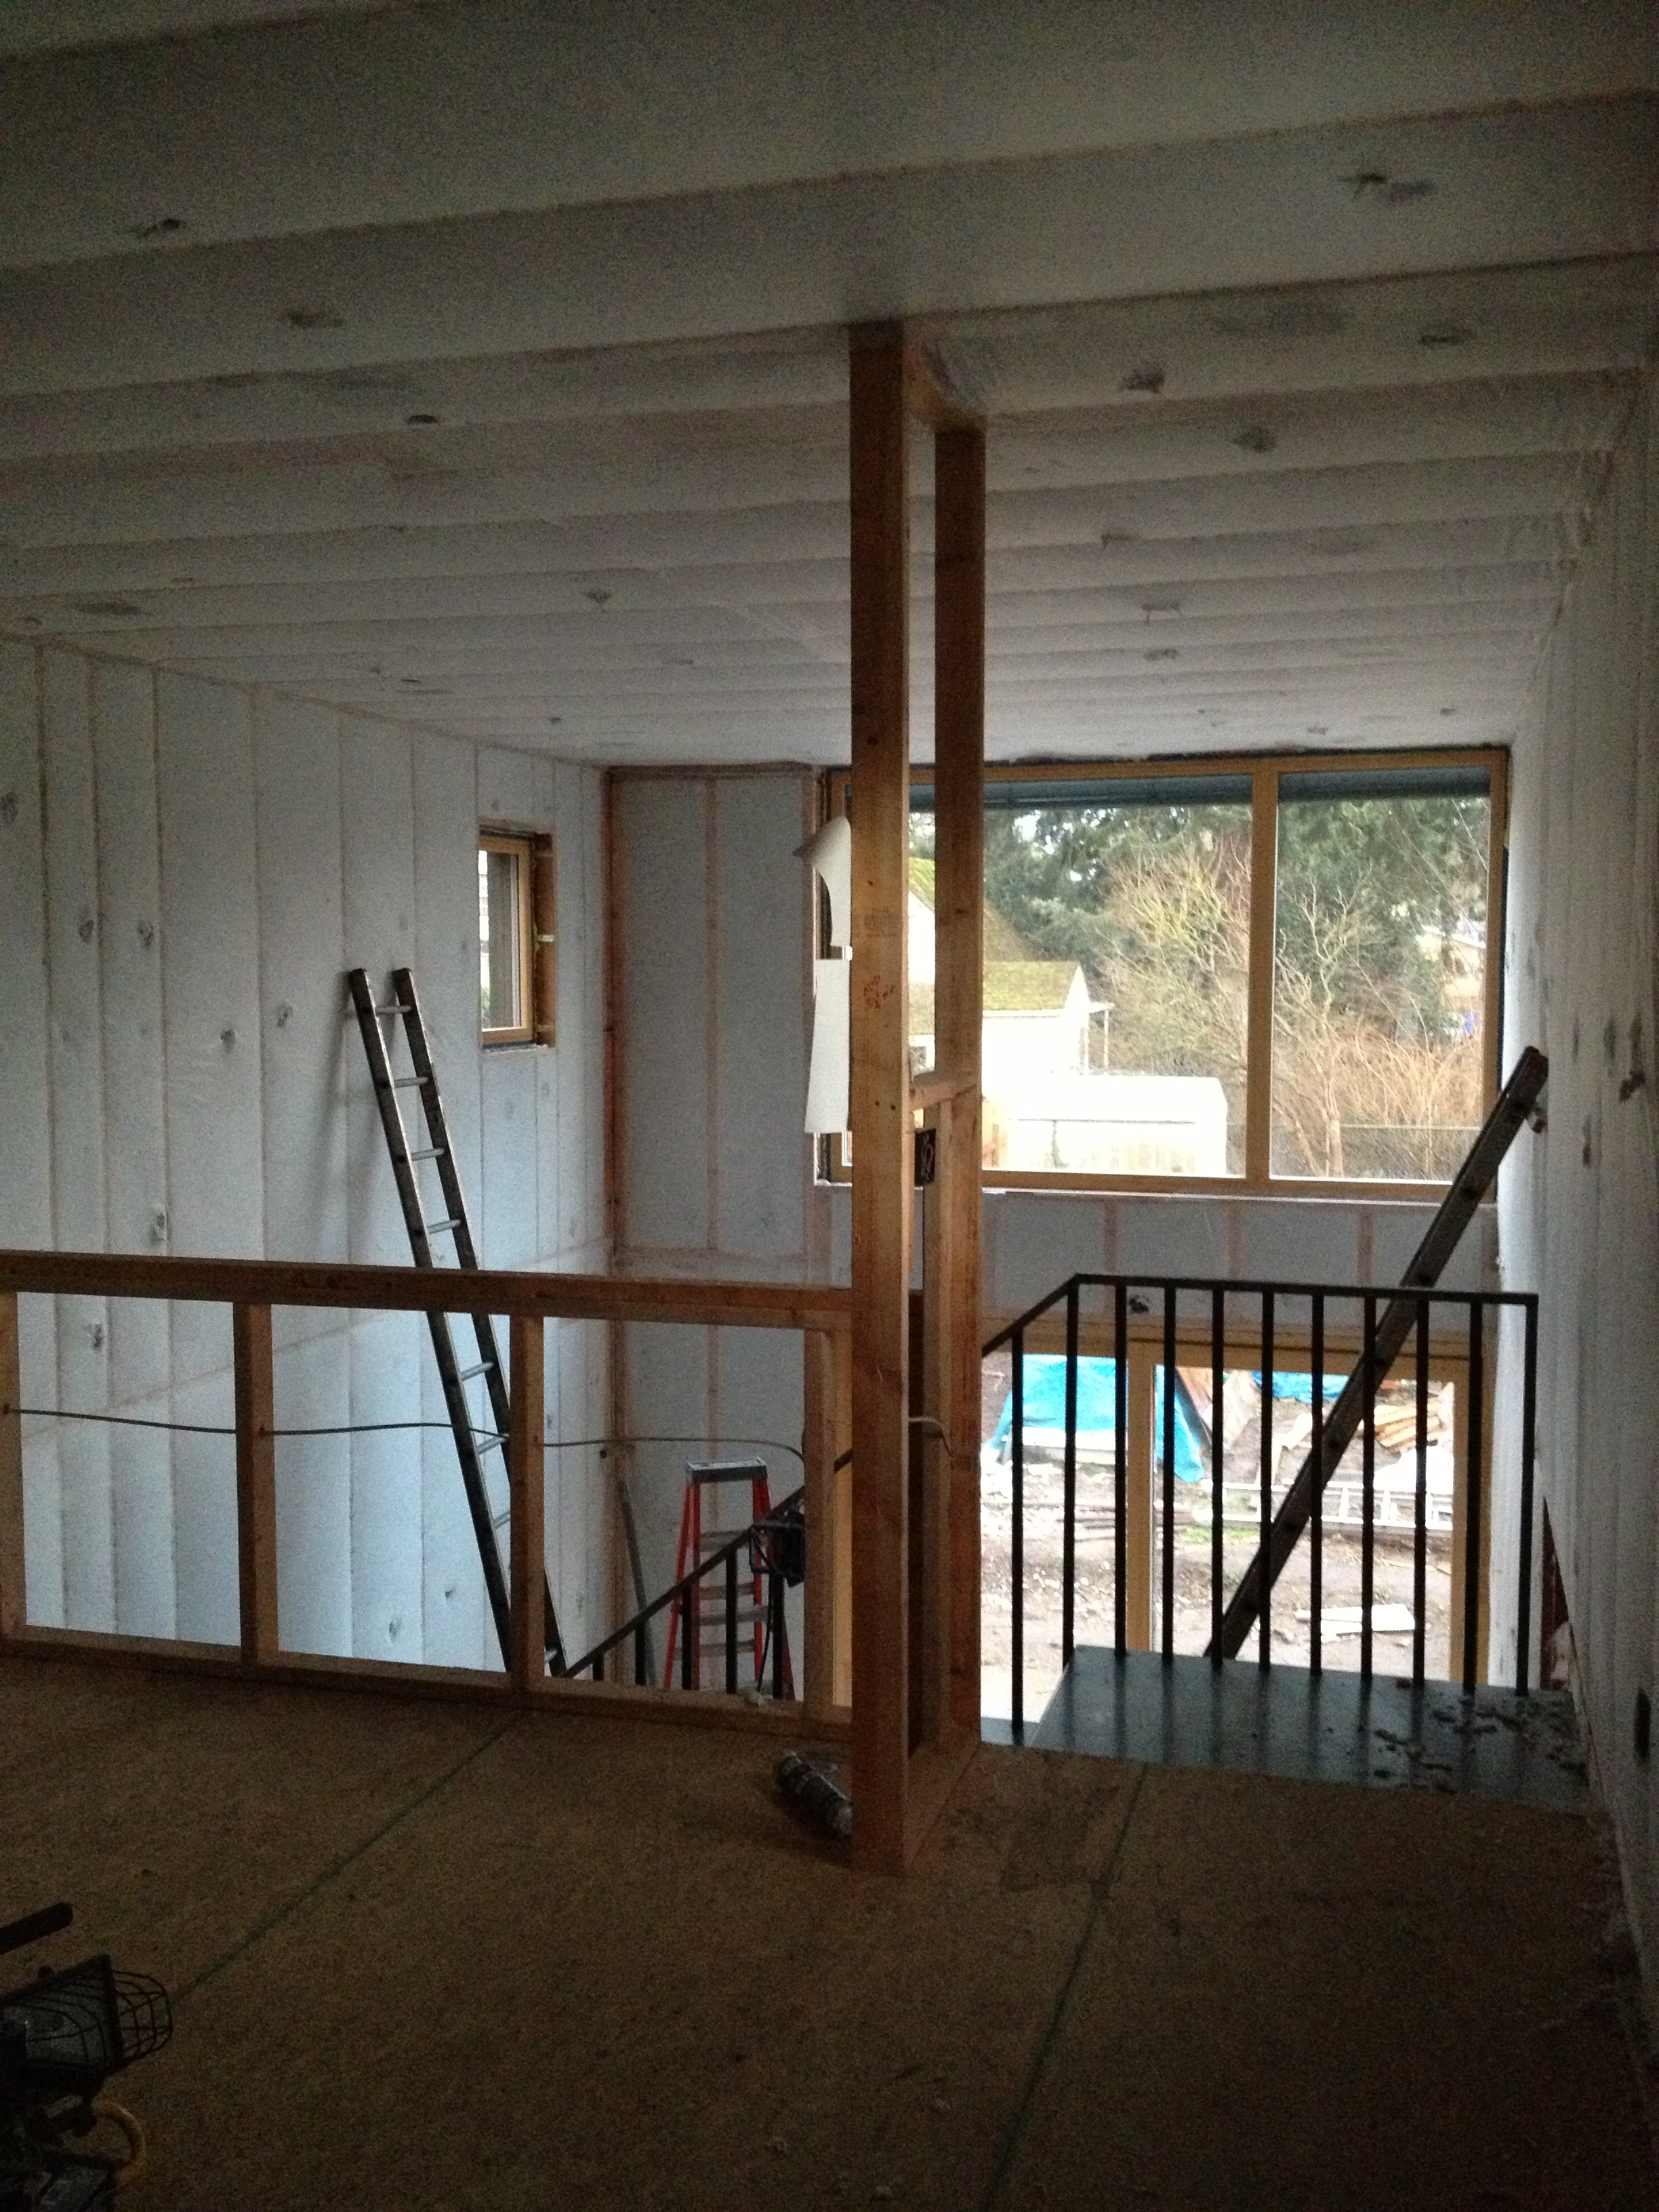
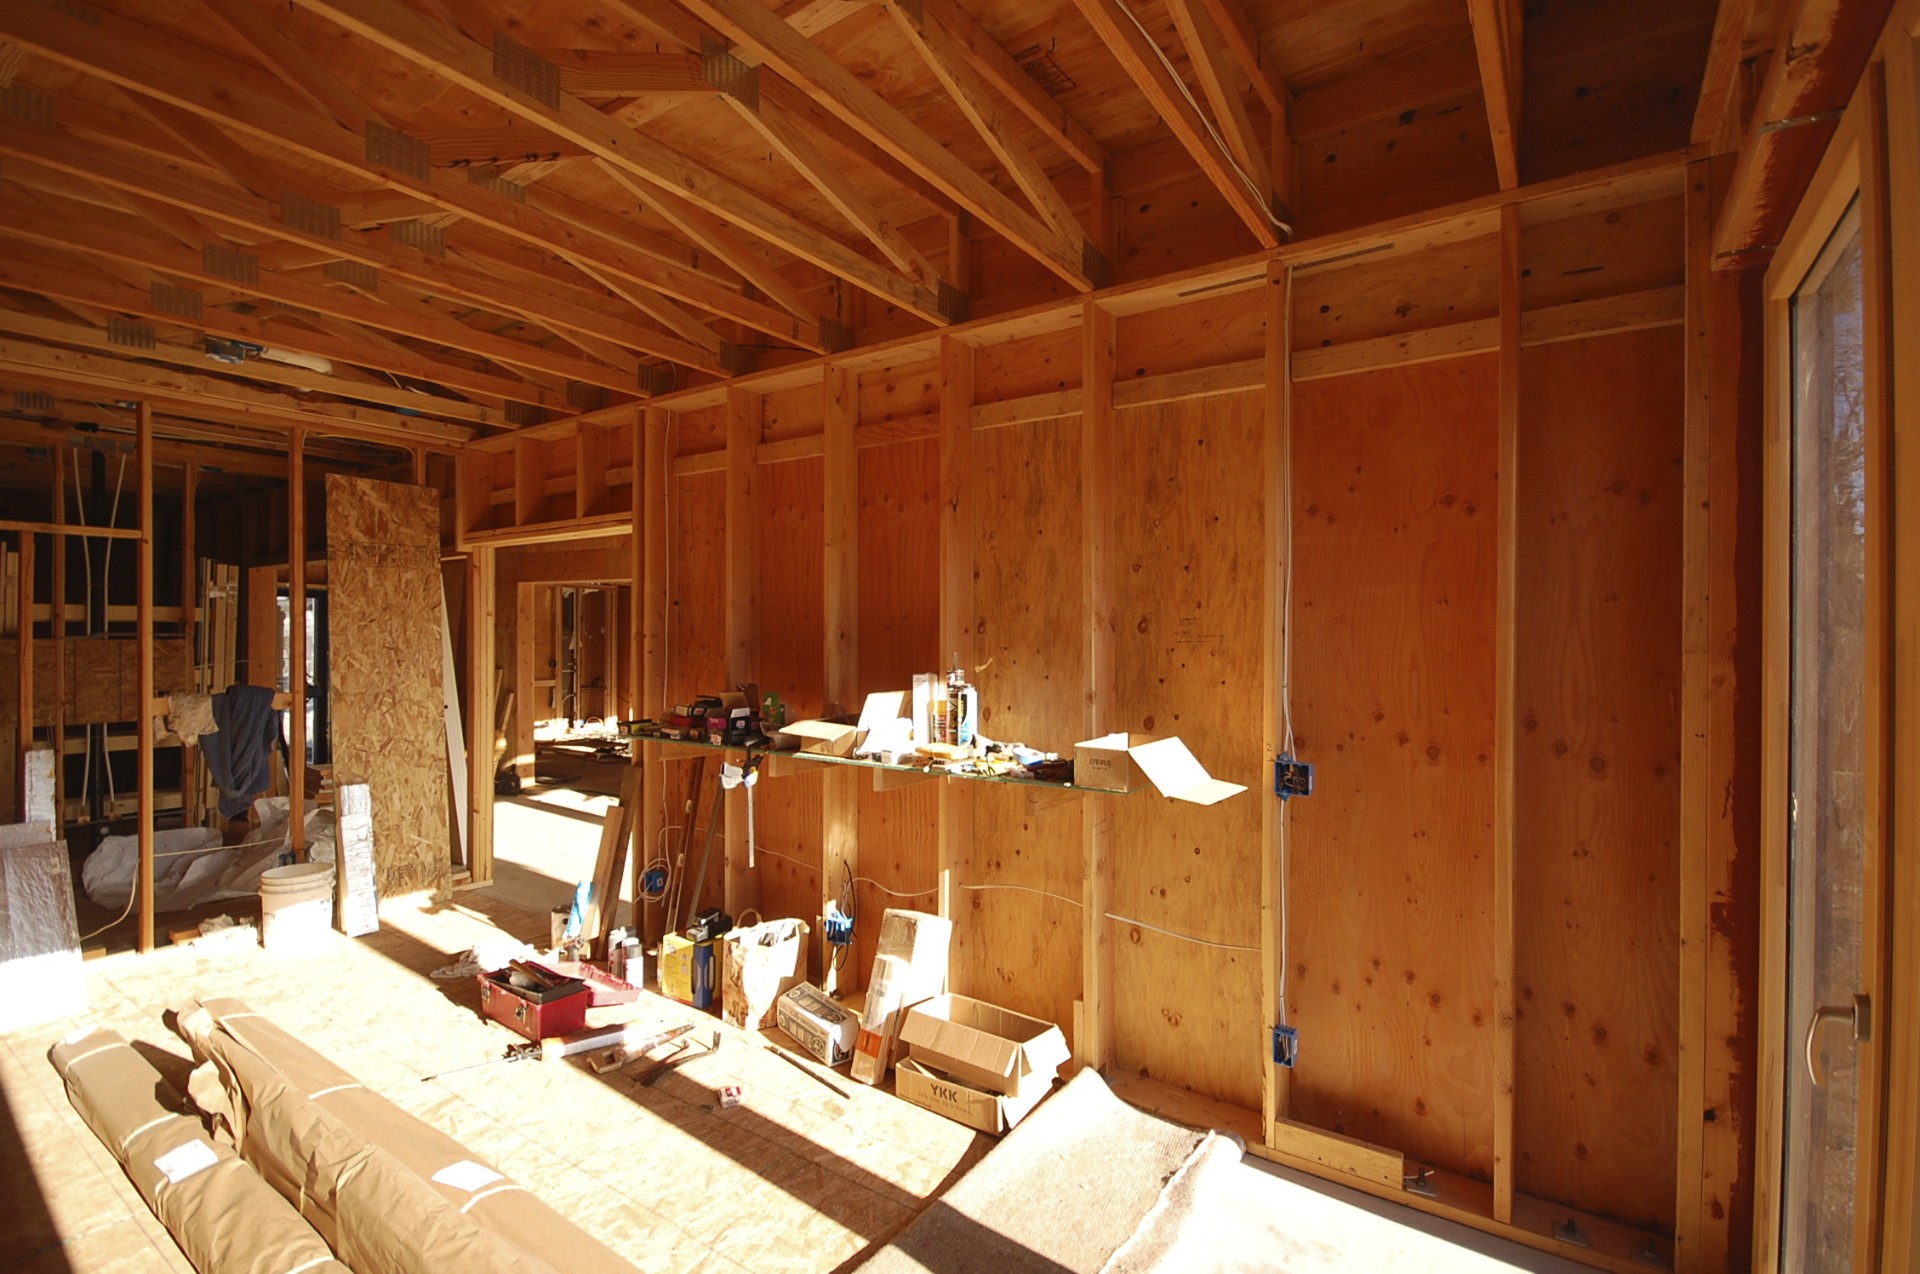
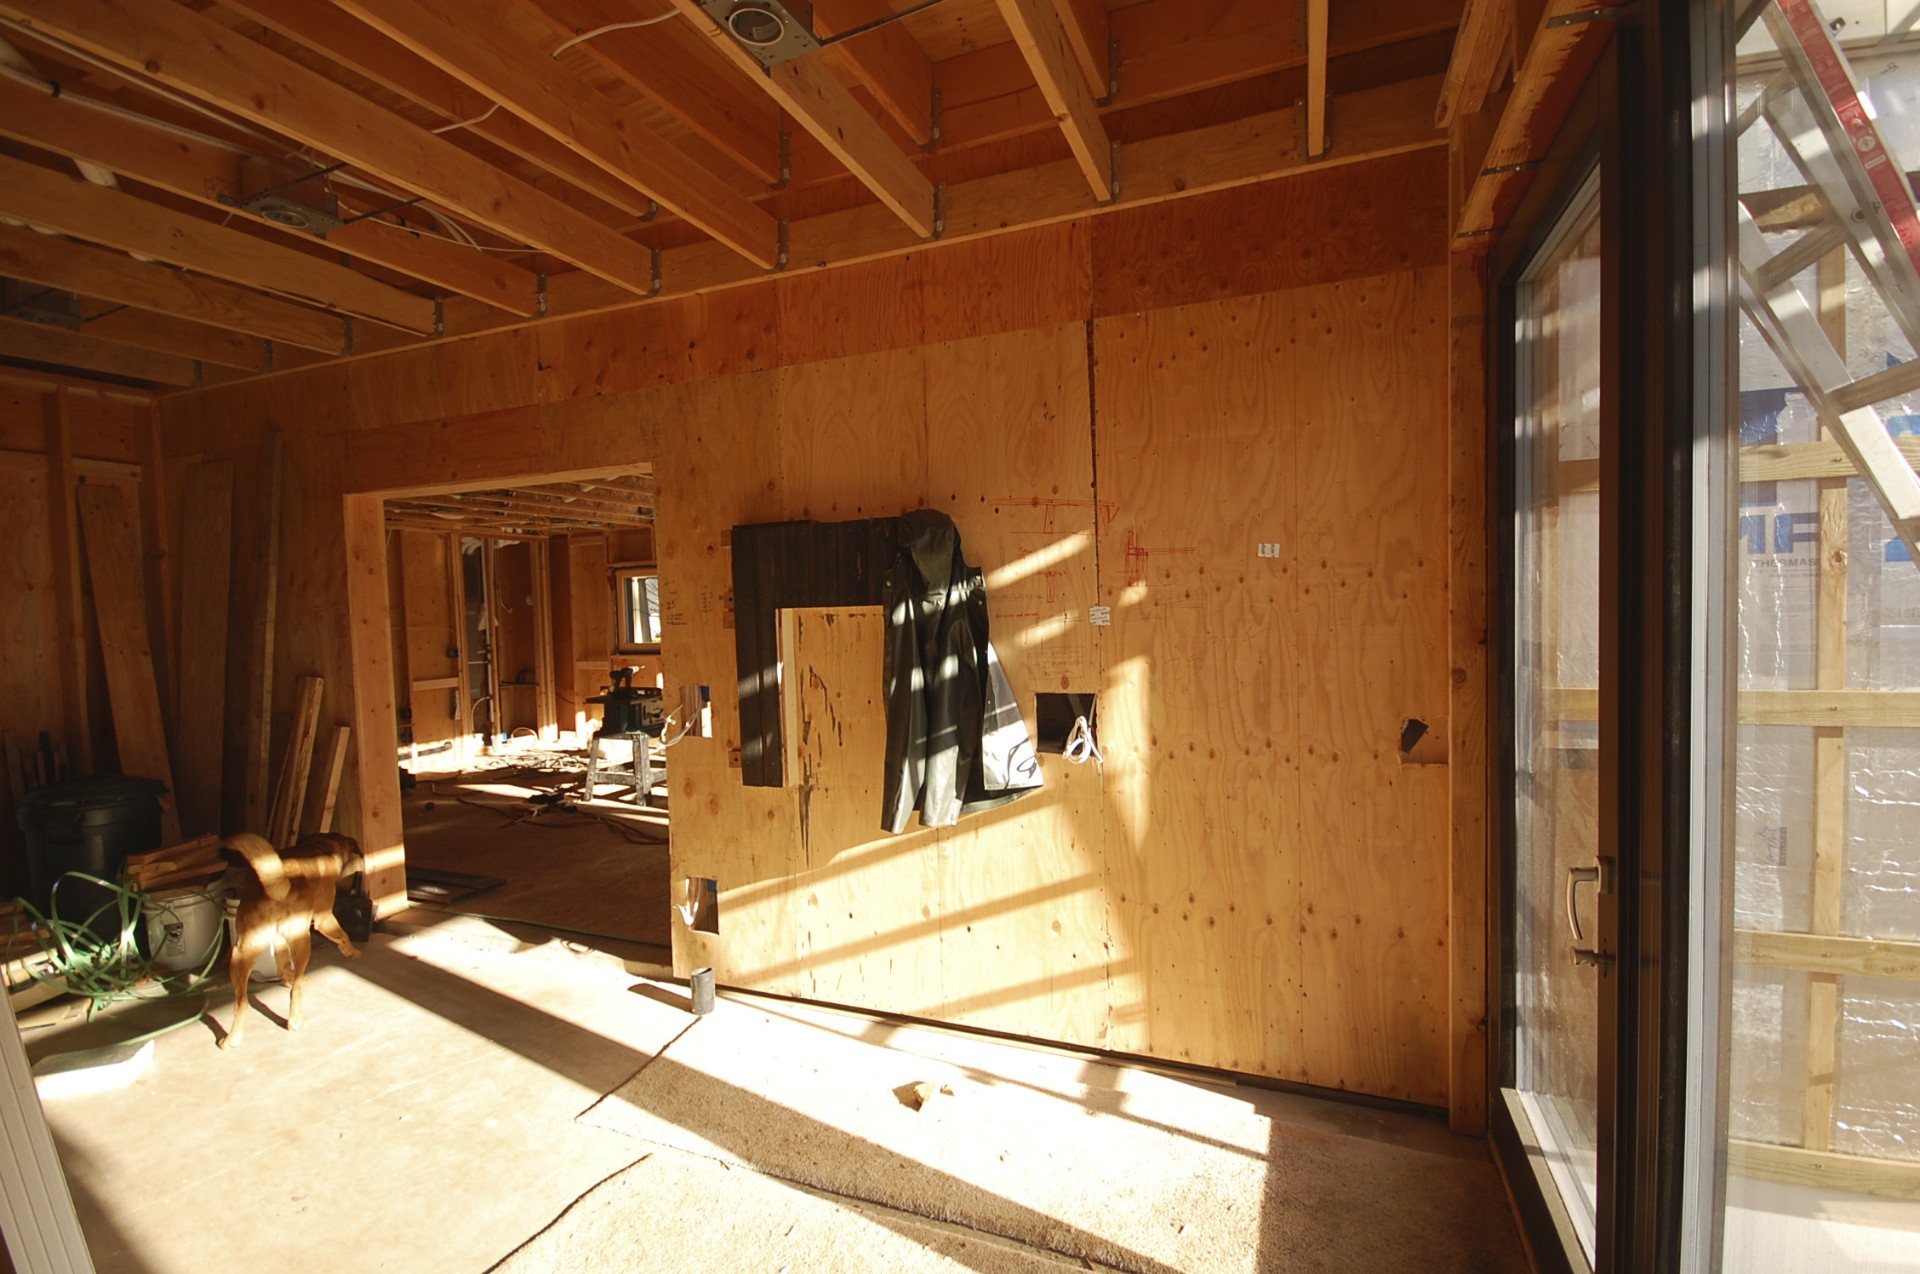
after almost a year of construction we are excited to say skidmore passivhaus is nearing completion. it's come a long ways since this. here are a few recent shots of the interiors coming together.


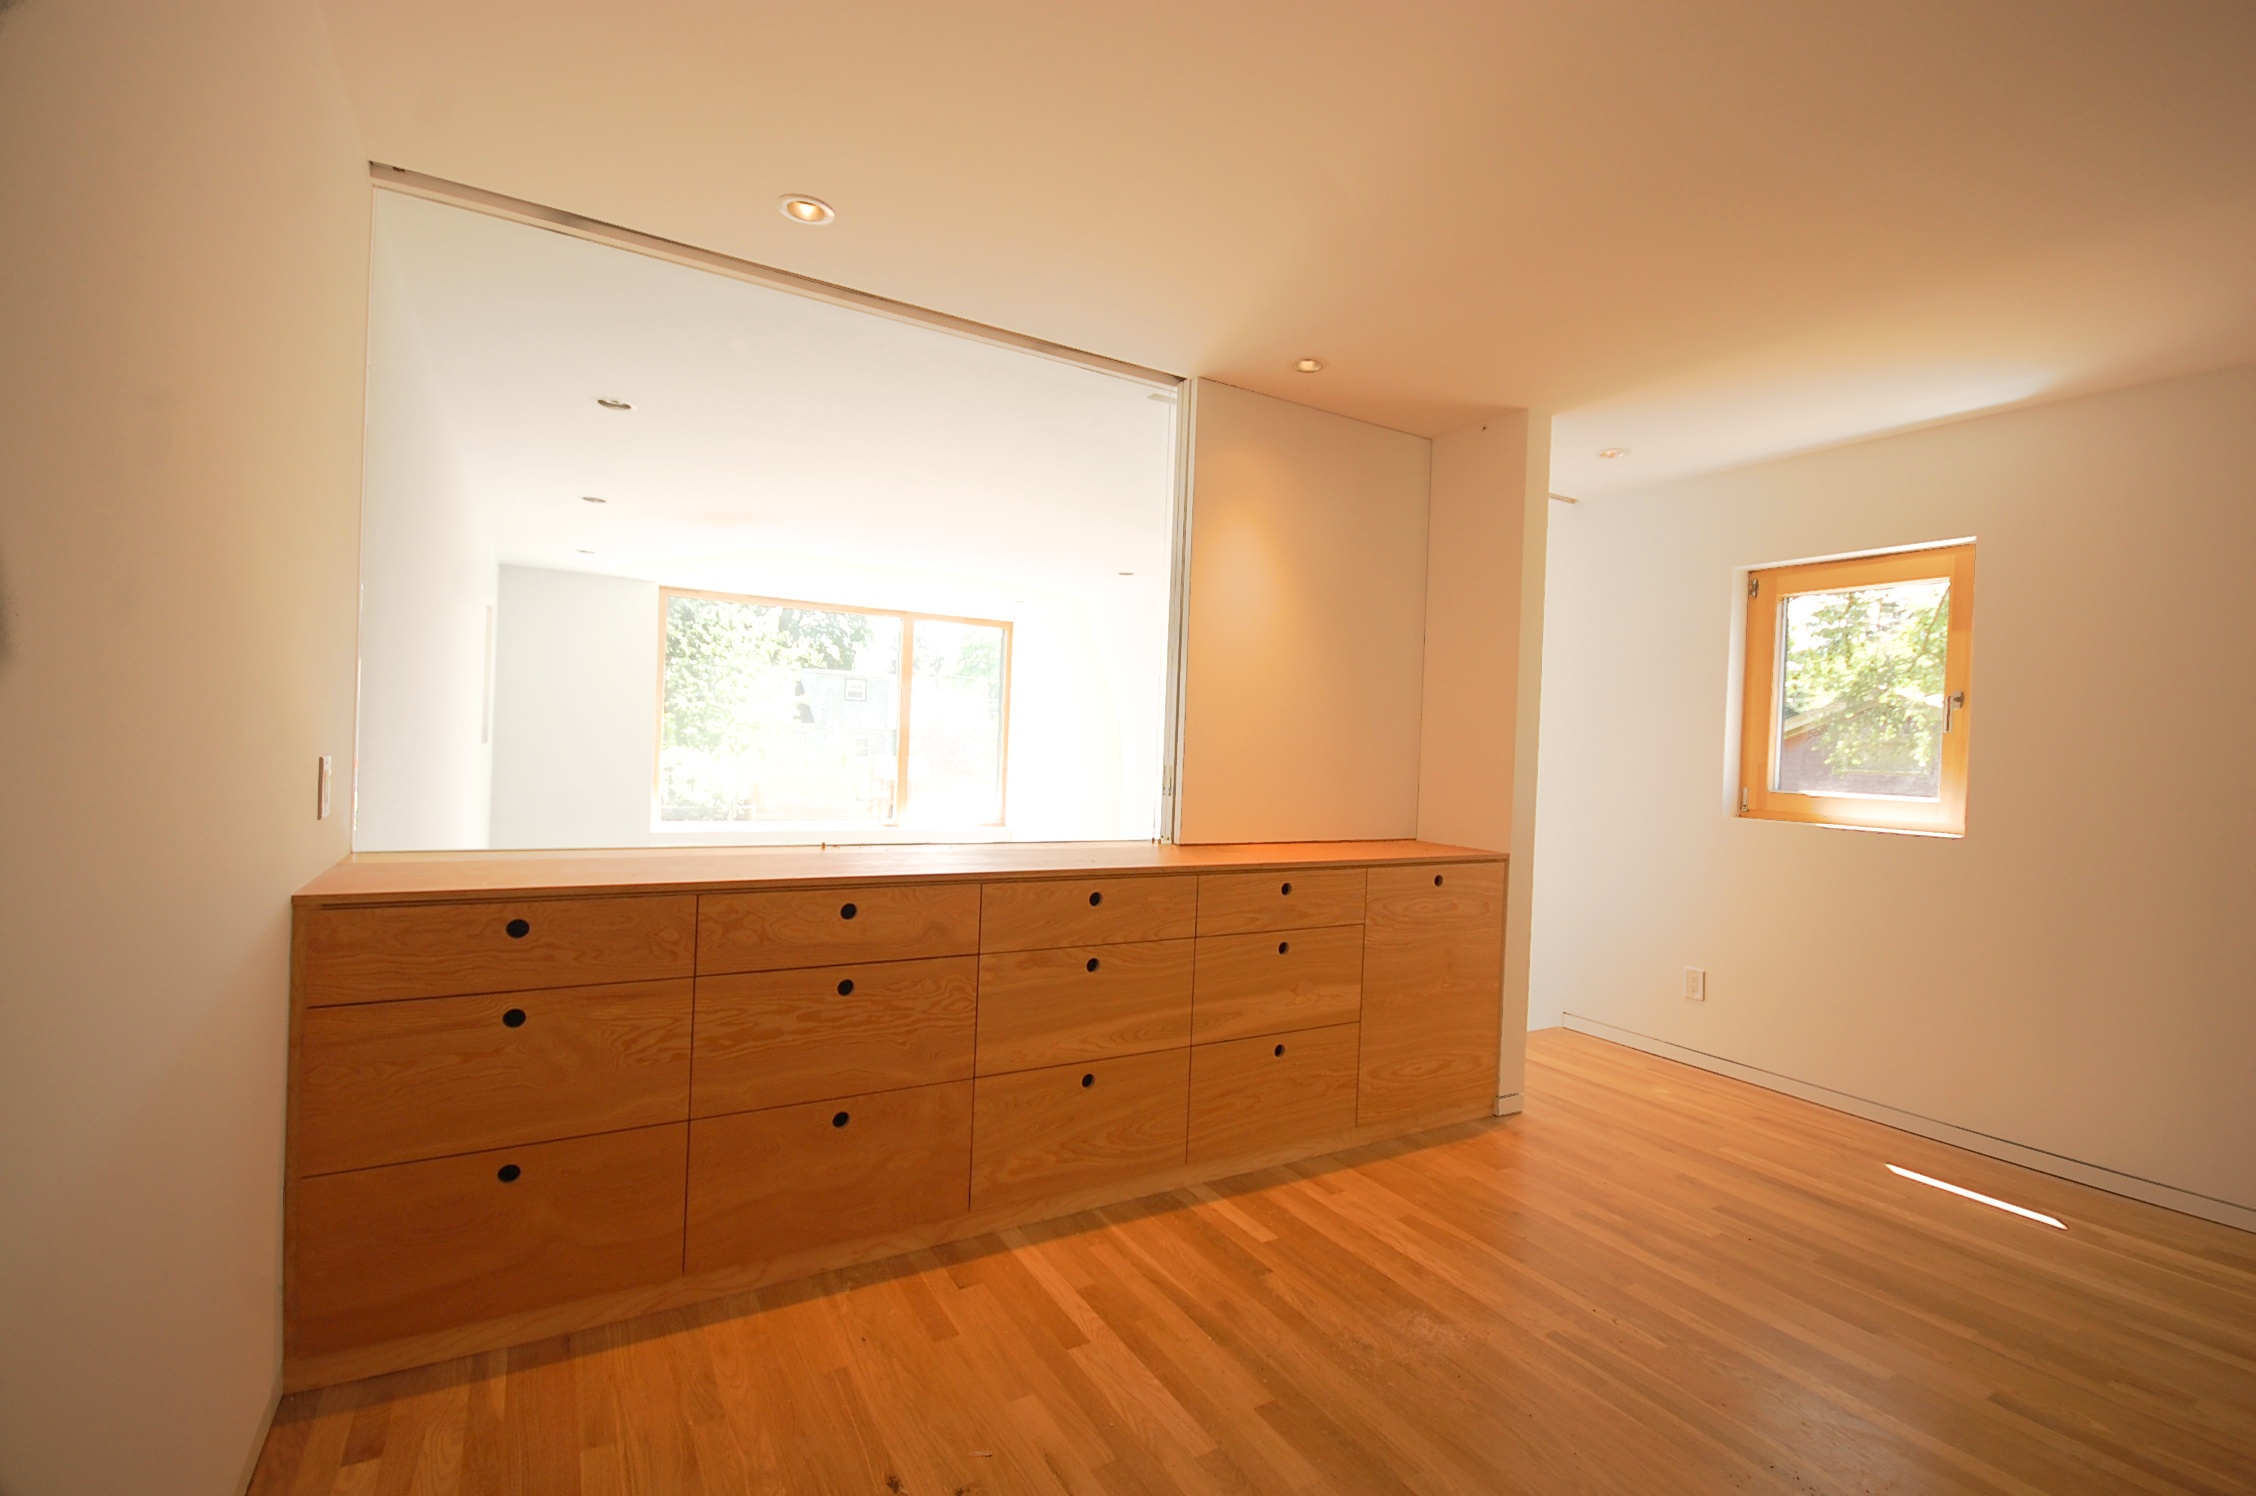


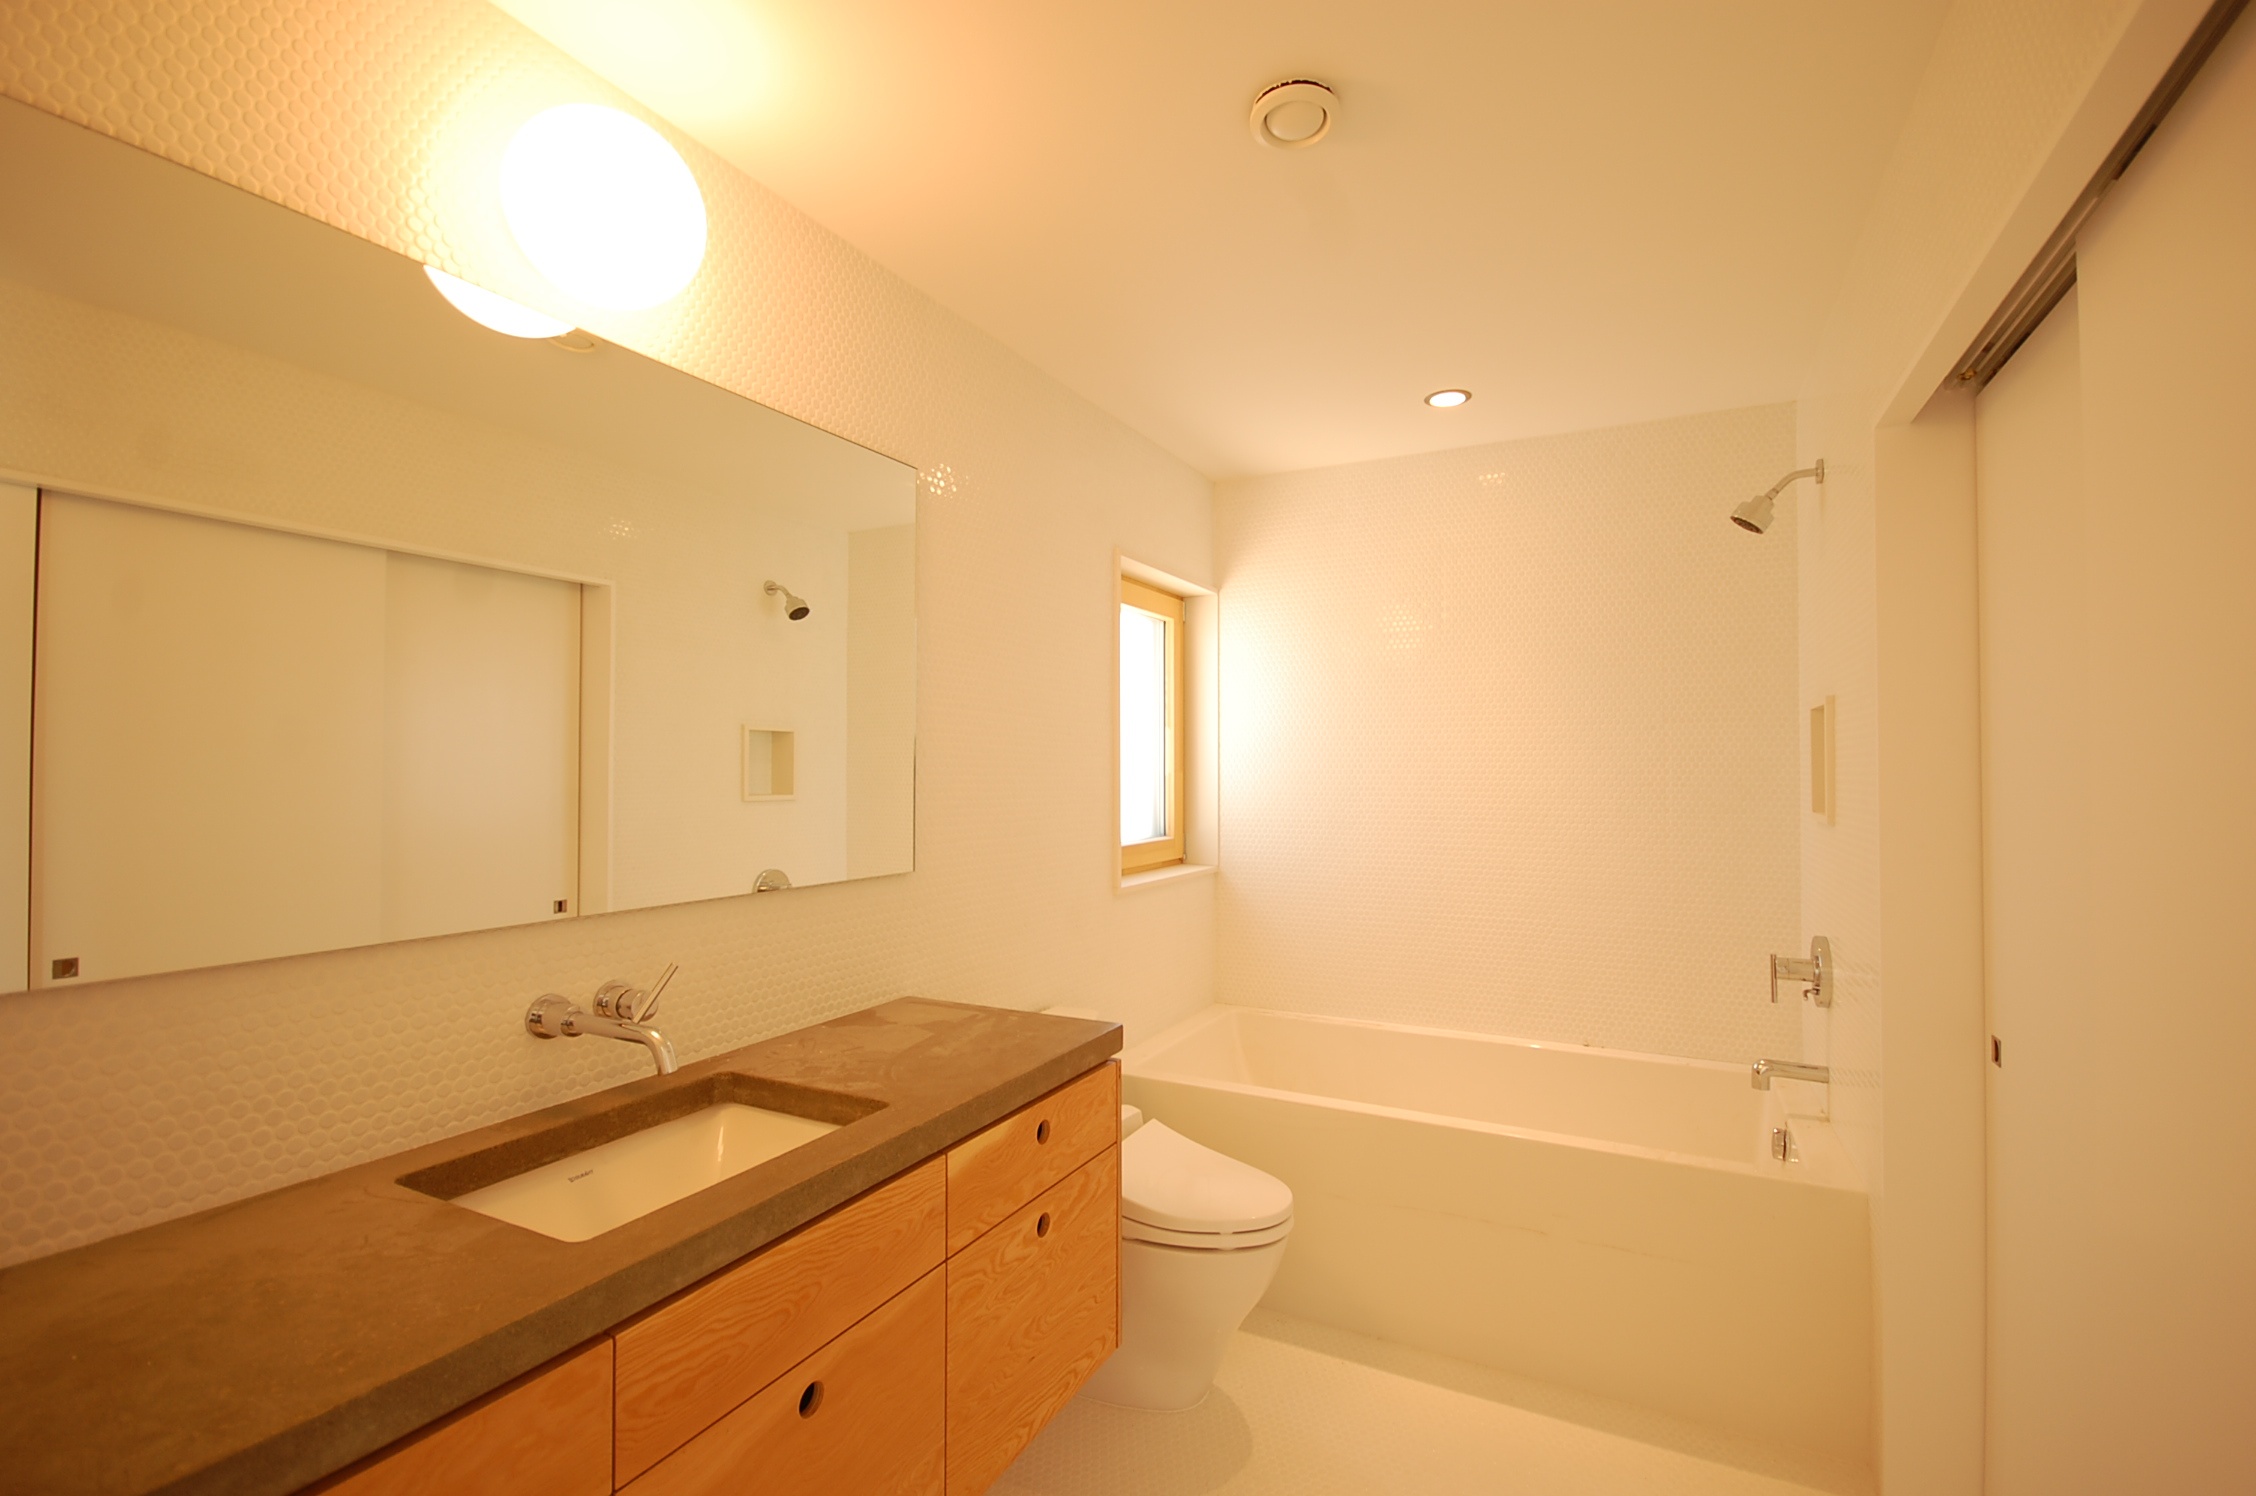


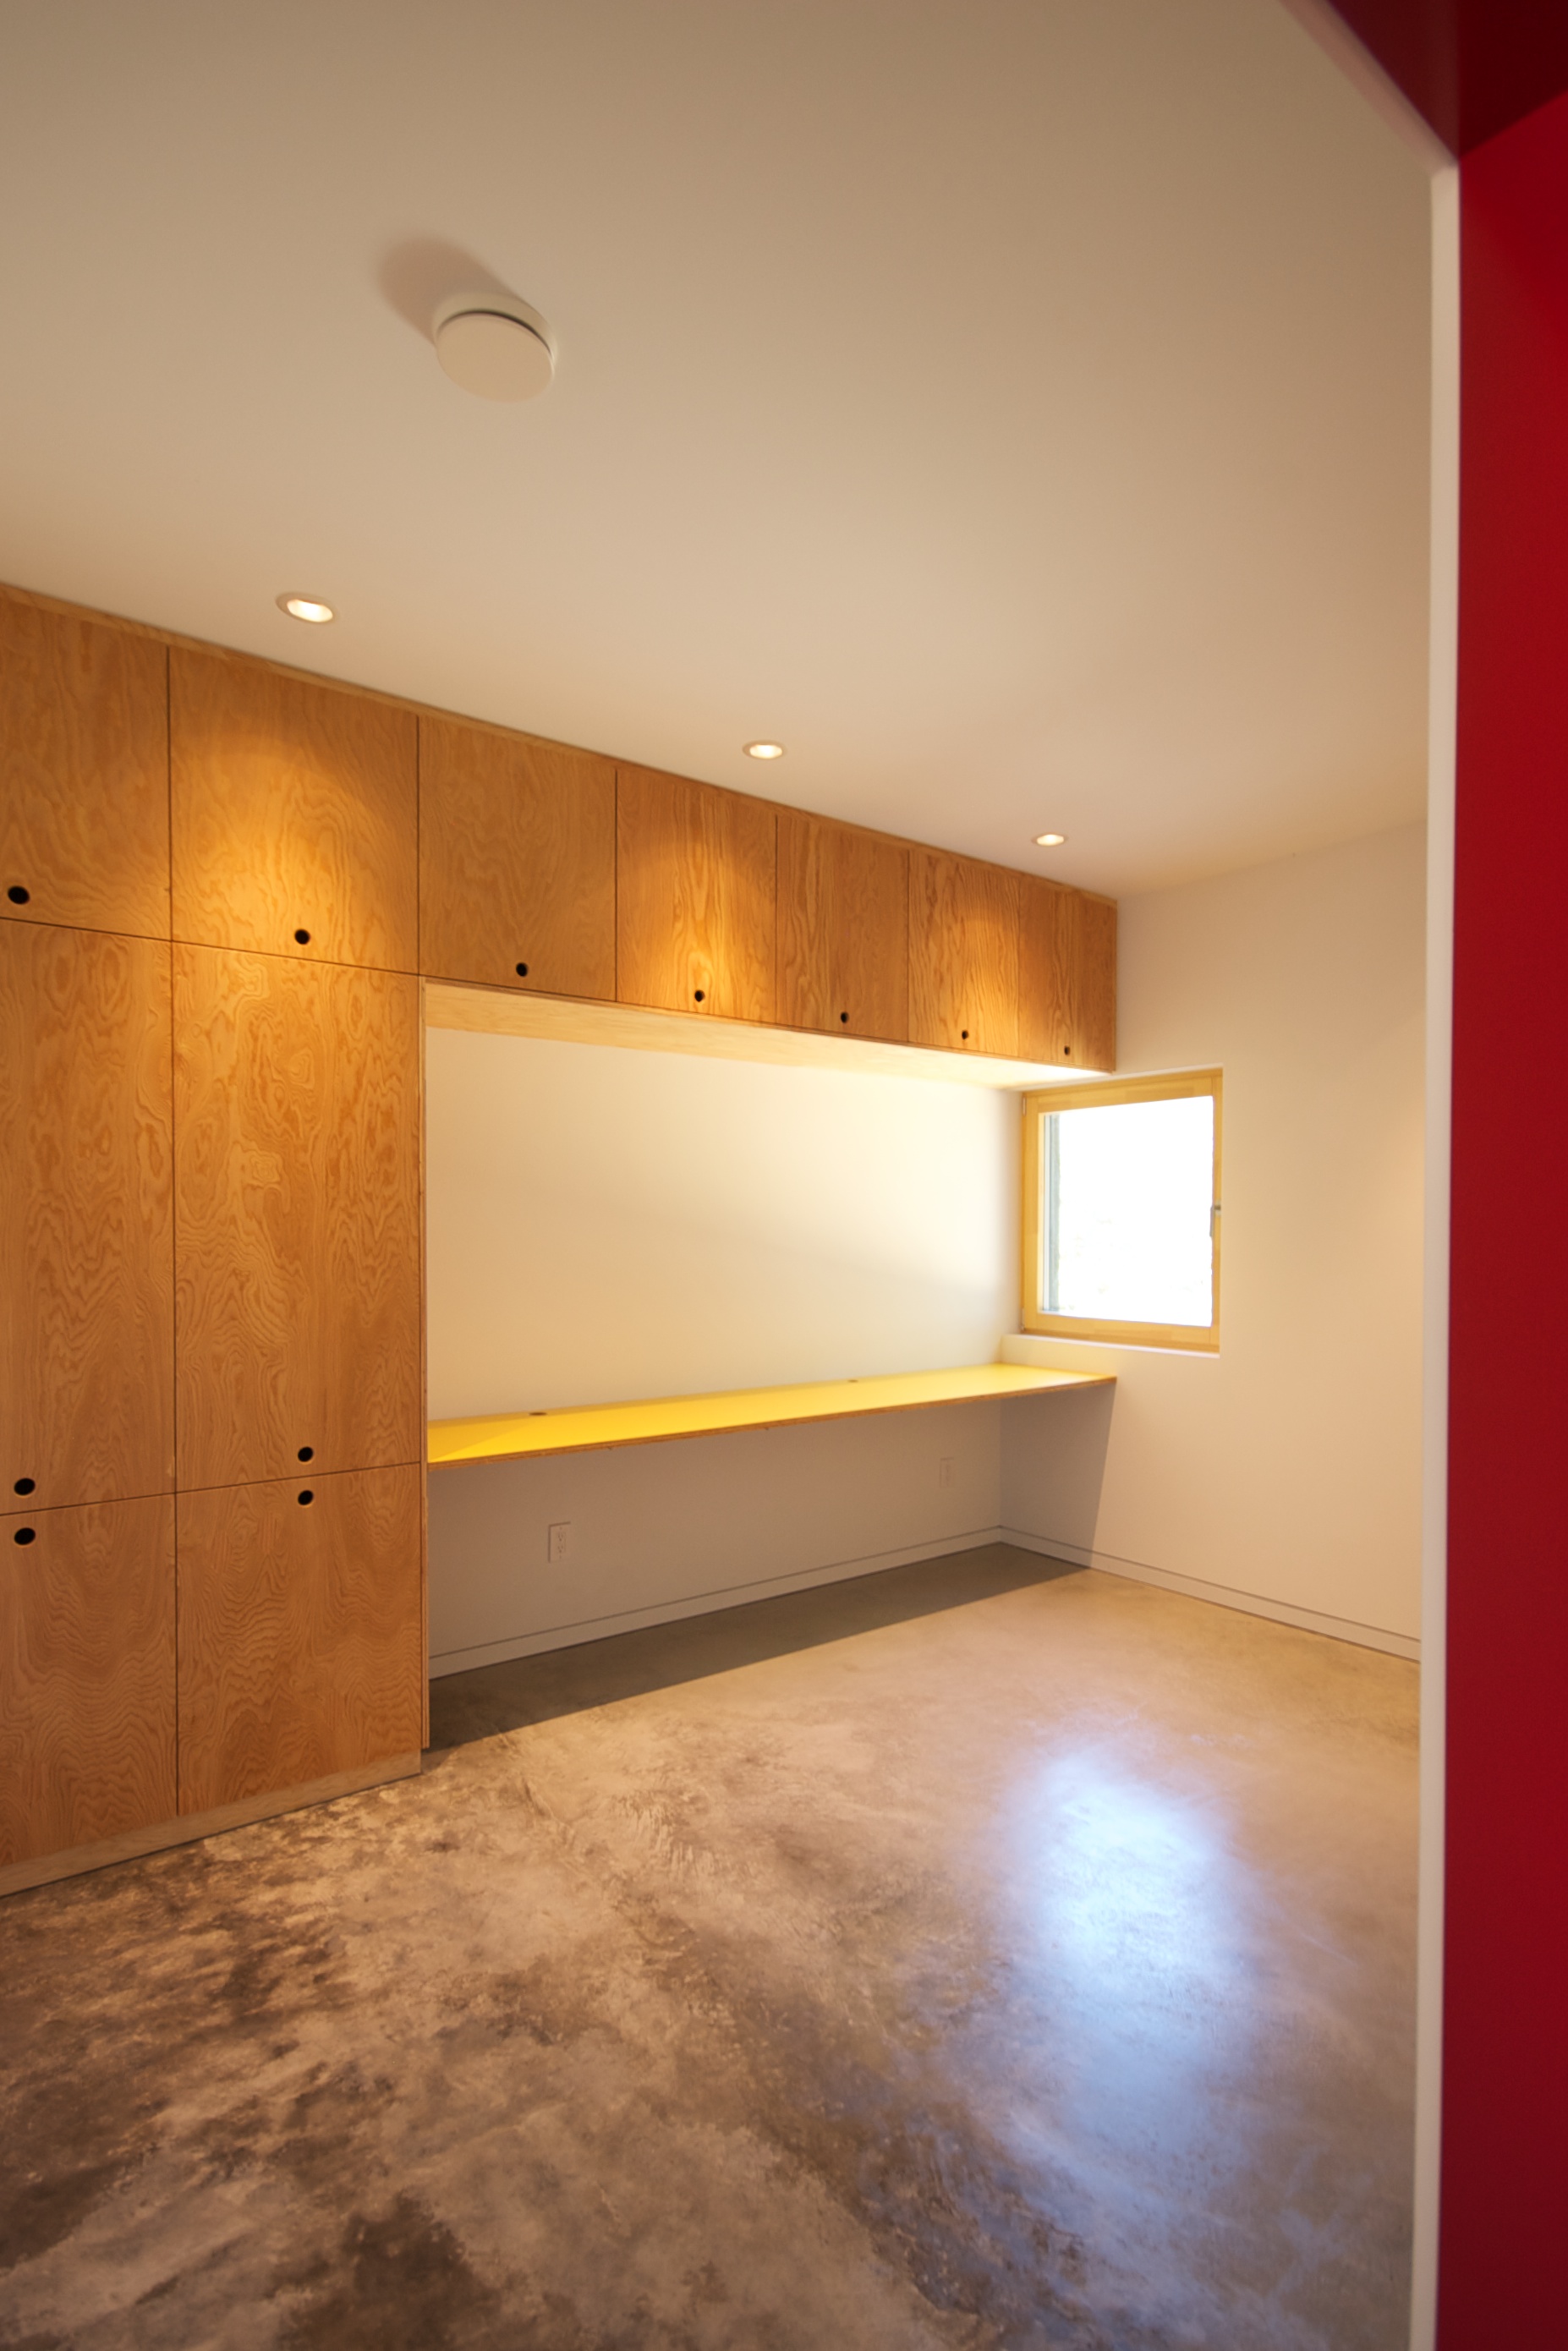
more news, pictures, and the details coming soon.

after almost a year of construction we are excited to say skidmore passivhaus is nearing completion. it's come a long ways since this. here are a few recent shots of the interiors coming together.
more news, pictures, and the details coming soon.
we've been too busy to post for quite awhile, but work has been progressing nicely on the skidmore house. here's a quick look around:


we hope to be putting the final touches on in the next few weeks. lots of catching up to do. check back soon for more on this project and others.
rough-in work has wrapped up on skidmore passivhaus and it's time to look at a few of the features under the hood. this new airtight home (or shall we say leak-free) is equipped with mechanical lungs.
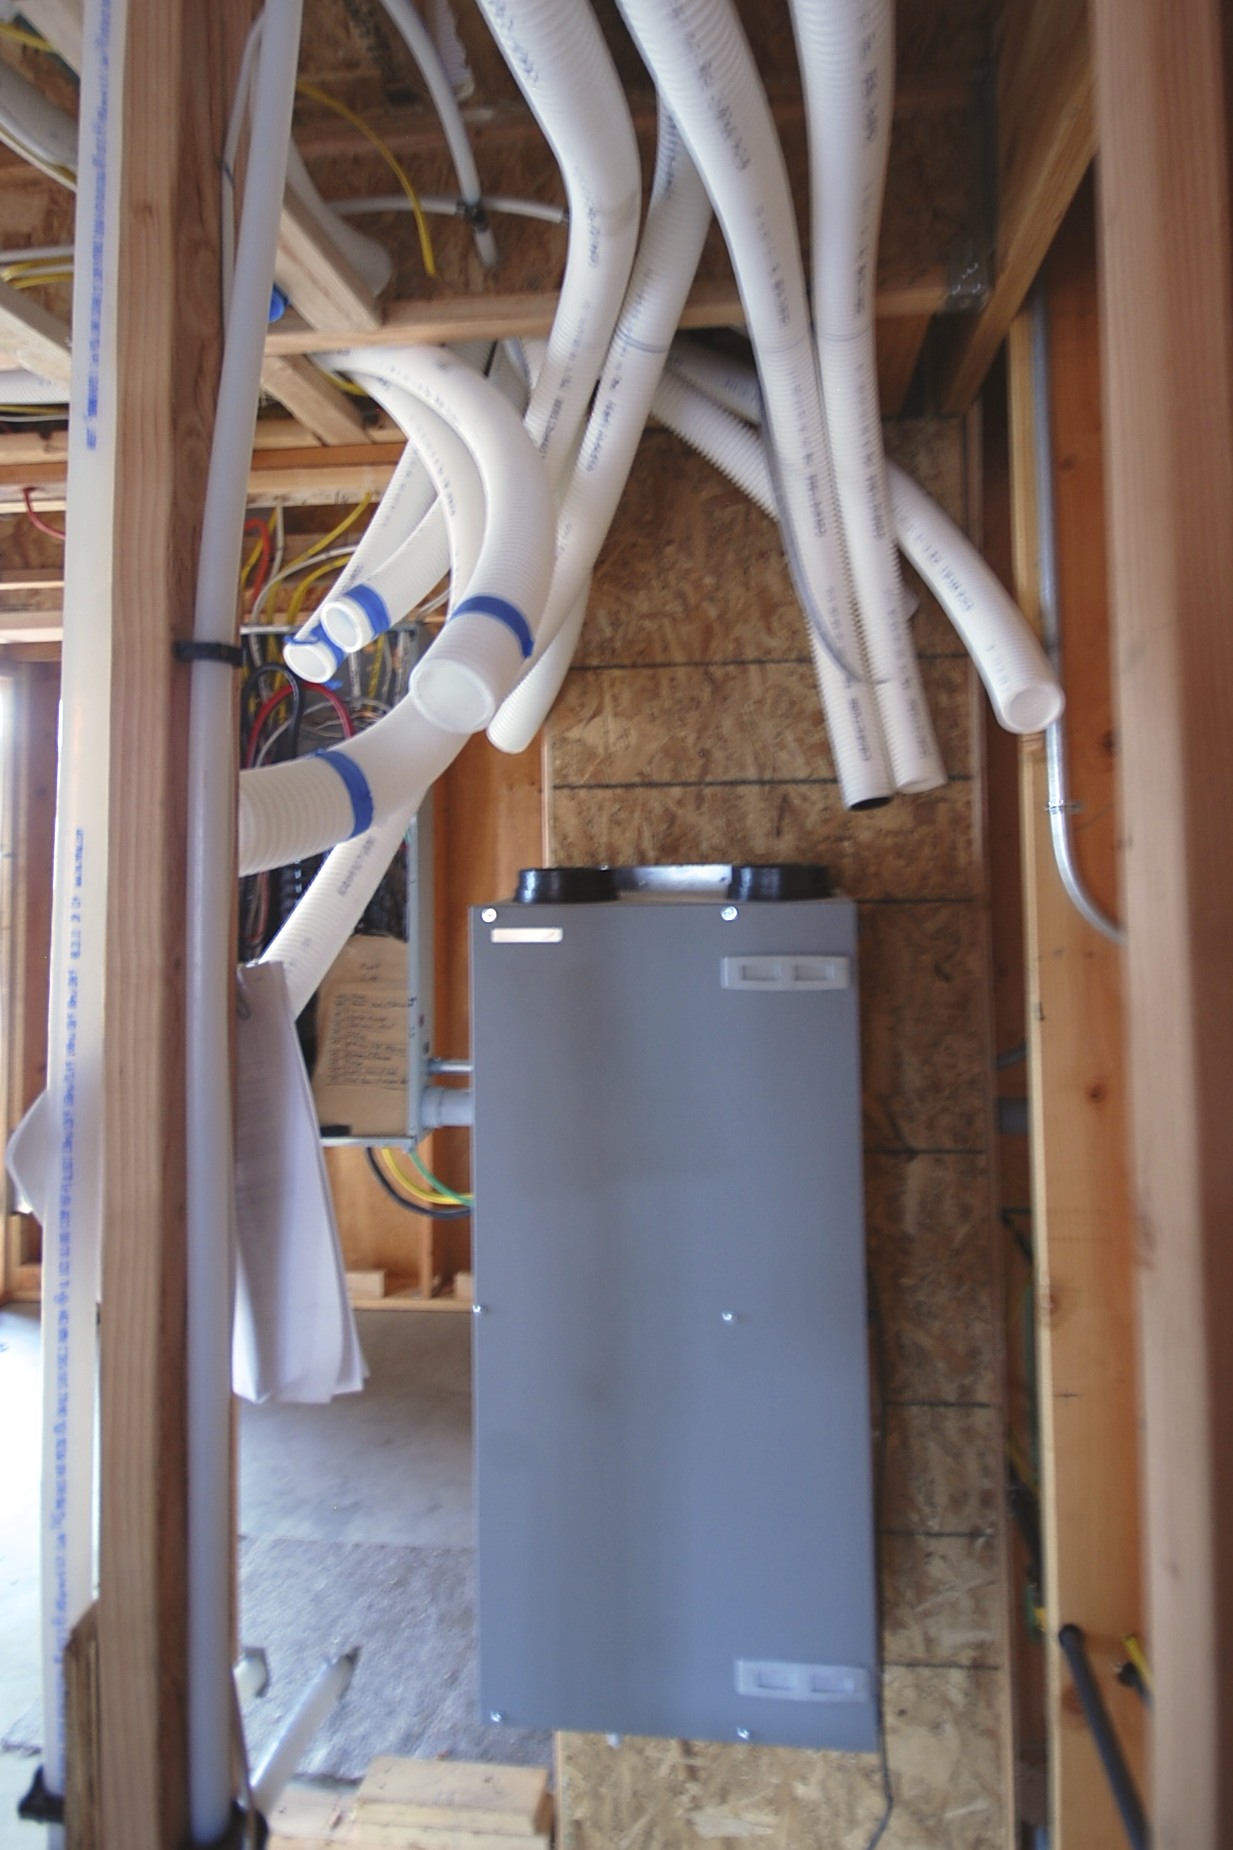
we chose the PH certified zehnder comfoair 200 hrv, capable of producing up to 125 cfm of continuous ventilation. this project requires about 70 cfm (60% setting) to achieve .31 air changes per hour (or roughly 1 air change every 3 hours).
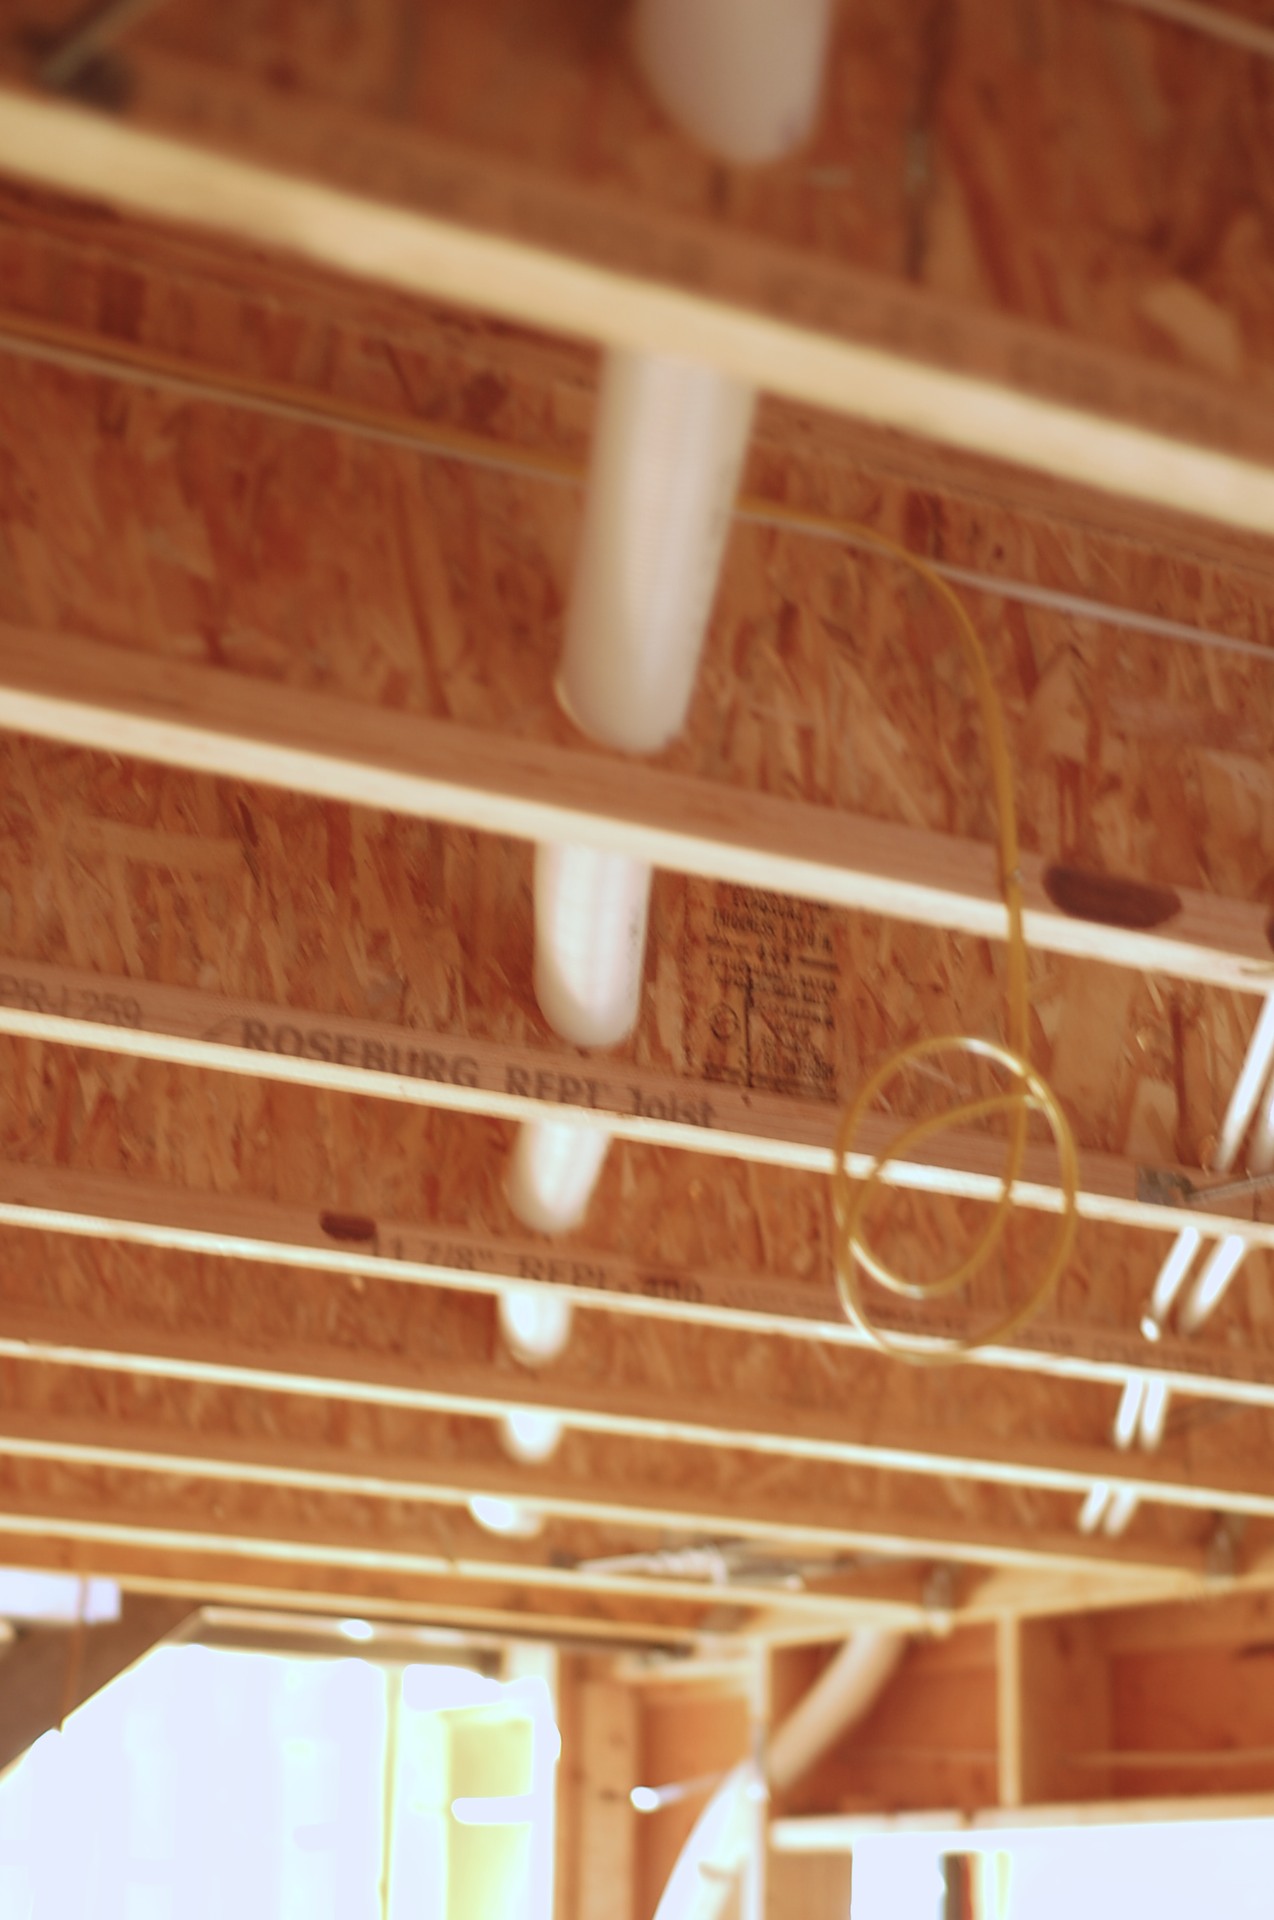
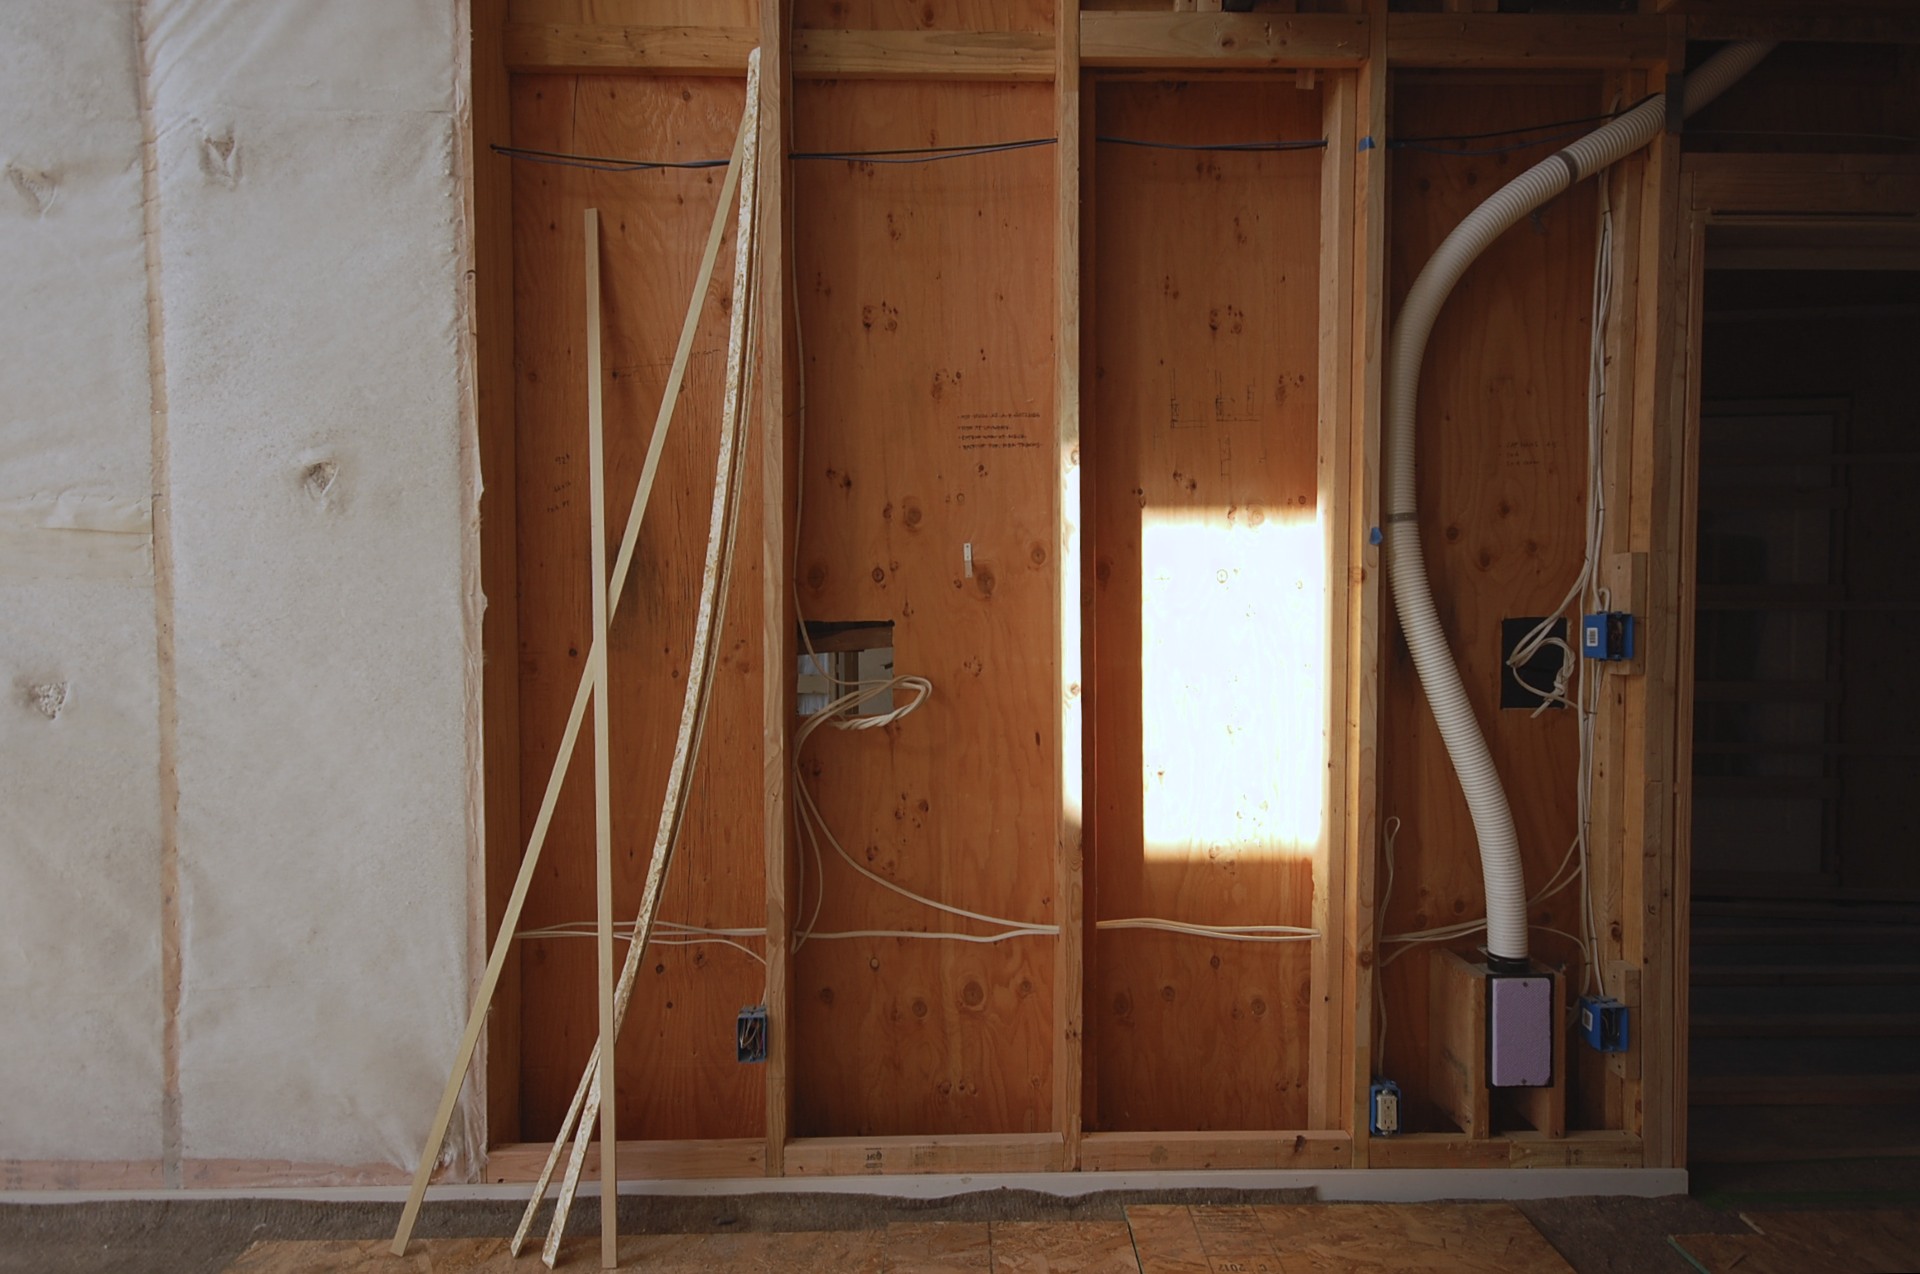
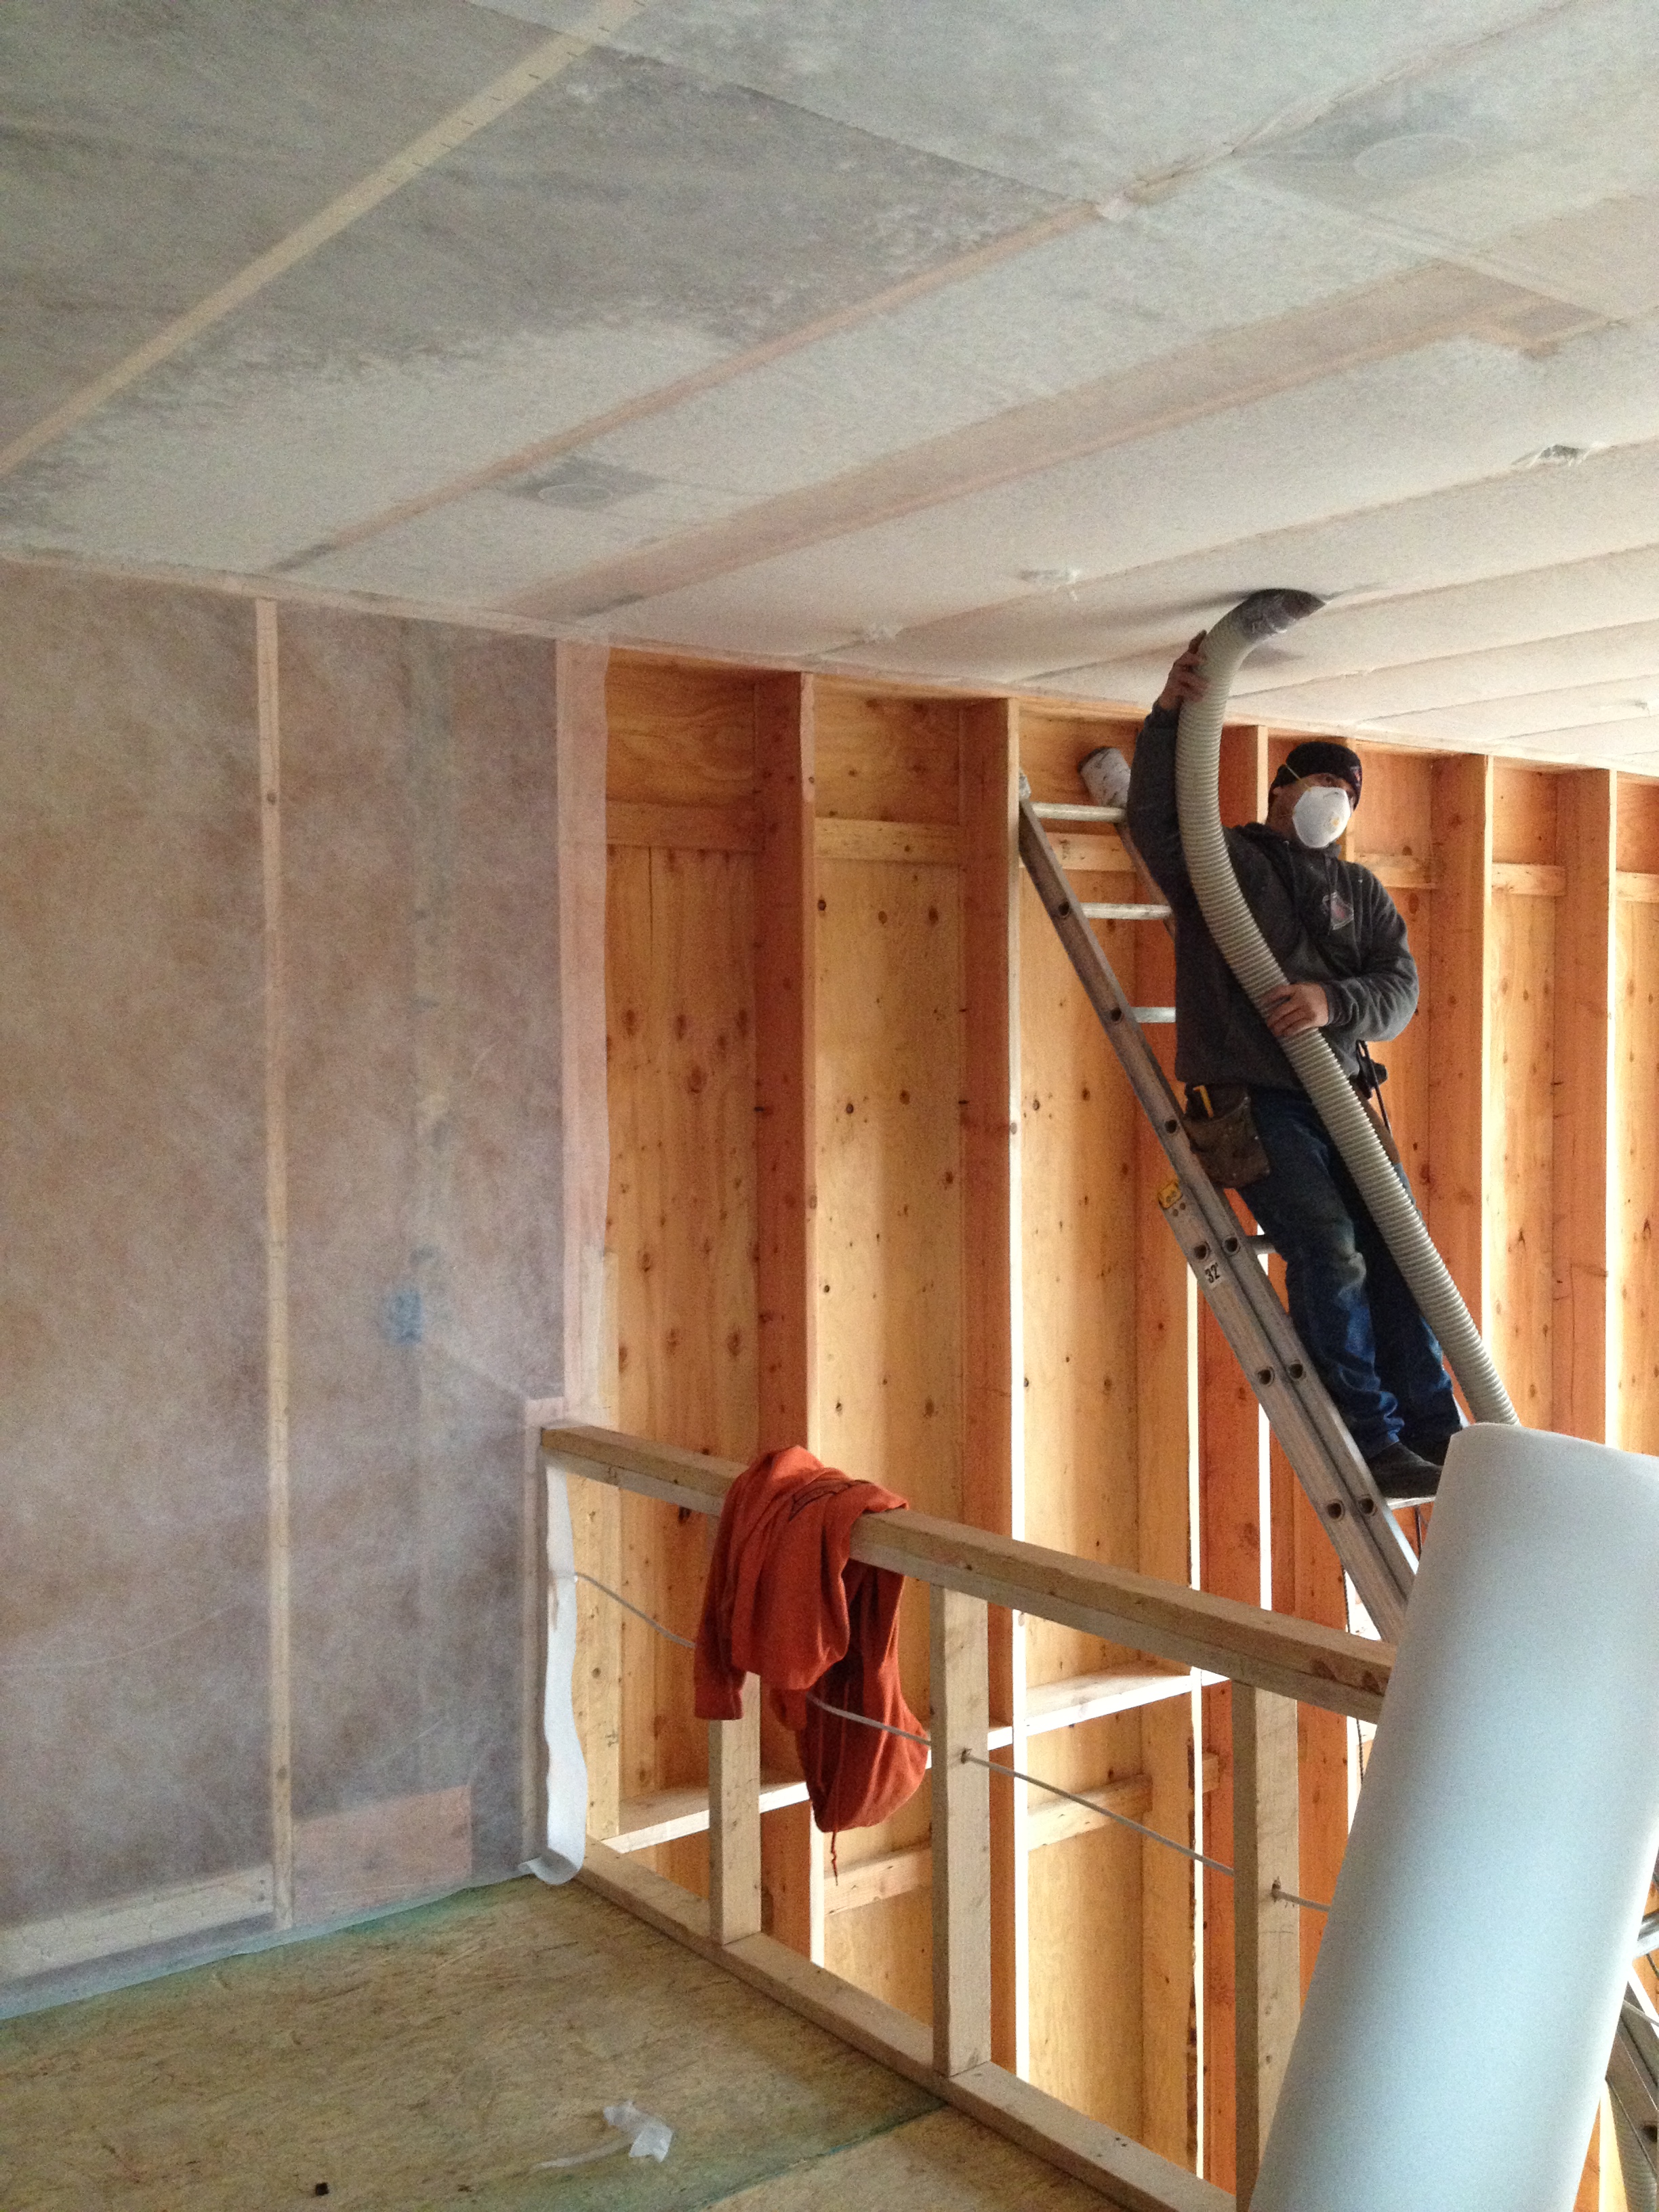
the 3" flexible ductwork is a double-walled proprietary system called comfotube made by zehnder. very easy and fast to install. the goal is to keep the runs as short and straight as possible.
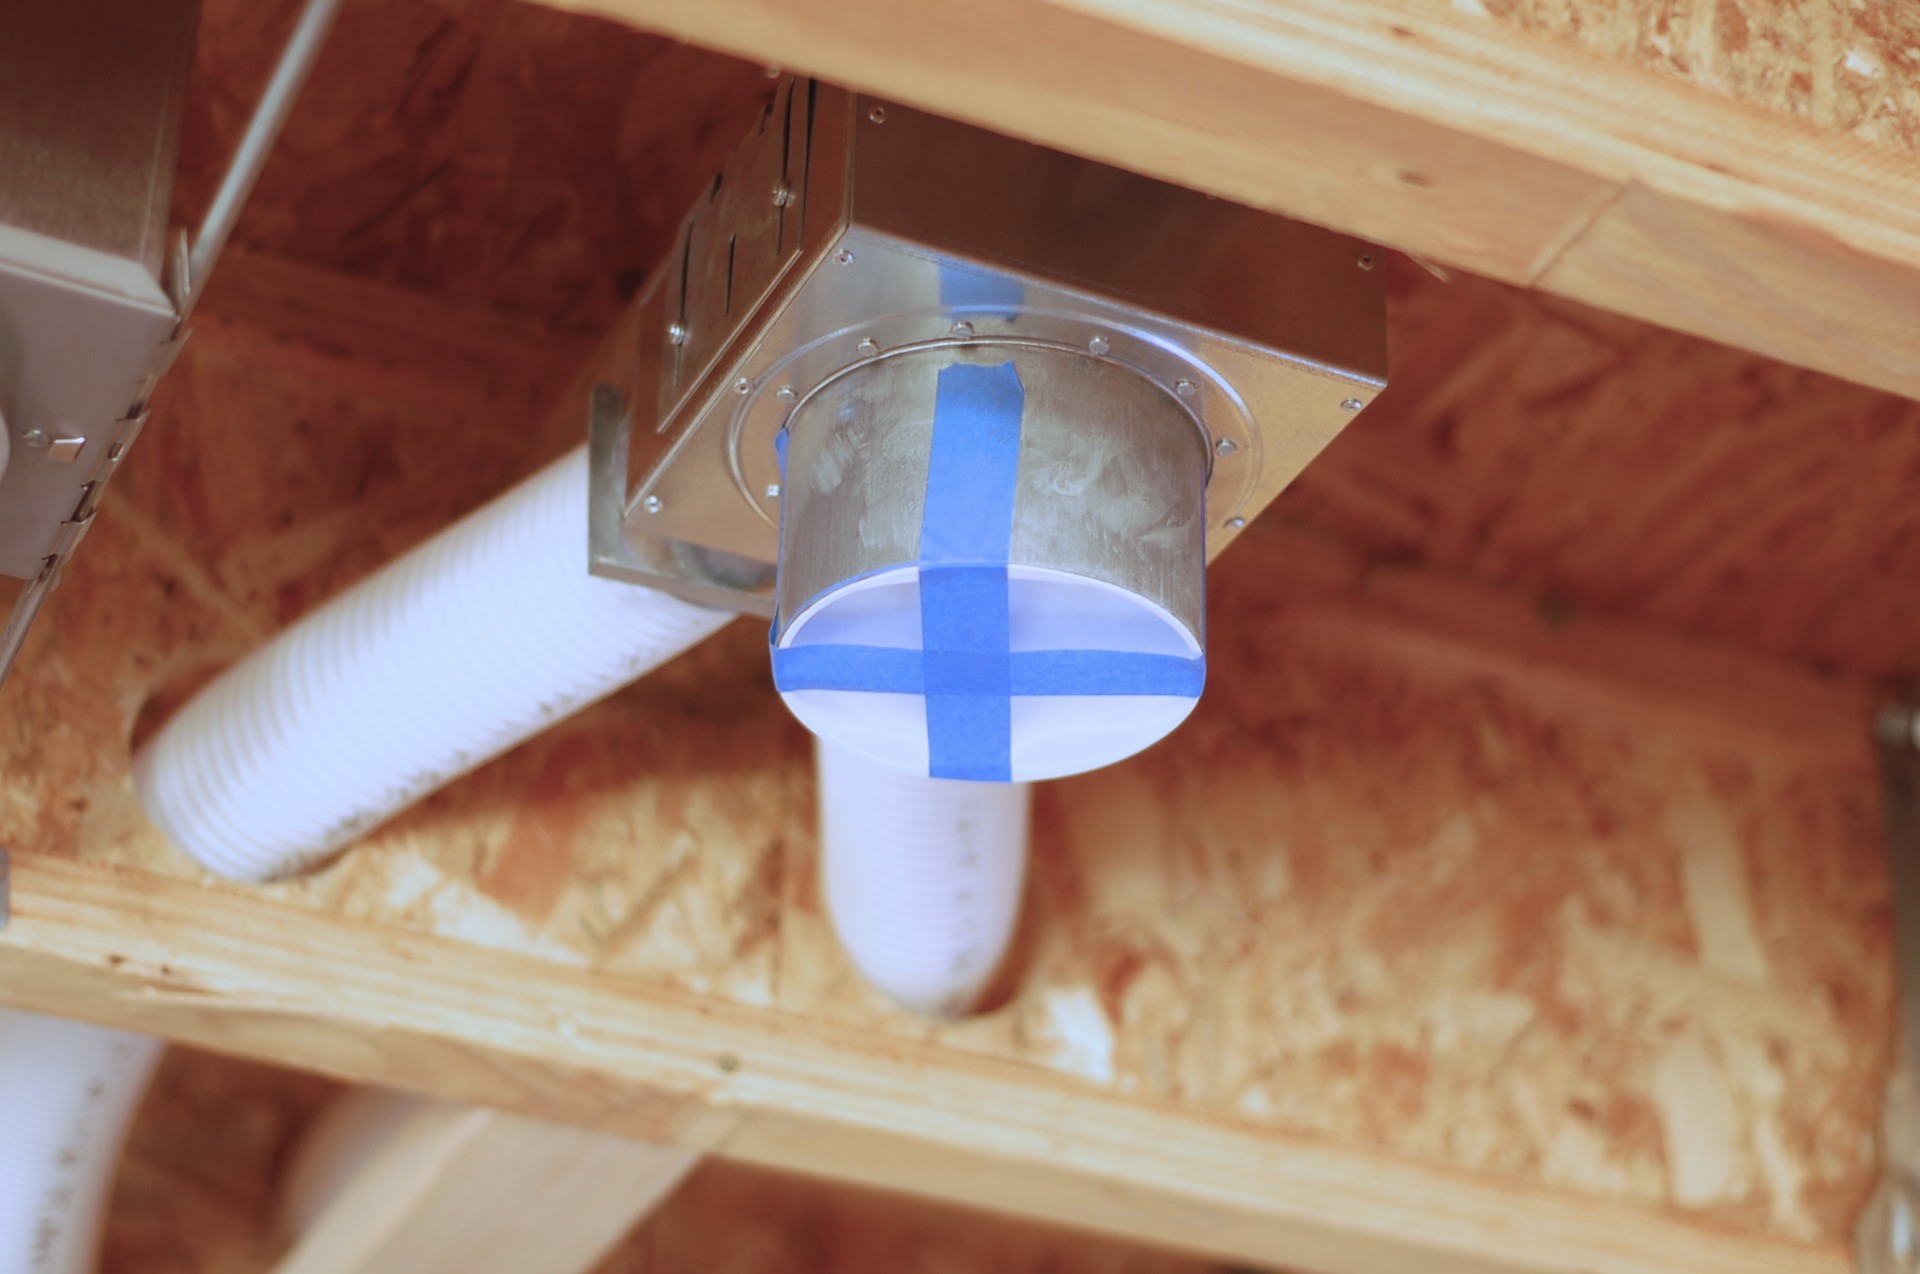
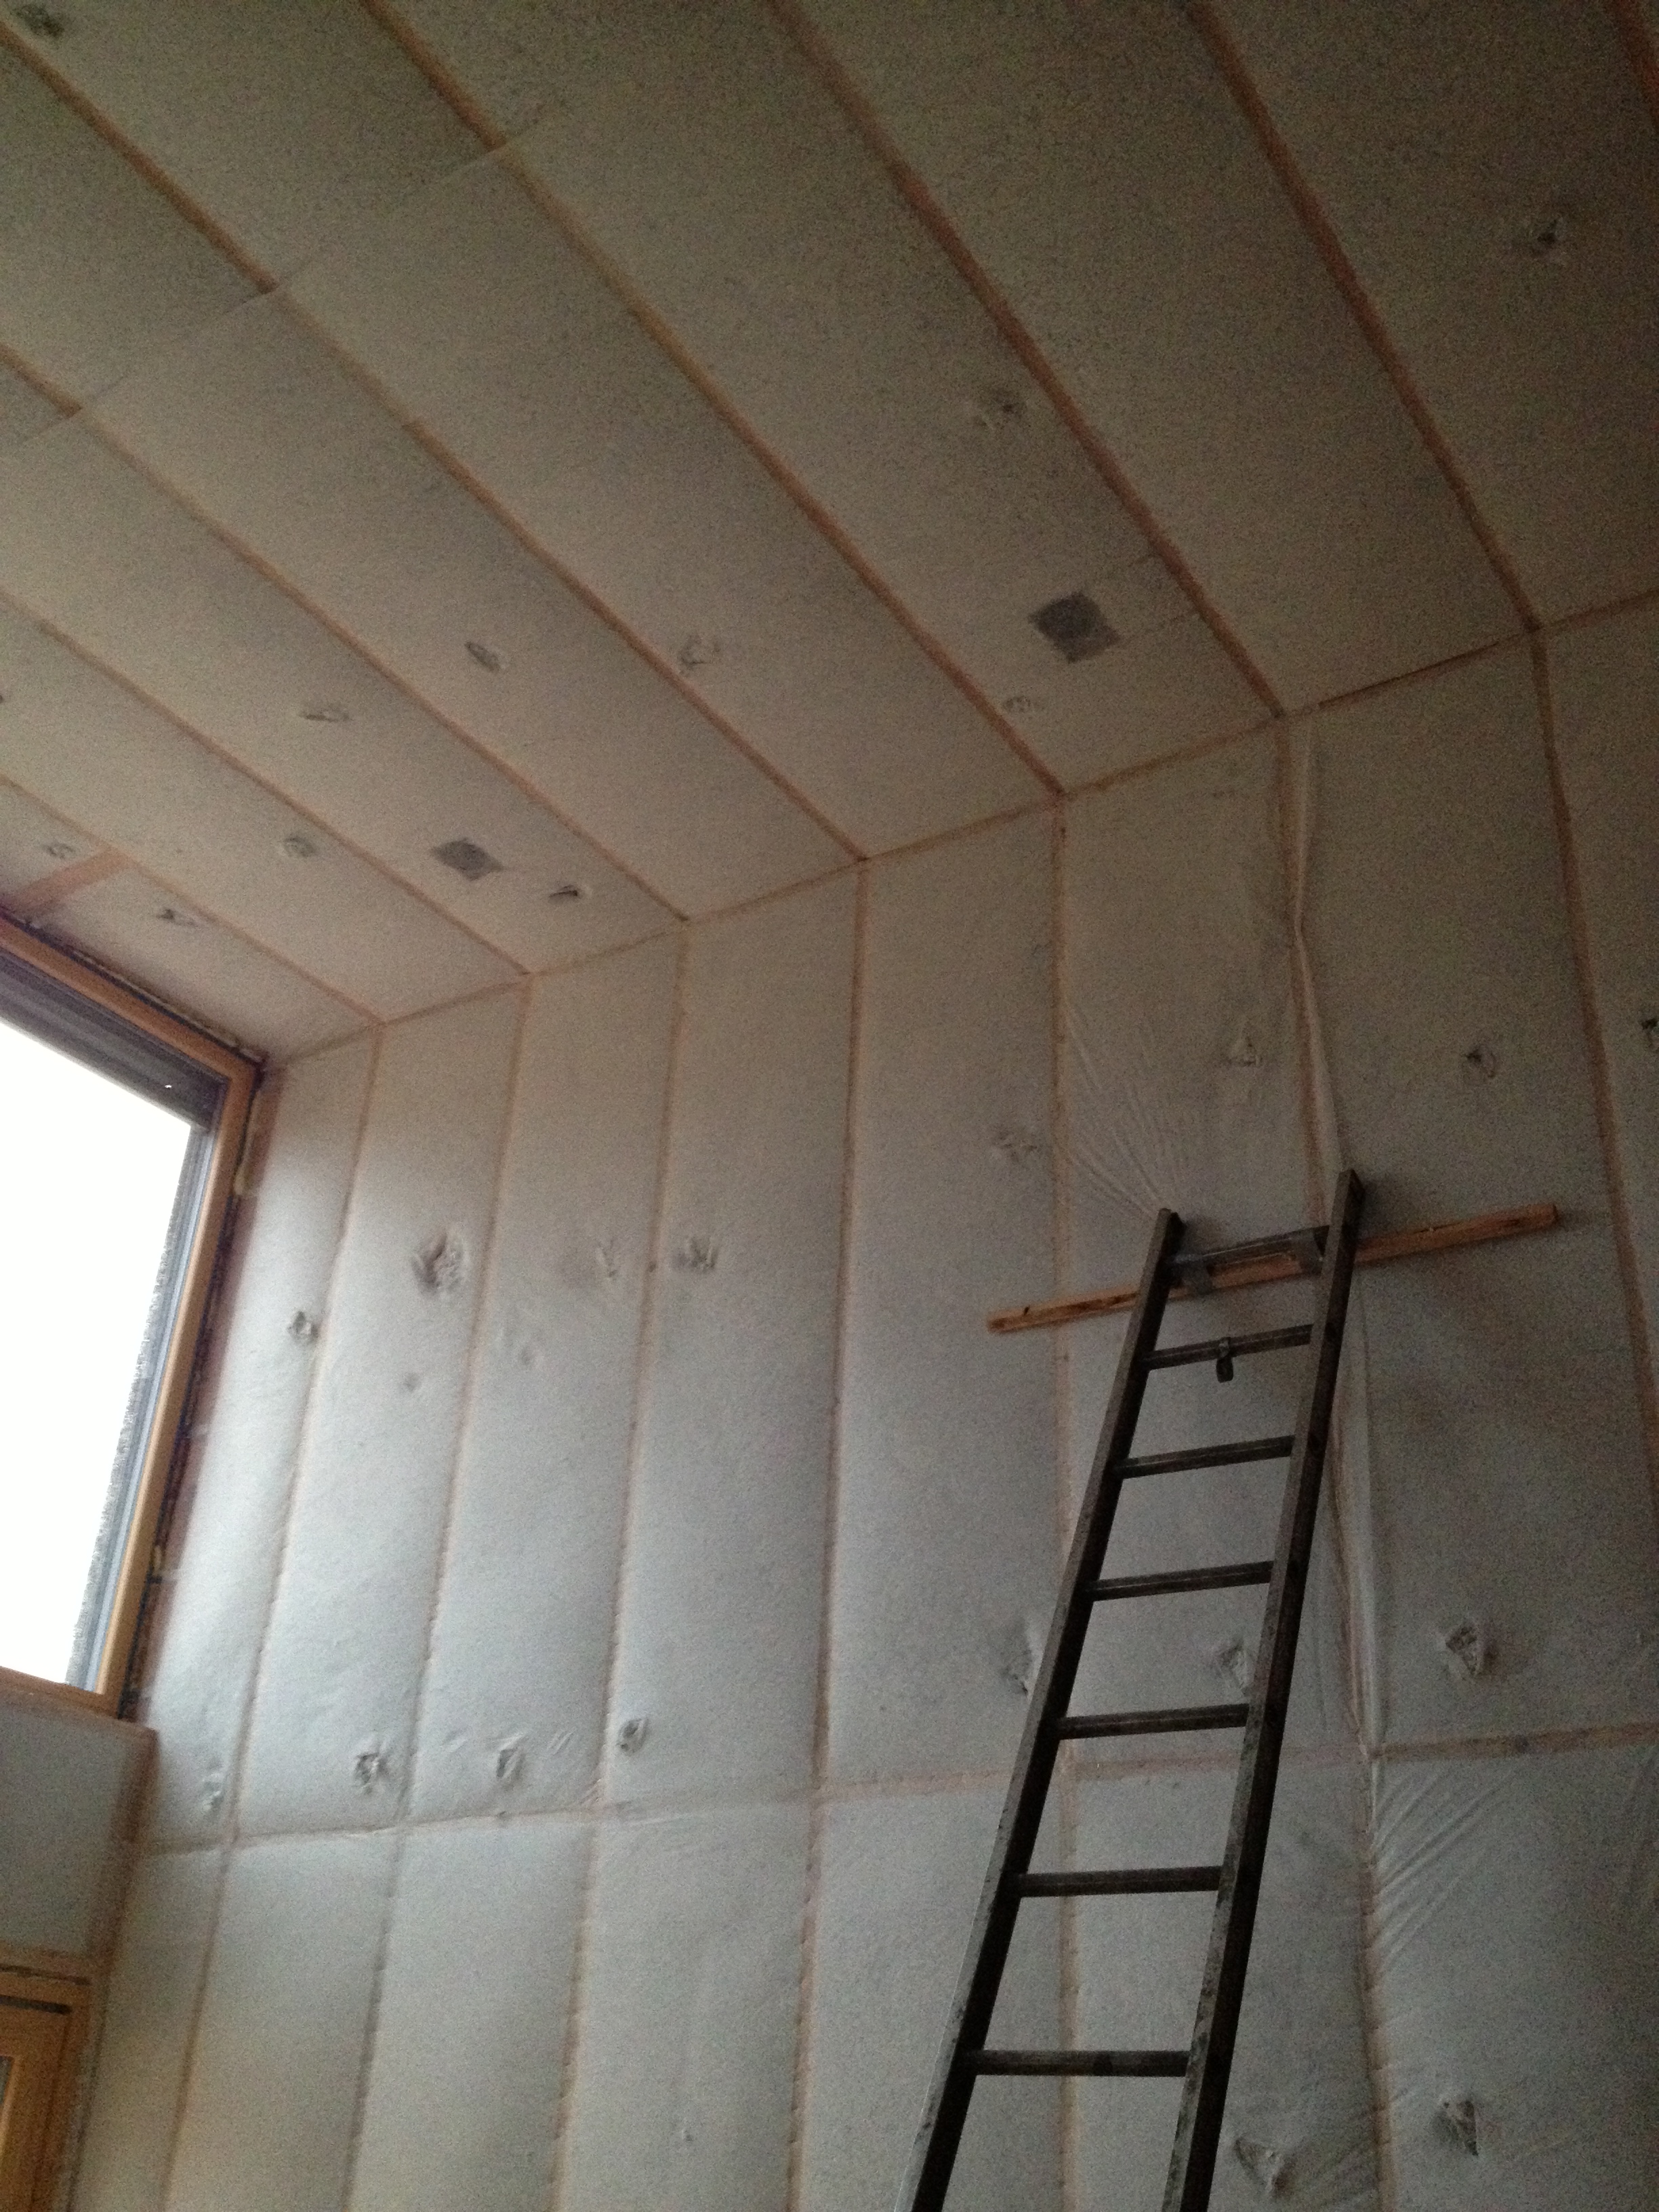
the round ceiling rough-in boxes are used for either supply or exhaust air. either 1 tube or 2 tubes are connected depending on the cfm requirements. exhausts are located in the bathrooms (20 cfm continuous) and kitchen (30 cfm continuous). we have 3 exhaust locations - each with 2 tubes. there are 4 supply locations.
supply air is typically provided at the ceilings but we have a low supply register in the double height living room.

the tubing terminates in the ceiling of the mechanical room. 6 supply tubes and 6 exhaust tubes. manifolds gather the supply and exhaust tubes respectively and connect them to the unit.
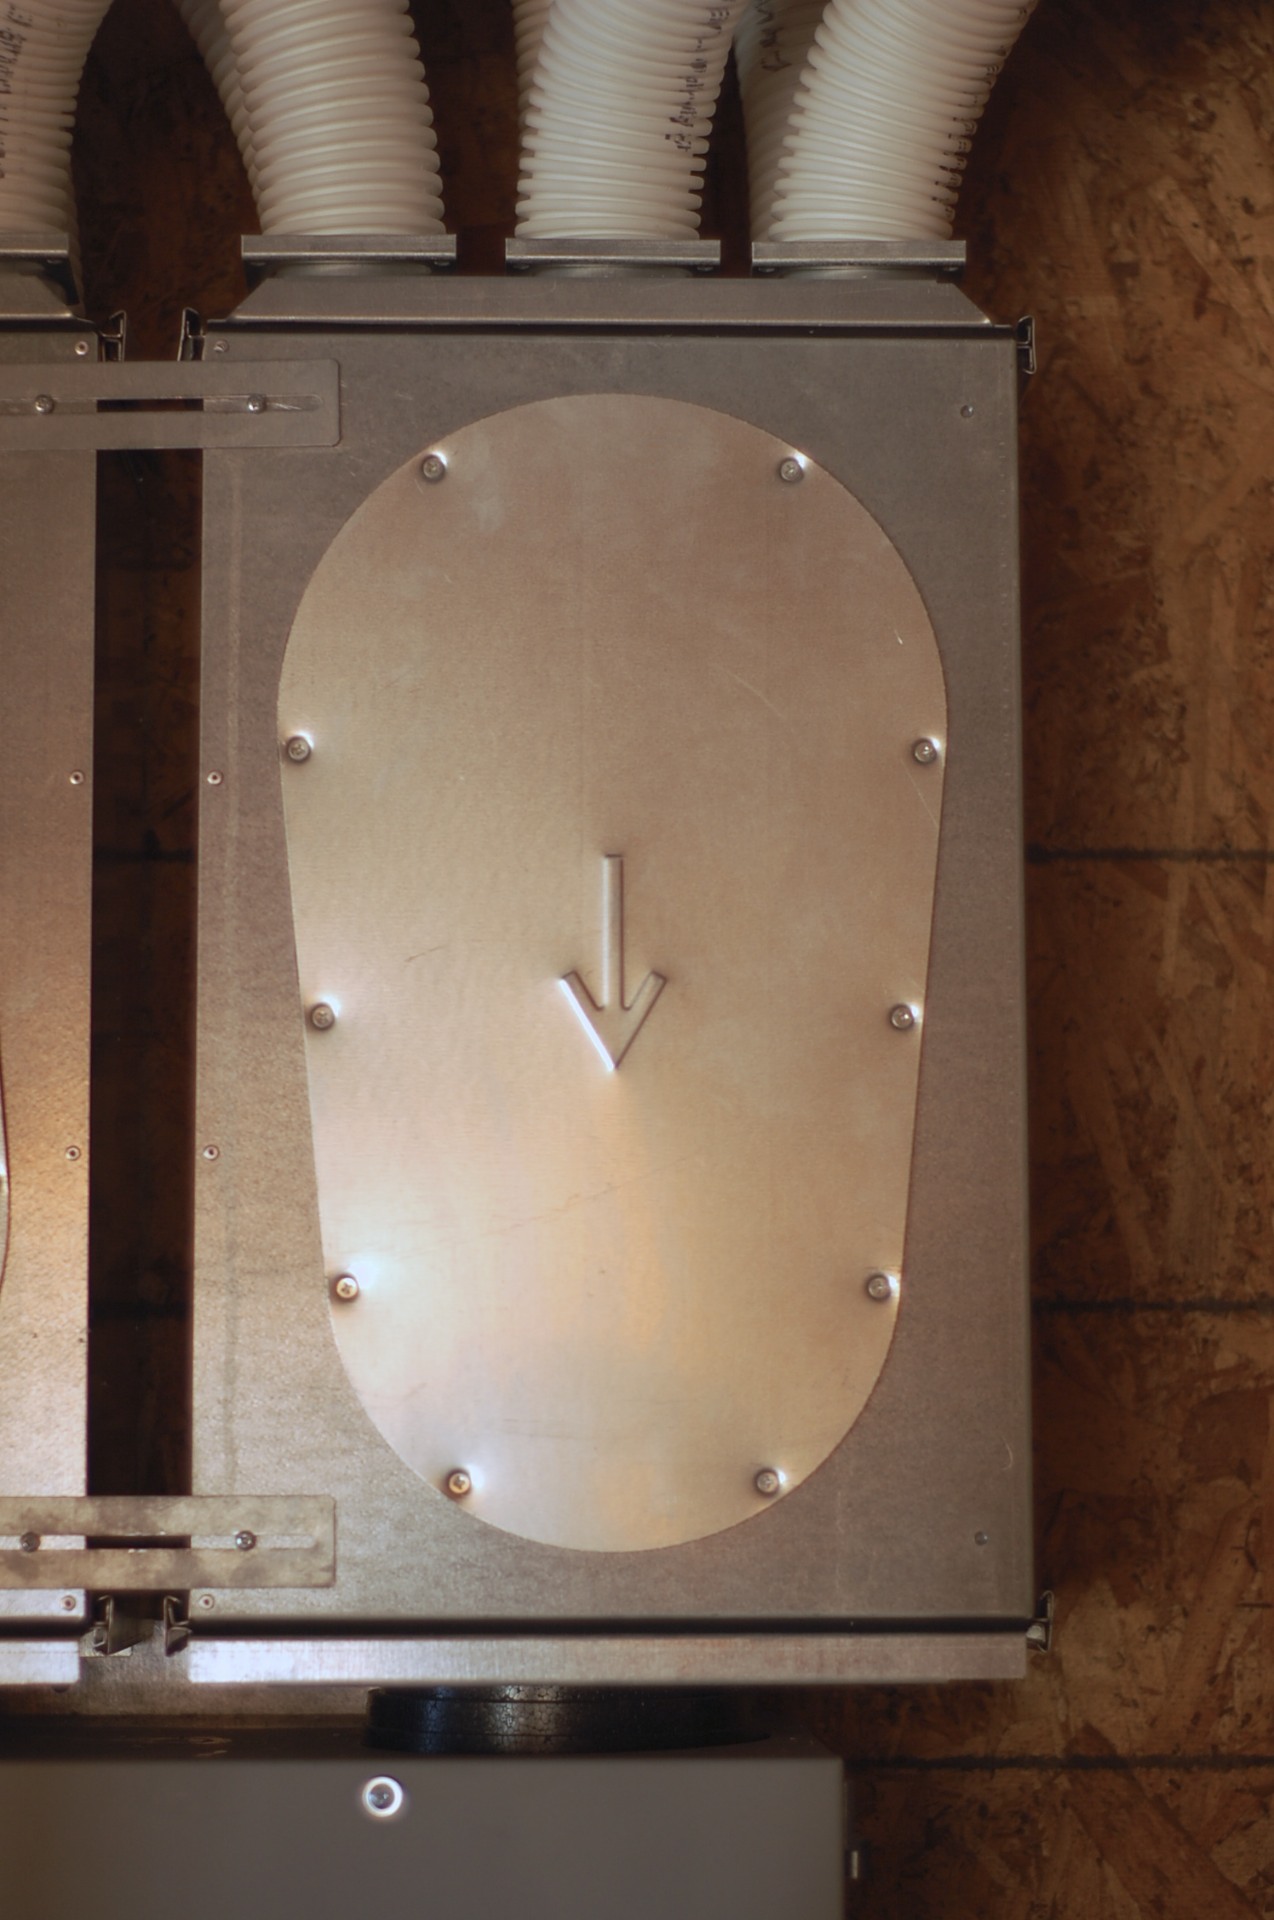
exhaust air flows through the machine, the heat is captured in the core, and the air is expelled to the outside.

fresh air is brought into the machine from the exterior, and warmed by the heat captured from the outgoing air. the zehnder is about 92% efficient and uses just 7.1 watts / cfm.
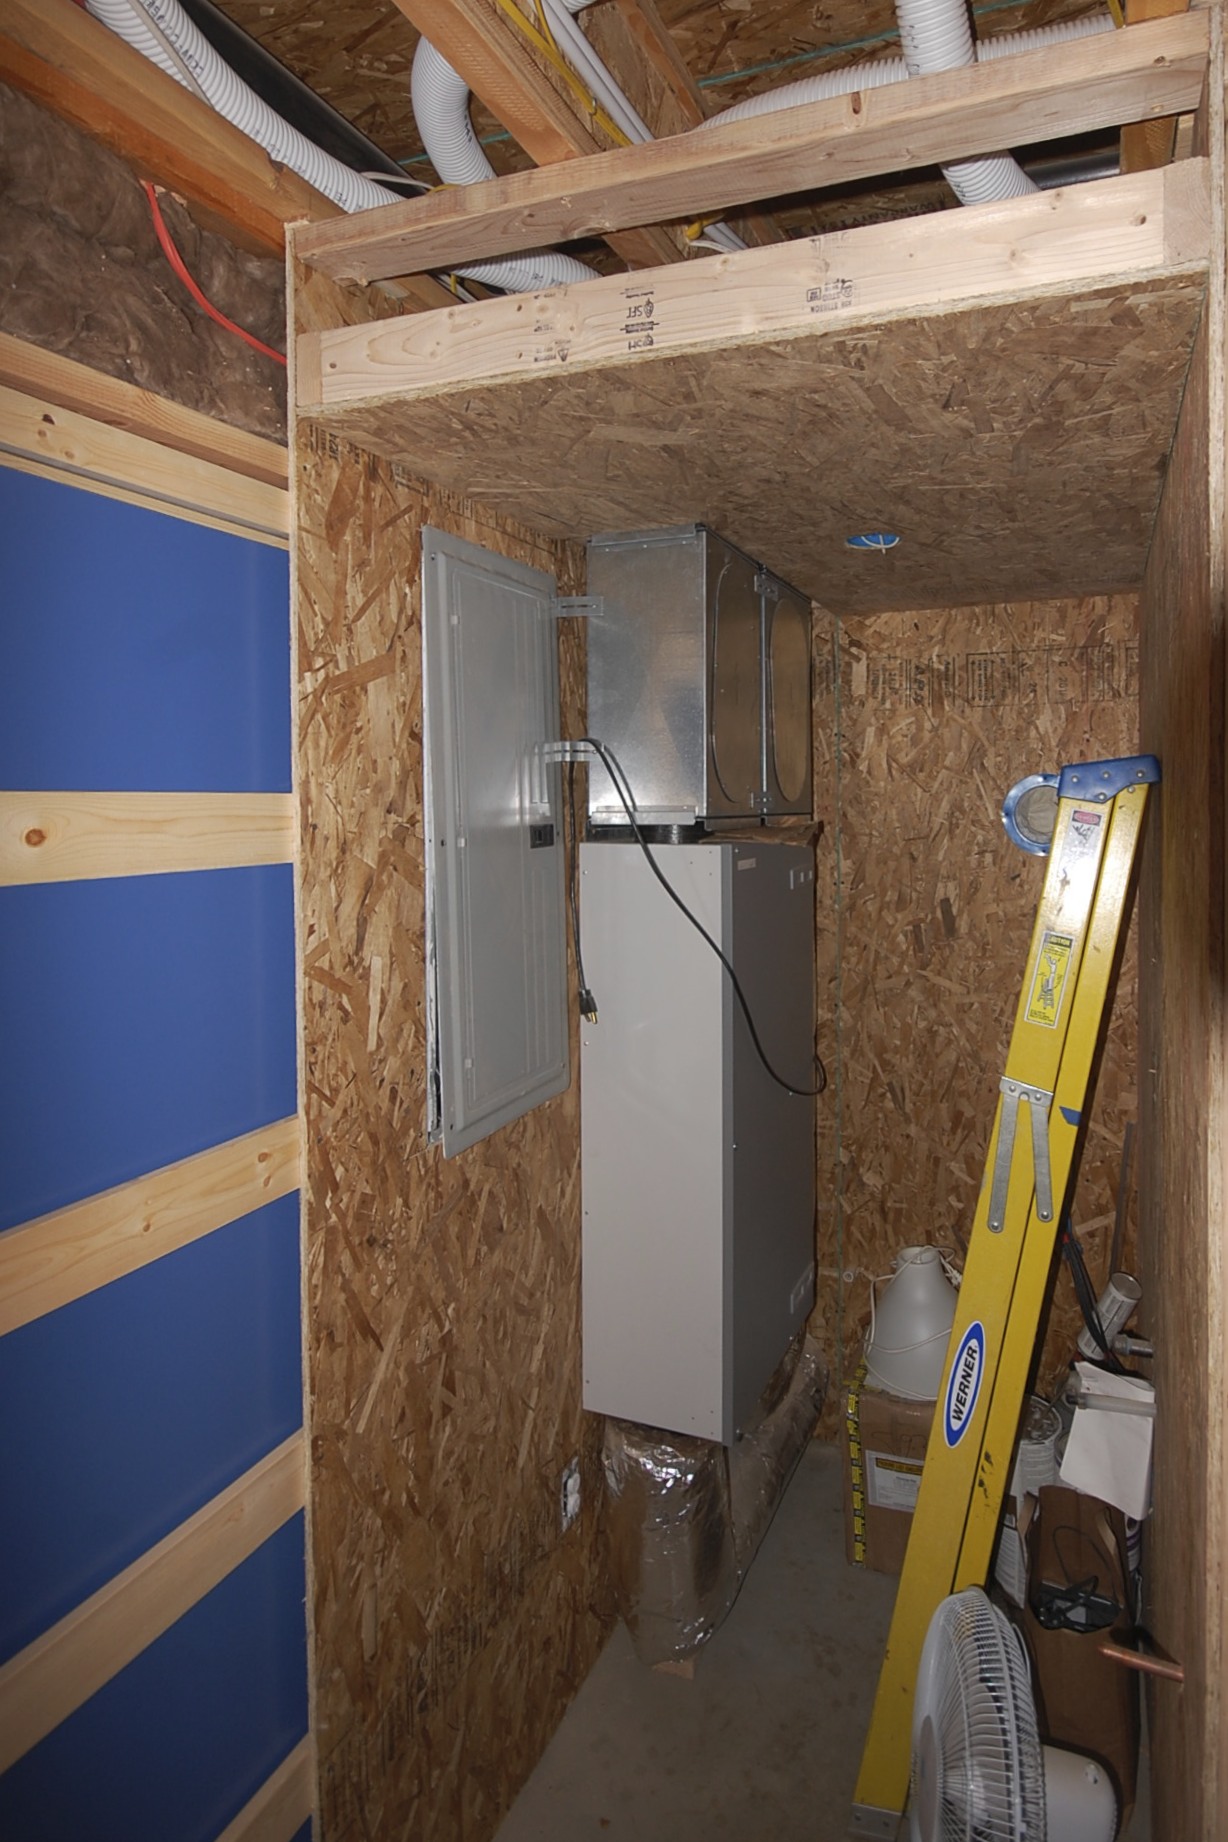
the fresh air supply and exhaust are ducted in well insulated metal ductwork from the bottom of the unit to the exterior. the fresh air supply is located high on the exterior wall with the exhaust about 10' below. the duct penetrations were carefully air sealed to the plywood air-barrier. this unit also requires a condensate drain that we've tied with an air gap into the kitchen waste pipe.
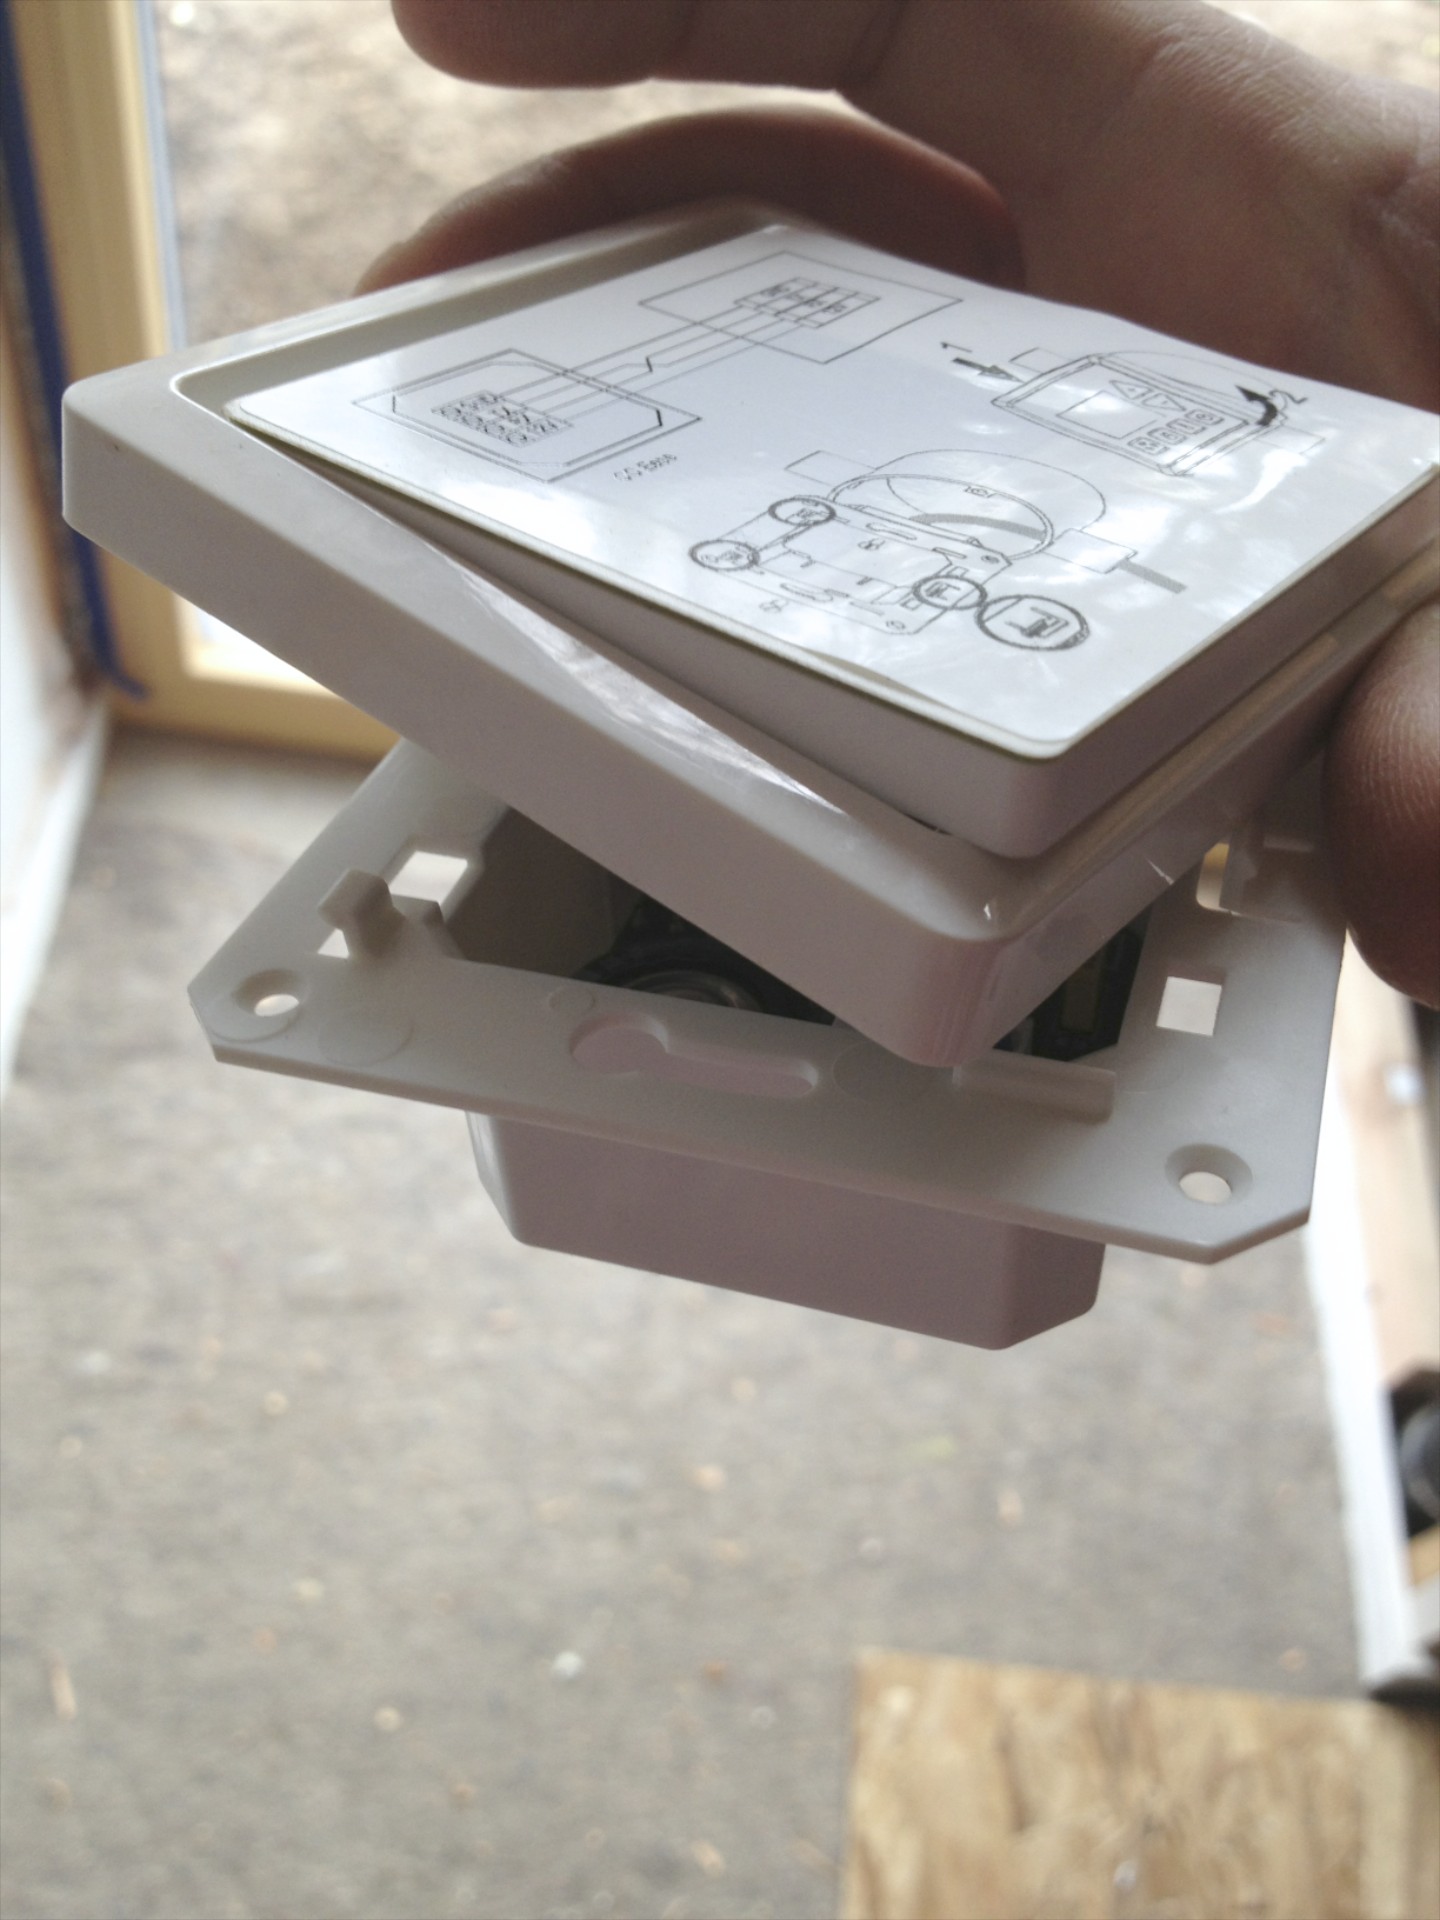
the main controller will be located in the kitchen, providing the ability to boost the ventilation rate temporarily to 35 cfm while cooking. each bathroom will have a timed switch to boost the rate to 24 cfm if needed after a shower. we also conveniently have an operable window located in the kitchen and both showers.
thanks to IM Plumbing for help with the installation, and to Matt Grove from Zehnder for help with the design.
sheetrock has wrapped up and painting has begun. check back soon for more.


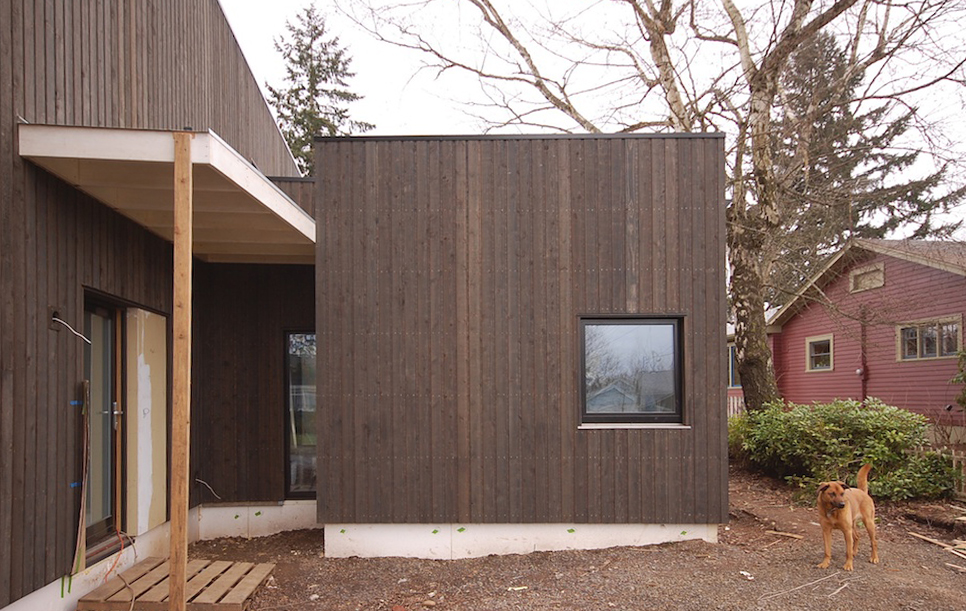
siding work has mostly wrapped up. the vertical siding is installed on rainscreen over rigid exterior insulation. see this past post for more info on the assembly. here's a first look at the siding pretty much completed.

the siding is off the shelf 1x6 channel made from tight knot cedar. it's stained with 1 coat of olympic semi-transparent stain in ebony.

the large south windows (and doors) have exterior motorized aluminum sun shades supplied by hella. the siding has been detailed to allow the shades to stack in recessed pockets. in this photo the shades are down about 9 inches and just visible on the 2 living room units (lift / slide door and fixed upper unit). more on the shading later.

the "breezeway" features a south facing door / window with a wood canopy (to be painted black) topped with clear tempered glass.
the entry door at left features acid etched glass for privacy and has a smooth accent panel adjacent that will be painted a deep red. the wood canopy will painted black and features a simple galvanized metal pan roof. steel rod will be used to hang the canopy from a bracket mounted to the wall above. a mahogany deck will eventually complete the front porch.

the north street facade also features a narrow smooth accent panel that will be painted with the same deep red. the same siding runs horizontally to form an accent between floors.
check back soon for more.
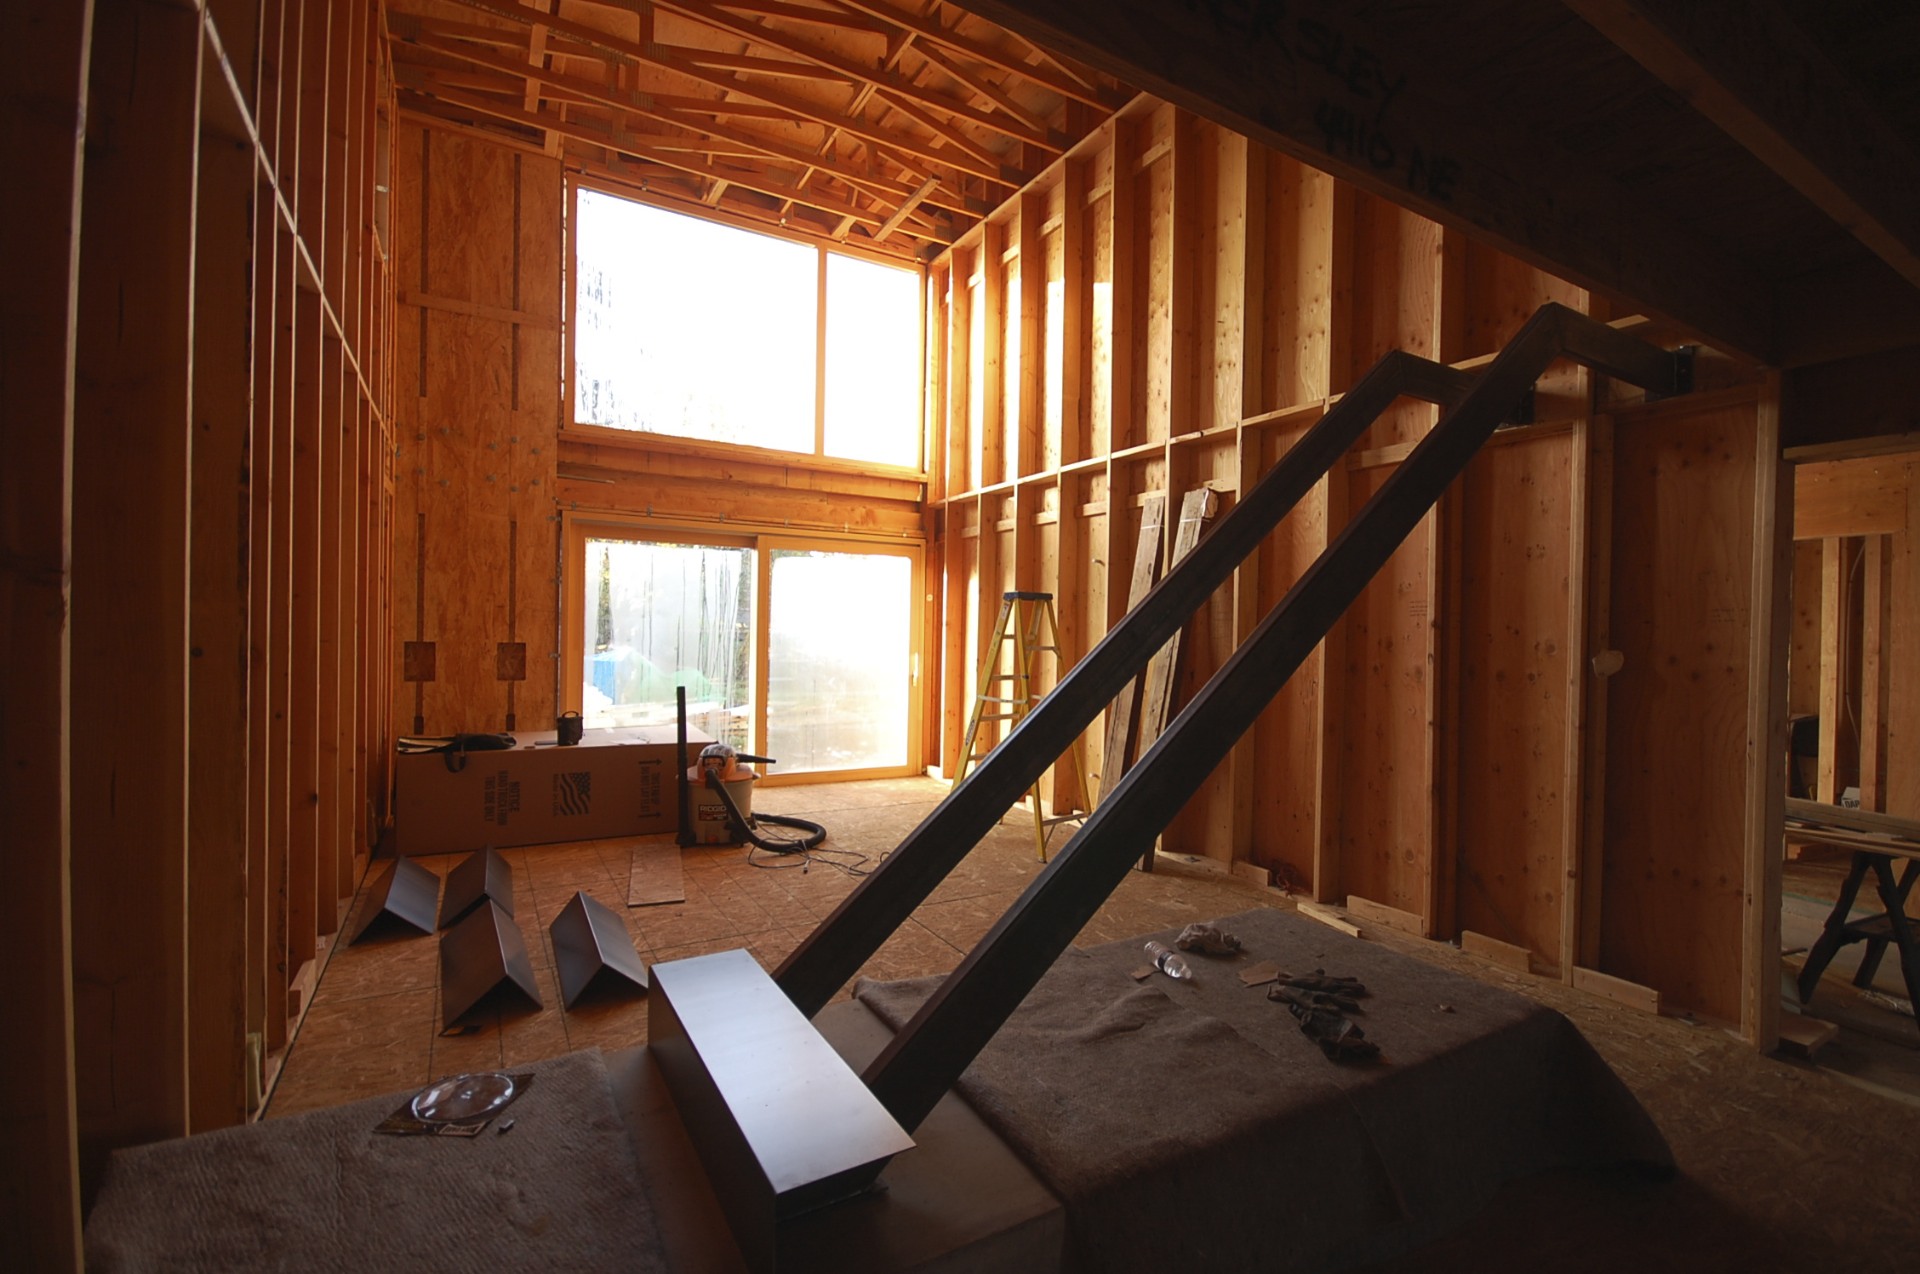
the rare sunny portland winter day has allowed us to regale in the golden rays.
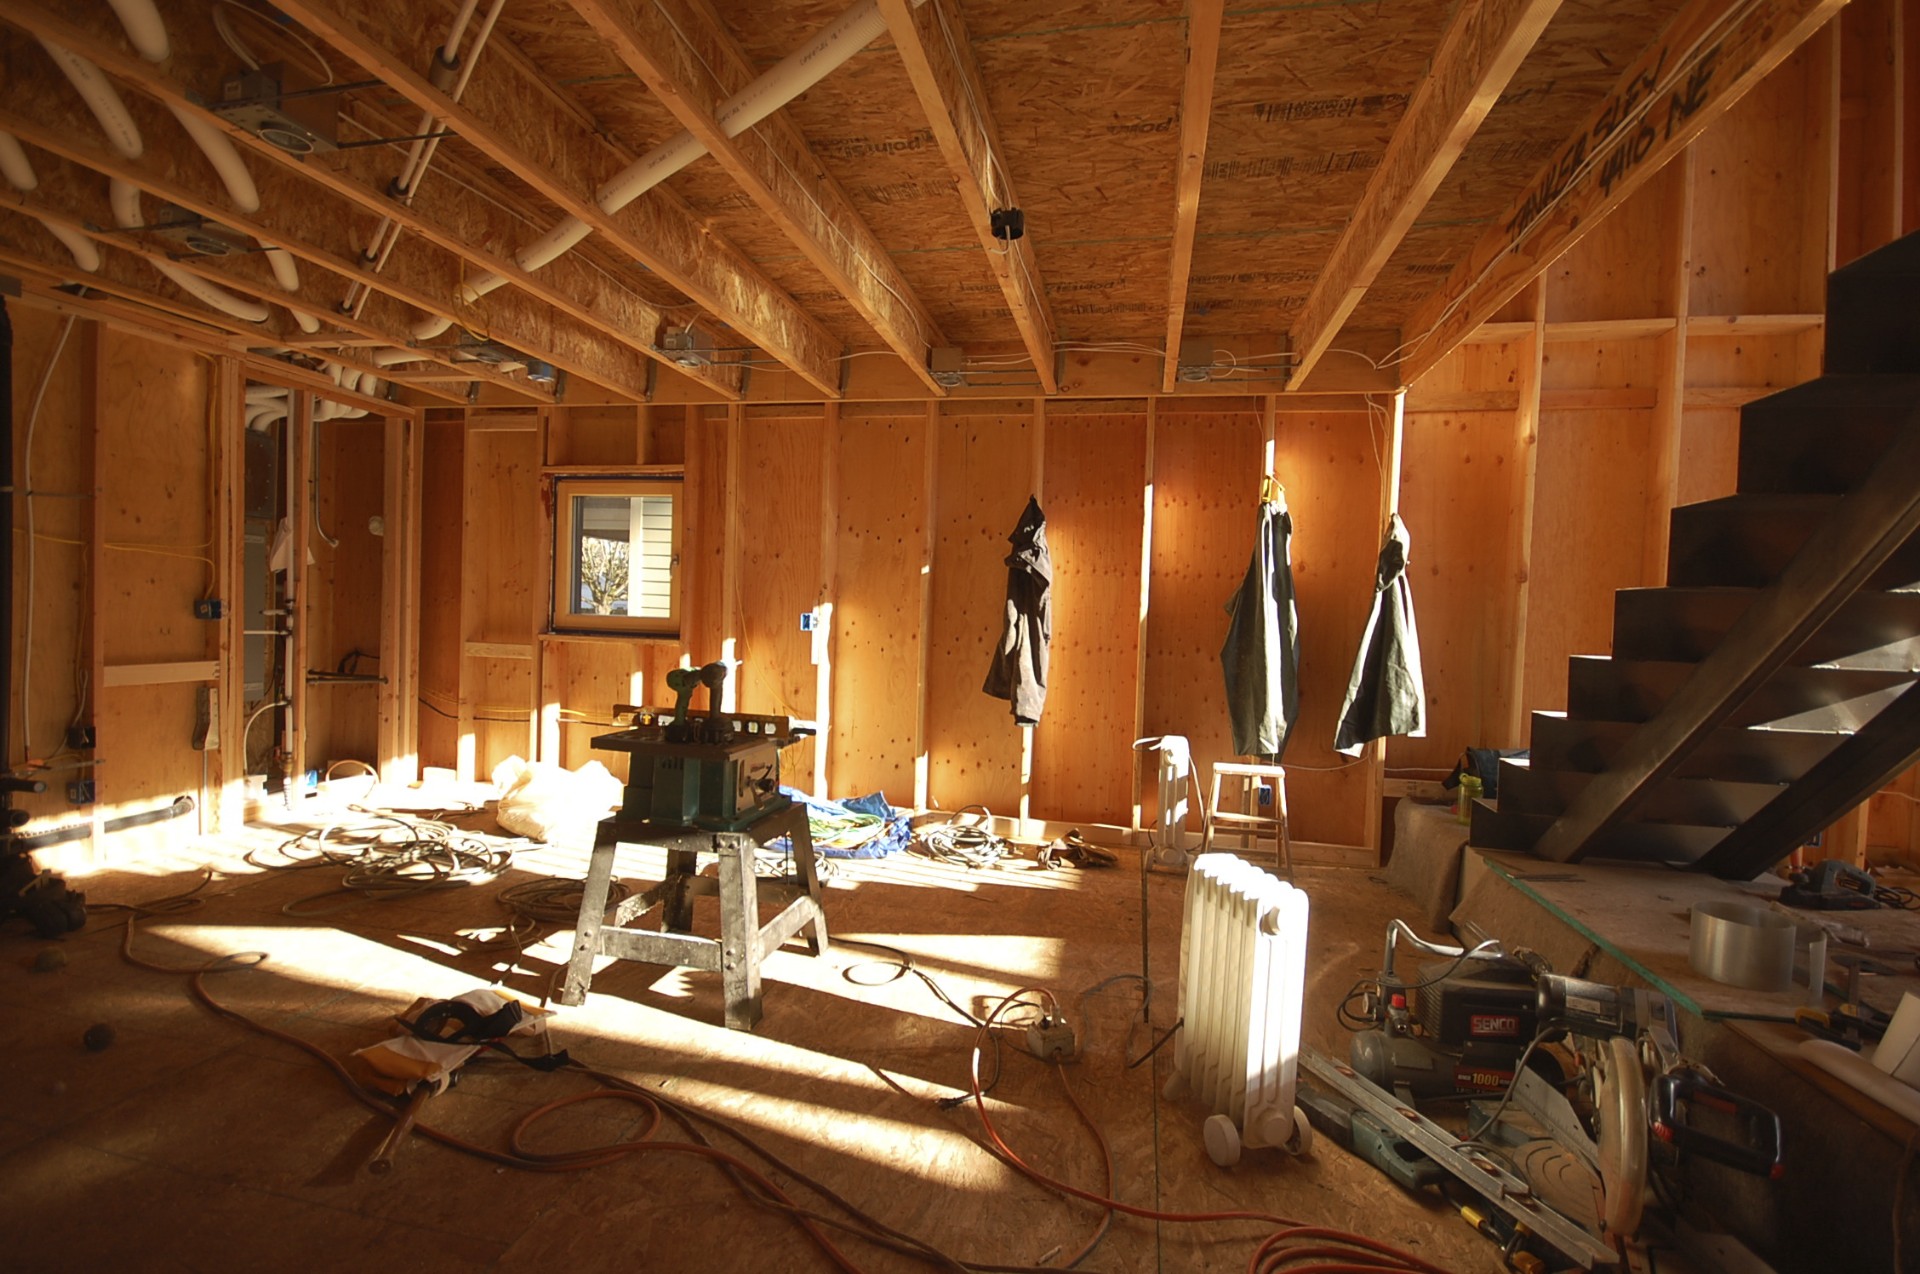
glorious sun reaches all the way to the back of the kitchen.
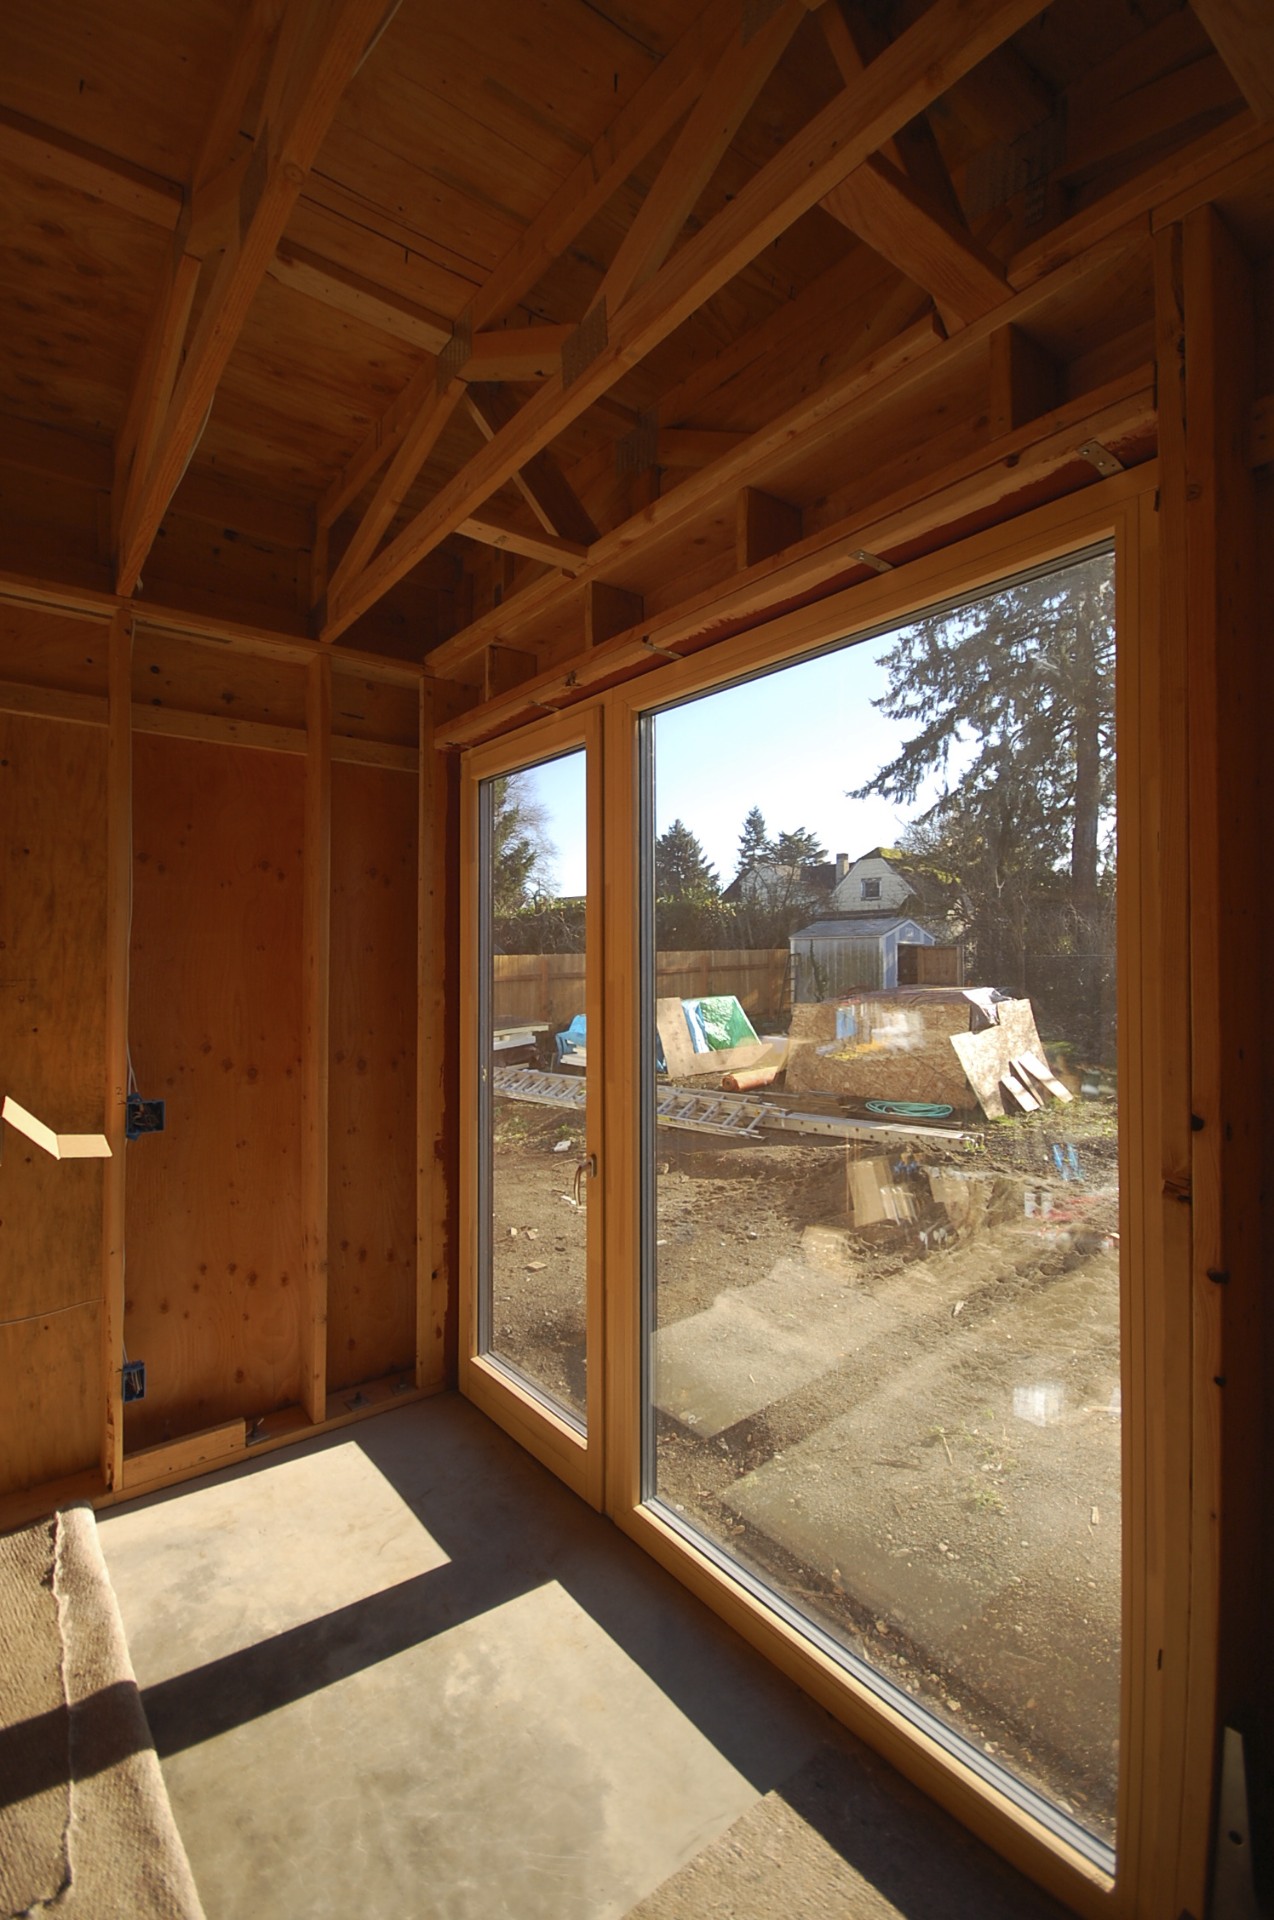
the south facing windows / heaters are working.
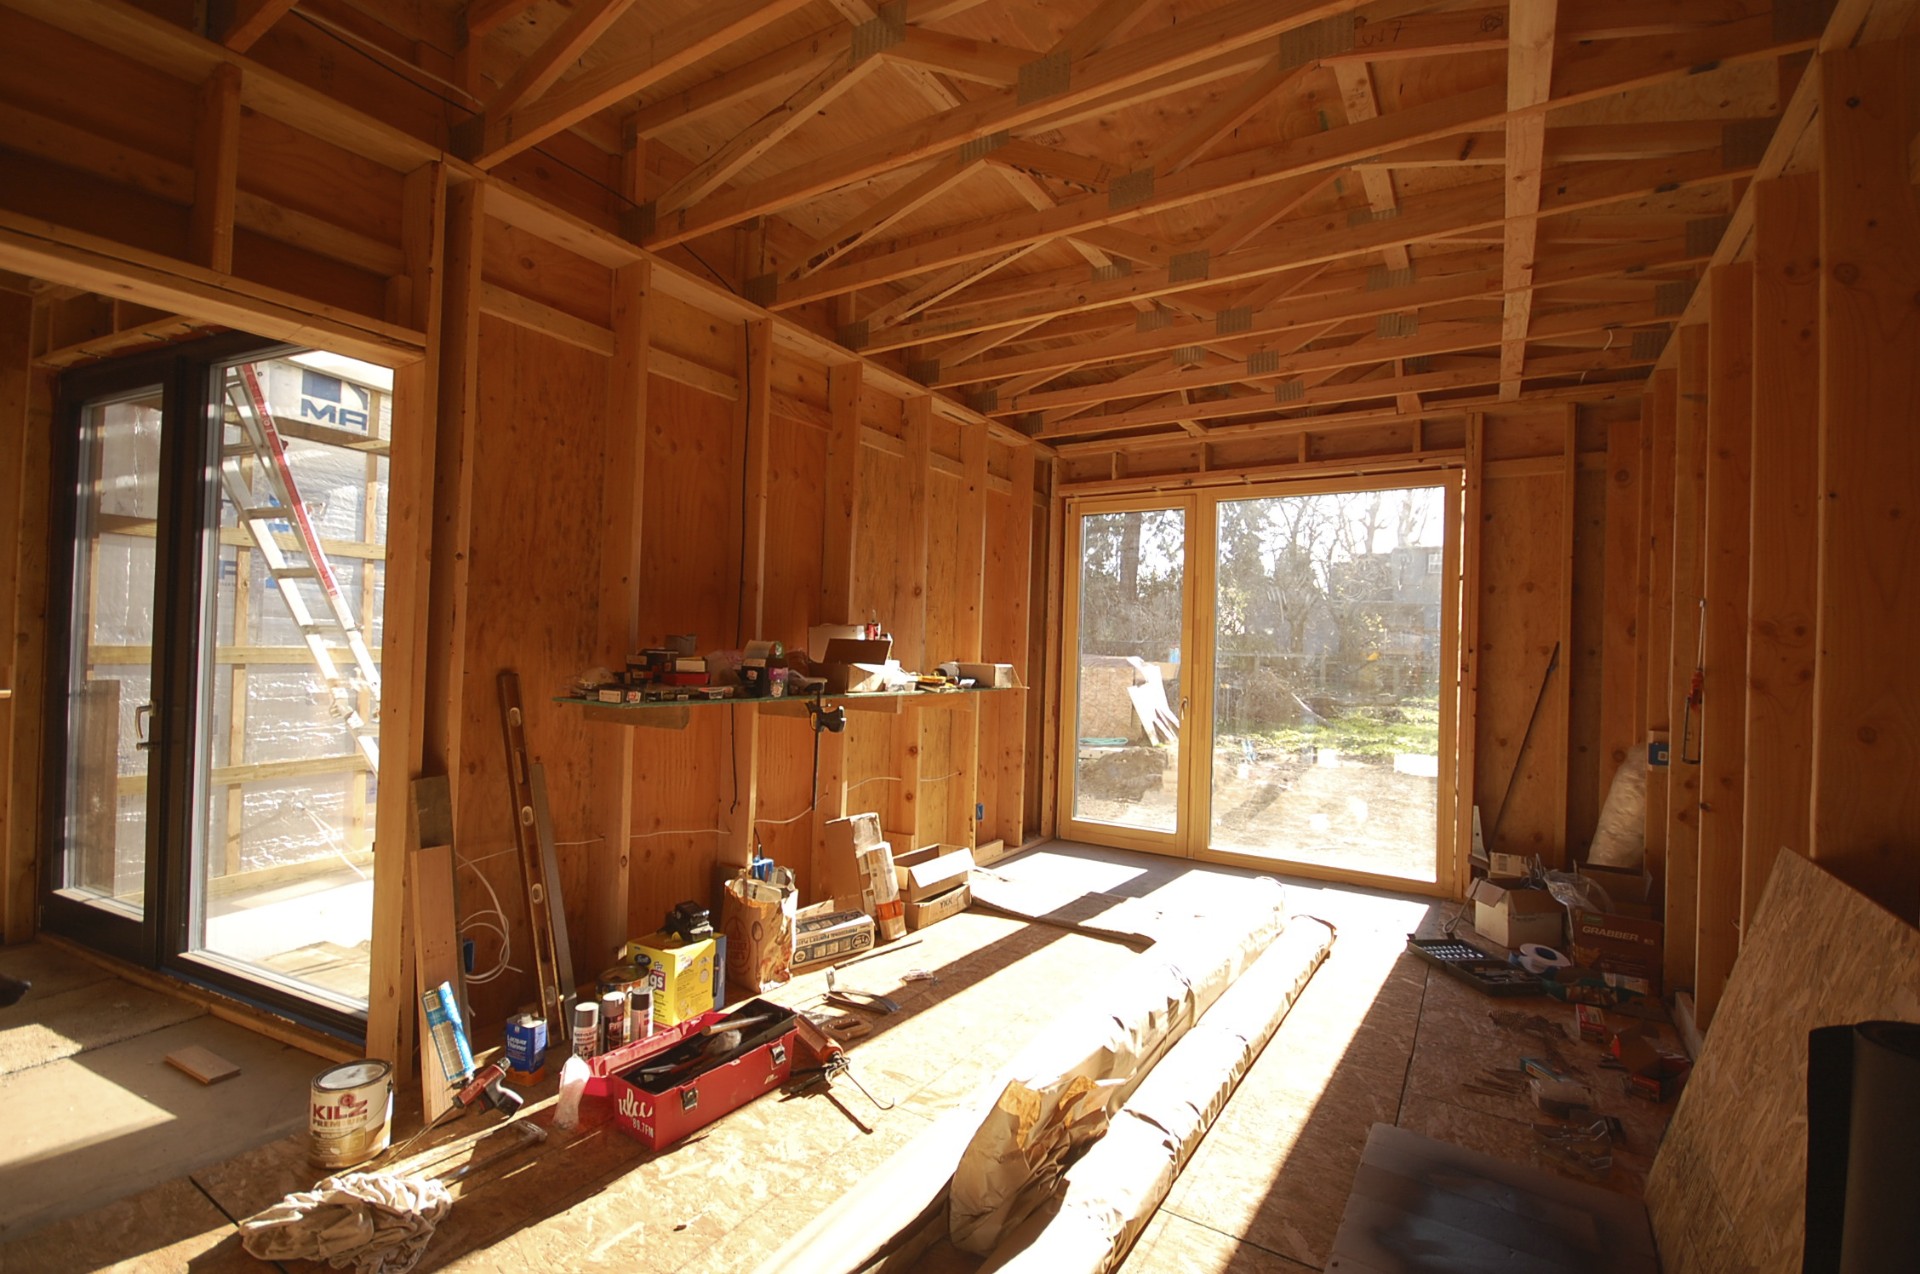
the studio flooded in mid-day sun.
the breezeway will be a study in light and dark.
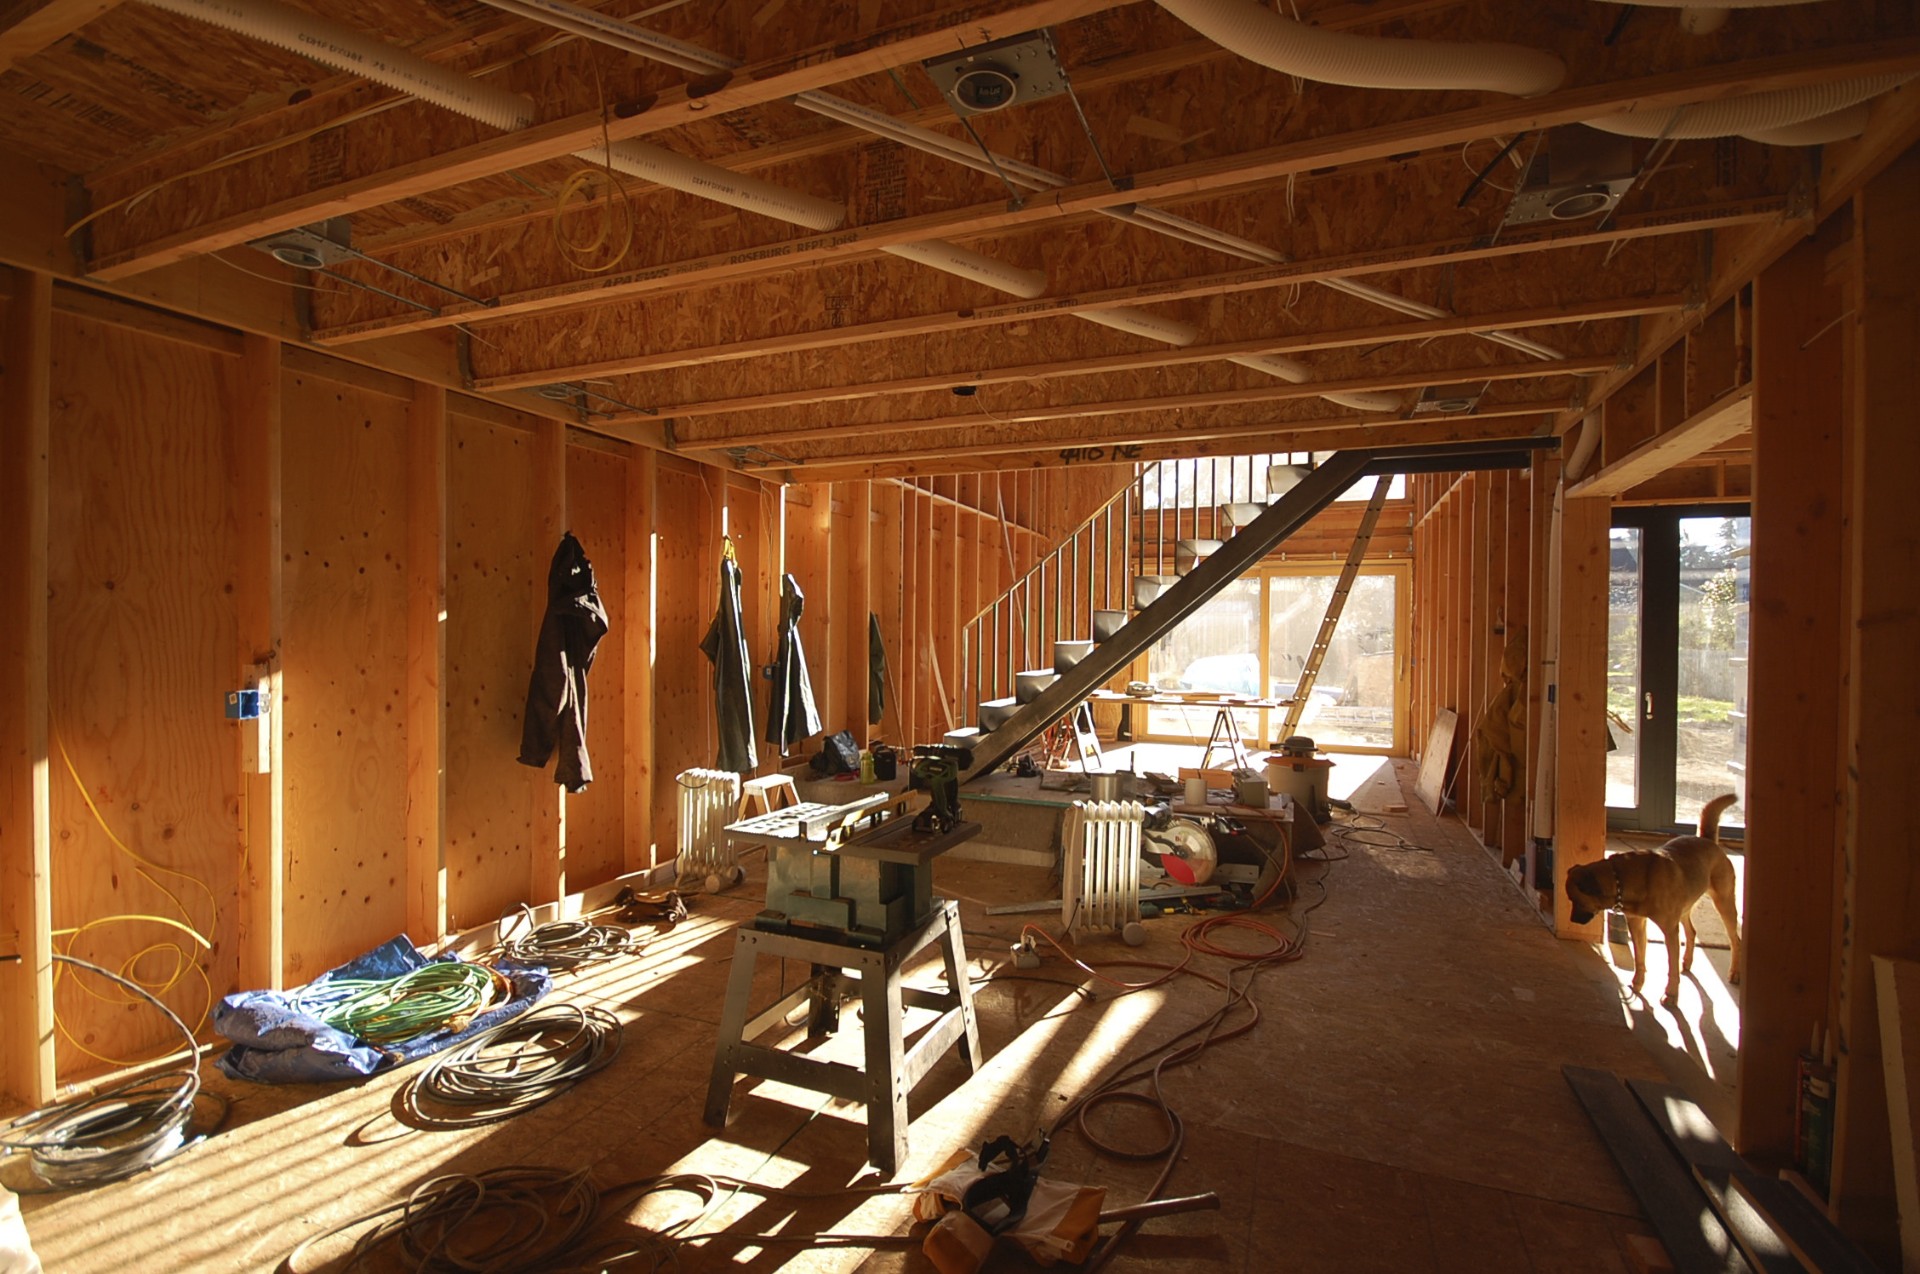
rejoice.
in addition to direct gain, we will have a small PV system on the roof. more on that later.
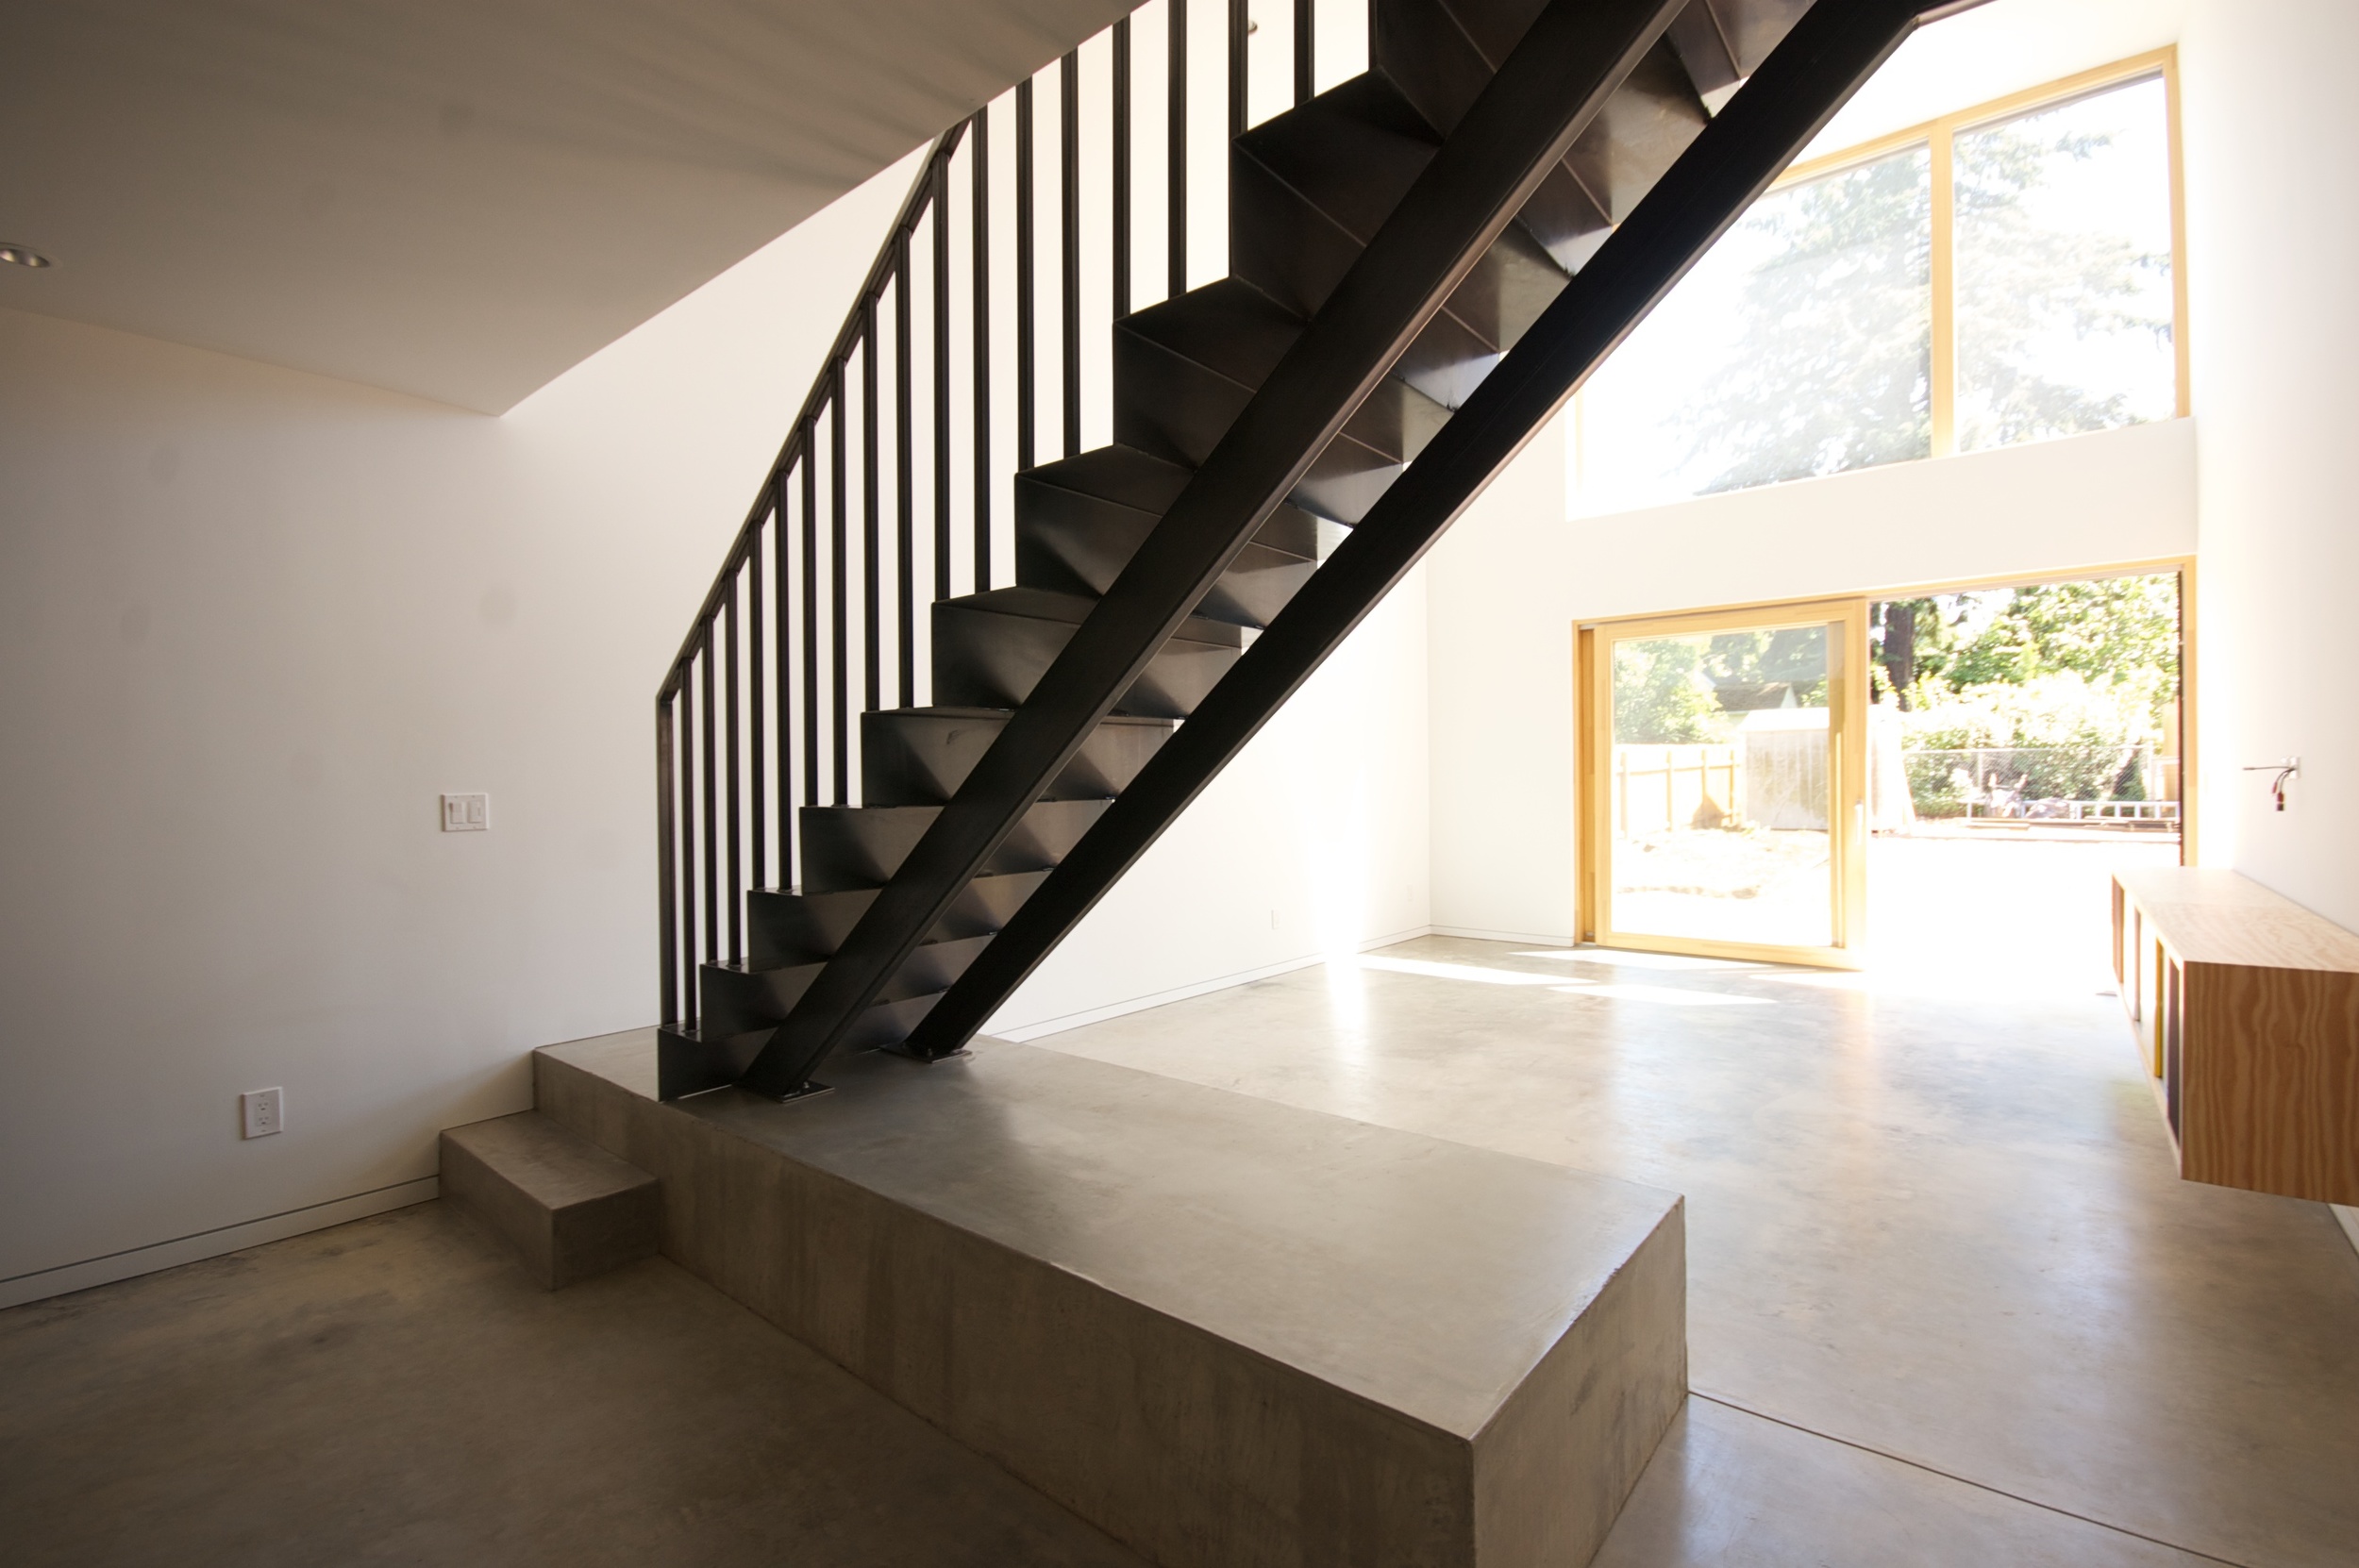
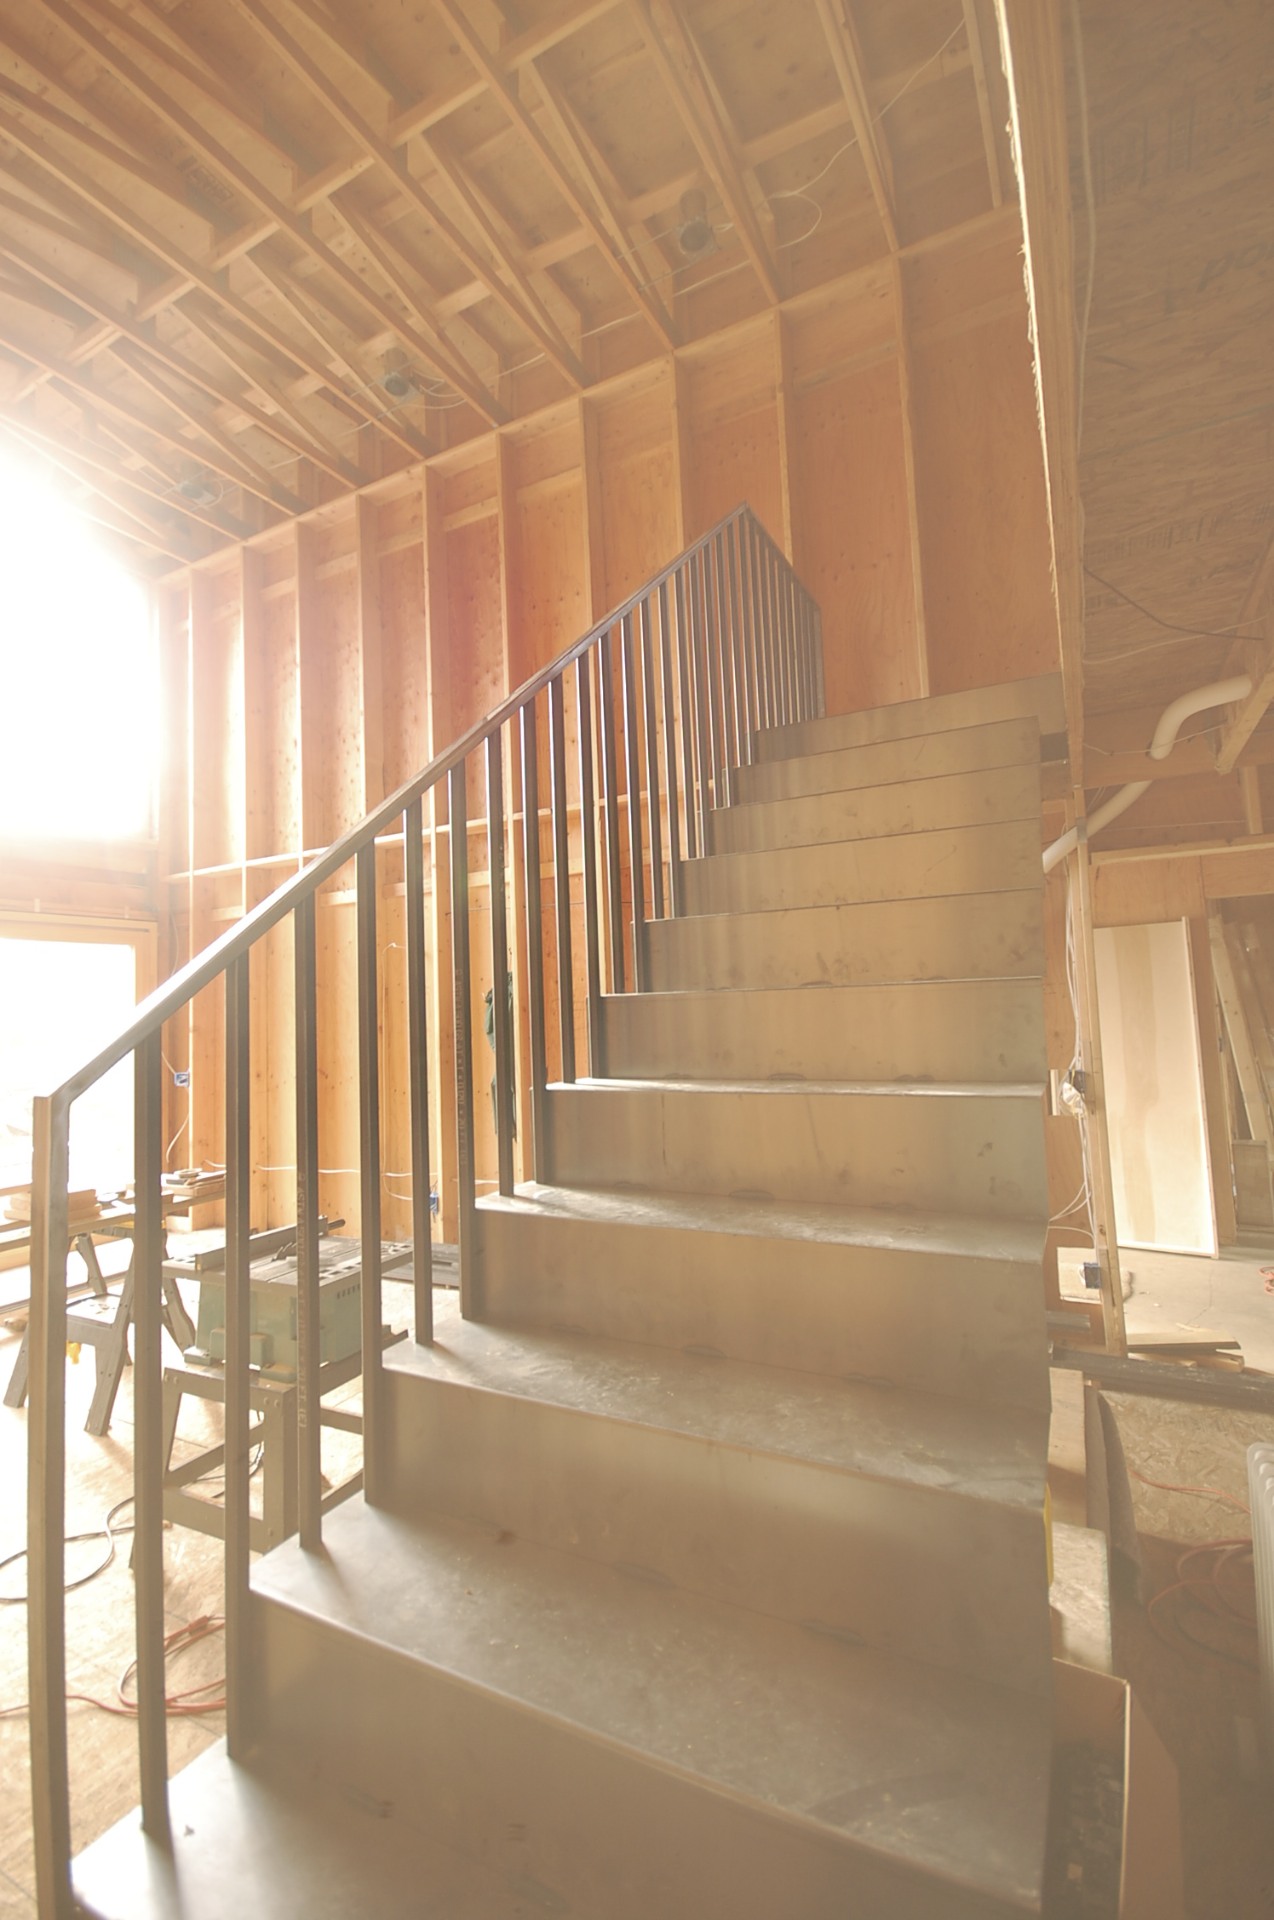
while most of the attention has been focused on the insulation, windows and air sealing, the interior stair has made slow but steady progress.
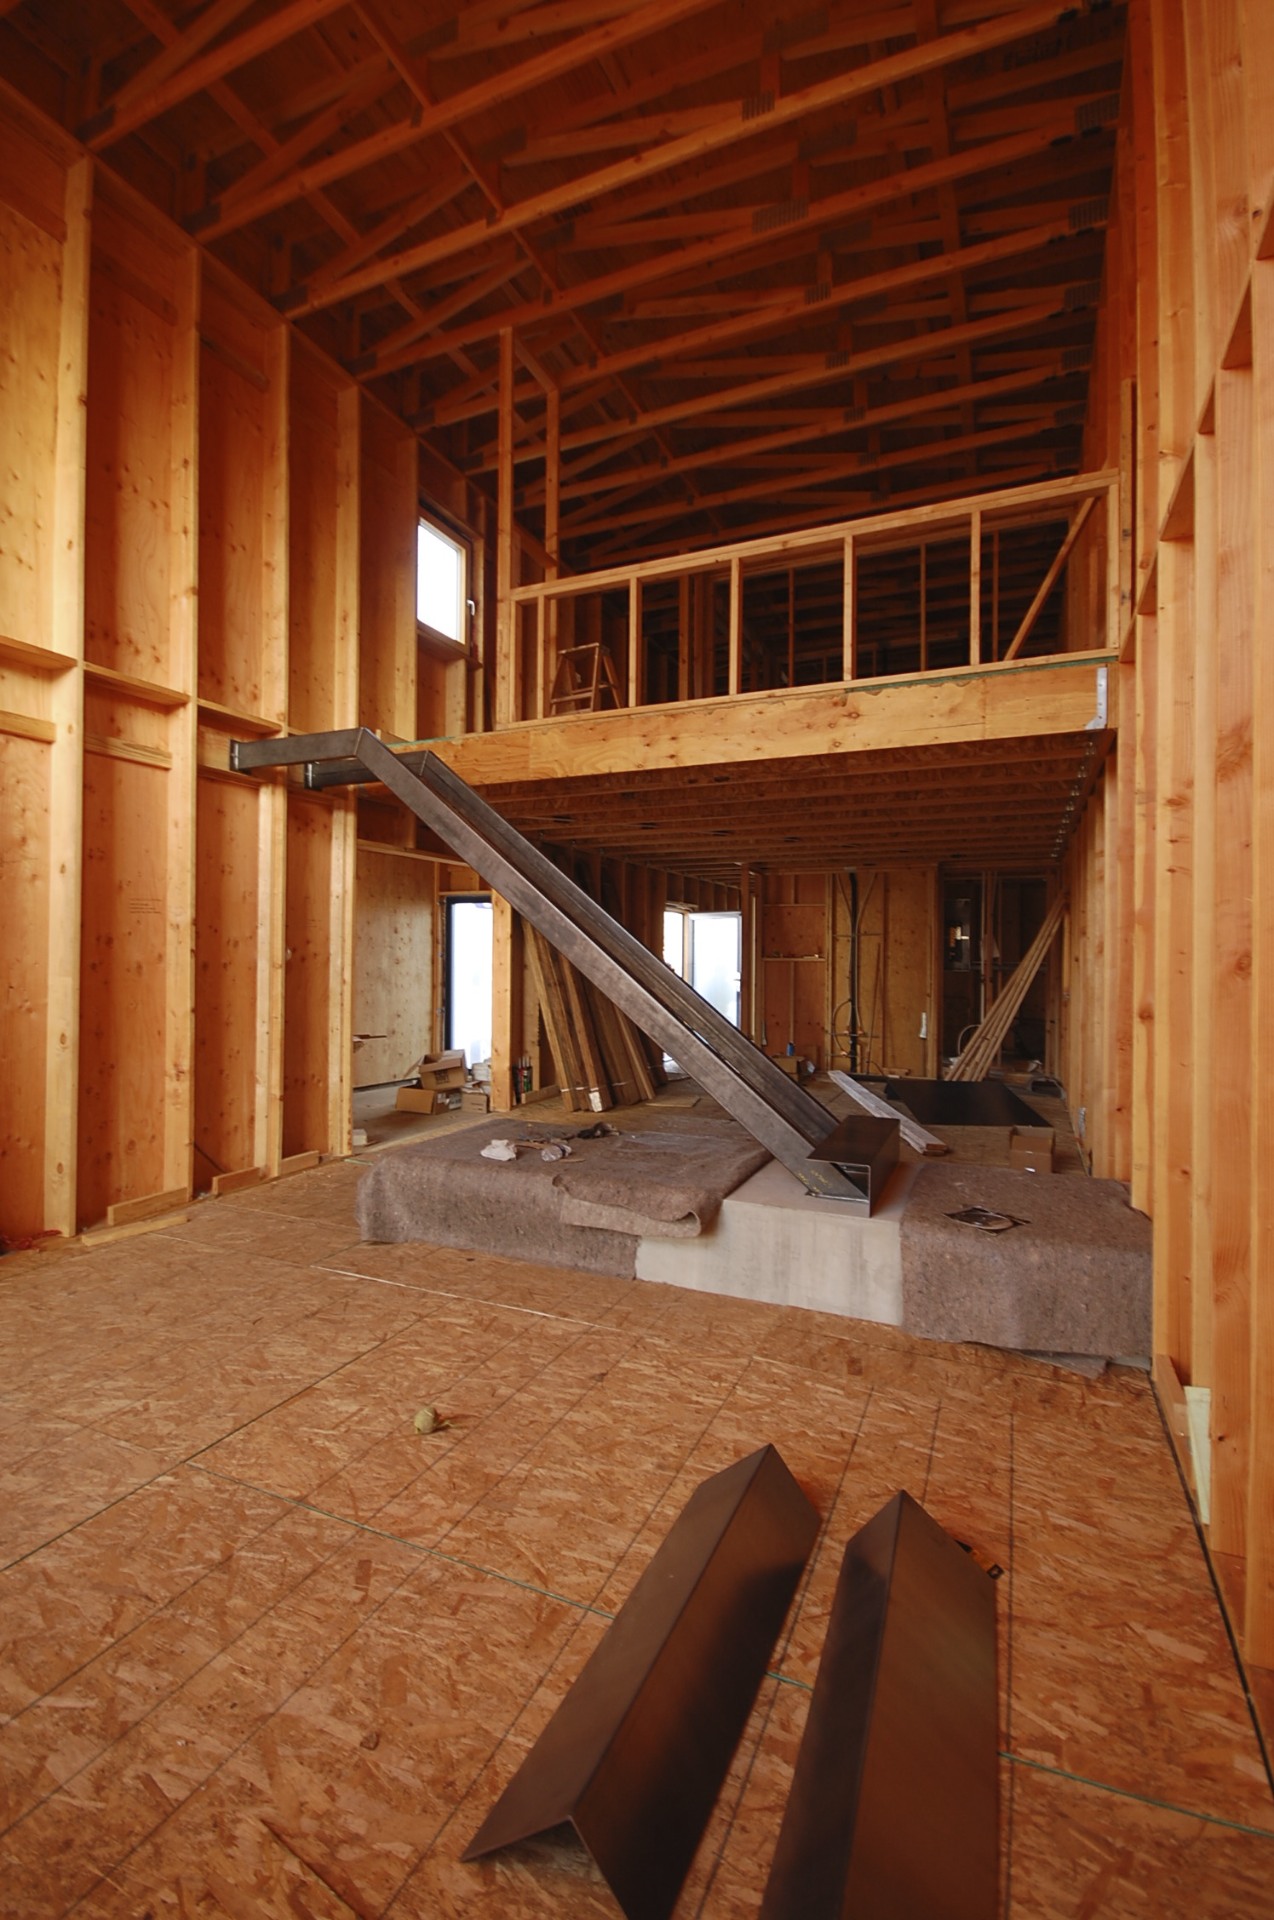

stringers are tube steel bolted to concrete landing and wood wall

tread risers are 1/8" thick bent plate steel

everything is fit up and welded in place

guardrail is 1" sq tube steel verticals


steel will be left natural with all the signs of fabrication exposed

a clear coat will be applied at completion
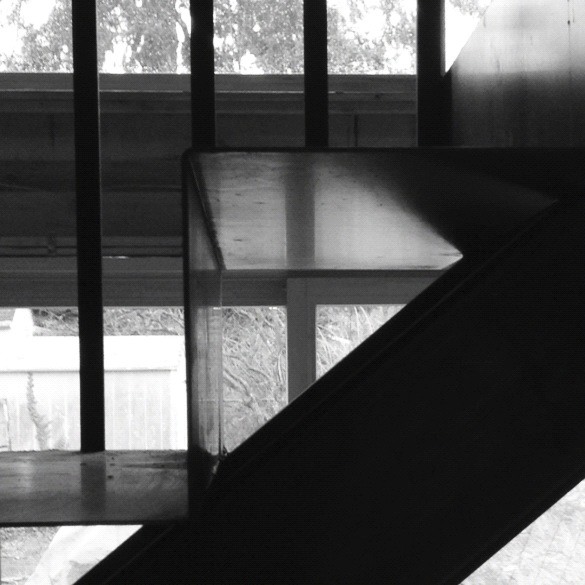
still more to go but we think it's coming along nicely.
thanks to alameda metal works for their fine work.
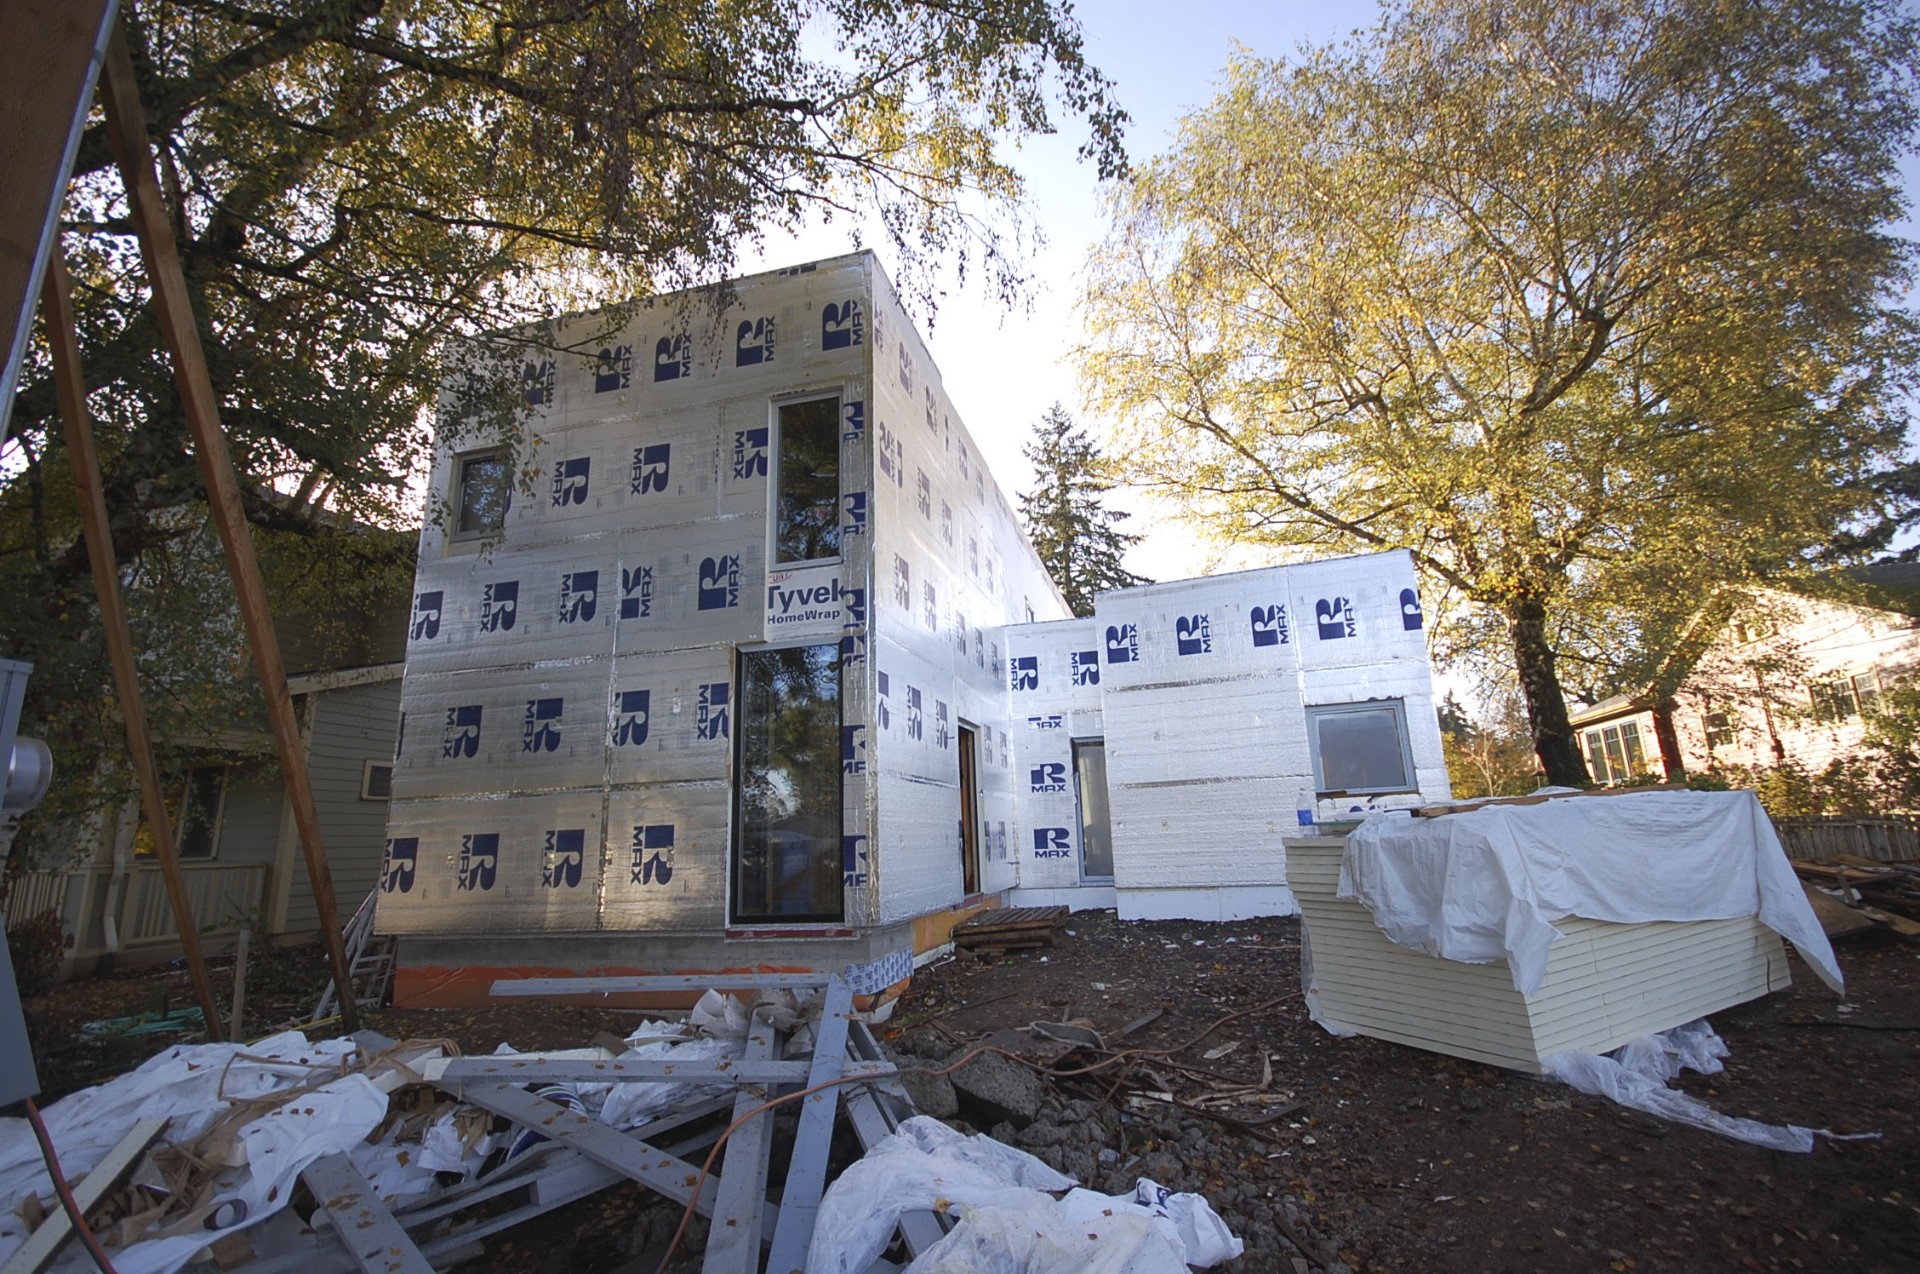
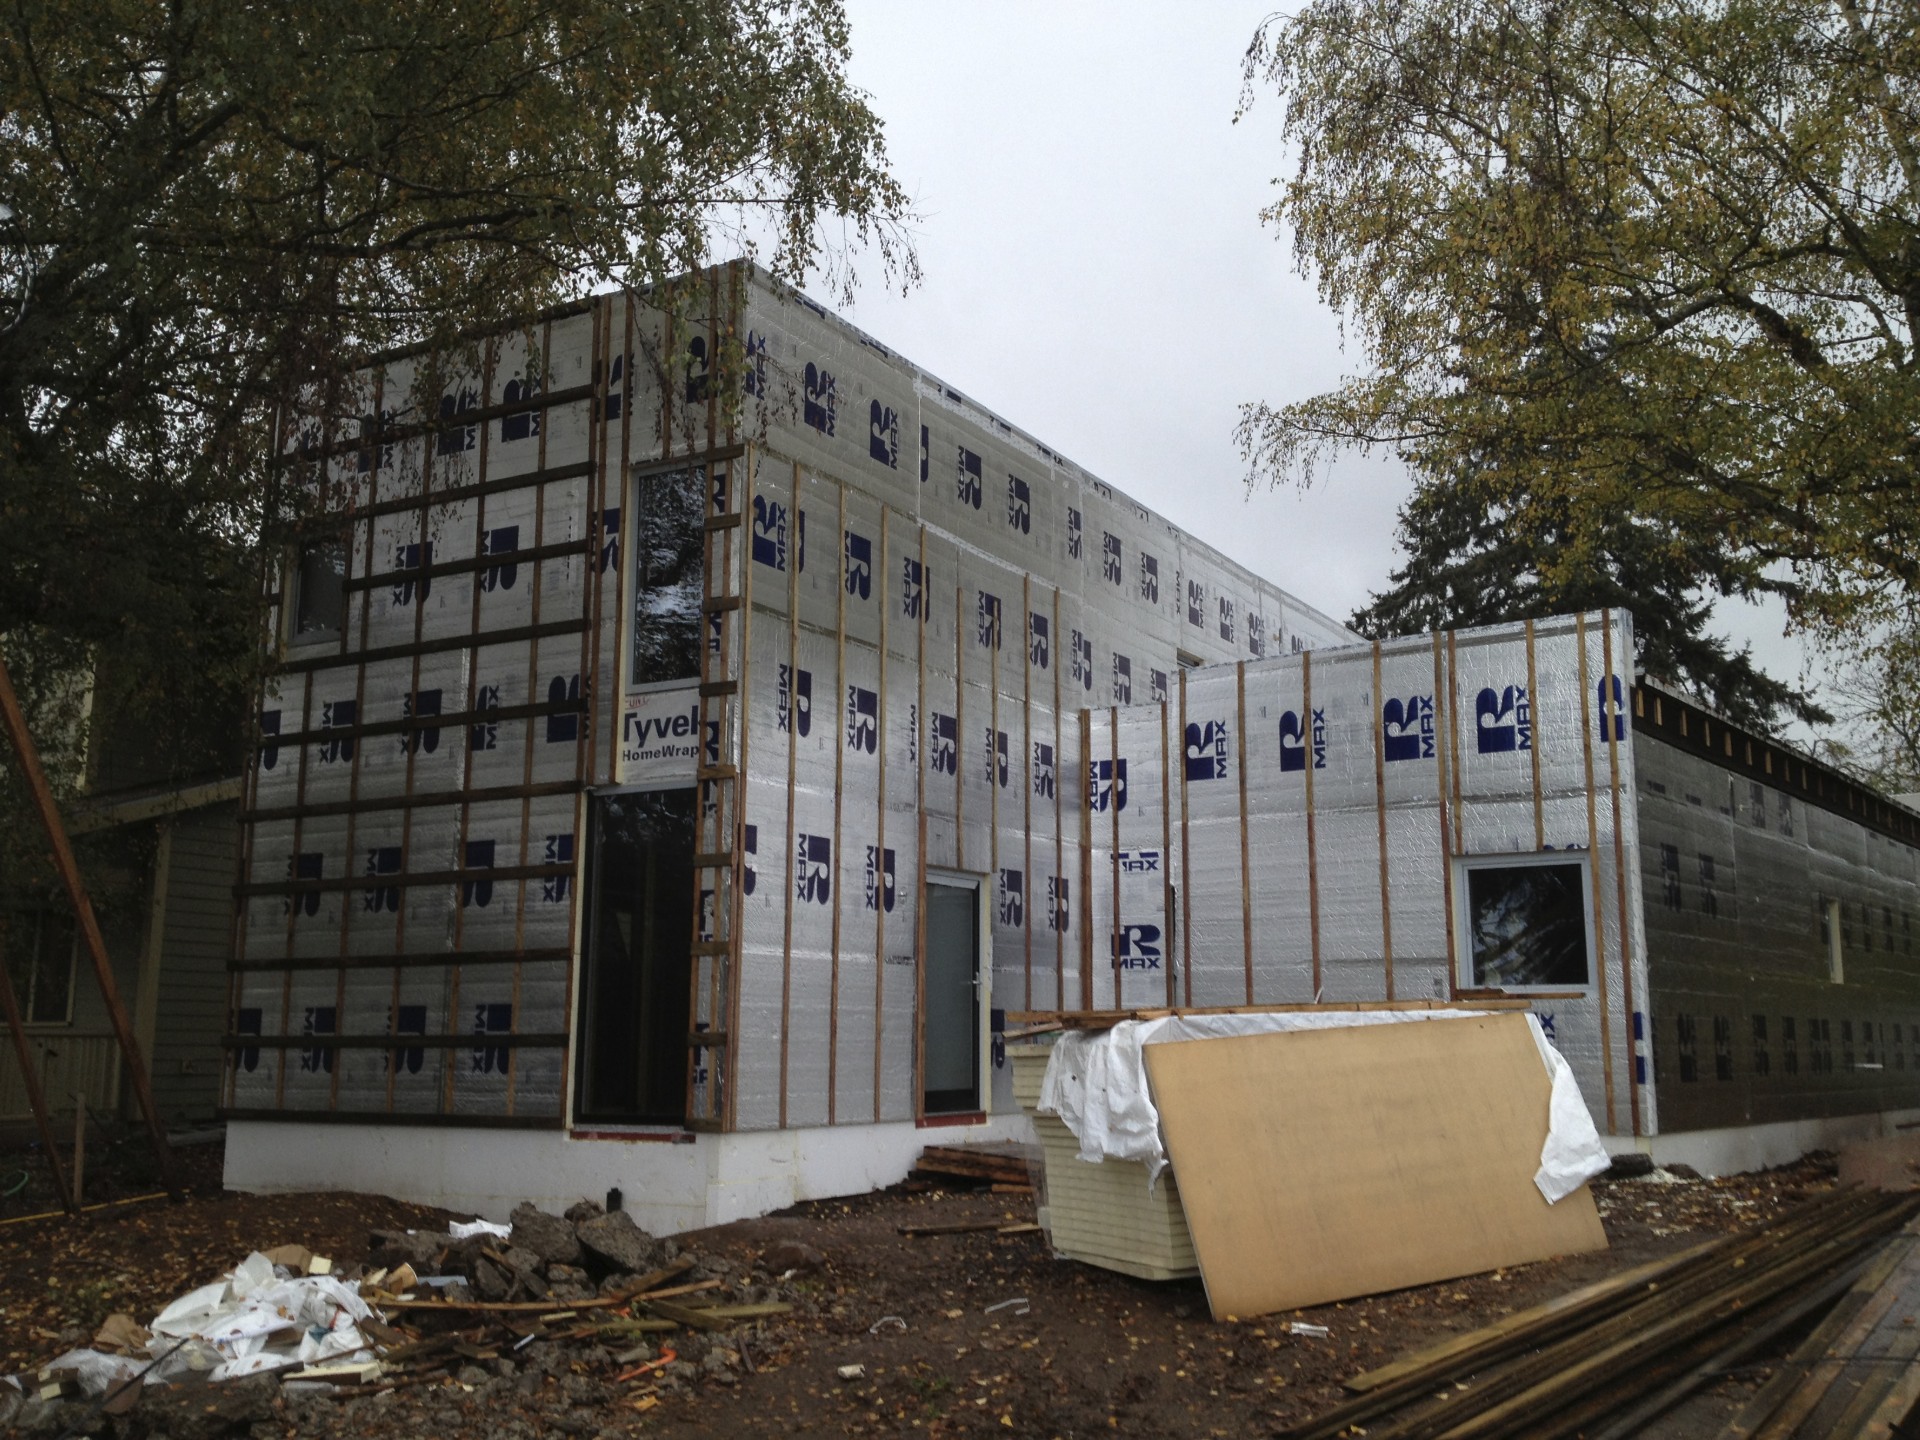
next up on skidmore passivhaus is installing the outsulation on the walls along with the rainscreen furring.
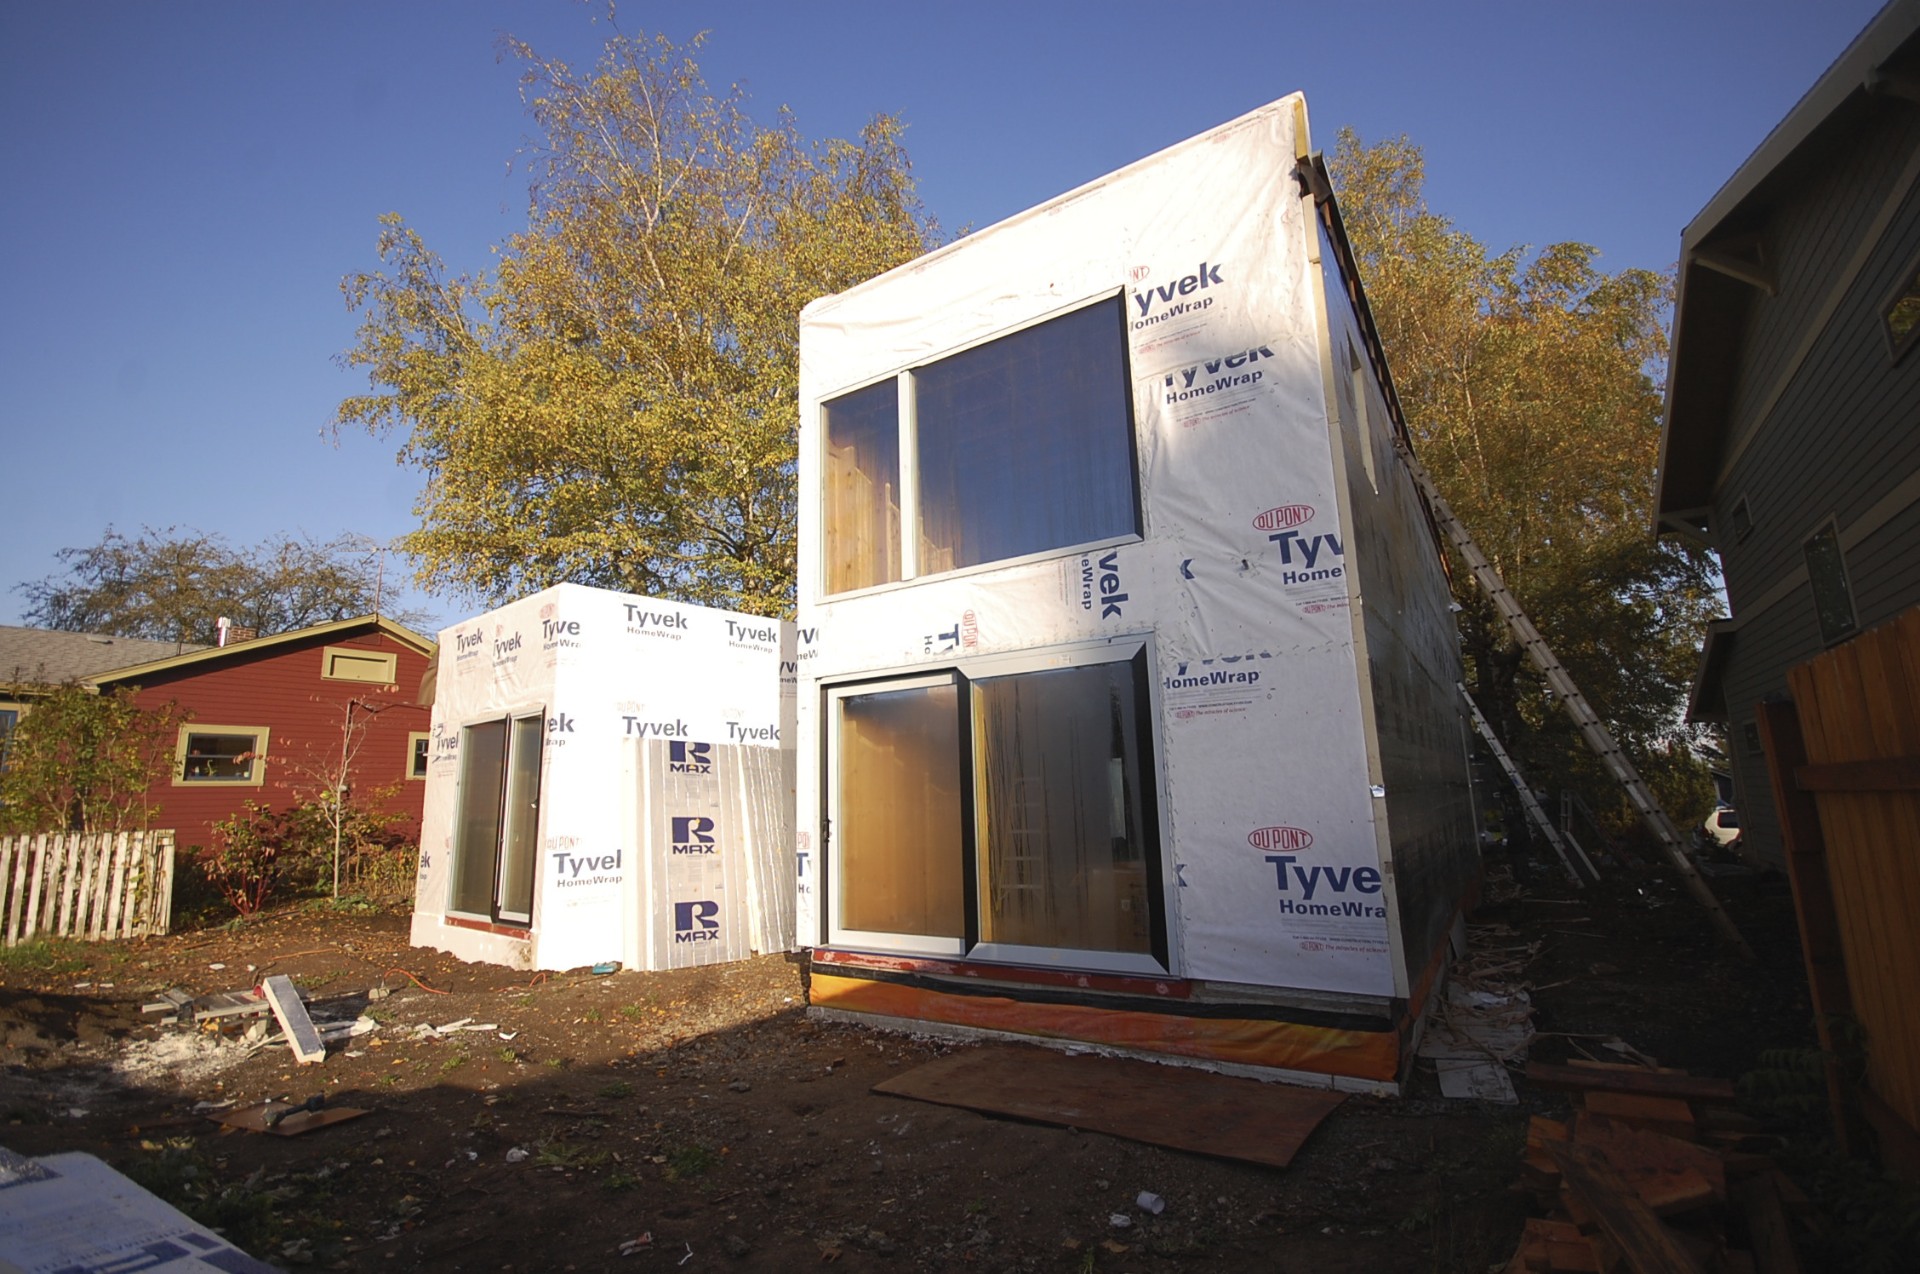
the plywood sheathing was first covered by a weather resistive barrier with metal head flashings at the windows and doors.
most walls get a layer of 3" poly-iso, while the south wall will get 4" to match the recessed pocket for the exterior shades.
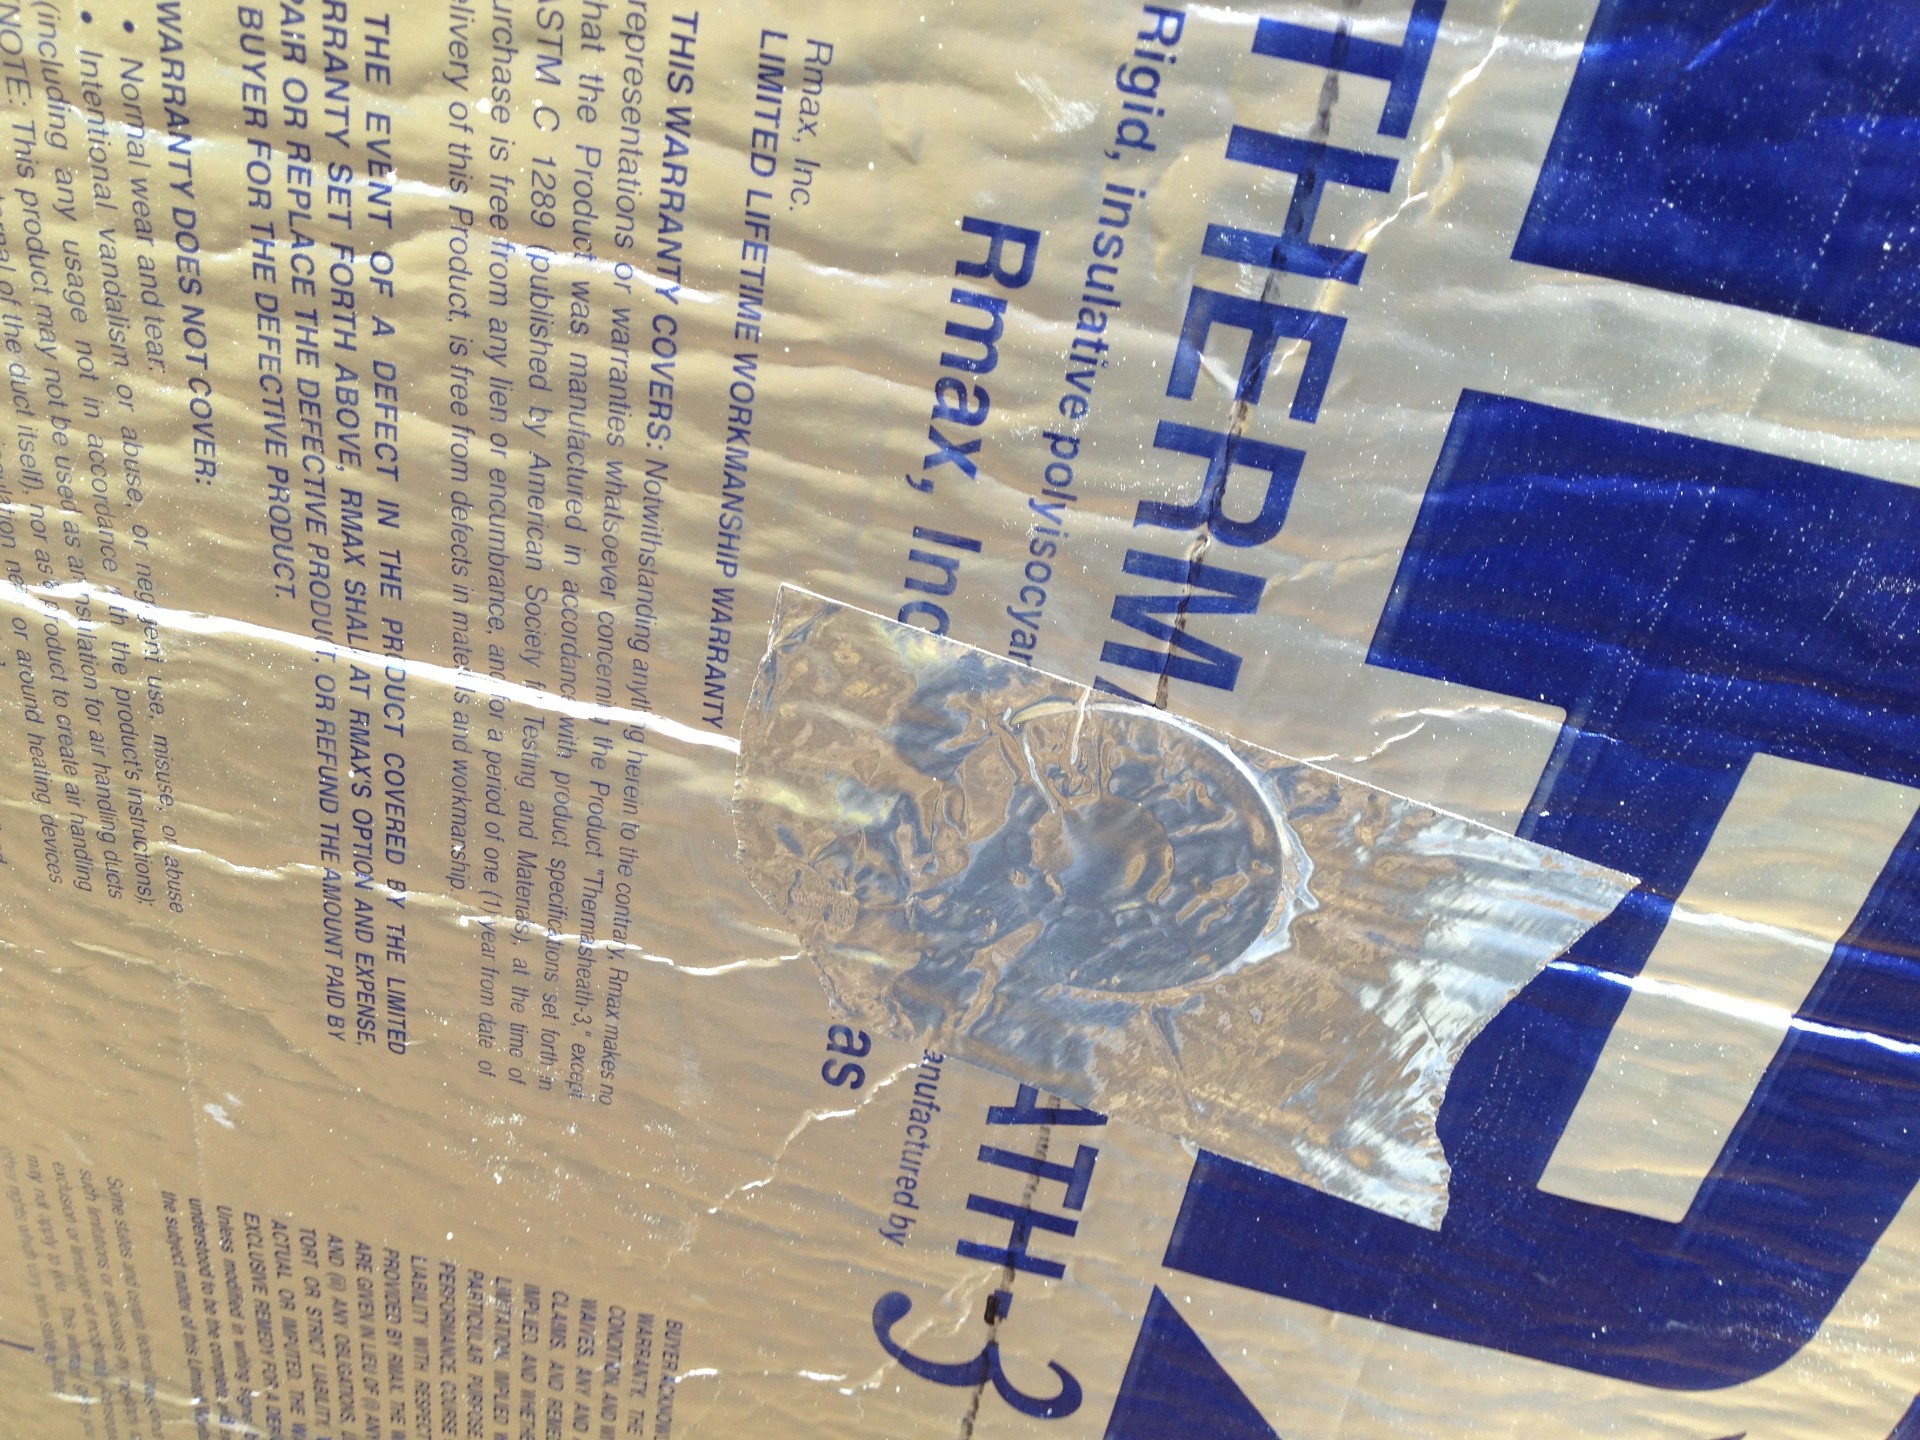
2 screws (with plastic washer) per 4x8 sheet hold it in place until the furring strips are installed.
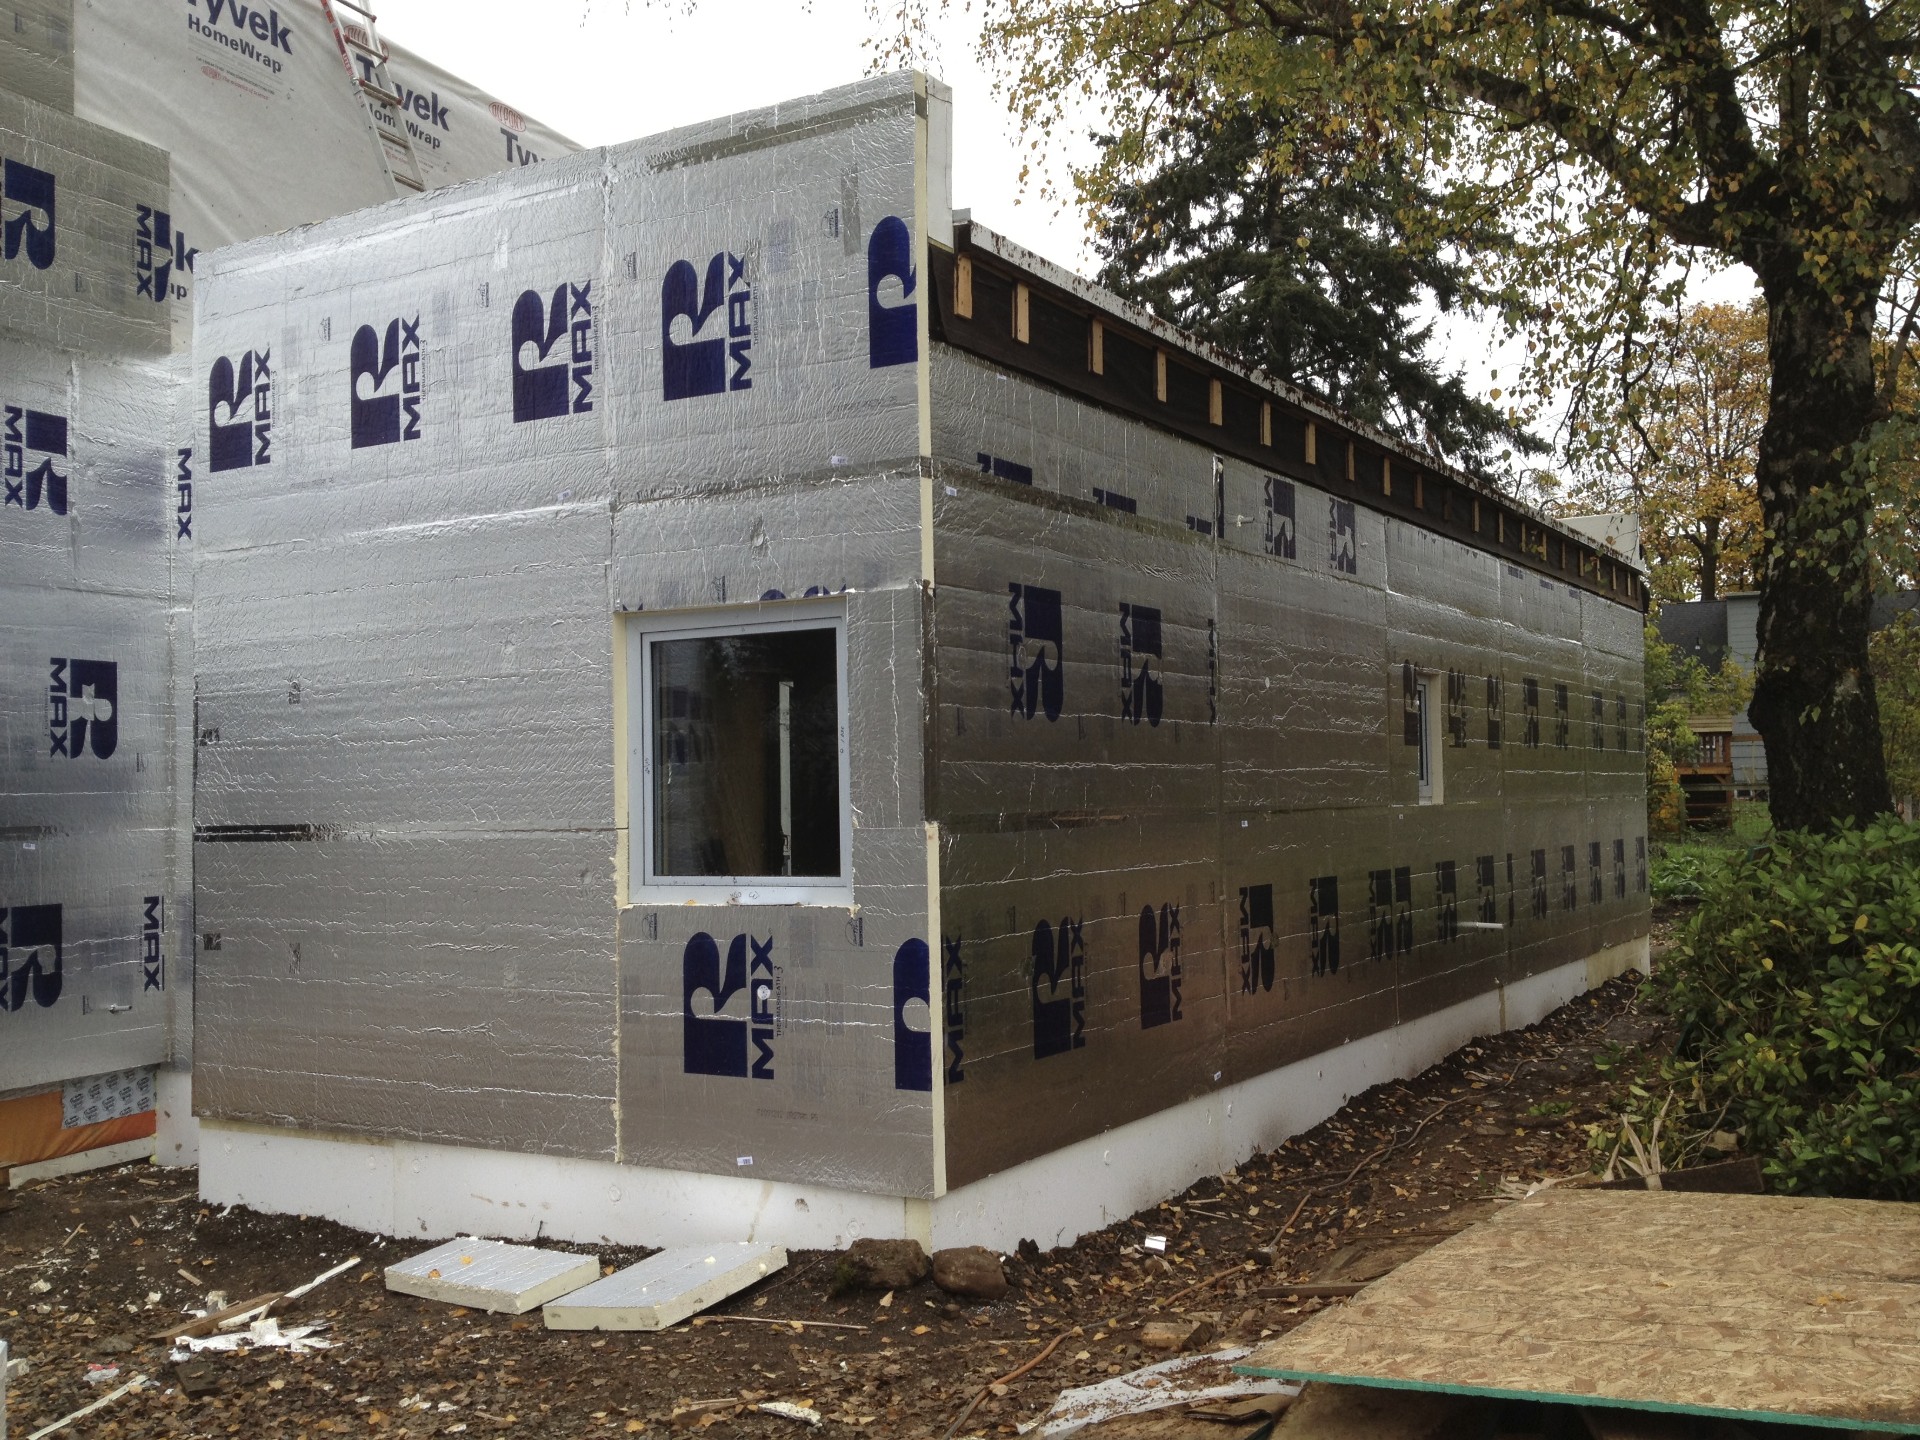
all seams and fasteners are taped. the face of the insulation is treated as a second weather resistive barrier.
additional flashings at all doors and windows will be taped to the insulation as the wood trim is installed.
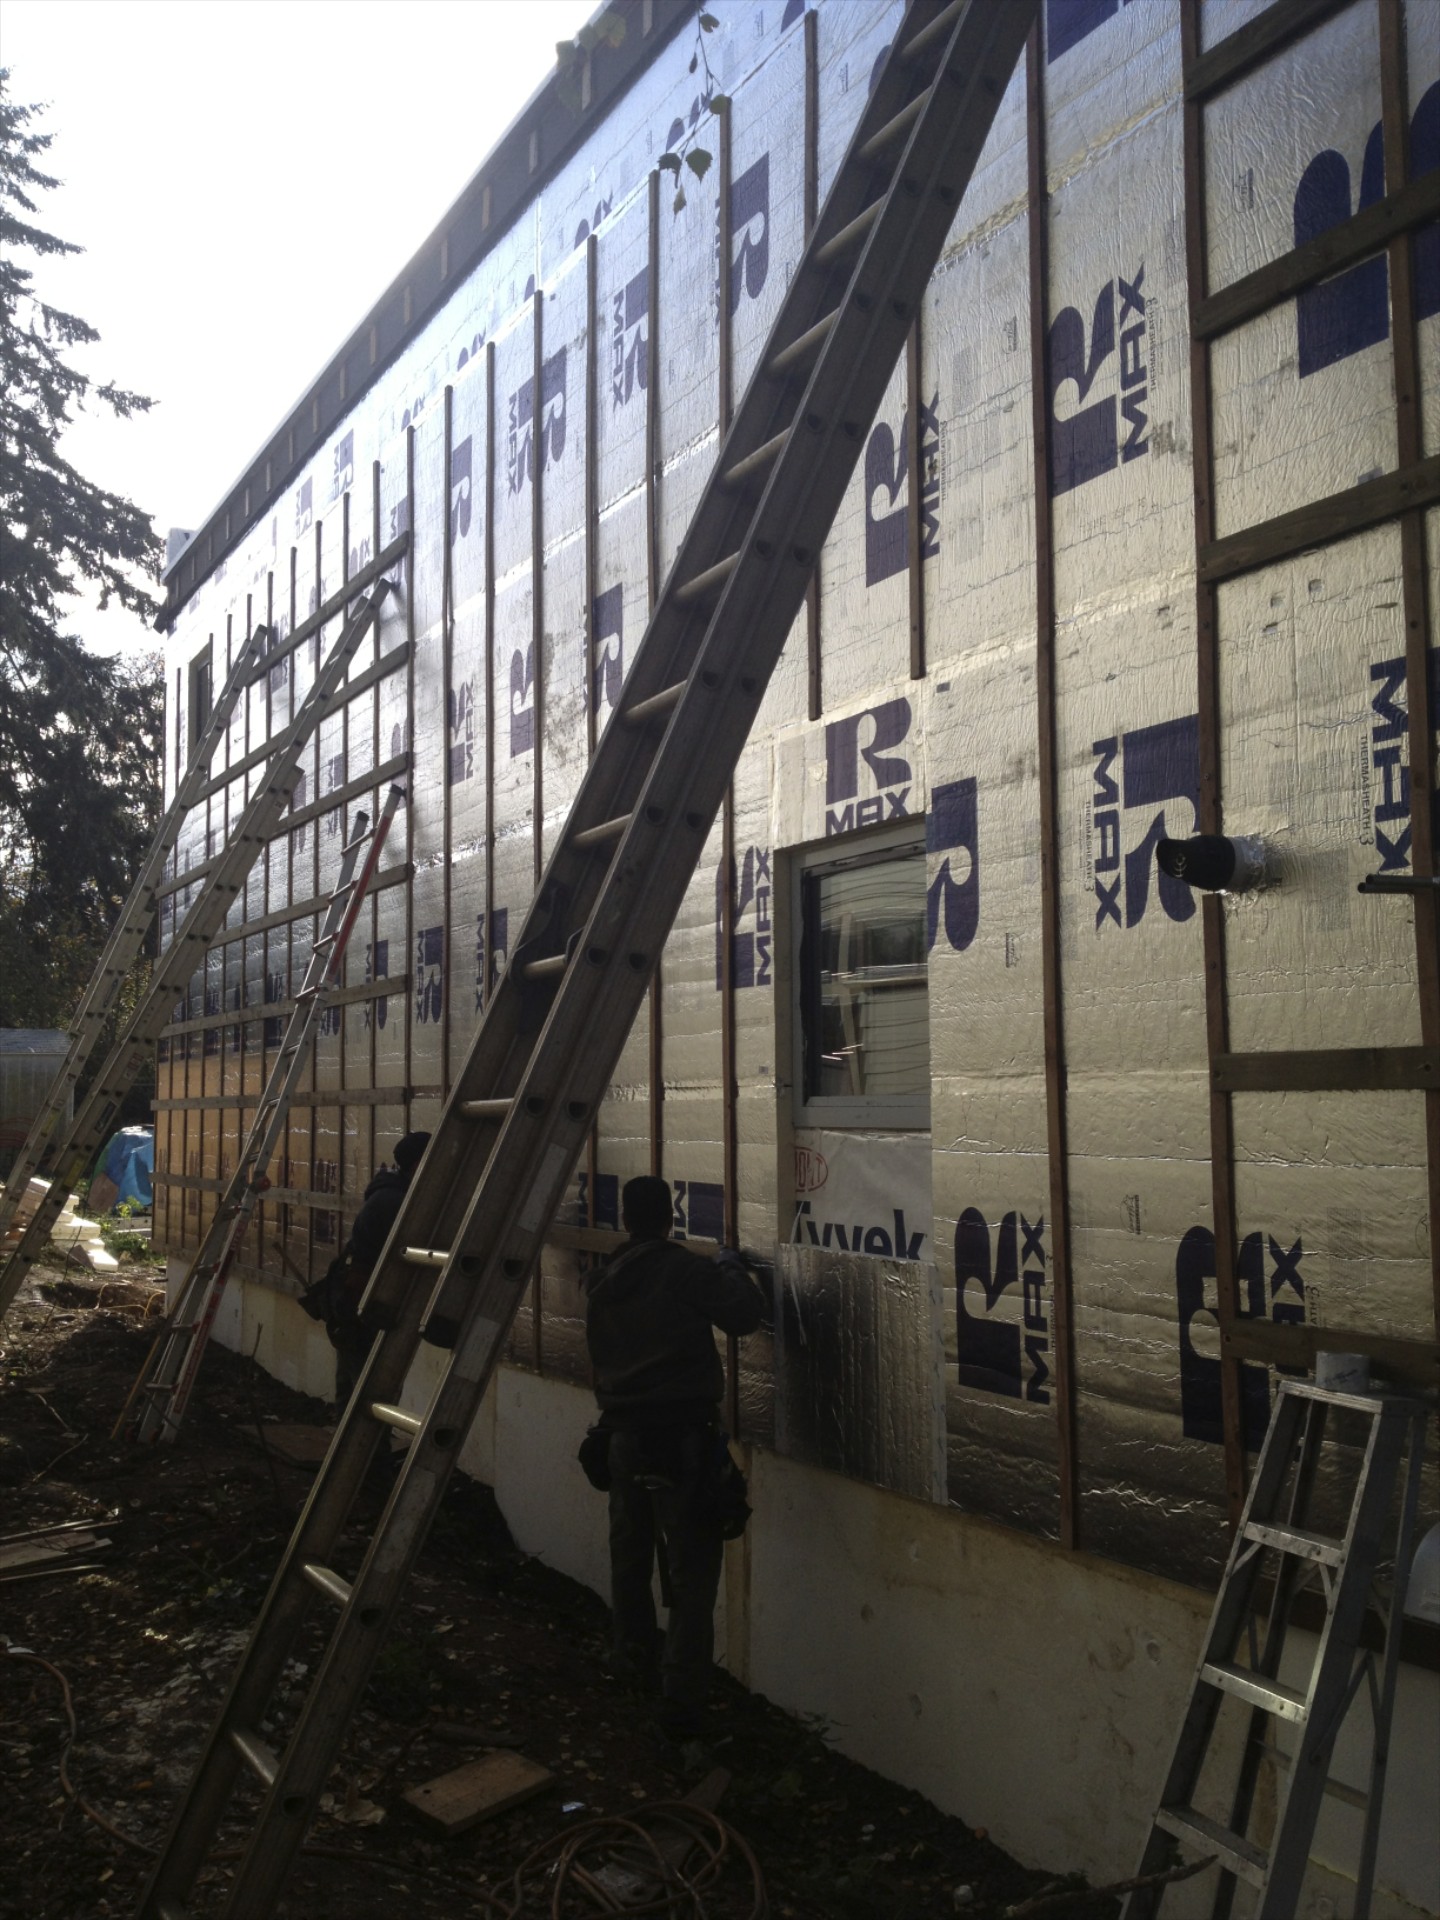
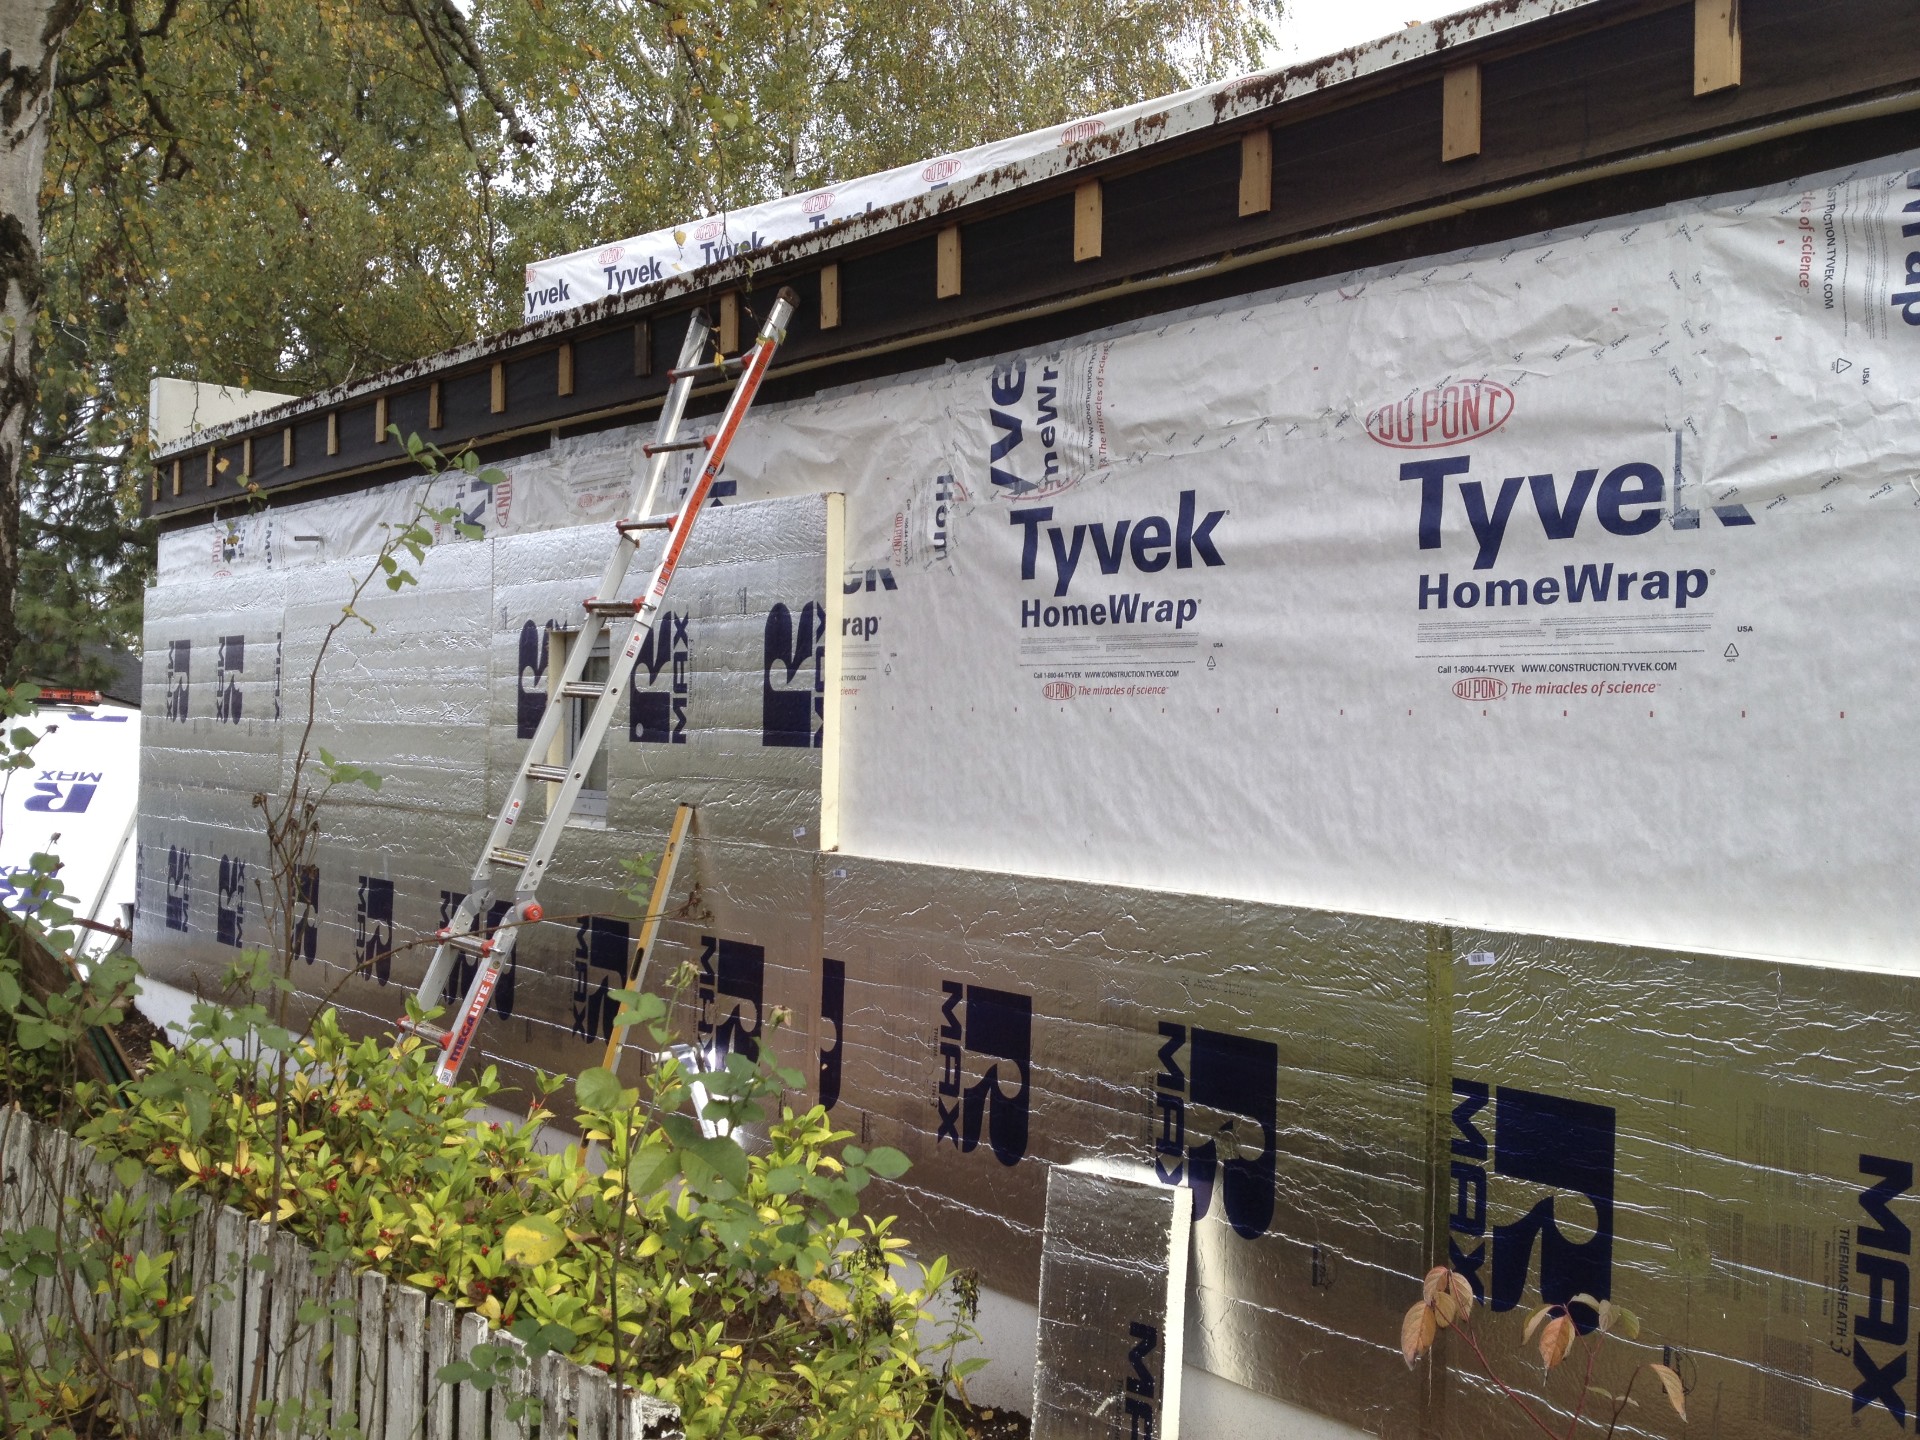
1/2" x 2" pt plywood furring strips run vertically to create the drainage plane. they are held in place by just a few fasteners until the next layer is installed.
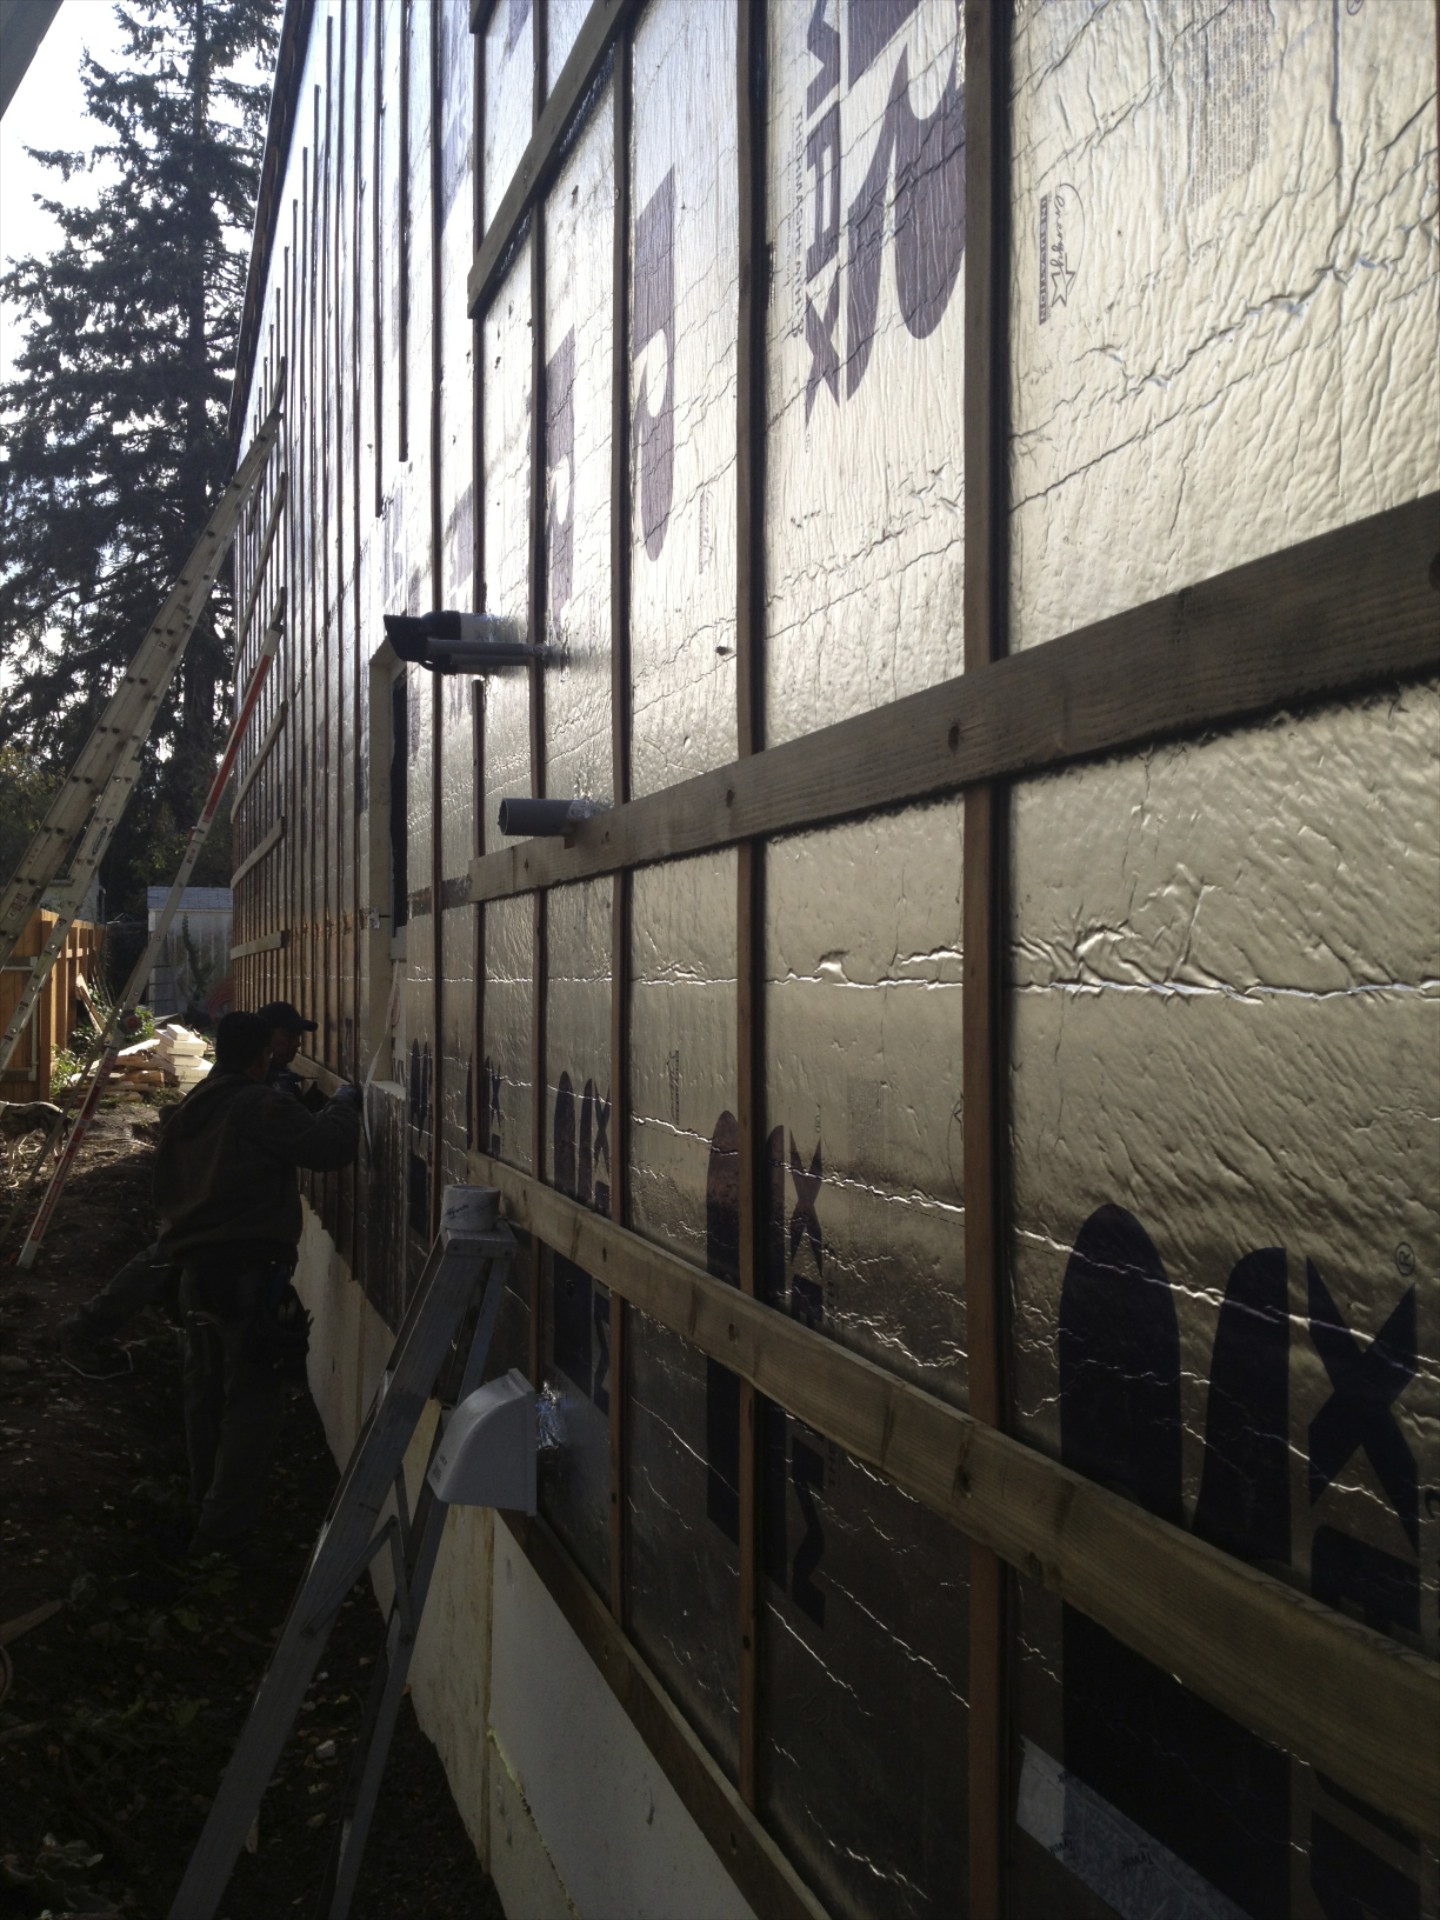
since we are using vertical siding, a second layer of furring runs horizontally. we used pt 1x4 as a solid nailing base for the siding.
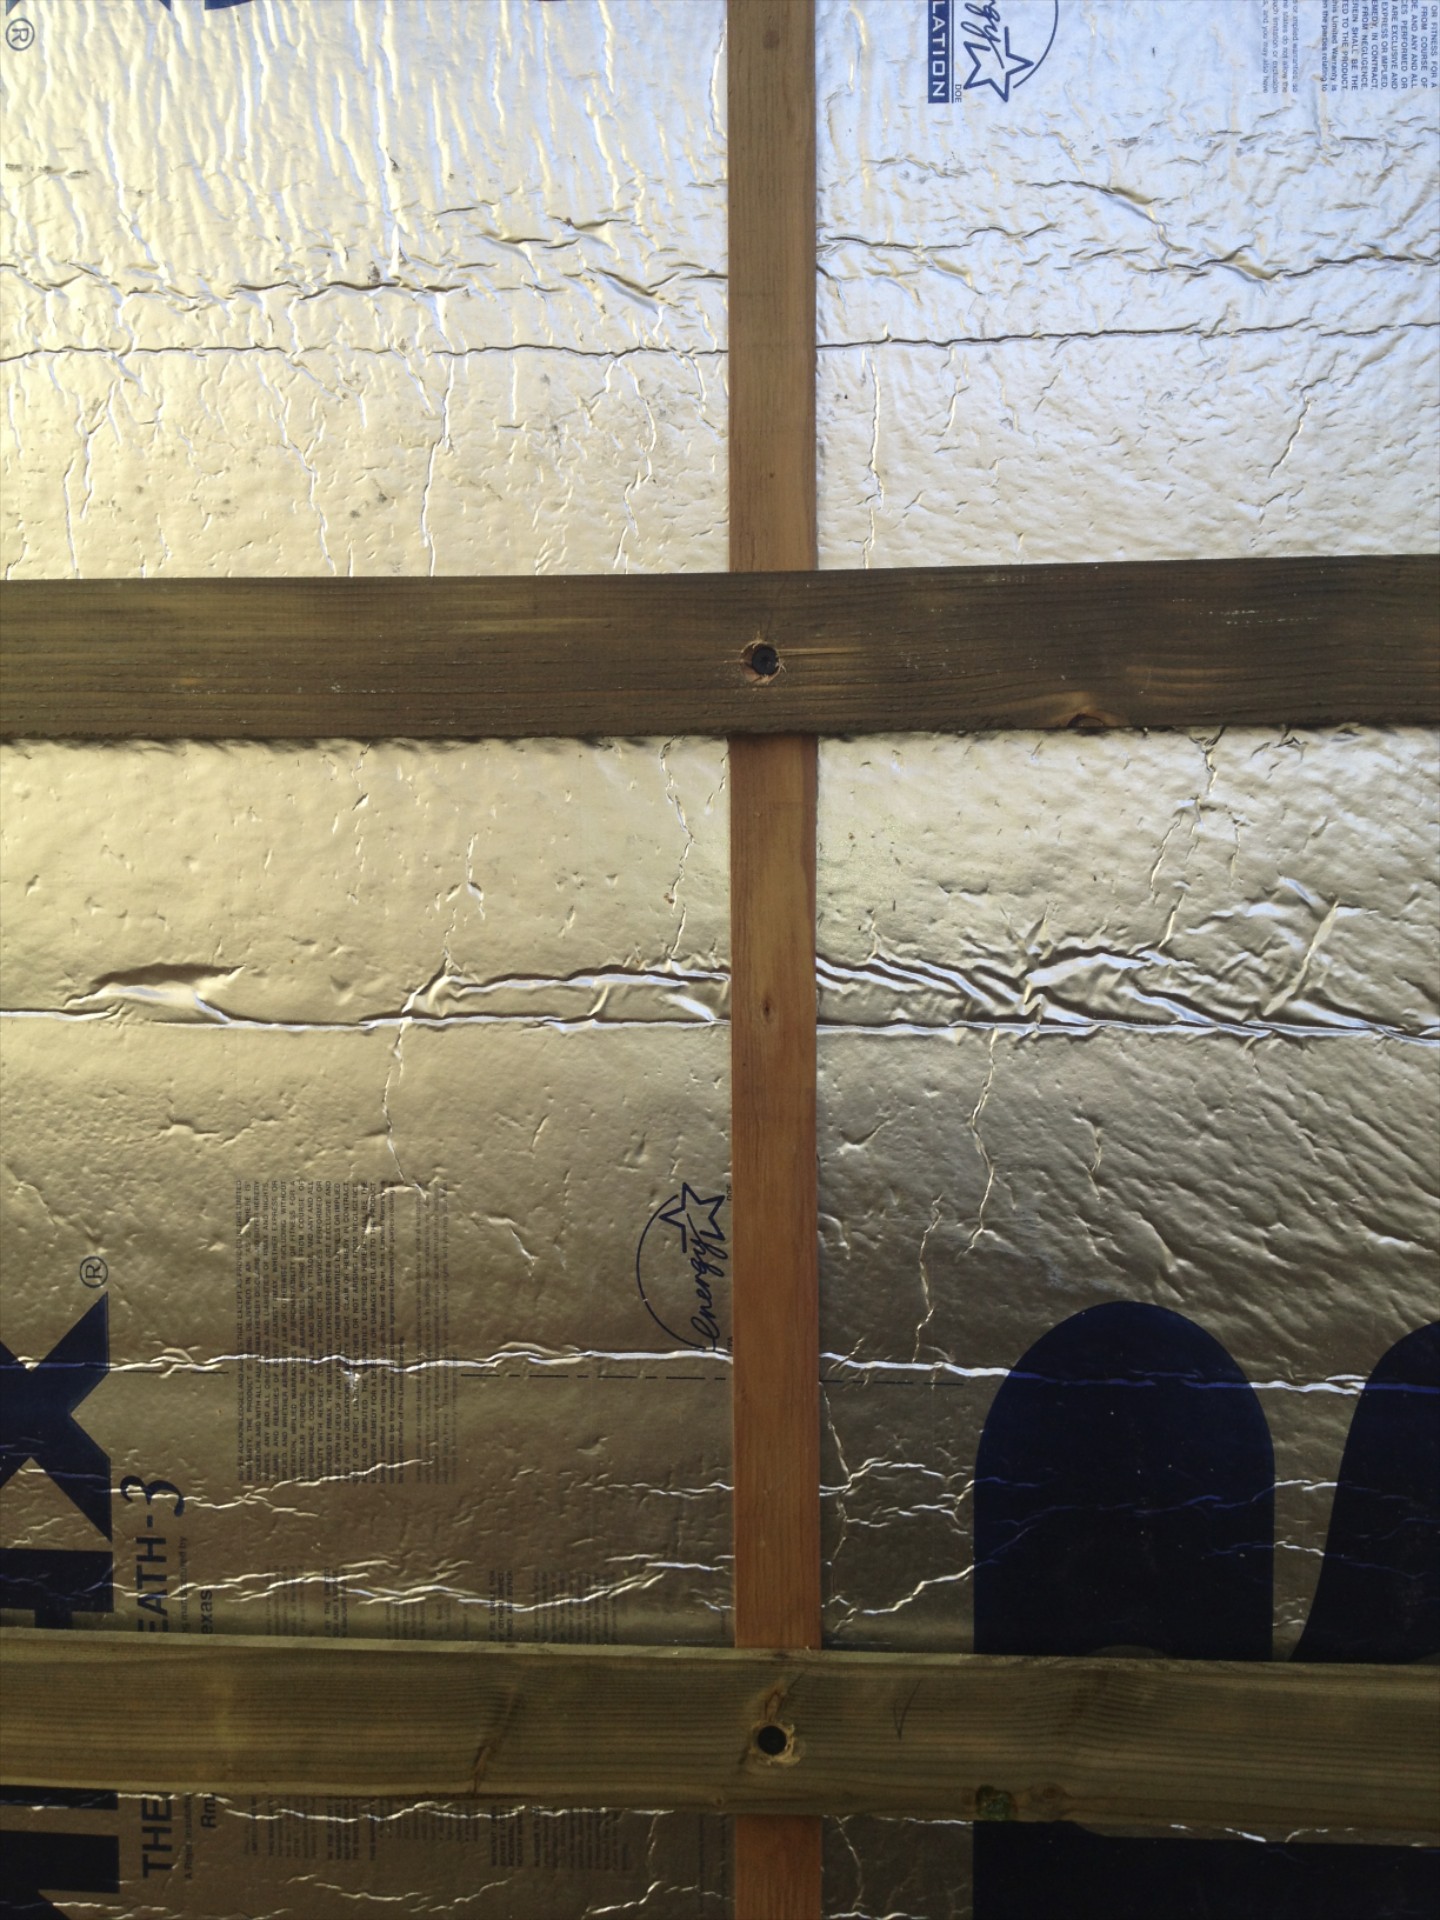
long fasteners secure the second layer of furring strips running horizontally through the foam to the studs. the straightforward framing layout makes the studs much easier to locate.
keep in mind that long fasteners get expensive. we settled on grabber #10 x 6" square drive coated screws (from nw staple).
next up on the exterior is trimming windows and installing siding.
stop by again soon.
while there's a lot of talk these days about building without foam, we decided early on to use continuous rigid board foam outsulation for this project. to begin the foundation gets 4" of expanded polystyrene.
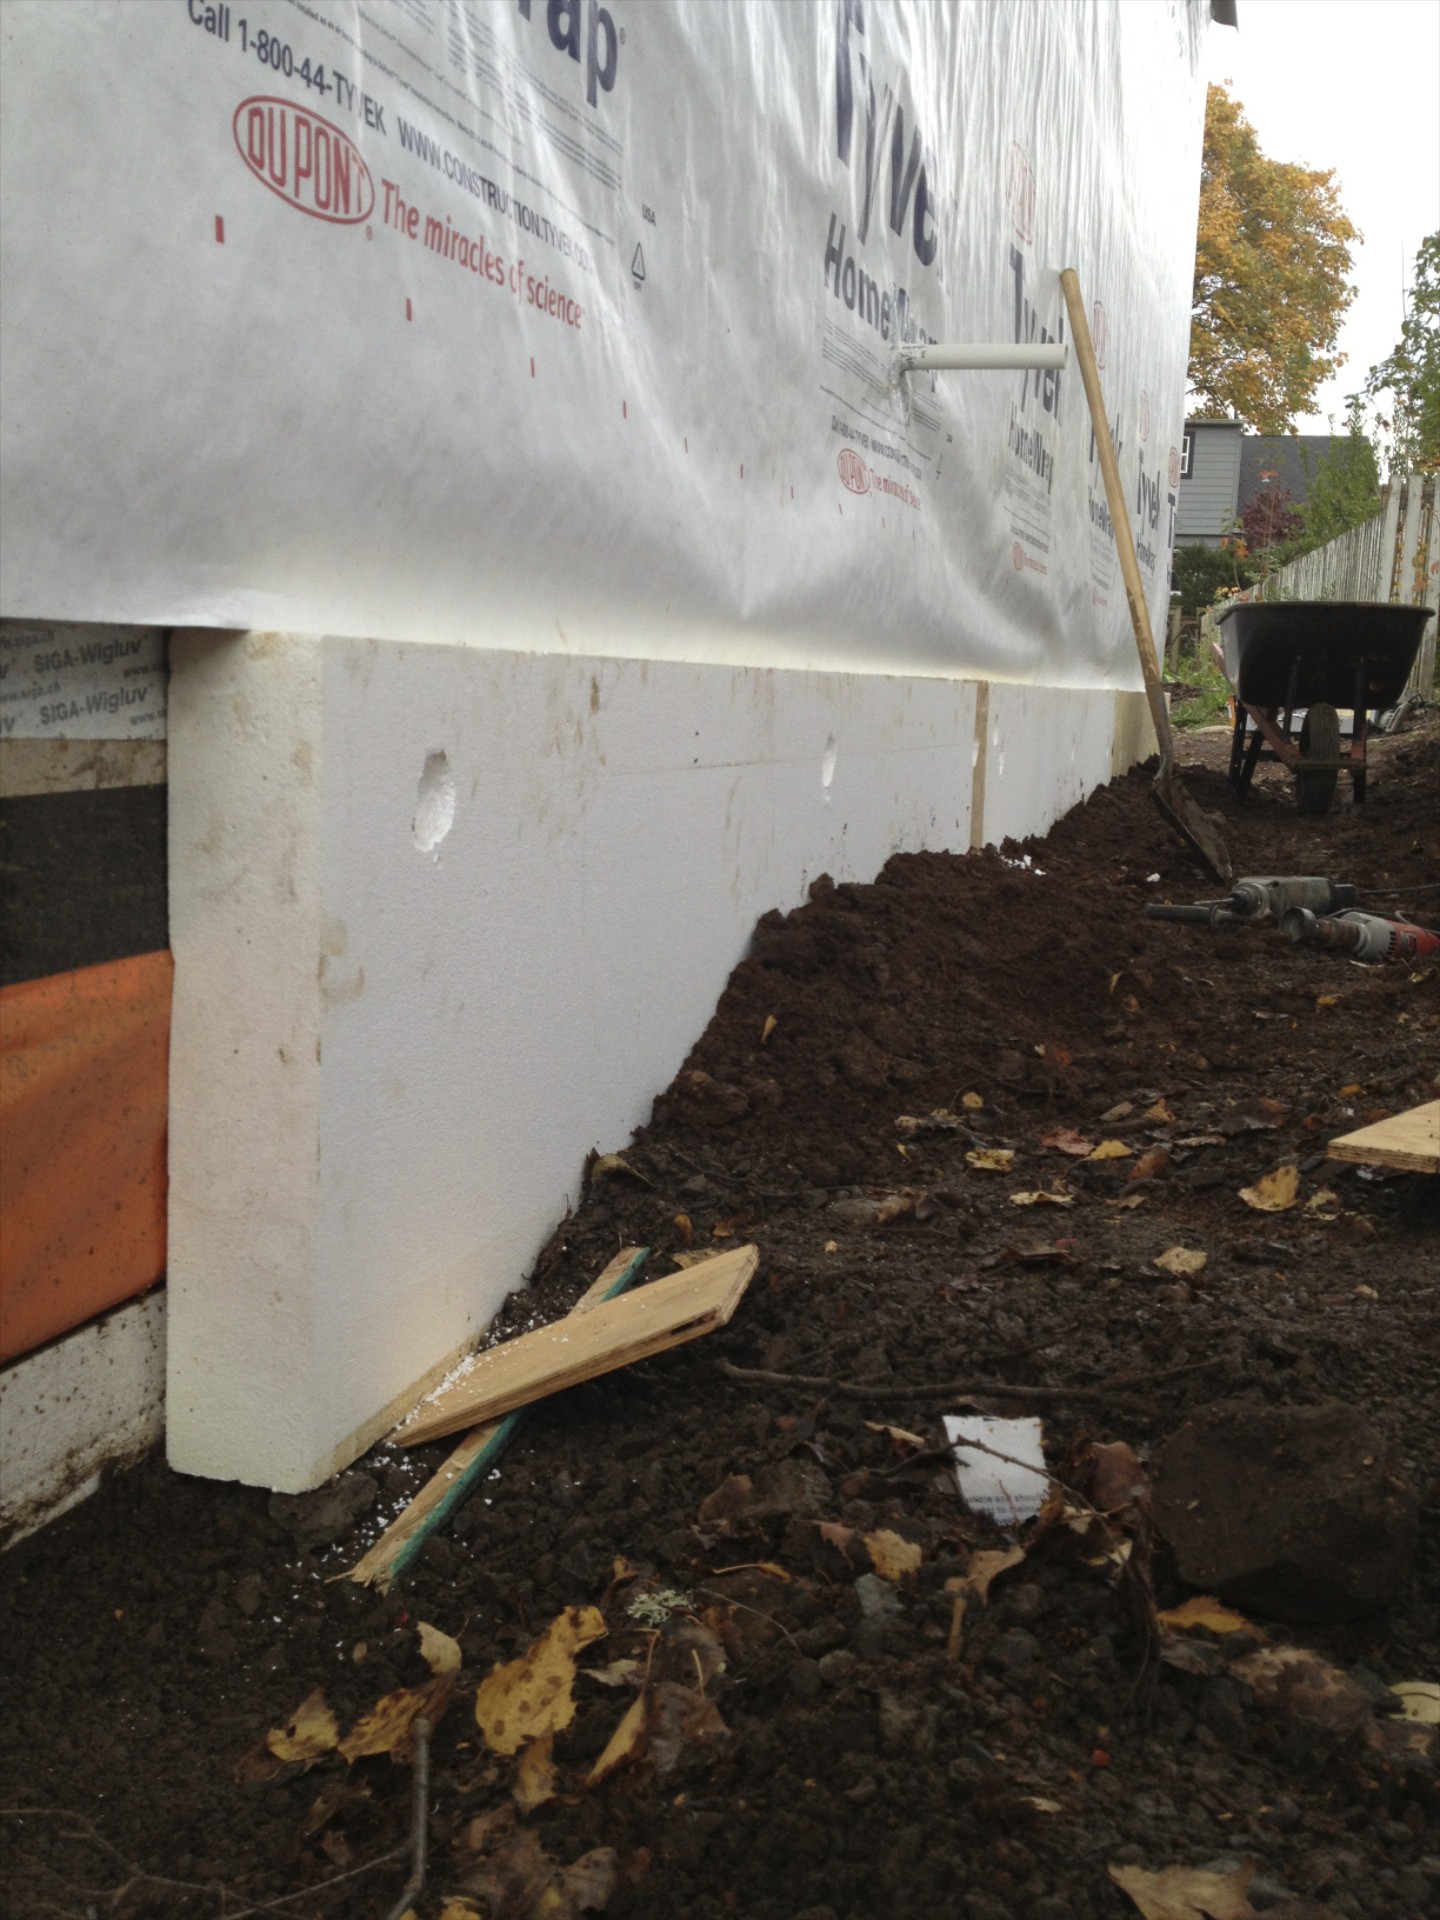
these 8' long pieces are held in place at the bottom by backfill and at the top by concrete spikes. spray foam was first applied to the back of the pieces to fill gaps and help secure them.
the concrete spikes are recessed into the foam to minimize thermal bridging. only 3 spikes were used per 8' long piece.
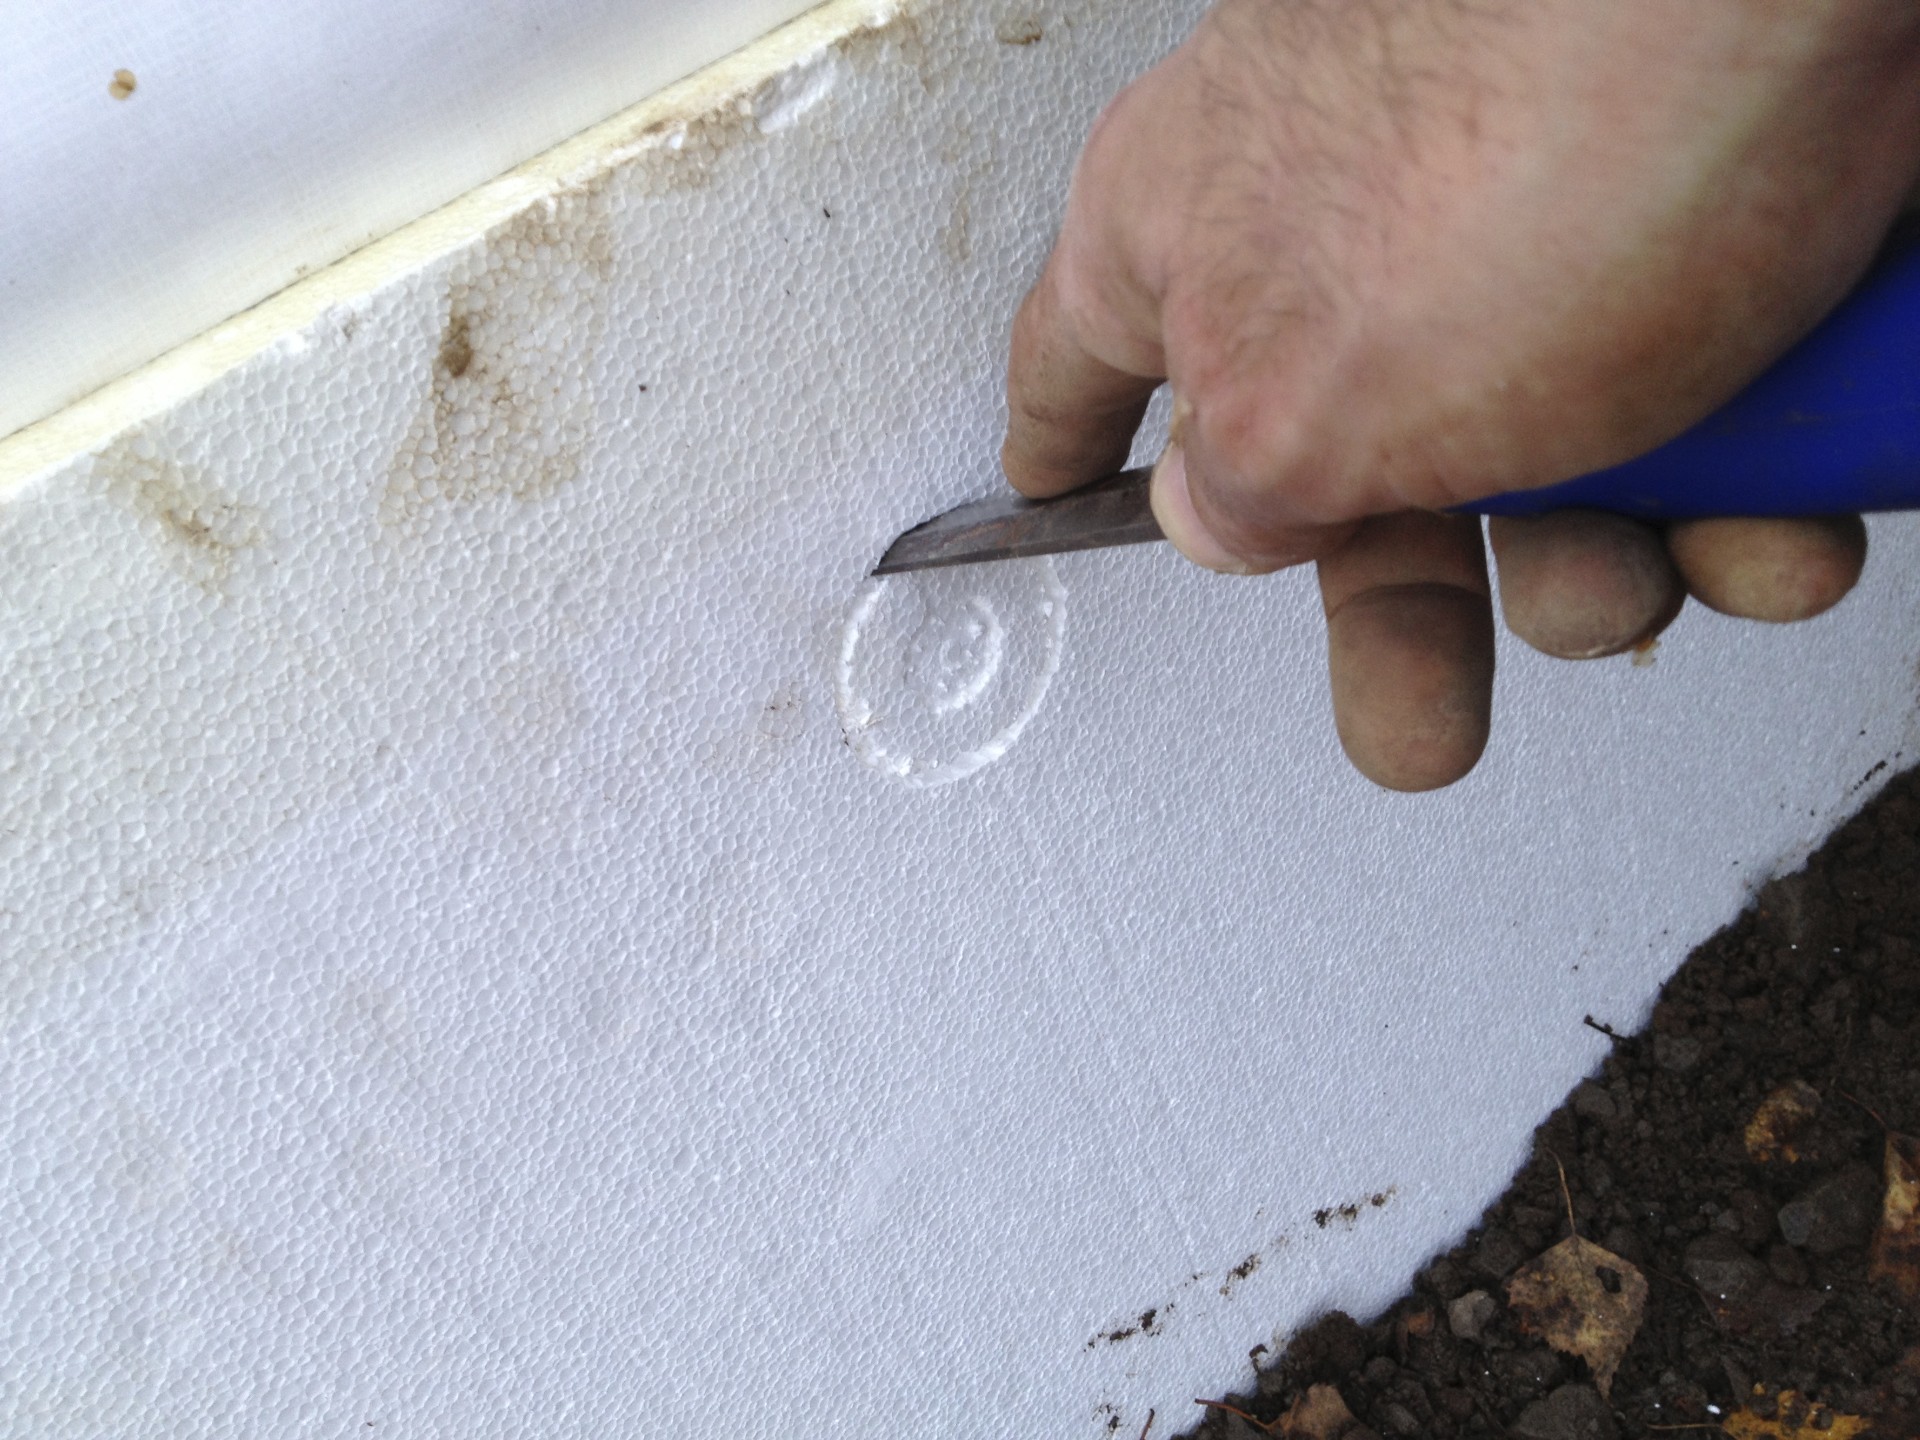
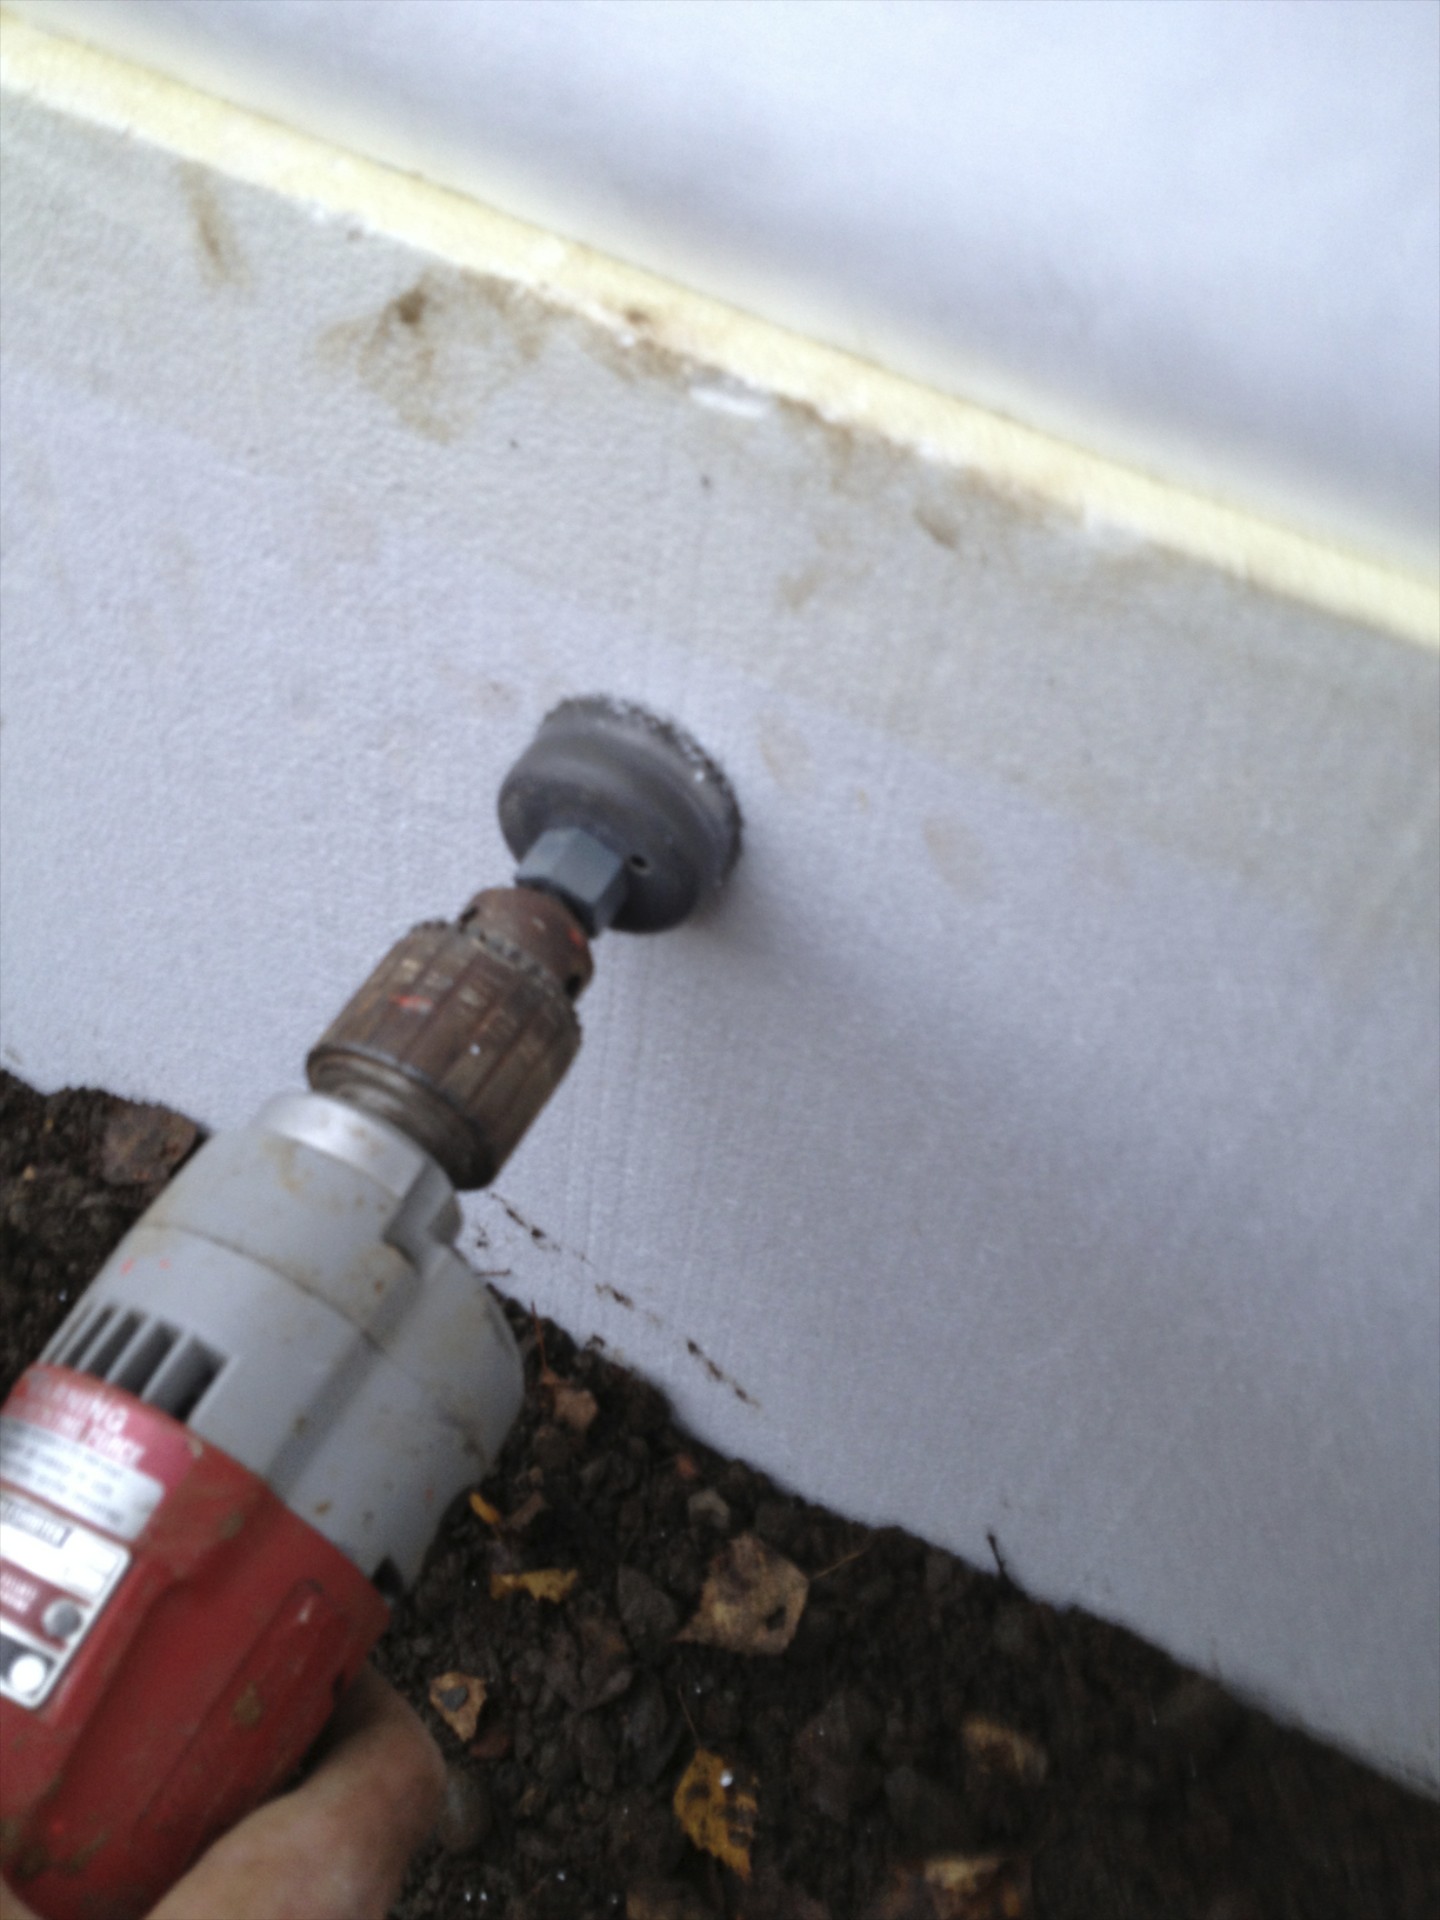
step 1: use hole saw bit and pry out hunk of foam.
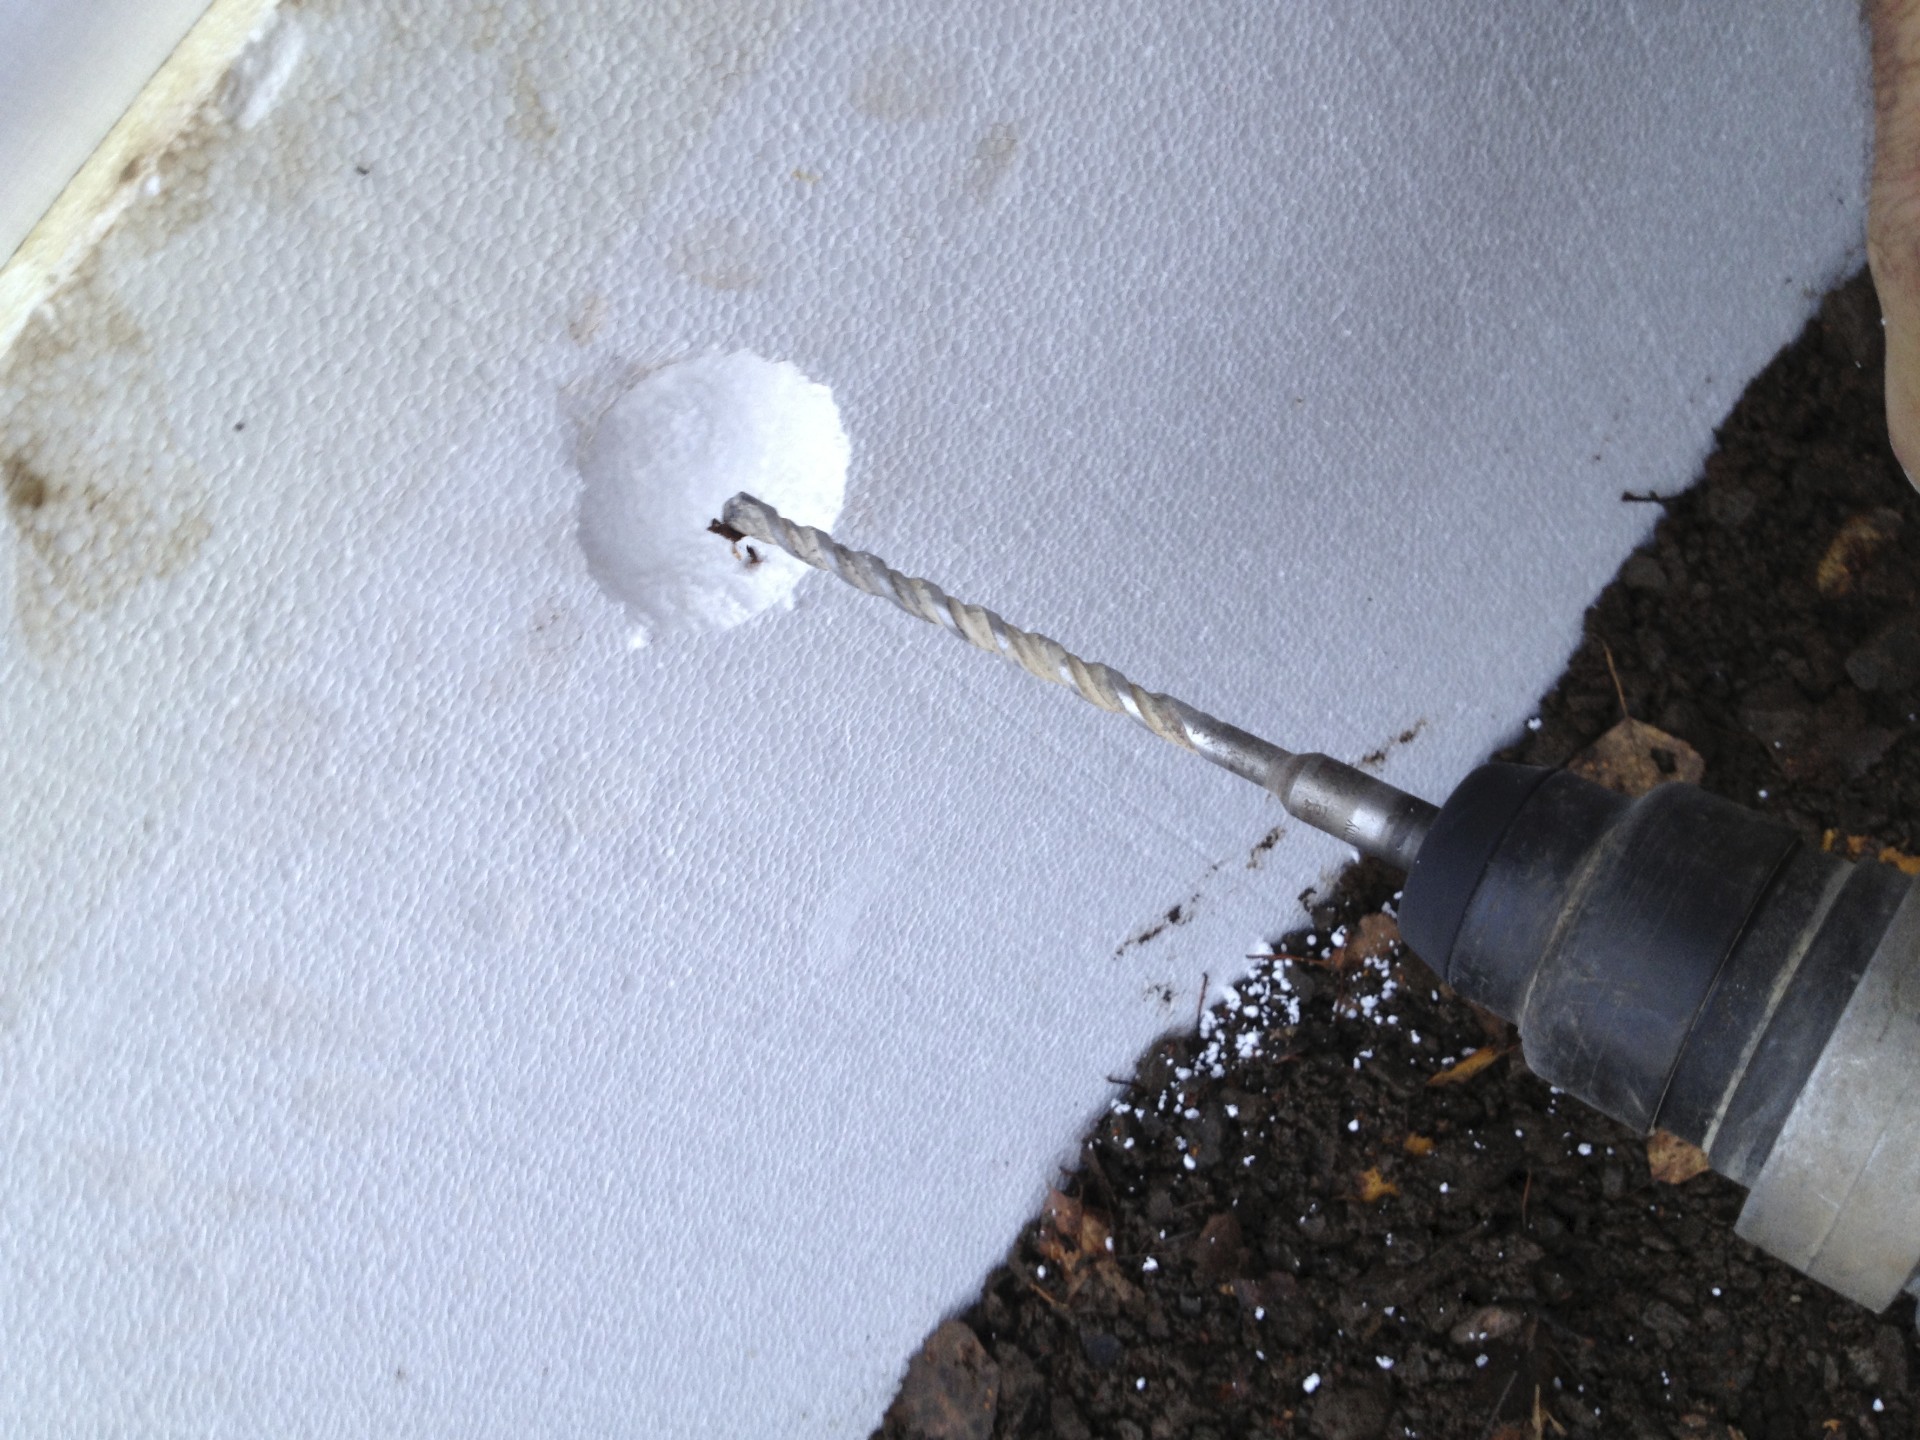
step 2: use hammer drill to drill hole in foundation.

step 3: prepare 6" concrete spike and plastic washer. (concrete spike from dealers supply / plastic washer from service partners supply)
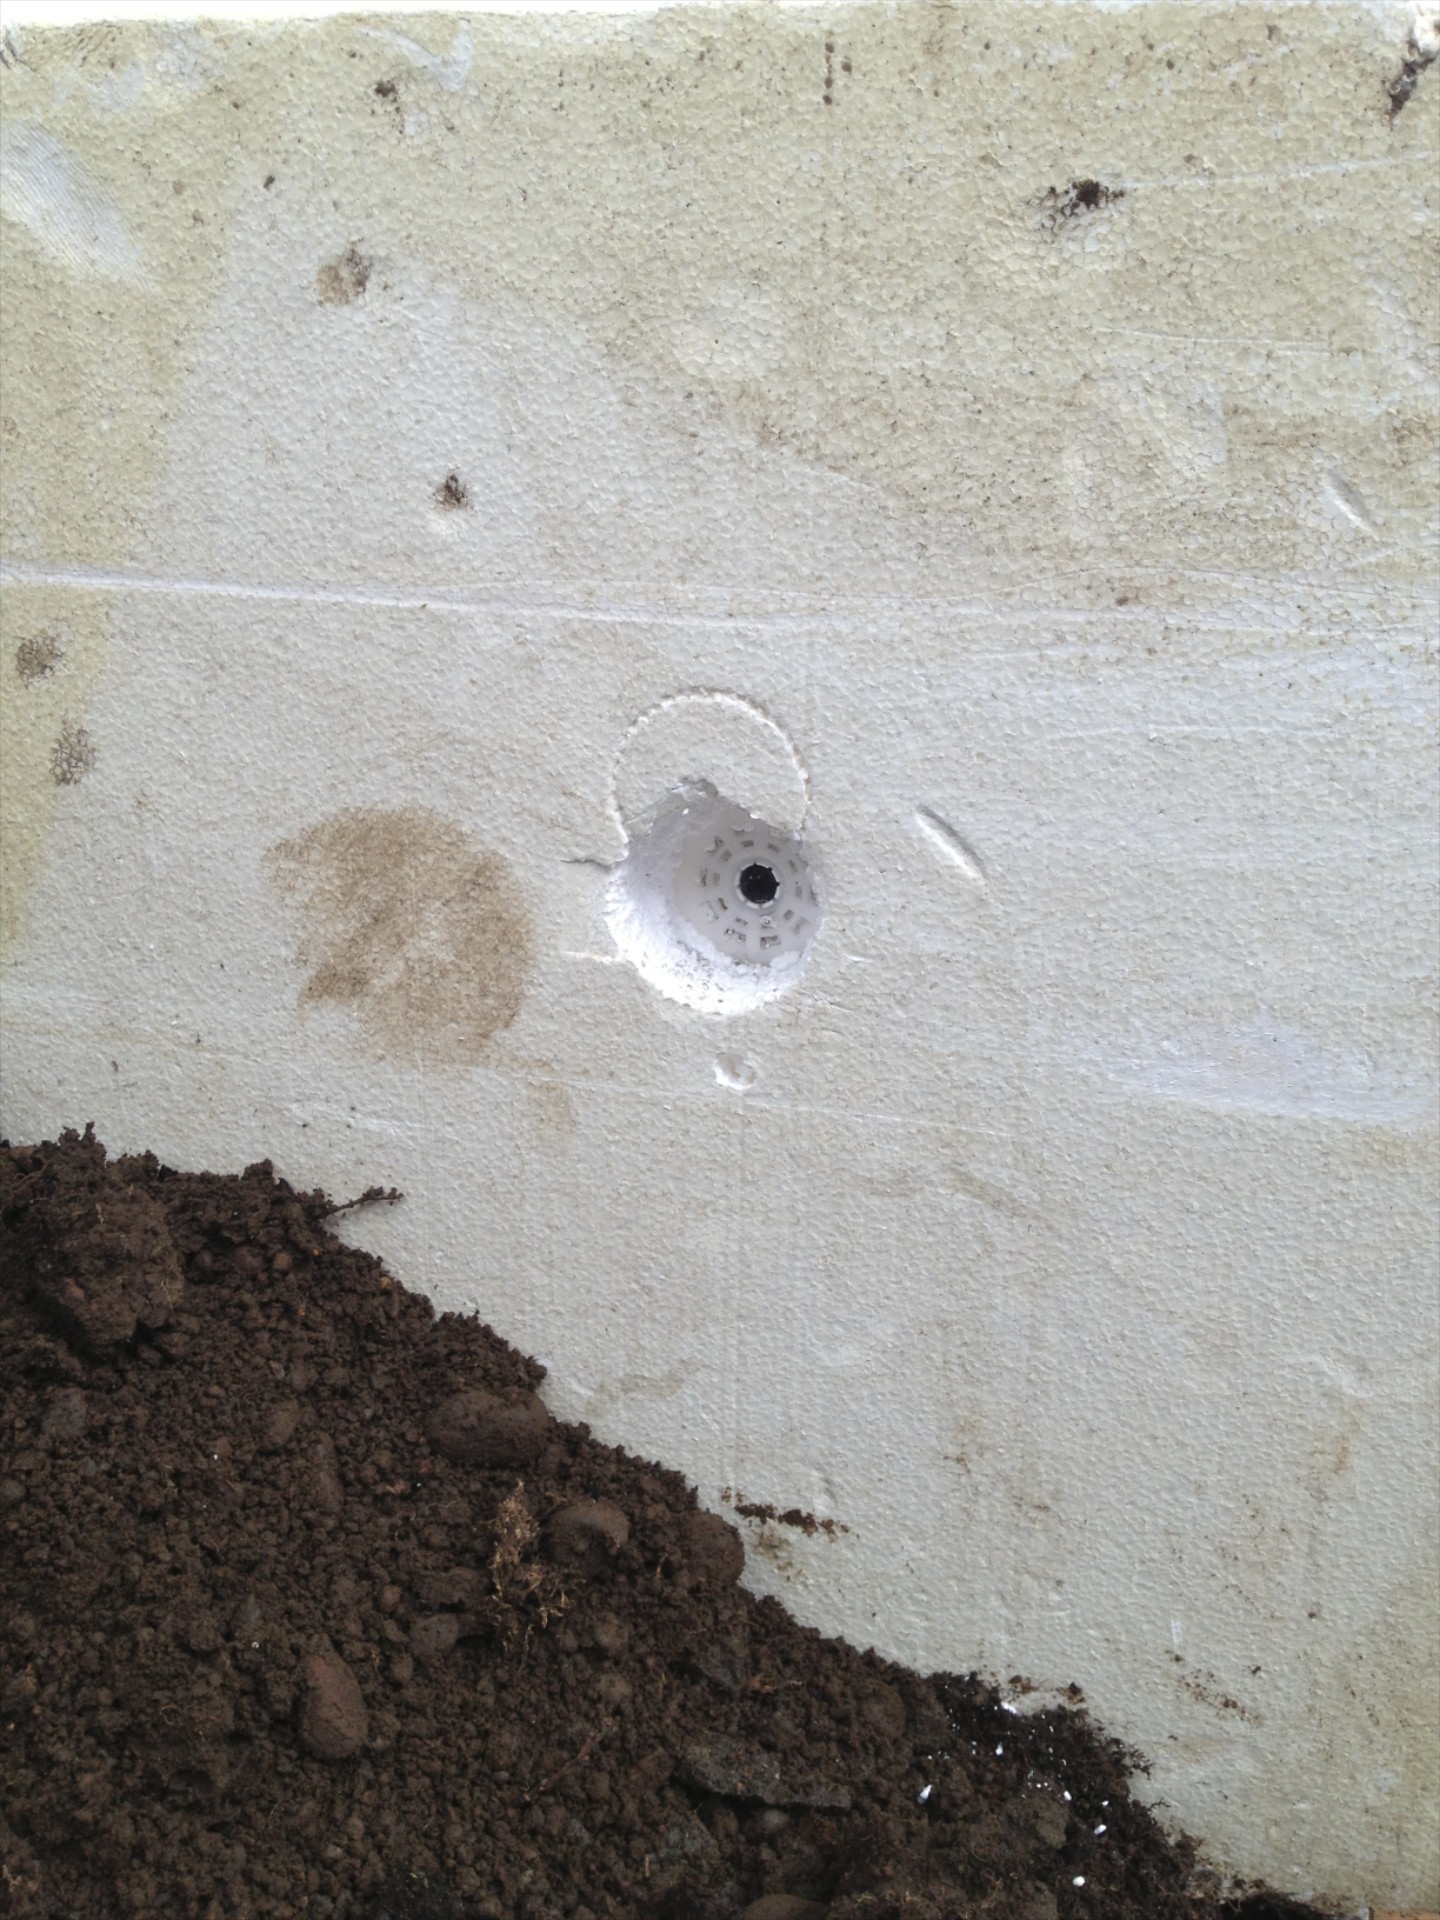
step 4: hammer spike and washer to secure foam.
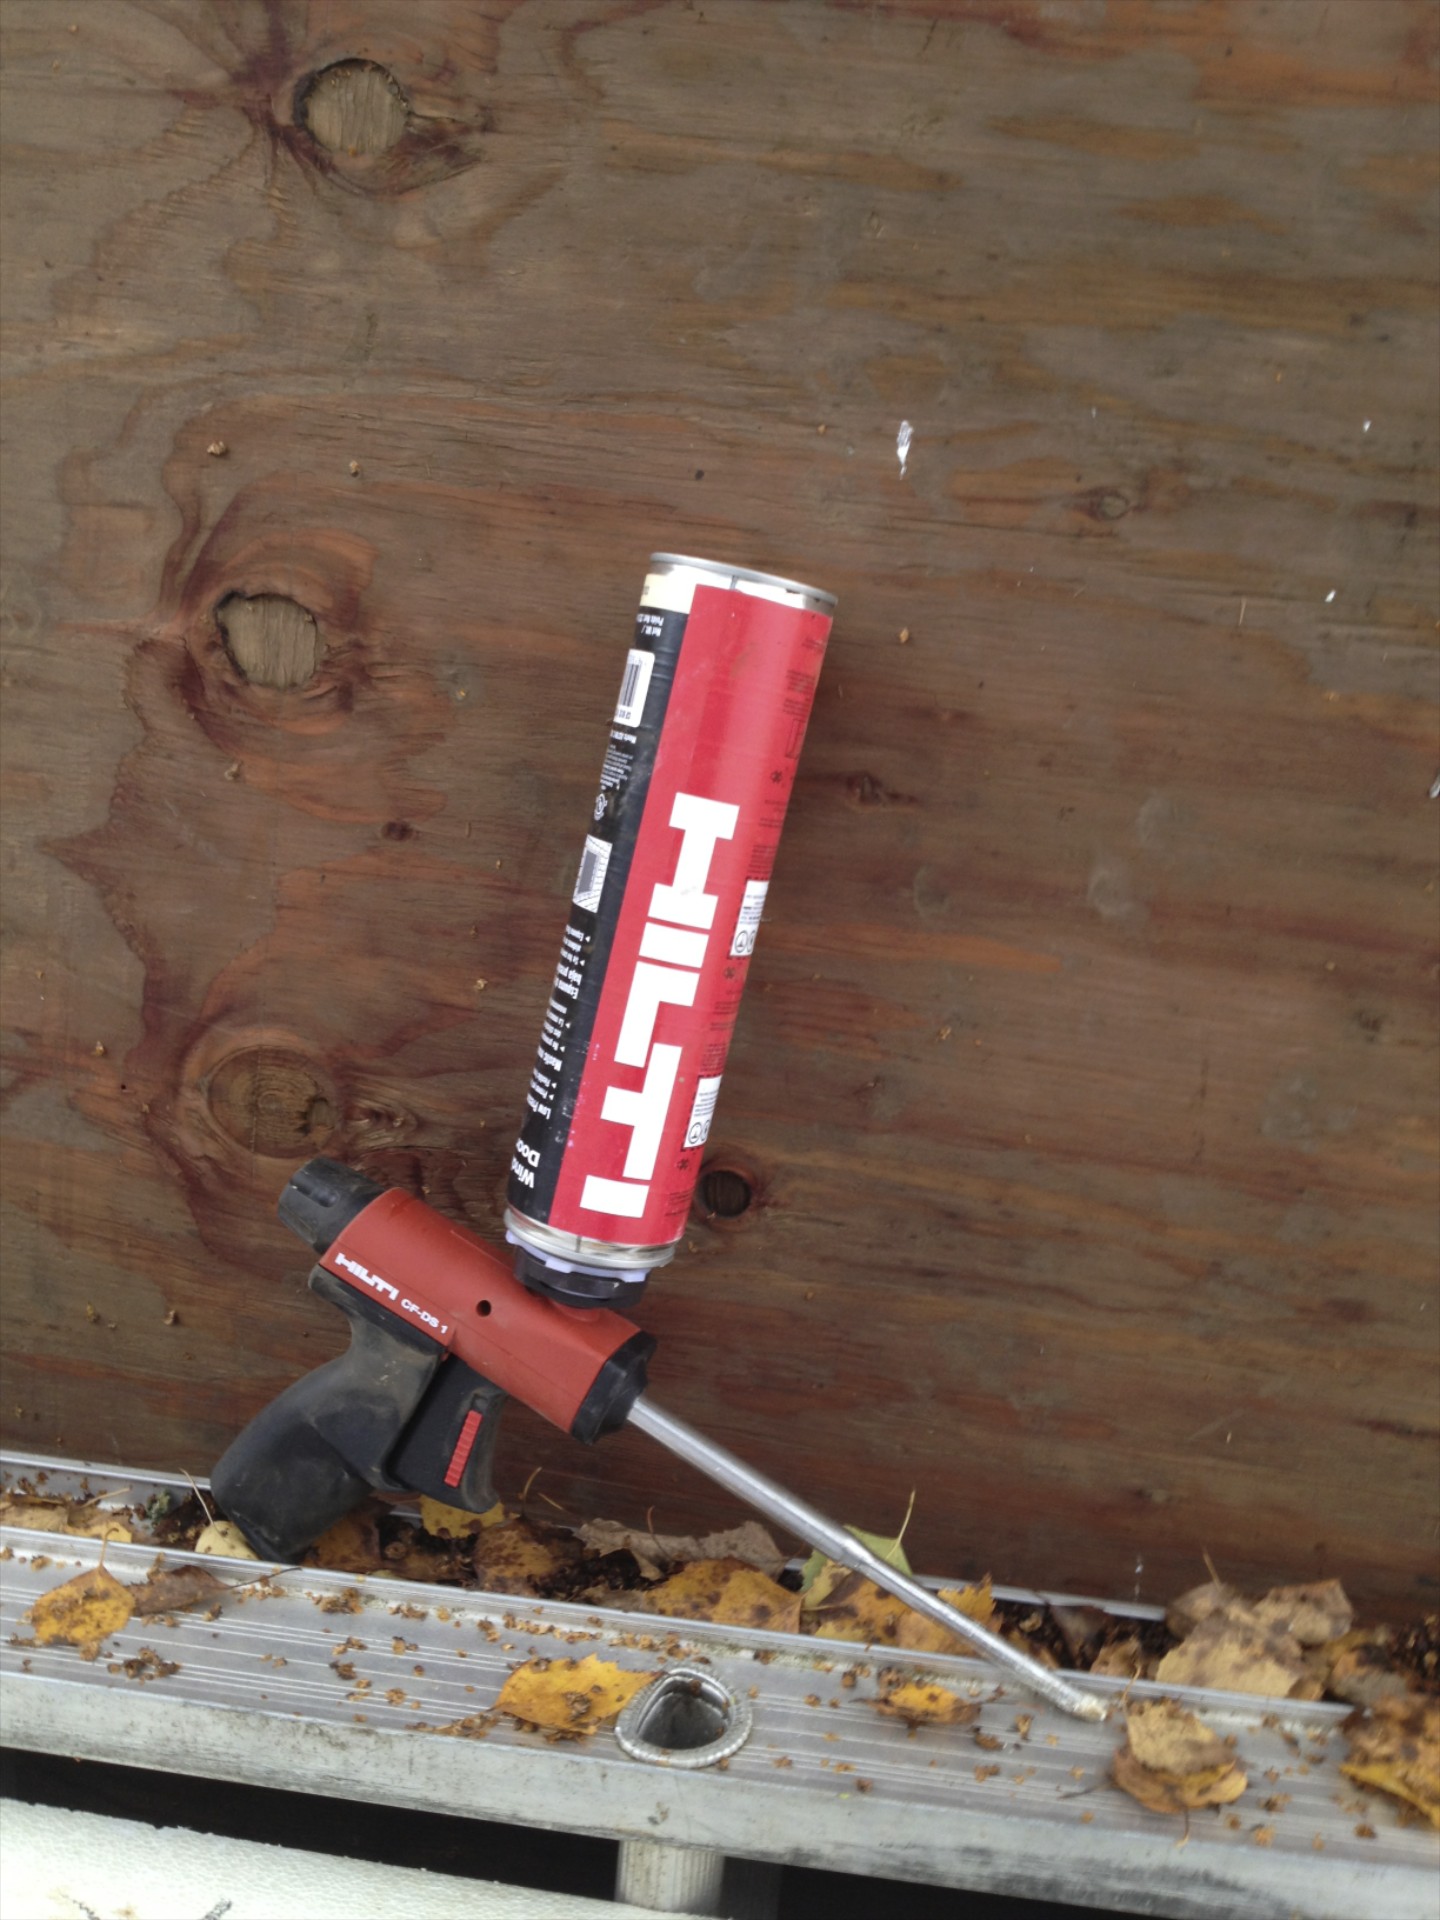
step 5: spray foam any gaps
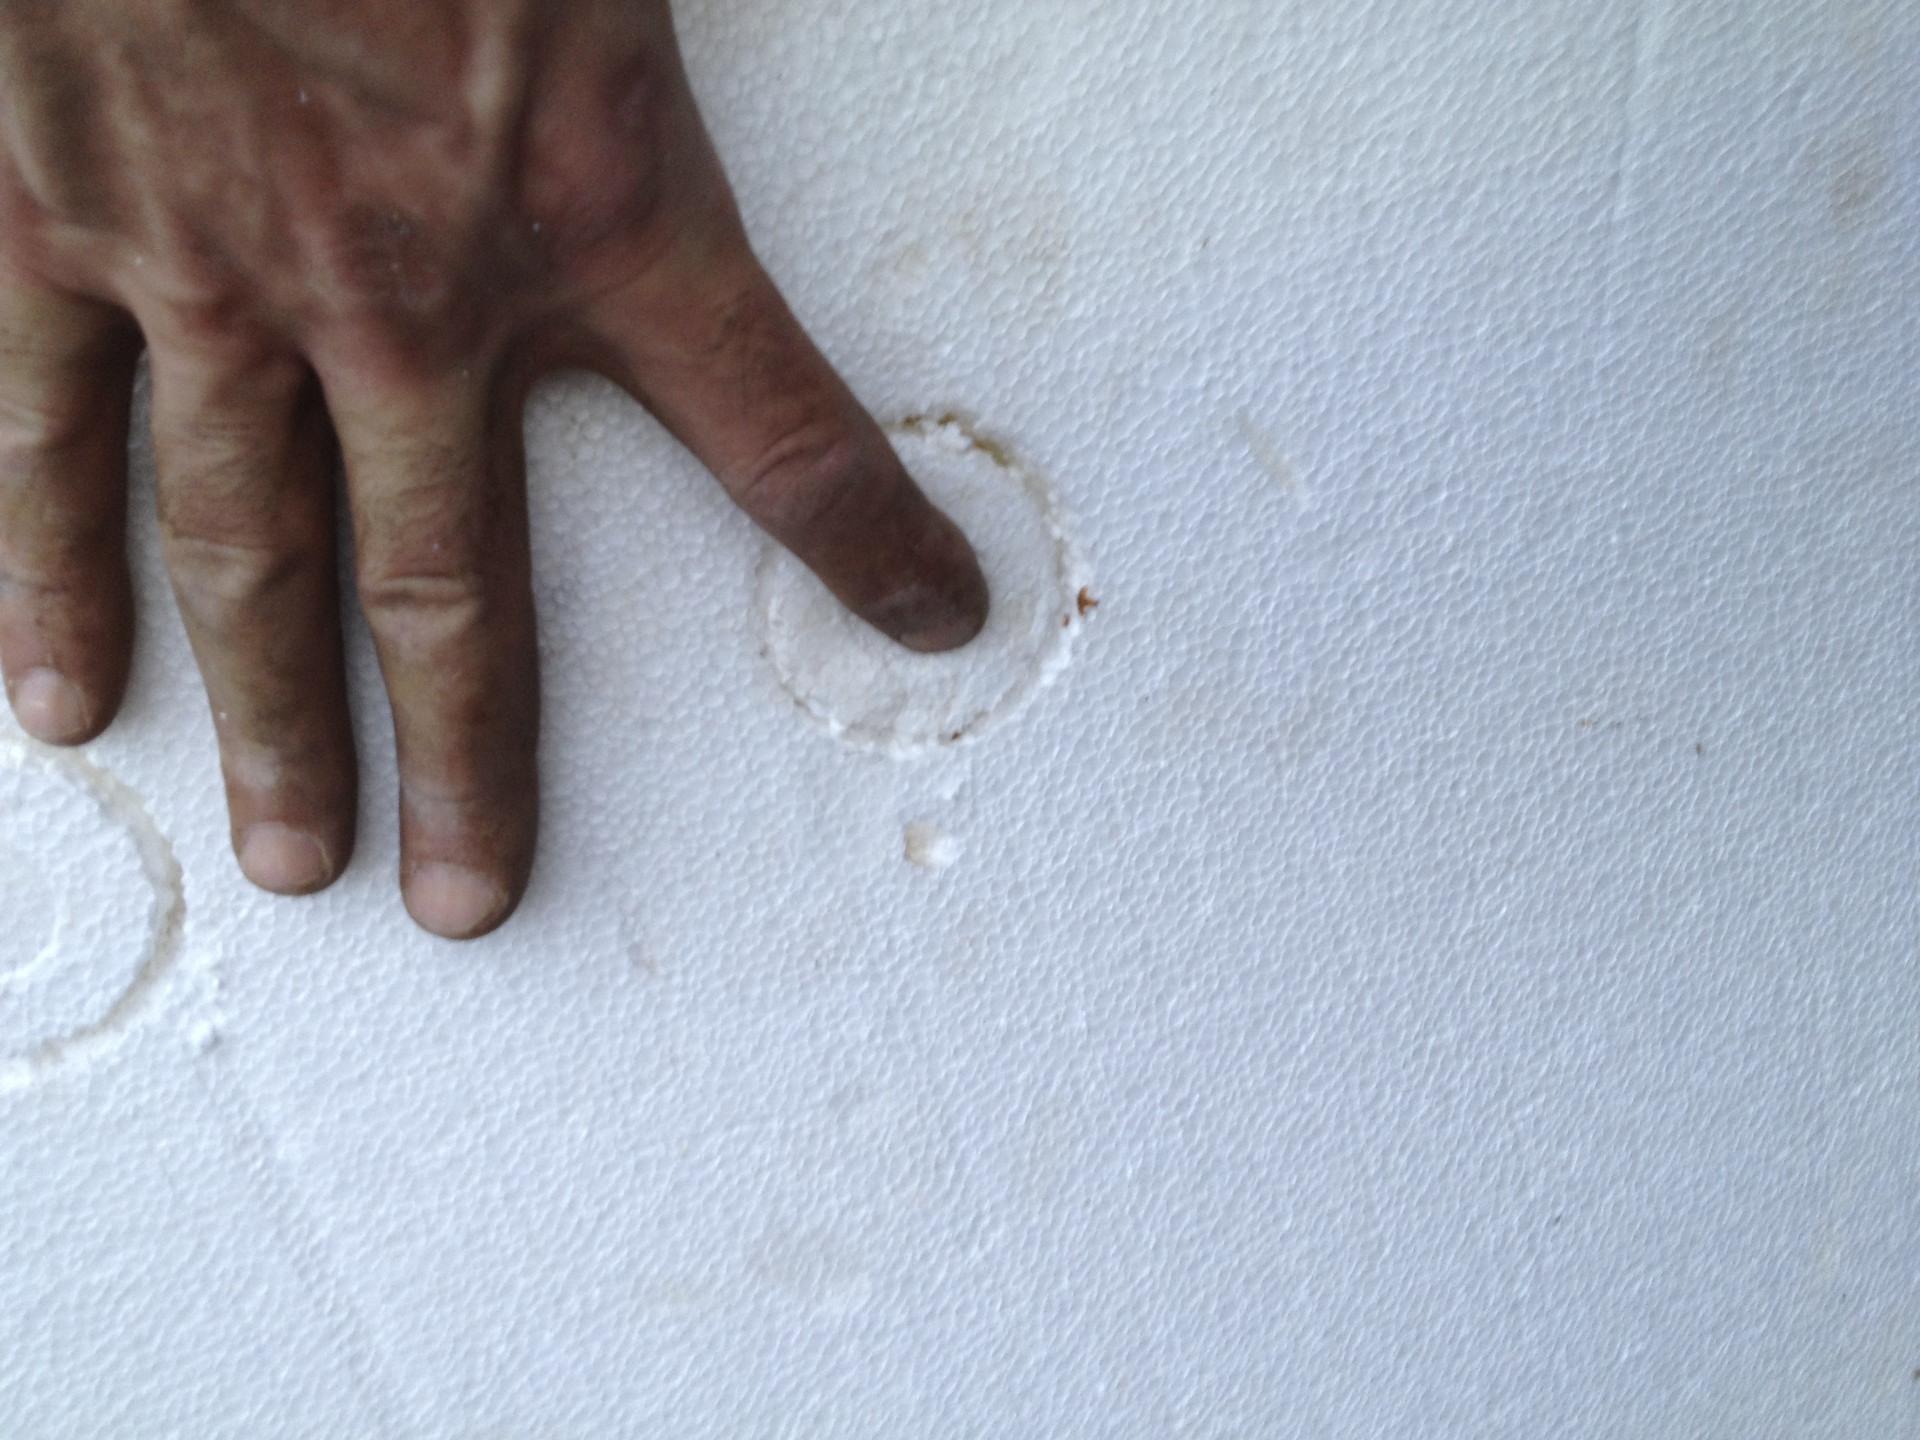
step 6: reinstall foam plug using spray foam as adhesive
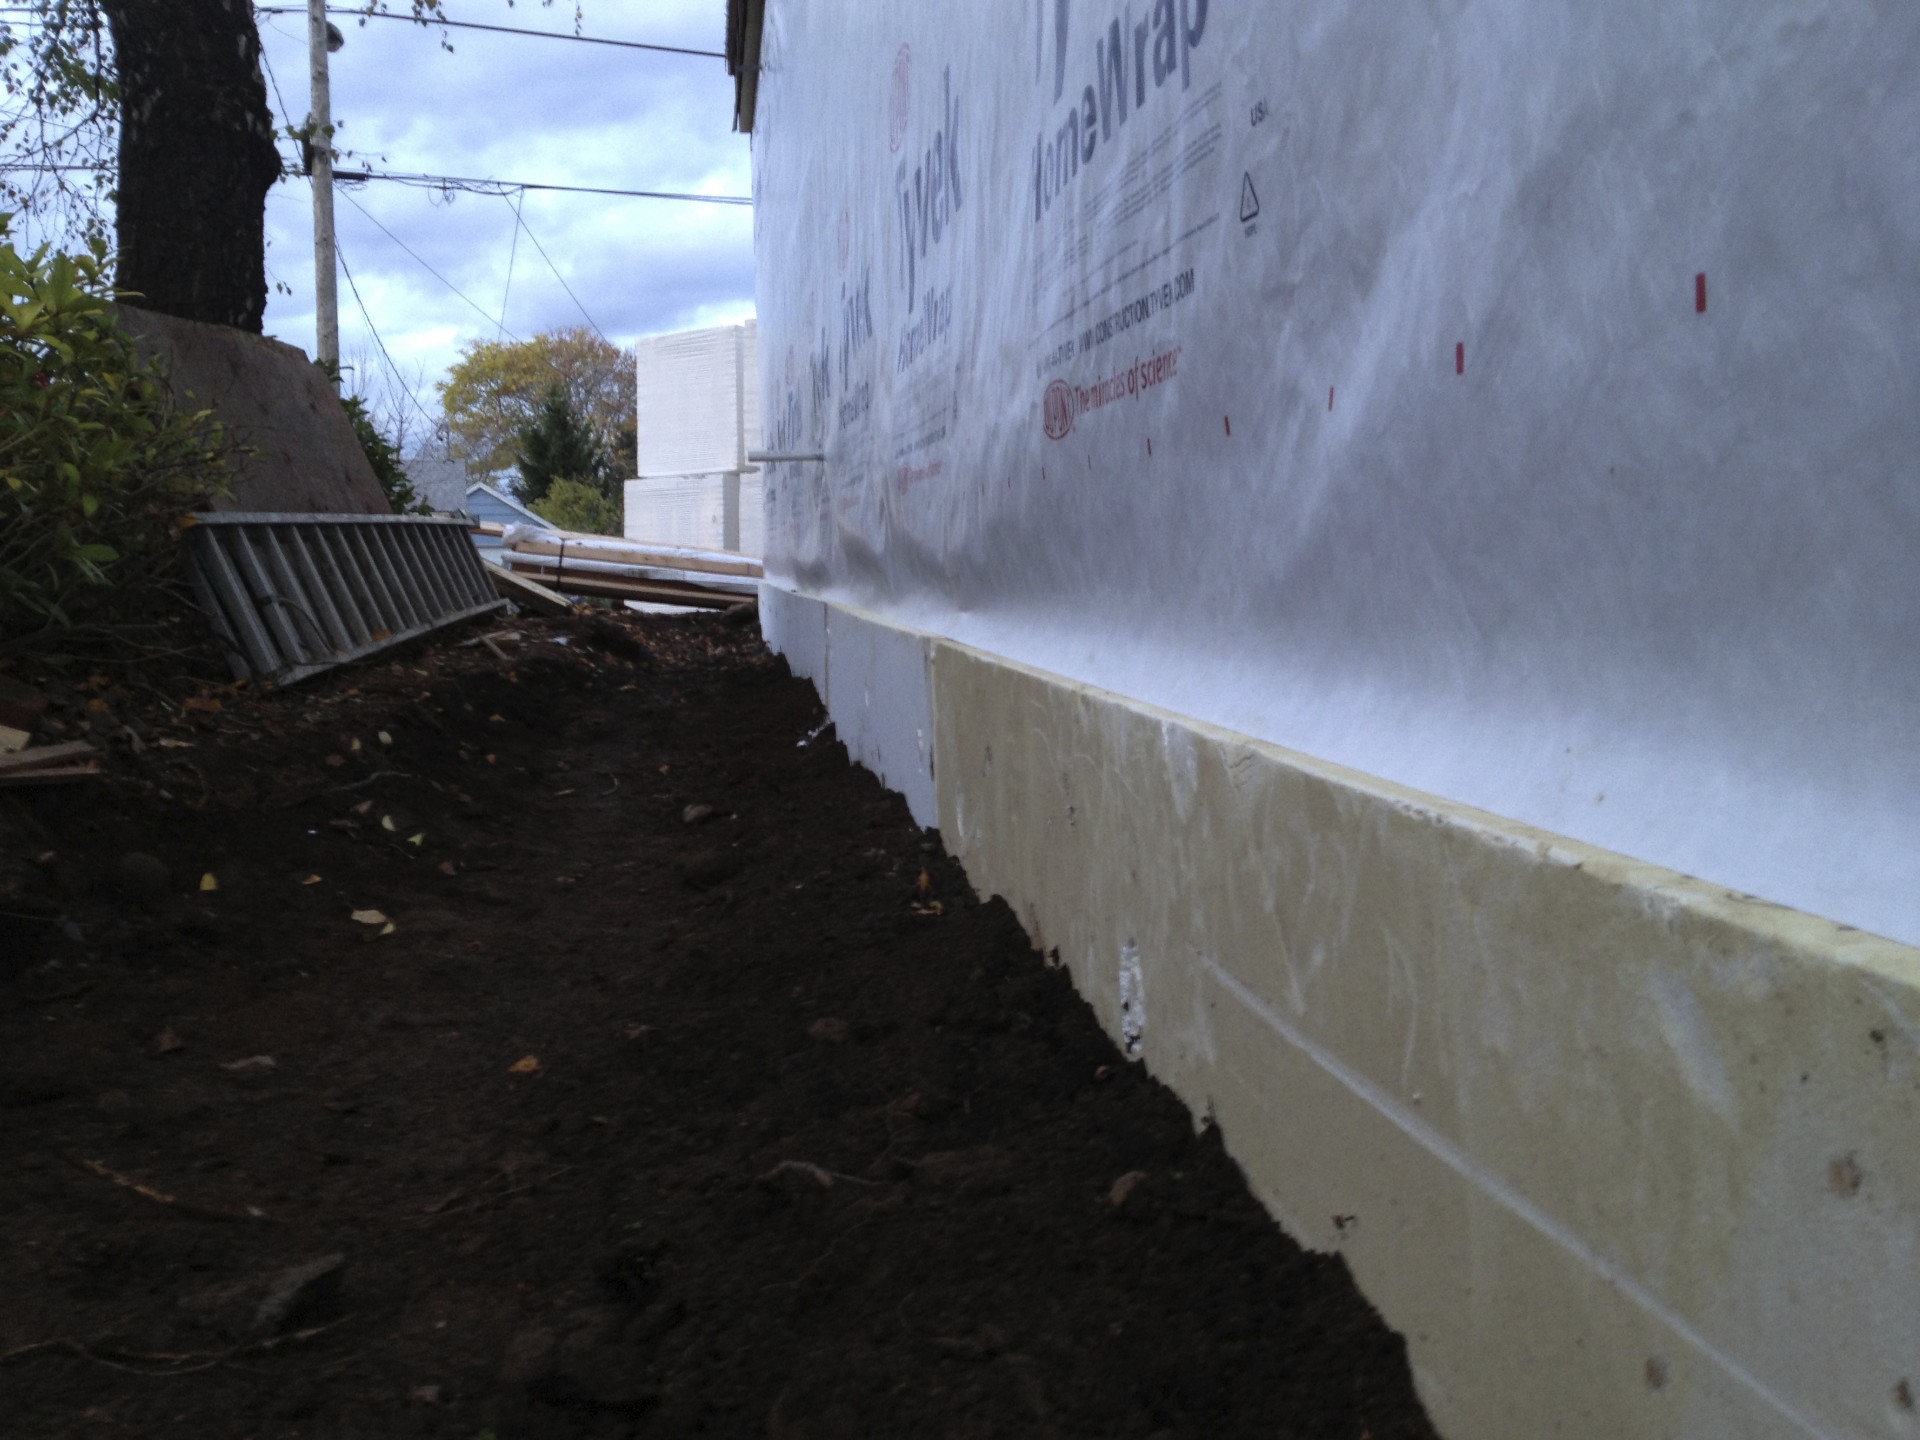
when the weather warms we will be applying a cementitious coating direct to the foam to provide the finished surface. after final grading, only 6" or so will be exposed to view.
we're planning a passivhaus. in this country called a passive house. super energy efficient. it's a german system. it's pretty rigorous. there are a few built, a few more under construction. even more being planned. the concept is to create a house that is comfortable year round without a traditional heating system. it pretty much heats itself. heat from the sun, people, appliances, animals, etc. probably a small electric heater or two to supplement.
how do you do it? create a super insulated building envelope. make it super tight. maximize the solar gain. use incredibly efficient windows. minimize the losses. use mechanical ventilation and recover the heat. that's pretty much it. seems simple in concept.
we already have a site. it pretty close in. we like the neighborhood. it has great south exposure. opportunity for a garden.
the existing house is very small (not a bad thing), but in not such good shape. it's barely insulated. the windows are rotting. some glass is cracked. the rooms are oriented all wrong. we think it's time for a change. passive house is our future.
here's what it looks like now:

come back soon and i'll show you more. details. drawings. models. maybe some calcs.
it'll be a struggle, but we're up for the challenge.