clean energy

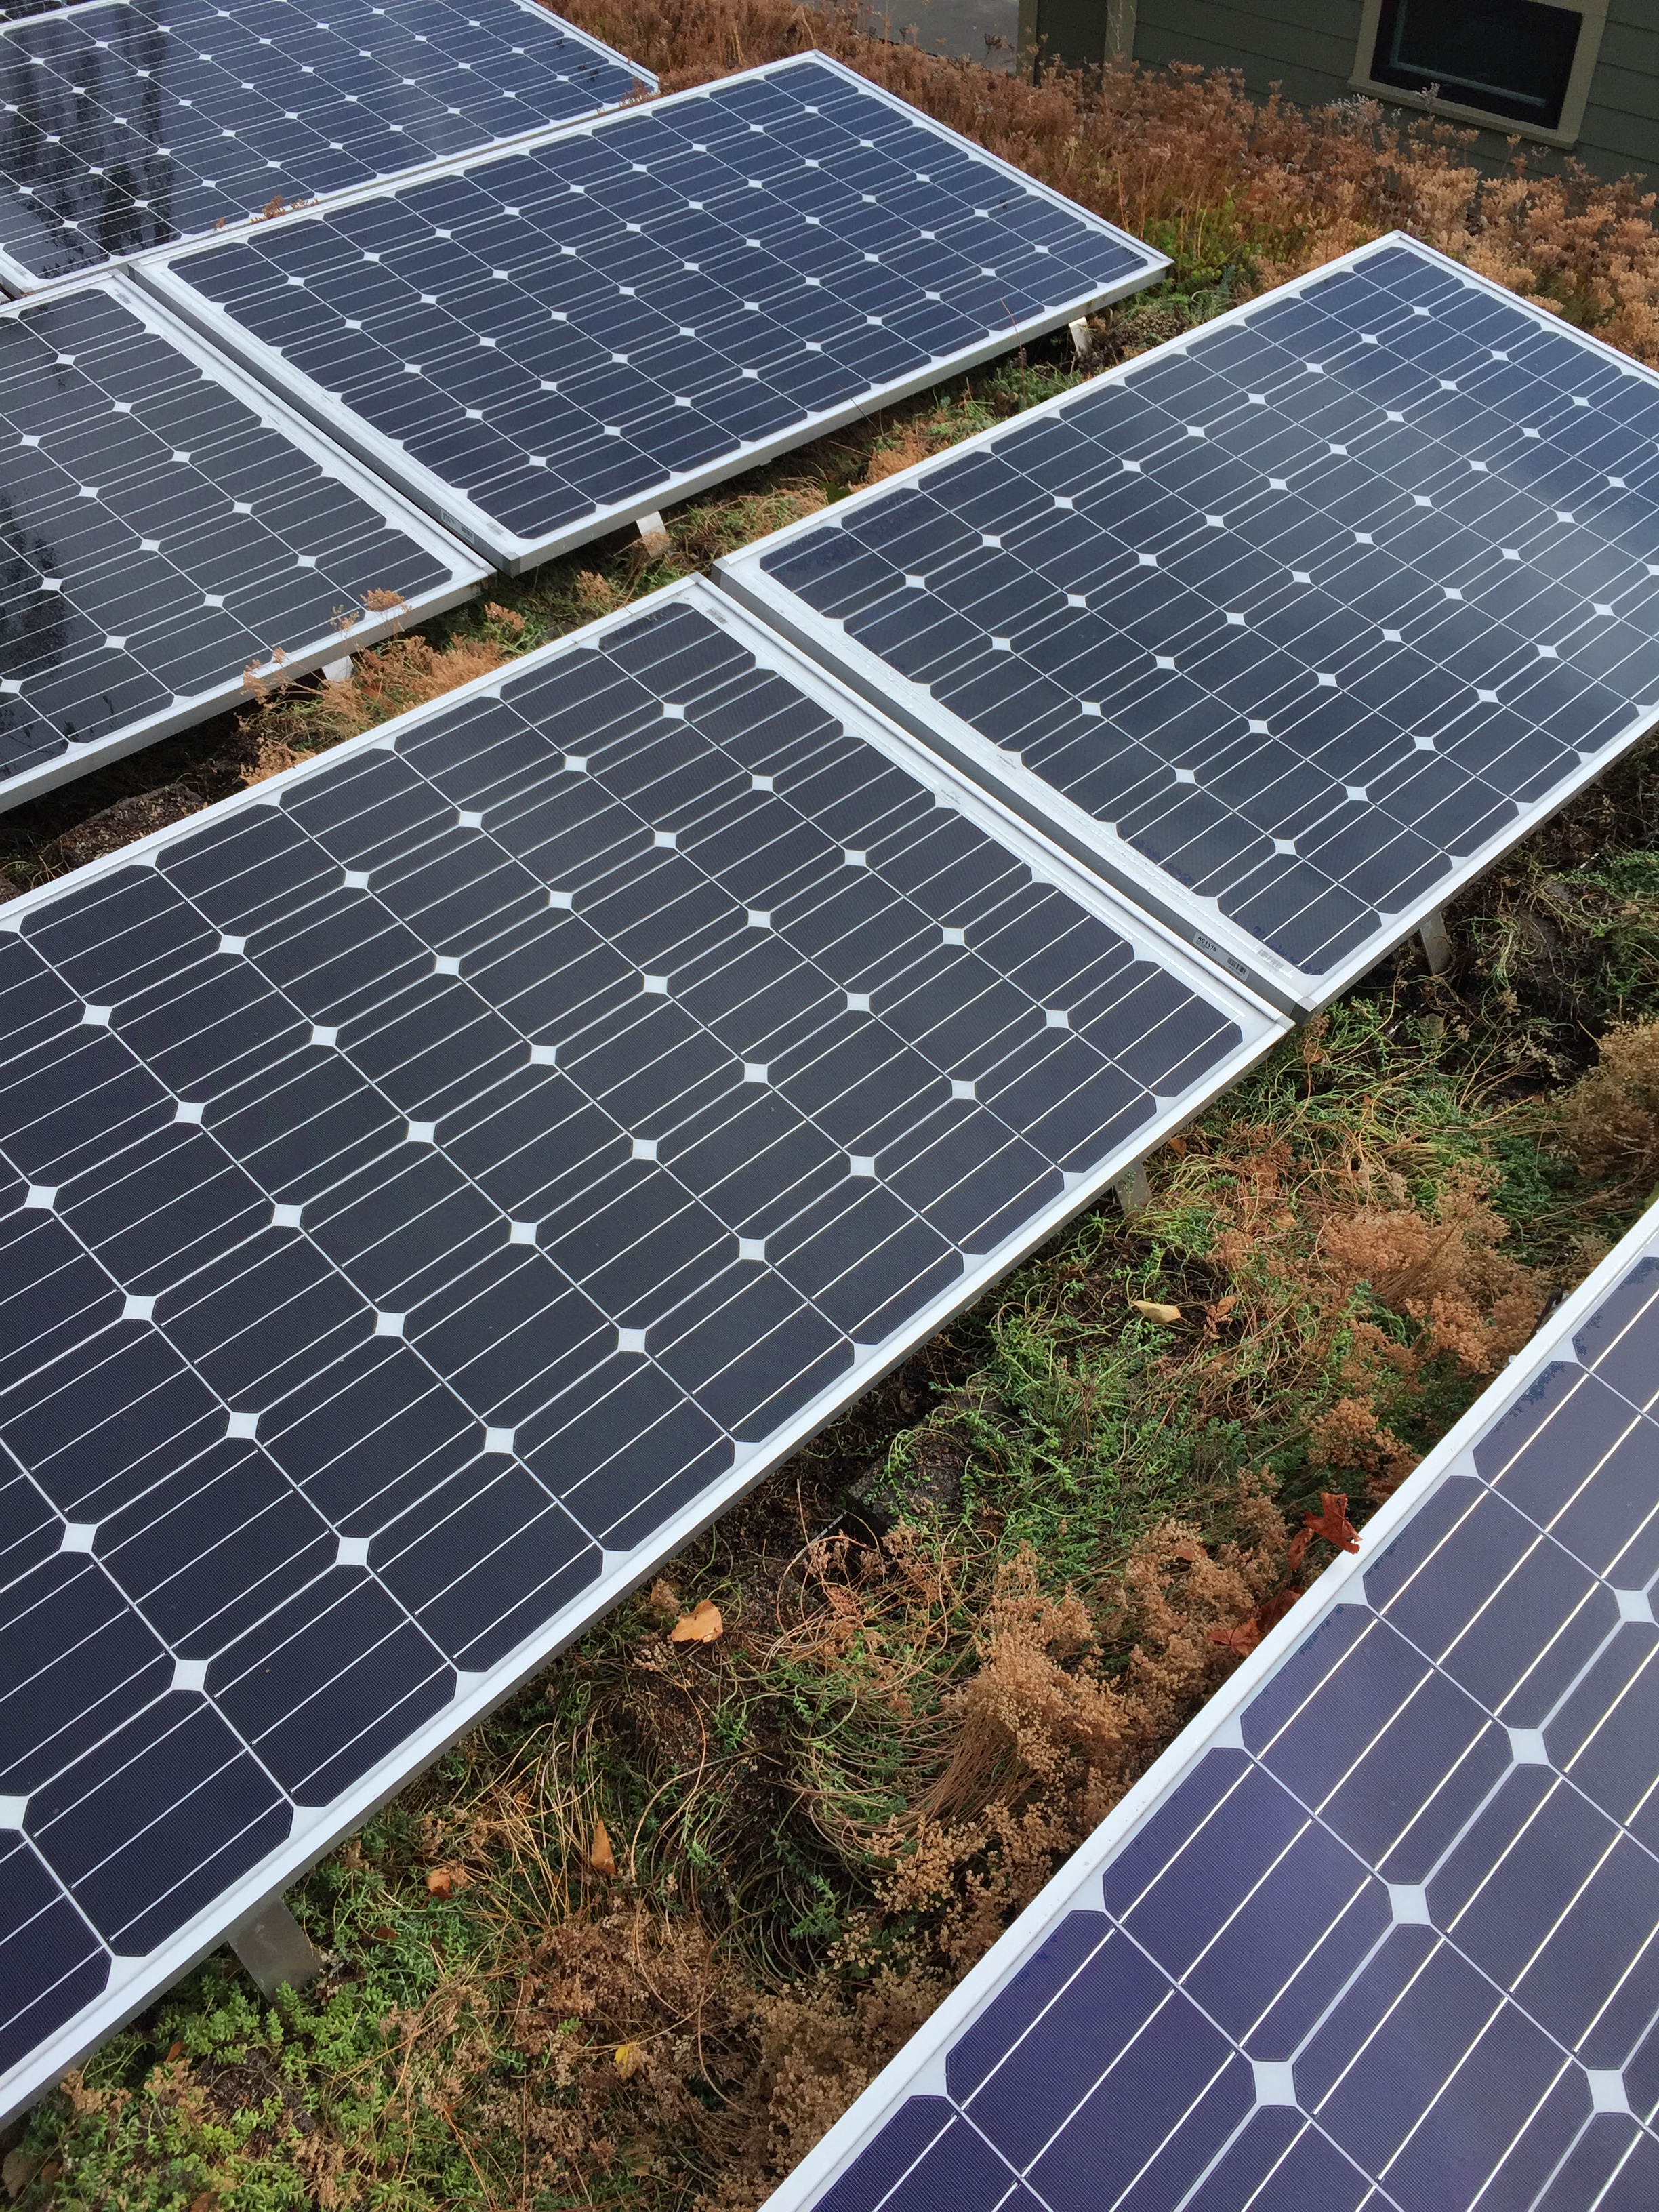
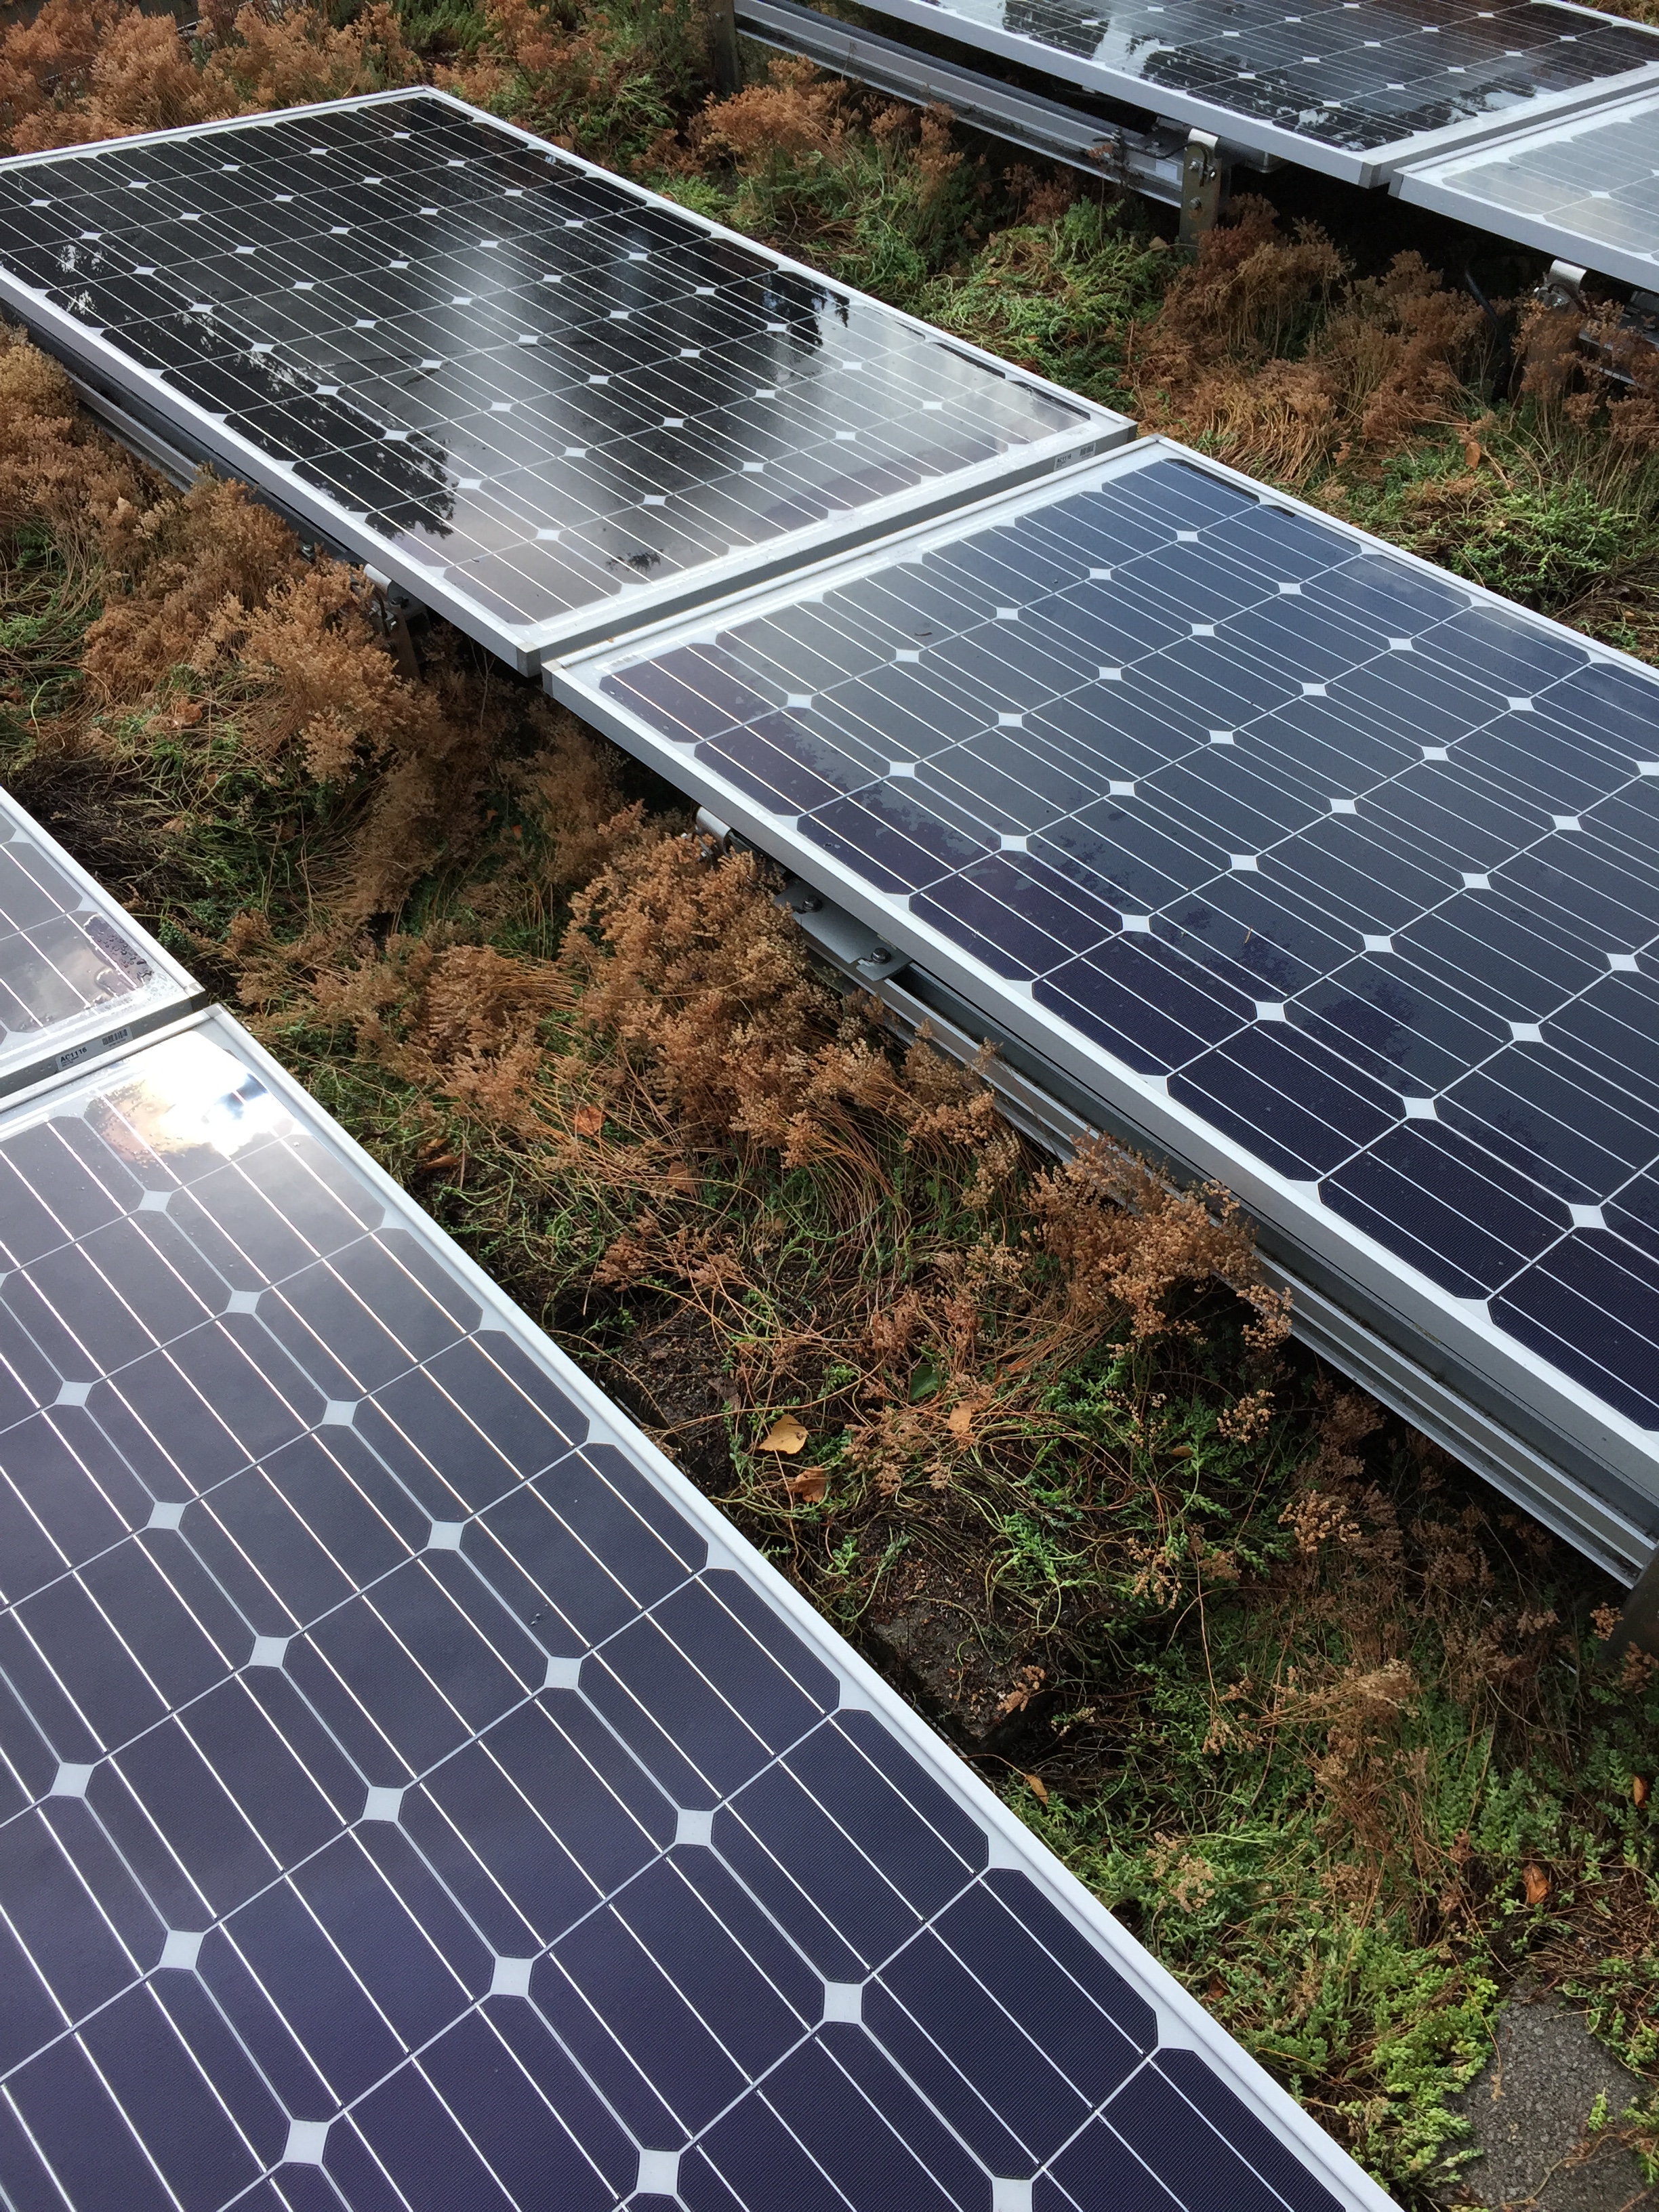
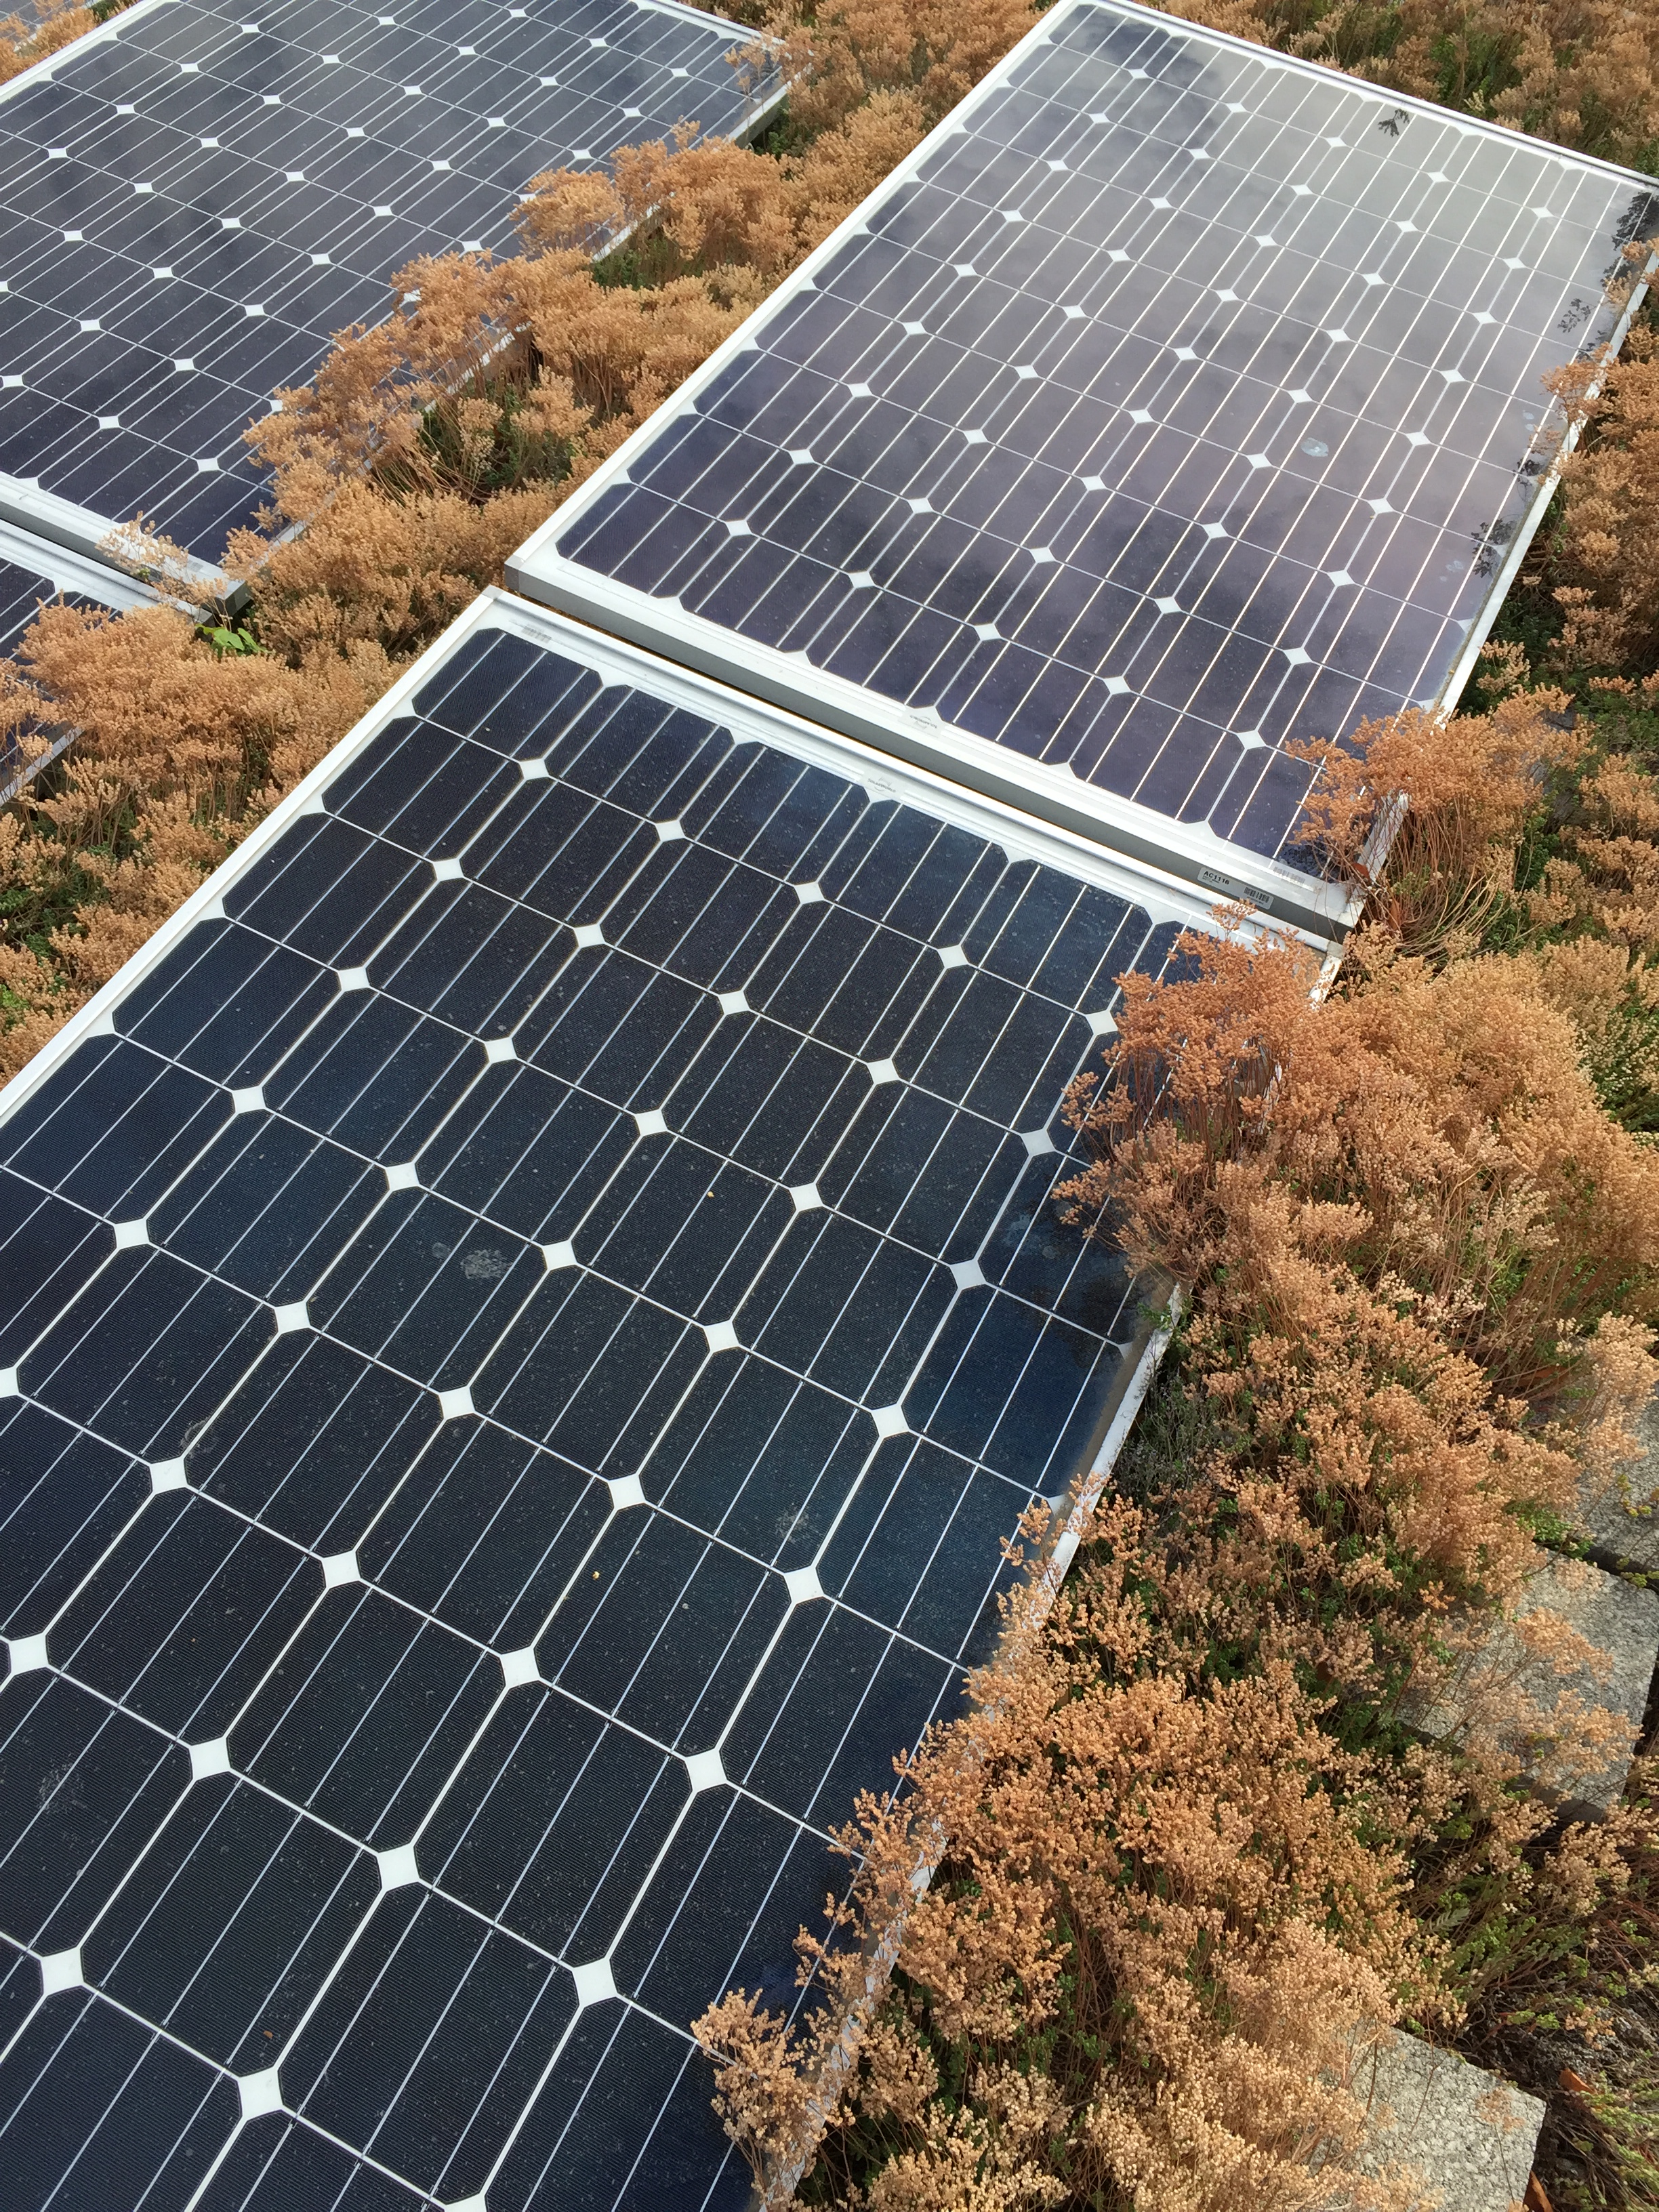
i received an email a couple of weeks ago alerting us that our PV array was generating less energy than typical, and that the system should be inspected.  this is one of the benefits of leasing a PV system.  after a quick climb to the upper roof the problem was obvious - the sedum from the green roof had grown up and over the base of most of the panels.  while in hindsight it may have been better to mount the panels higher above the roof, in less than 30 minutes the sedum was cleared off and away from the panels and they were washed clean.  later this fall i will prune back the sedum and again check in on the array. IMG_0002

IMG_0001

IMG_0004

IMG_0005


skidmore passivhaus

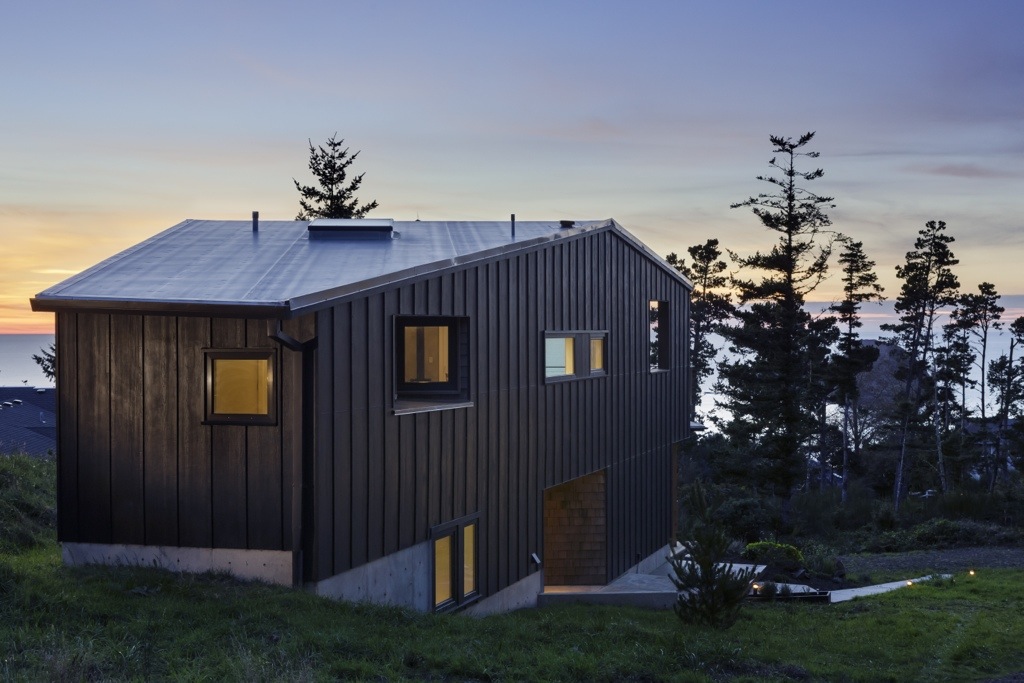
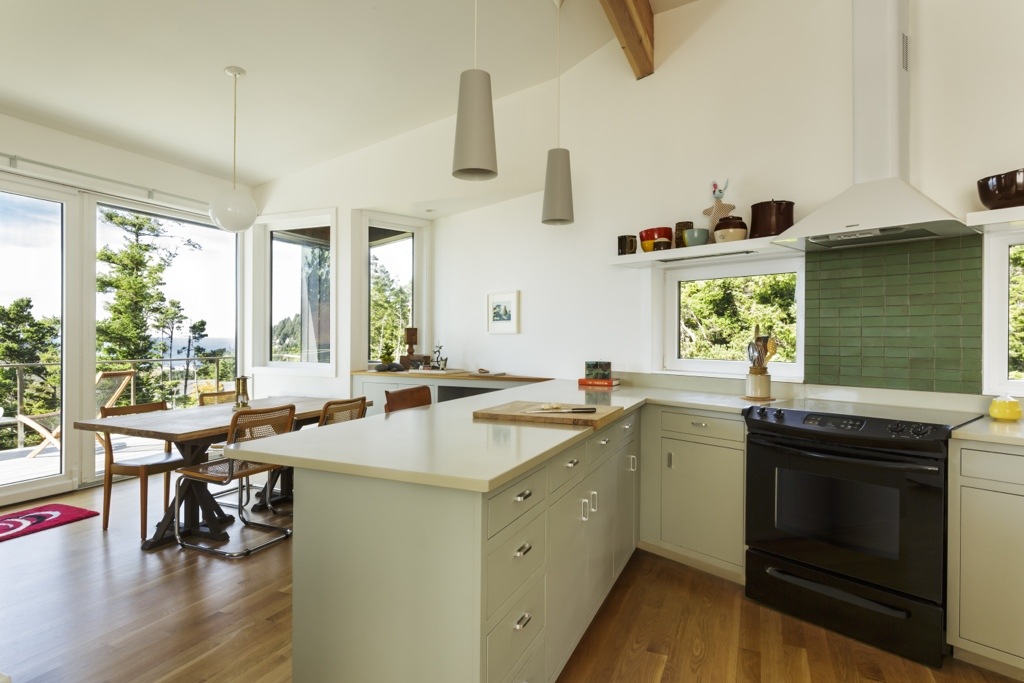
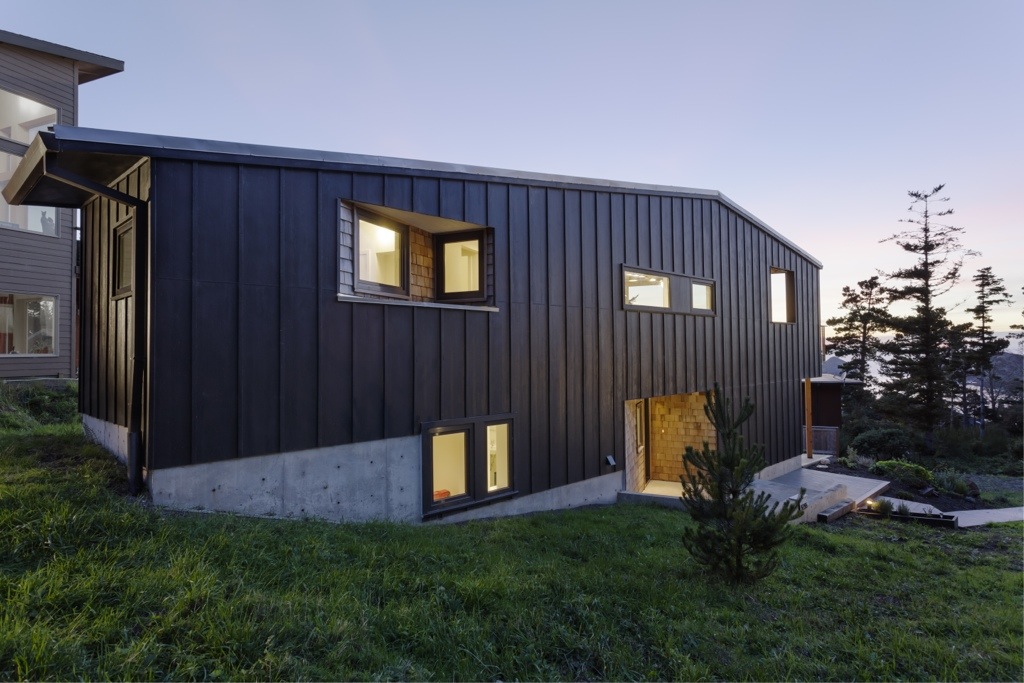
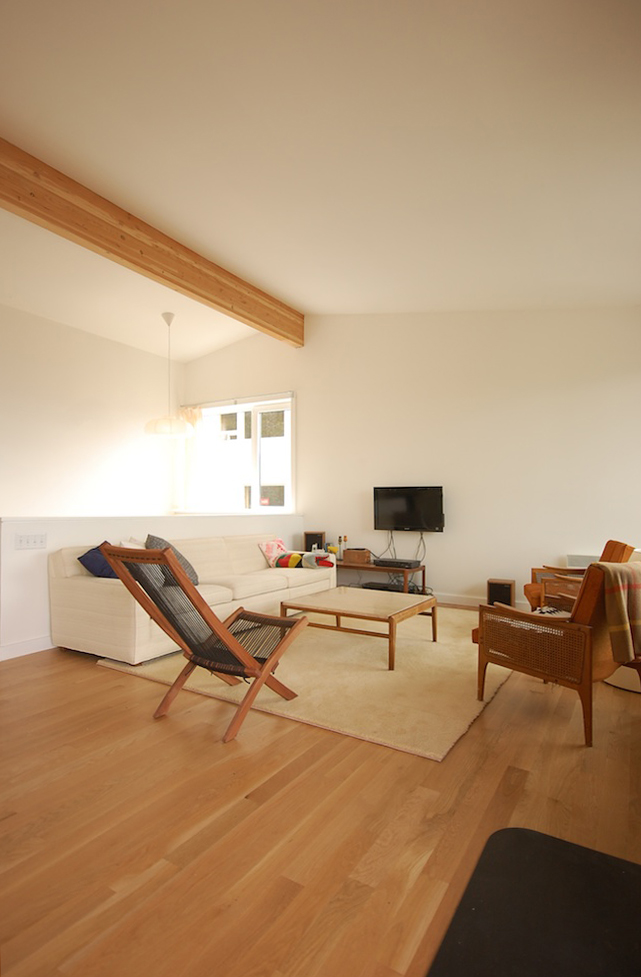
there's quite a bit of excitement in the air surrounding our skidmore passivhaus.  in addition to officially receiving passivhaus certification (PHIUS +), the house was awarded an earth advantage platinum rating and energy star northwest certified. back in early october the house was featured on the aia portland's design matters tour of exceptional homes, and was the only passivhaus on the tour.

a few weeks ago a 4.32kW PV system was installed on the upper roof which is expected to help the house approach net zero energy use.

inhabitat just featured the house on their website, and portland monthly magazine was on site this week to photograph the house for an upcoming issue.

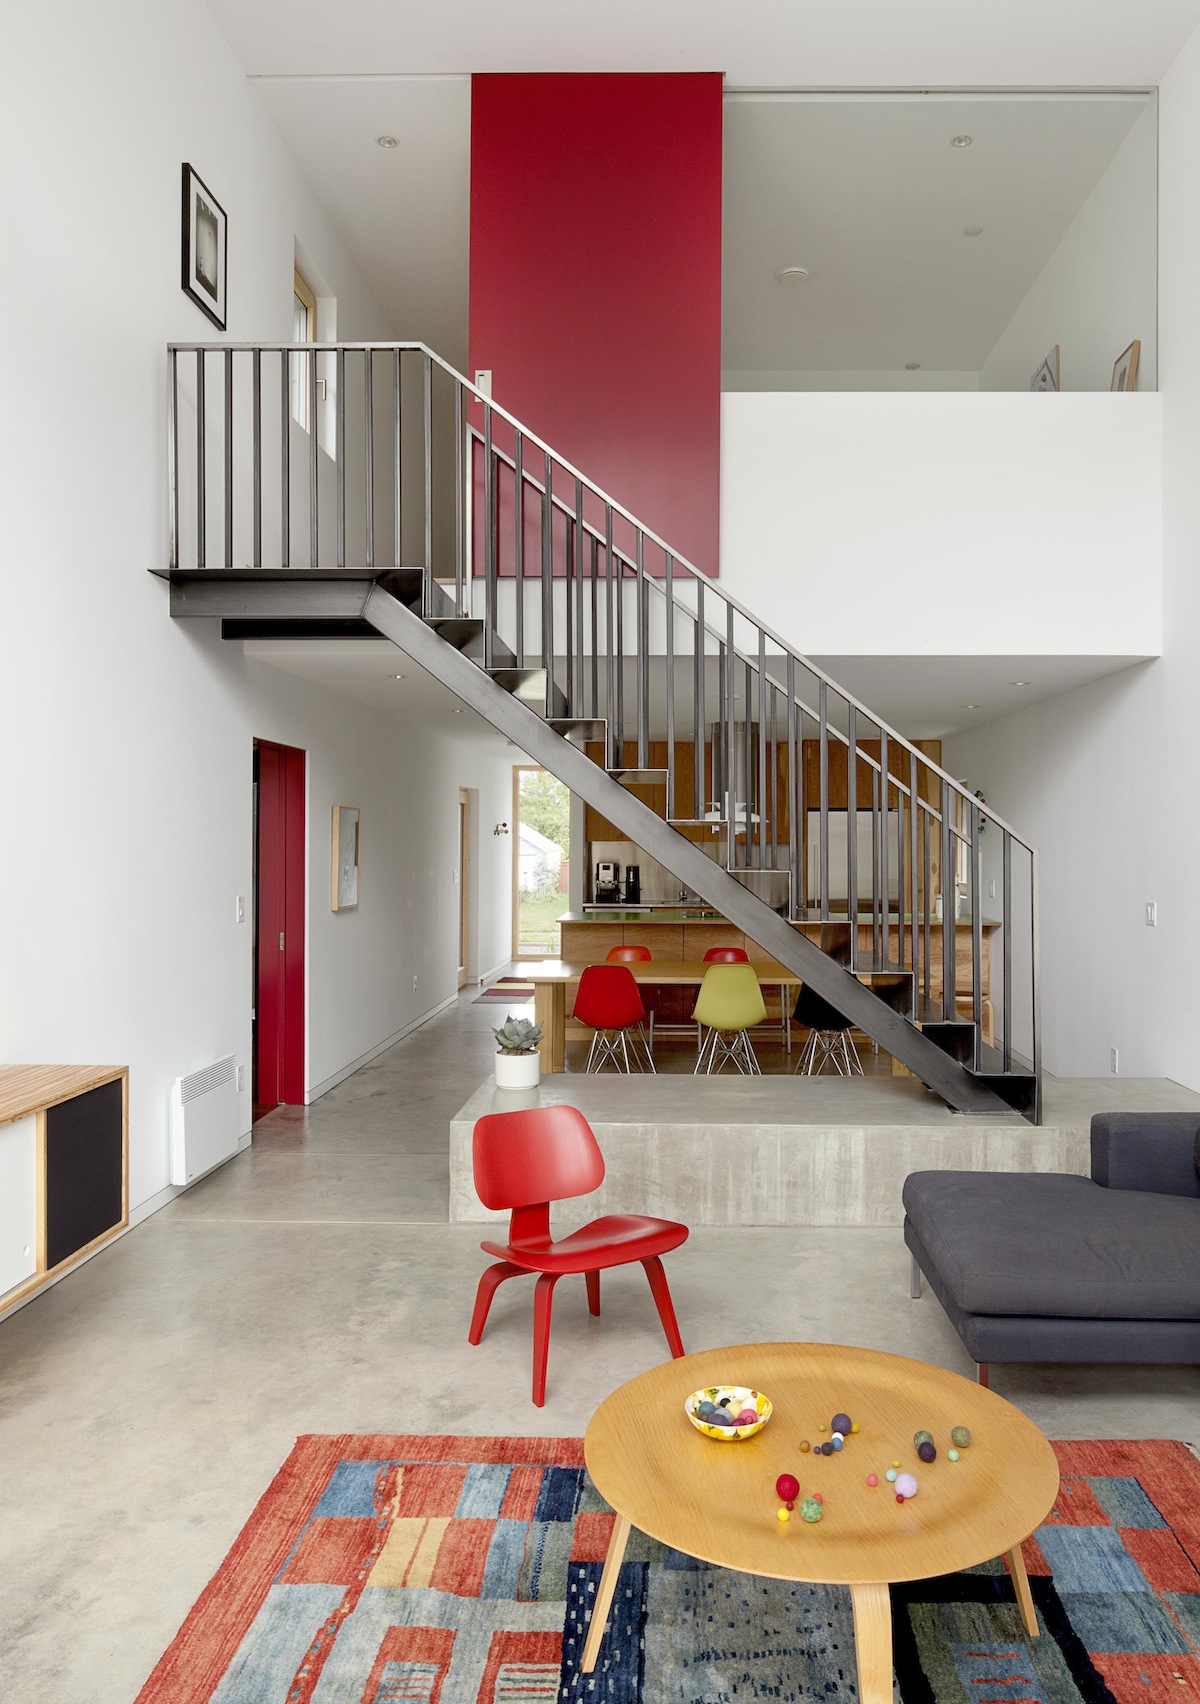
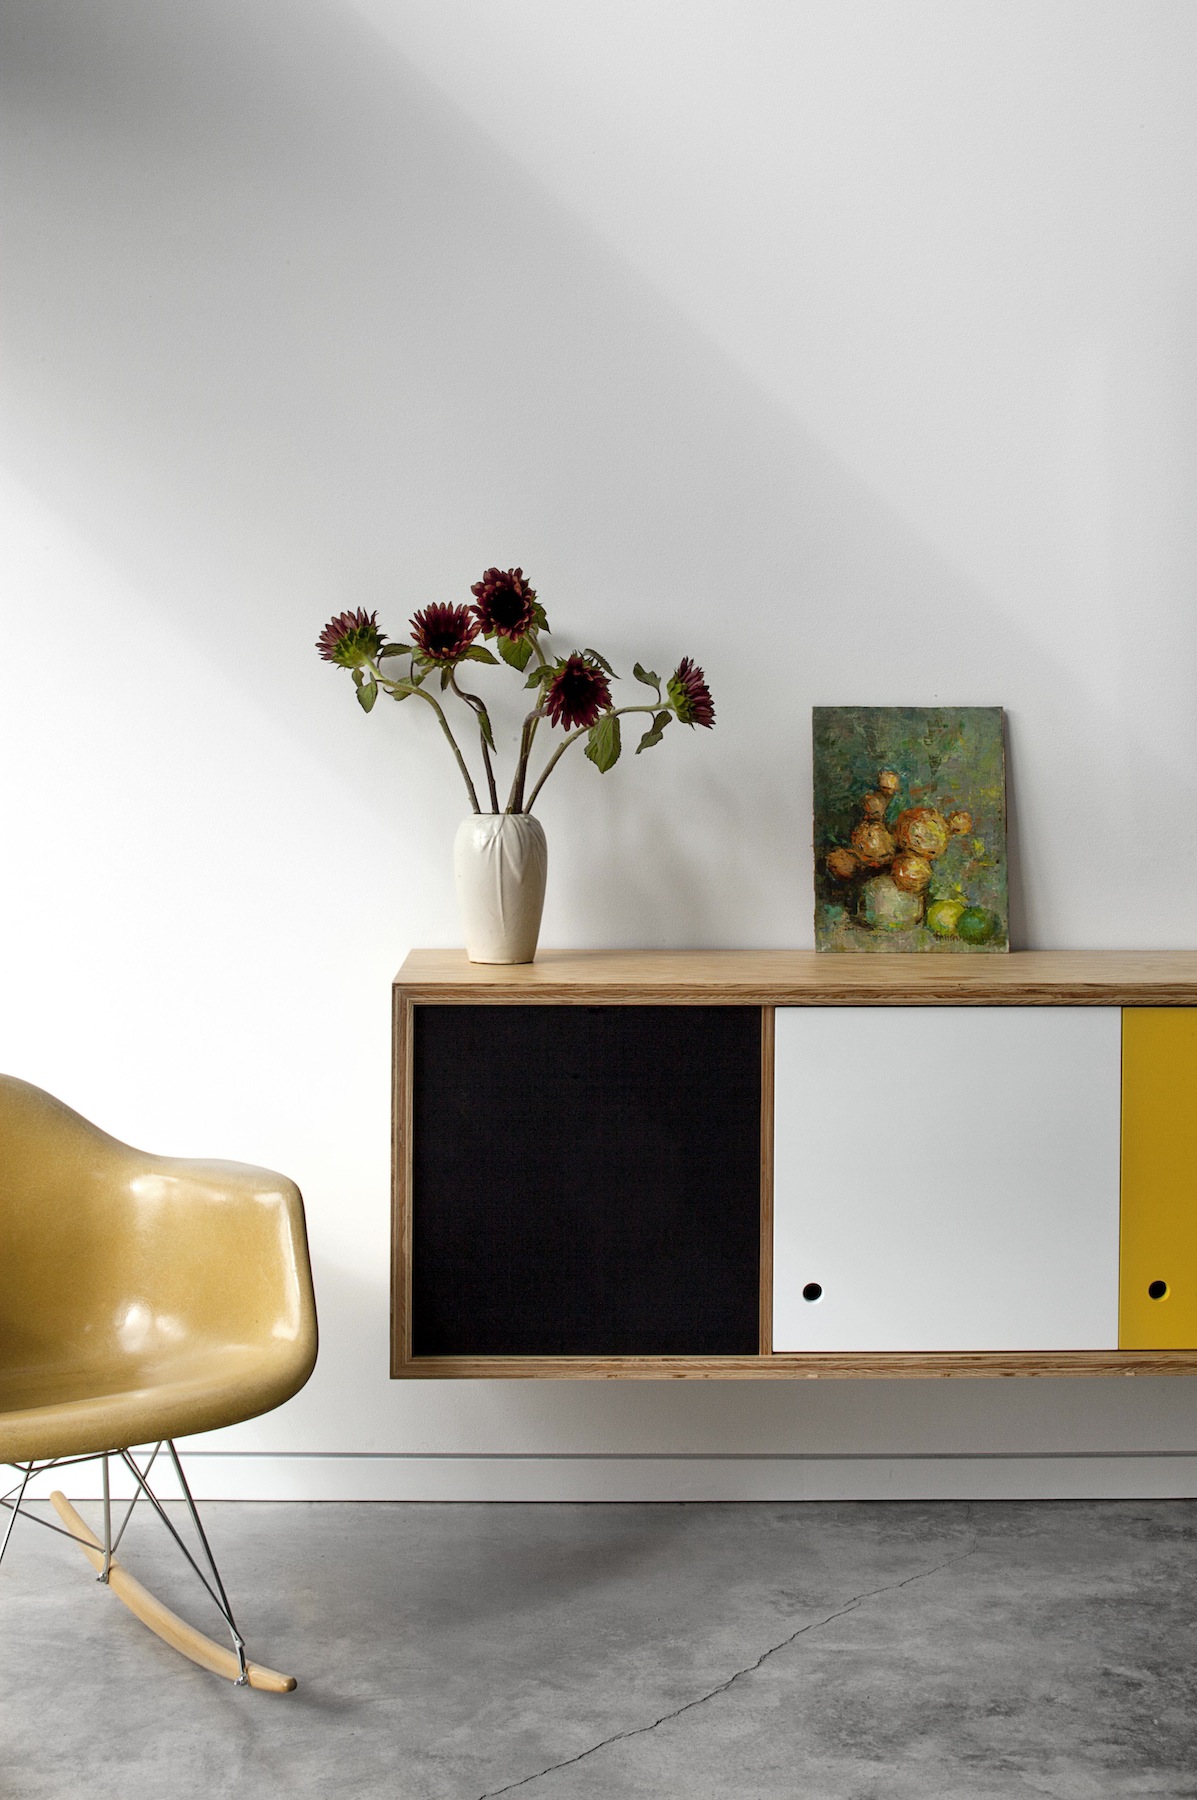
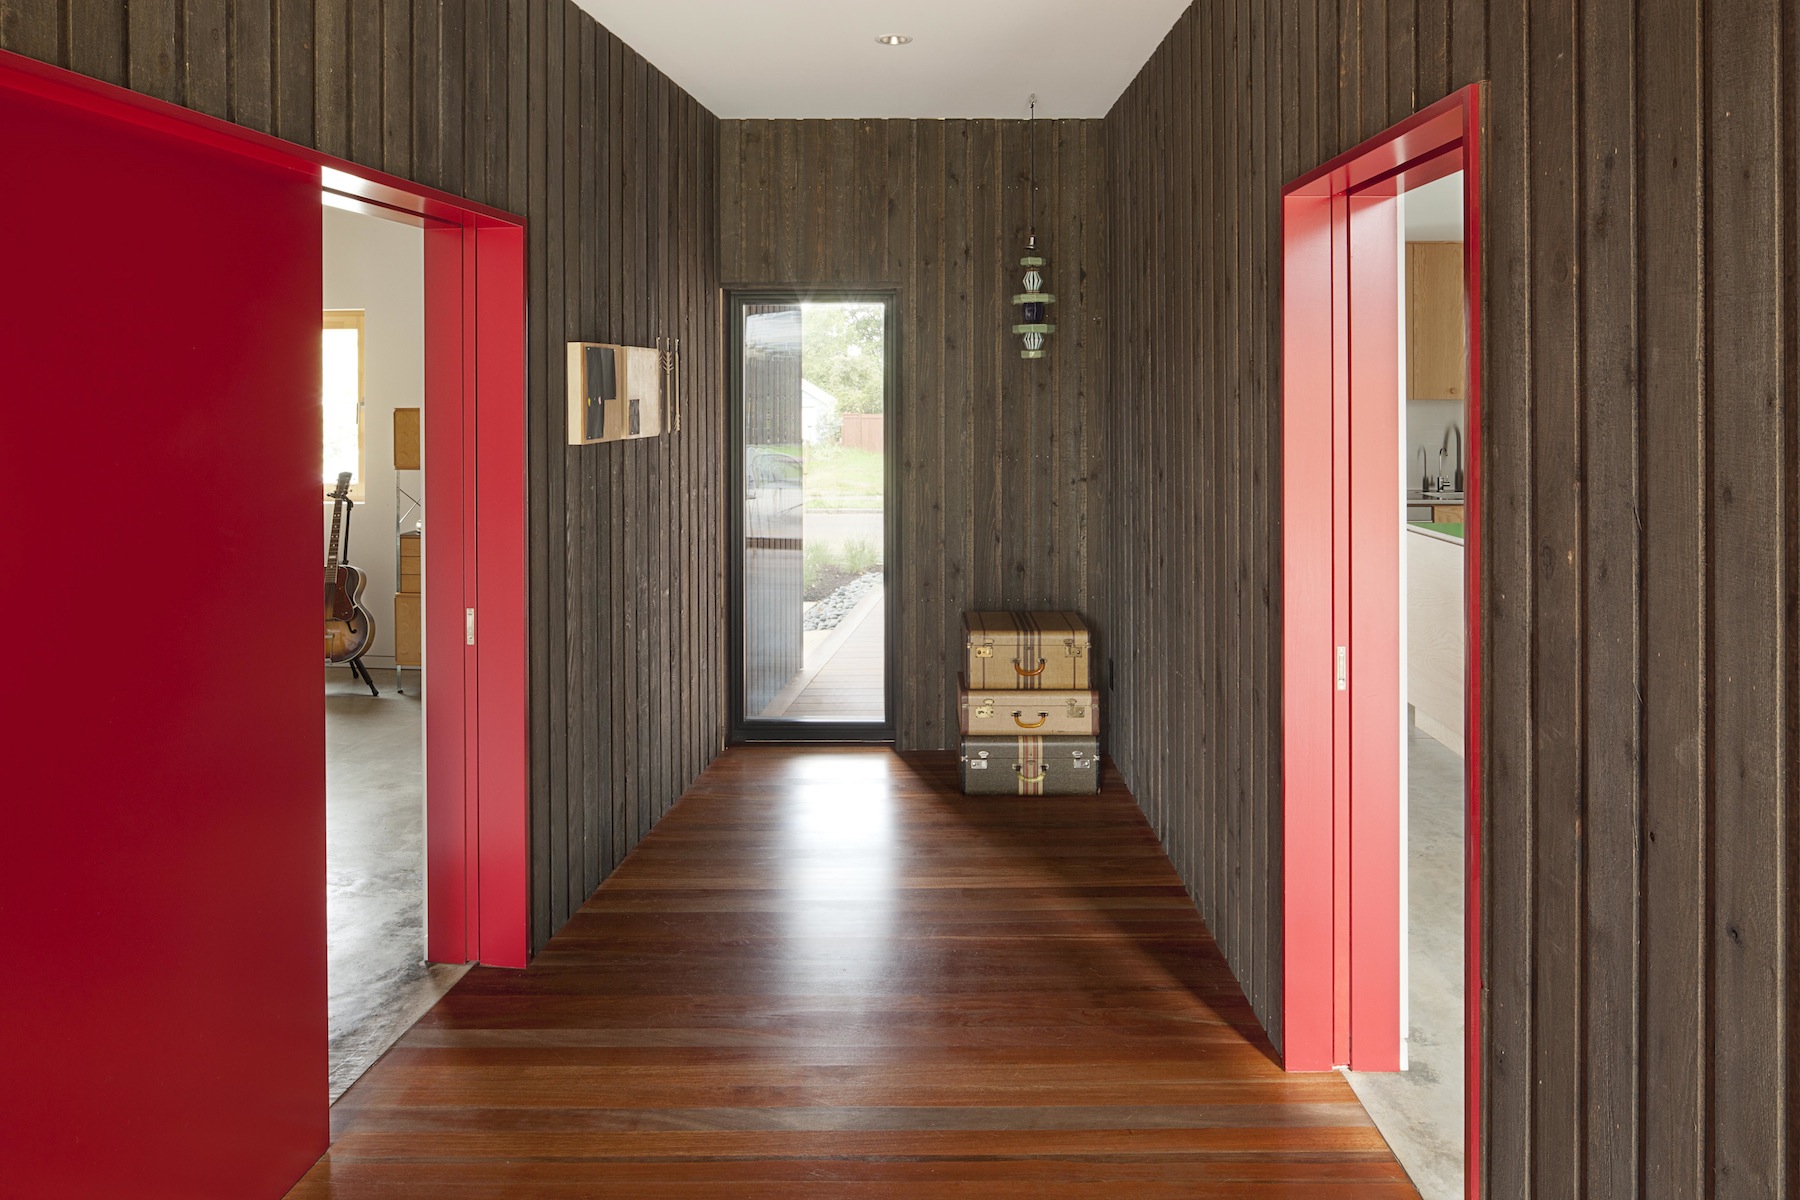
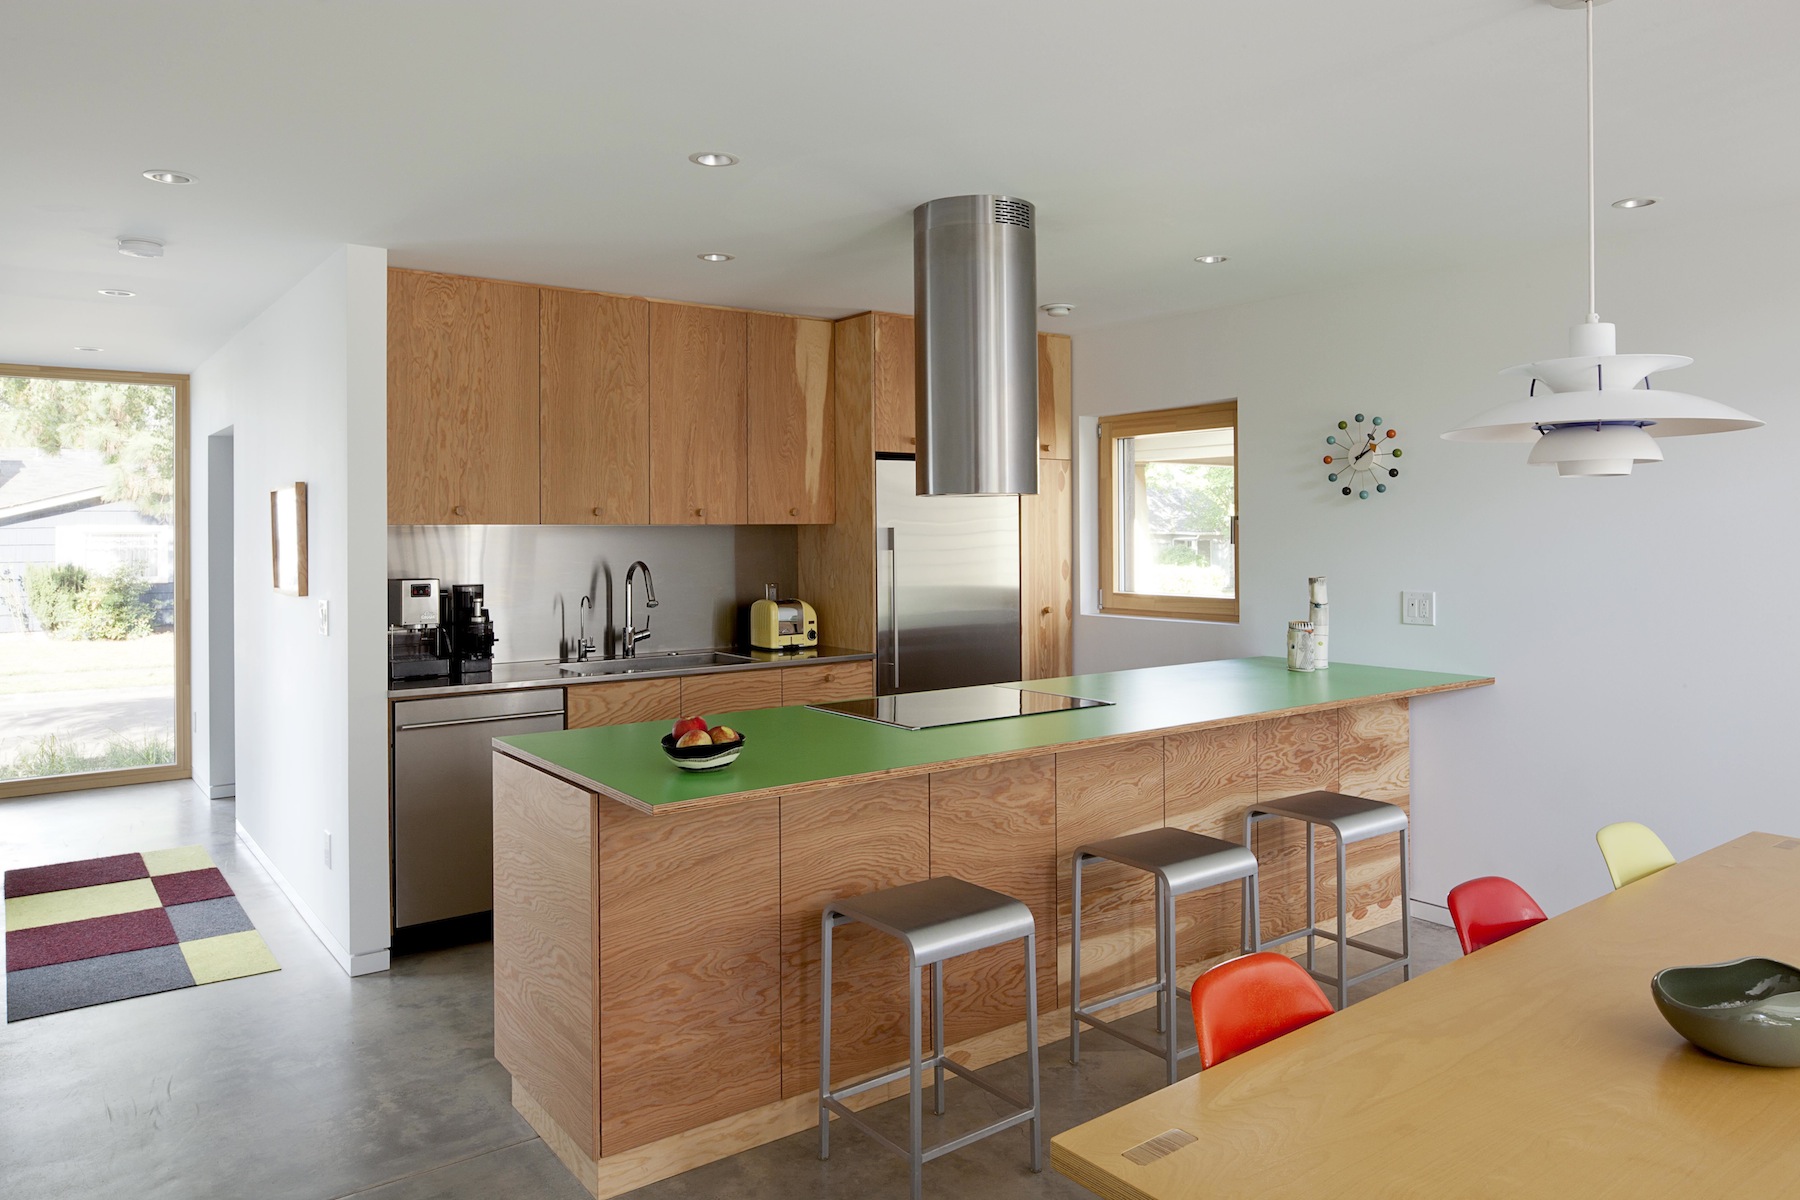
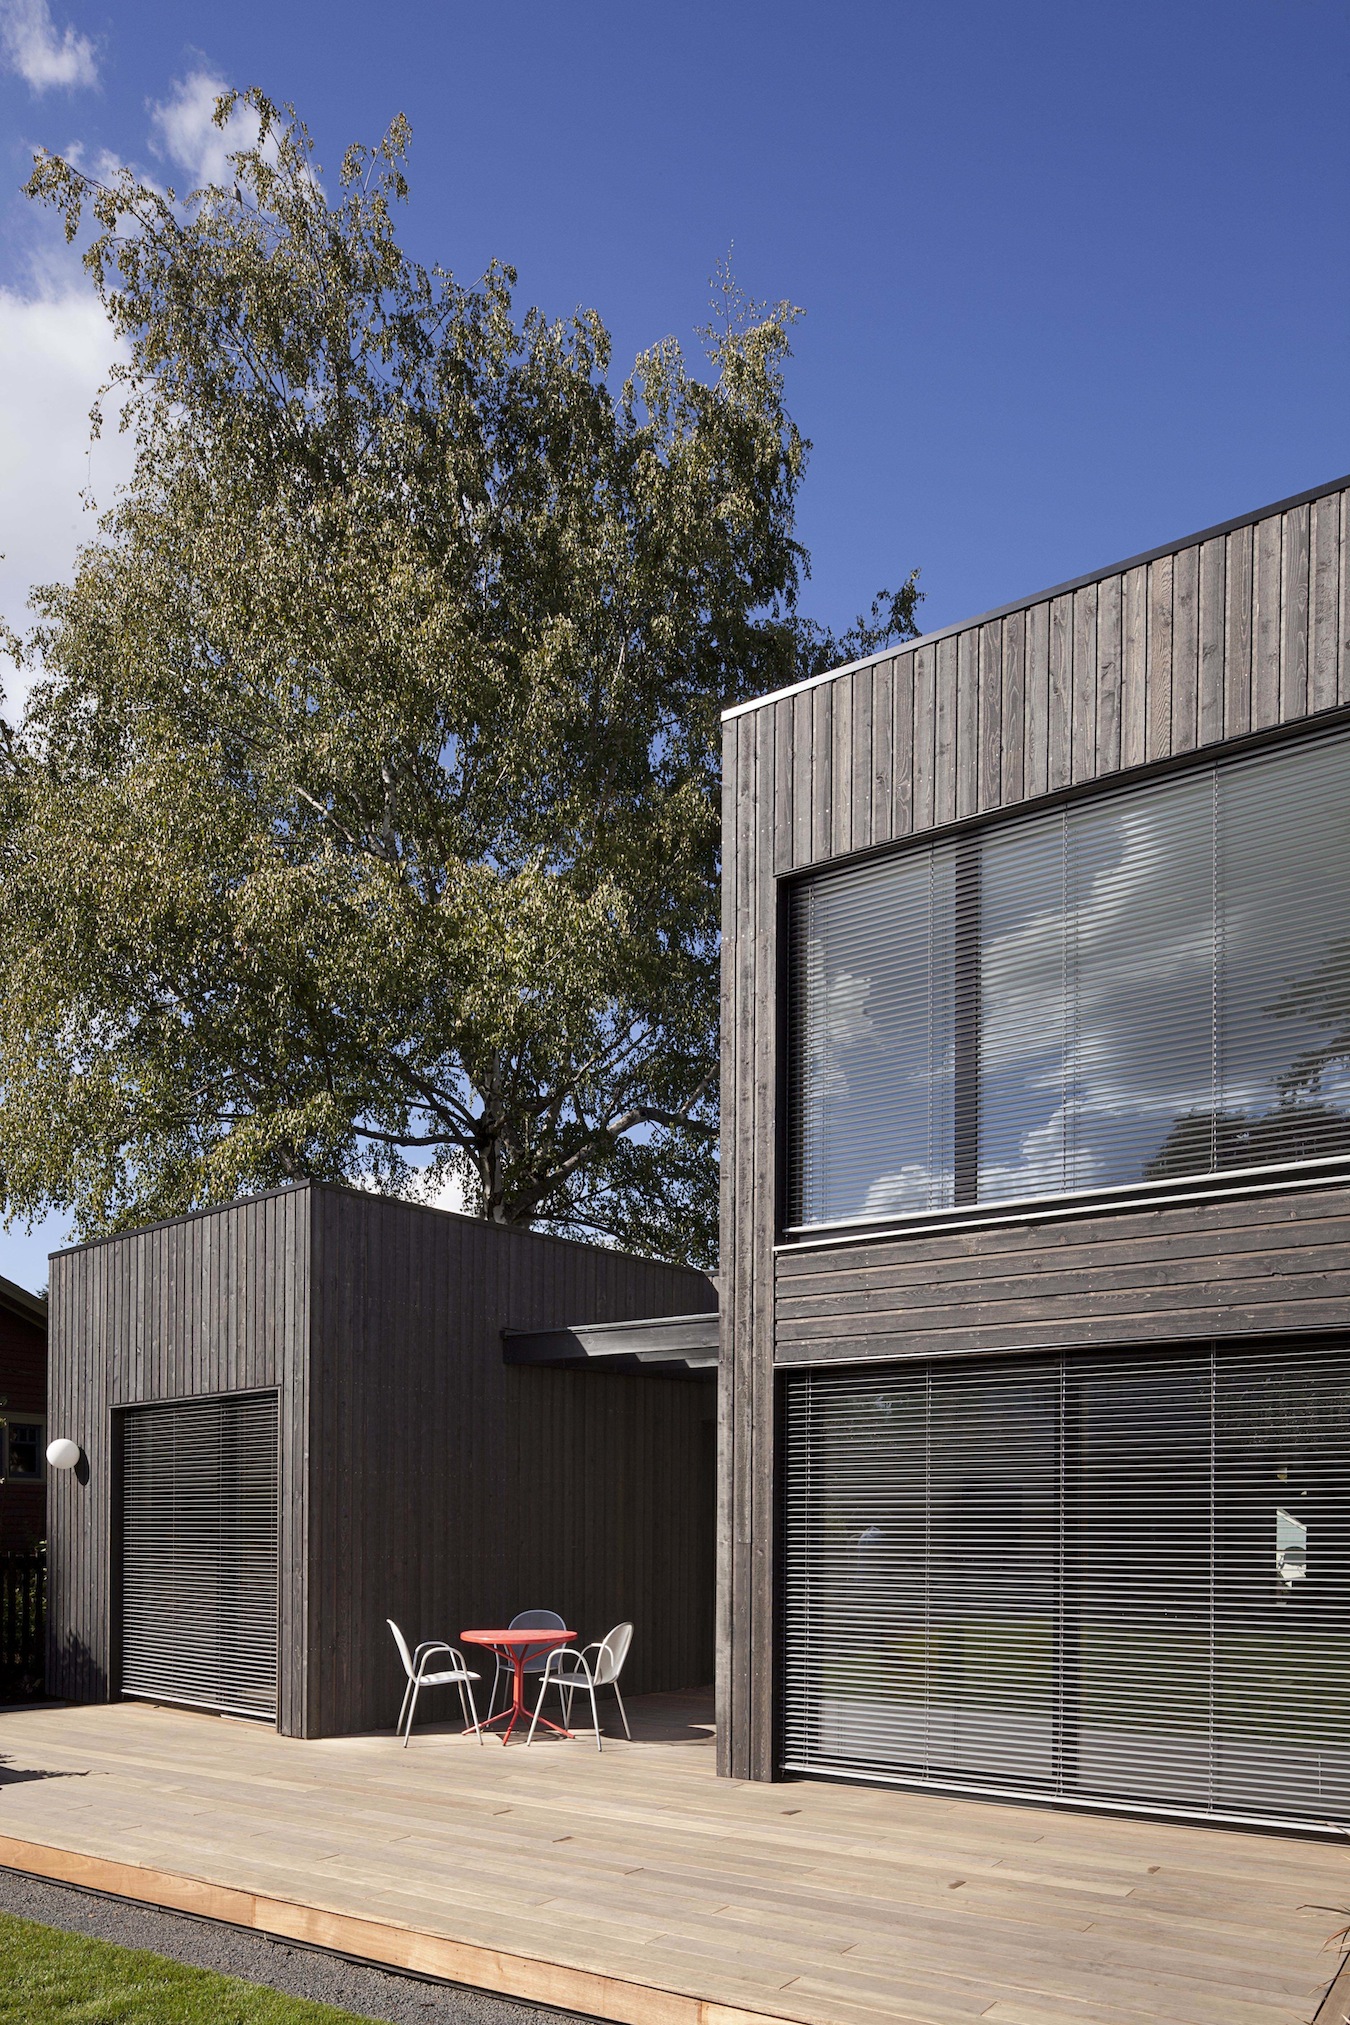
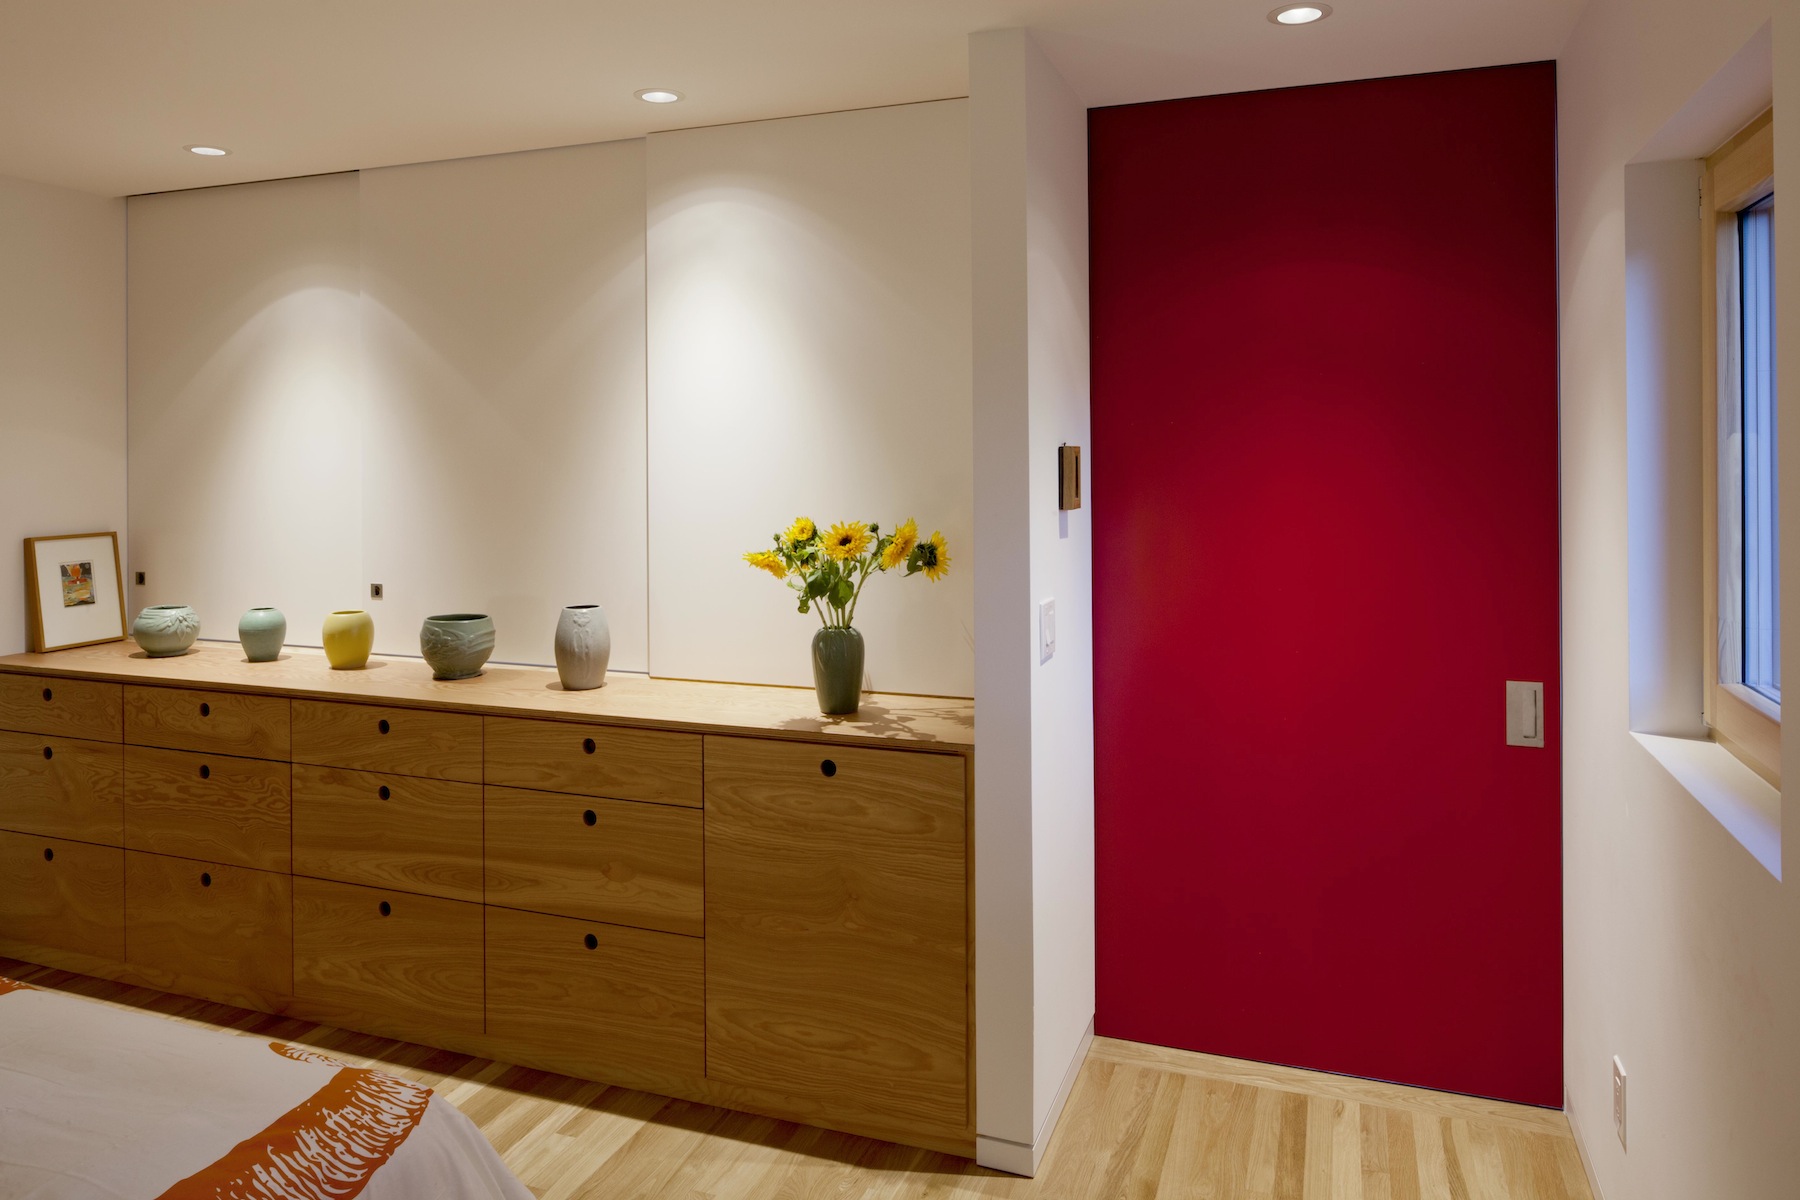
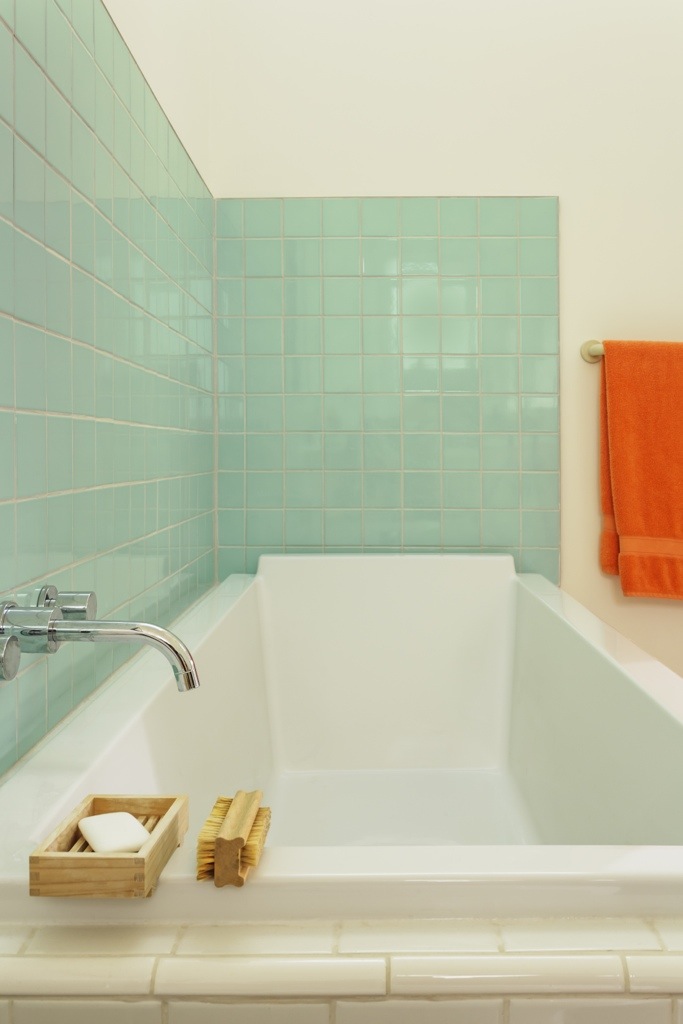
we're also excited to present a handful of new photos completed by local architectural photographer jeremy bittermann.

sph_15F small

sph_01F small

sph_03F small

sph_02F small

sph_04F small

sph_05F small

sph_06F small

sph_07F small

sph_08F small

sph_09F small

sph_10F_a small

sph_10F_b small

sph_10F_c small

sph_11F small

sph_12F small

sph_13F_a small

sph_13F_b small

sph_14F small

drop us a line if you have questions, want to learn more, or just to say something nice.

you can also follow us on twitter @insituarch

check back for more updates soon.

stained cedar siding

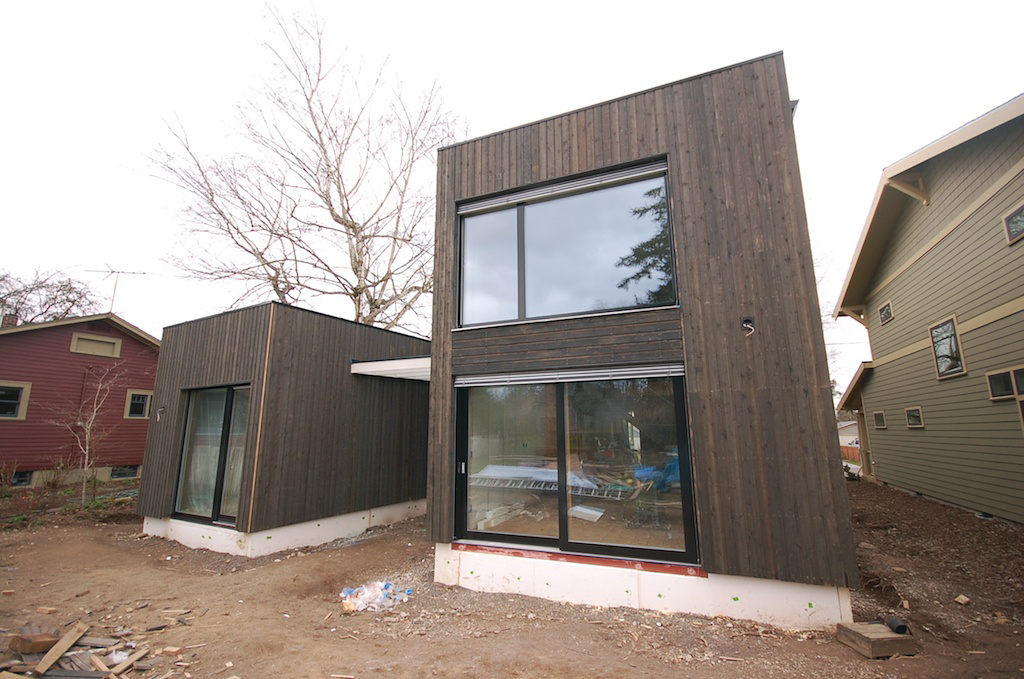
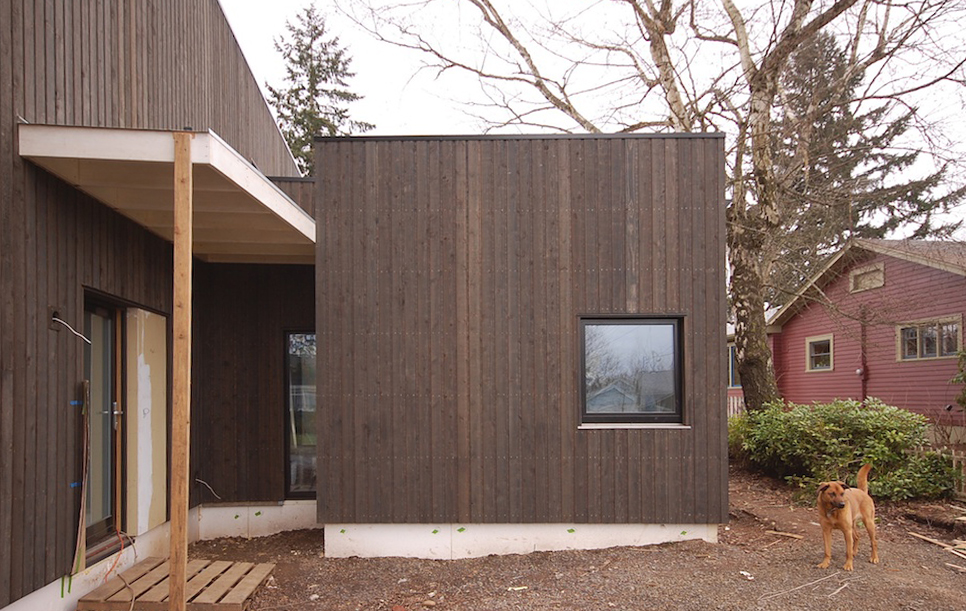
siding work has mostly wrapped up.  the vertical siding is installed on rainscreen over rigid exterior insulation.  see this past post for more info on the assembly. here's a first look at the siding pretty much completed.

skid 021013 5

the siding is off the shelf 1x6 channel made from tight knot cedar.  it's stained with 1 coat of olympic semi-transparent stain in ebony.

skid 021013 2

the large south windows (and doors) have exterior motorized aluminum sun shades supplied by hella.  the siding has been detailed to allow the shades to stack in recessed pockets.  in this photo the shades are down about 9 inches and just visible on the 2 living room units (lift / slide door and fixed upper unit).  more on the shading later.

skid 021013 8

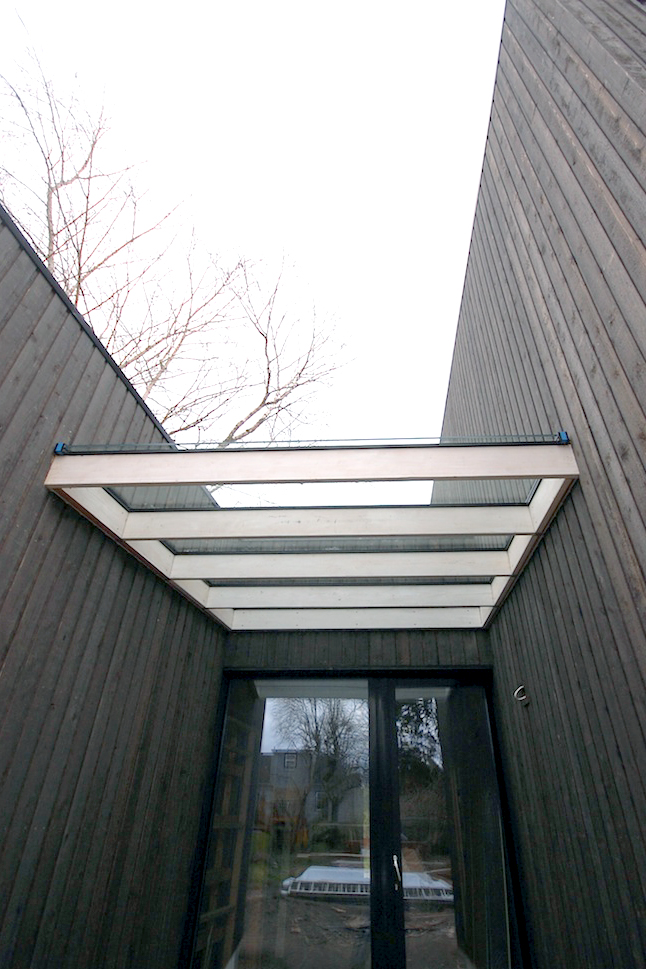
the "breezeway" features a south facing door / window with a wood canopy (to be painted black) topped with clear tempered glass.

skid 021013 10

the entry door at left features acid etched glass for privacy and has a smooth accent panel adjacent that will be painted a deep red.  the wood canopy will painted black and features a simple galvanized metal pan roof.  steel rod will be used to hang the canopy from a bracket mounted to the wall above.  a mahogany deck will eventually complete the front porch.

skid 021013 9

the north street facade also features a narrow smooth accent panel that will be painted with the same deep red.  the same siding runs horizontally to form an accent between floors.

check back soon for more.

www.insituarchitecture.net

stair progresses

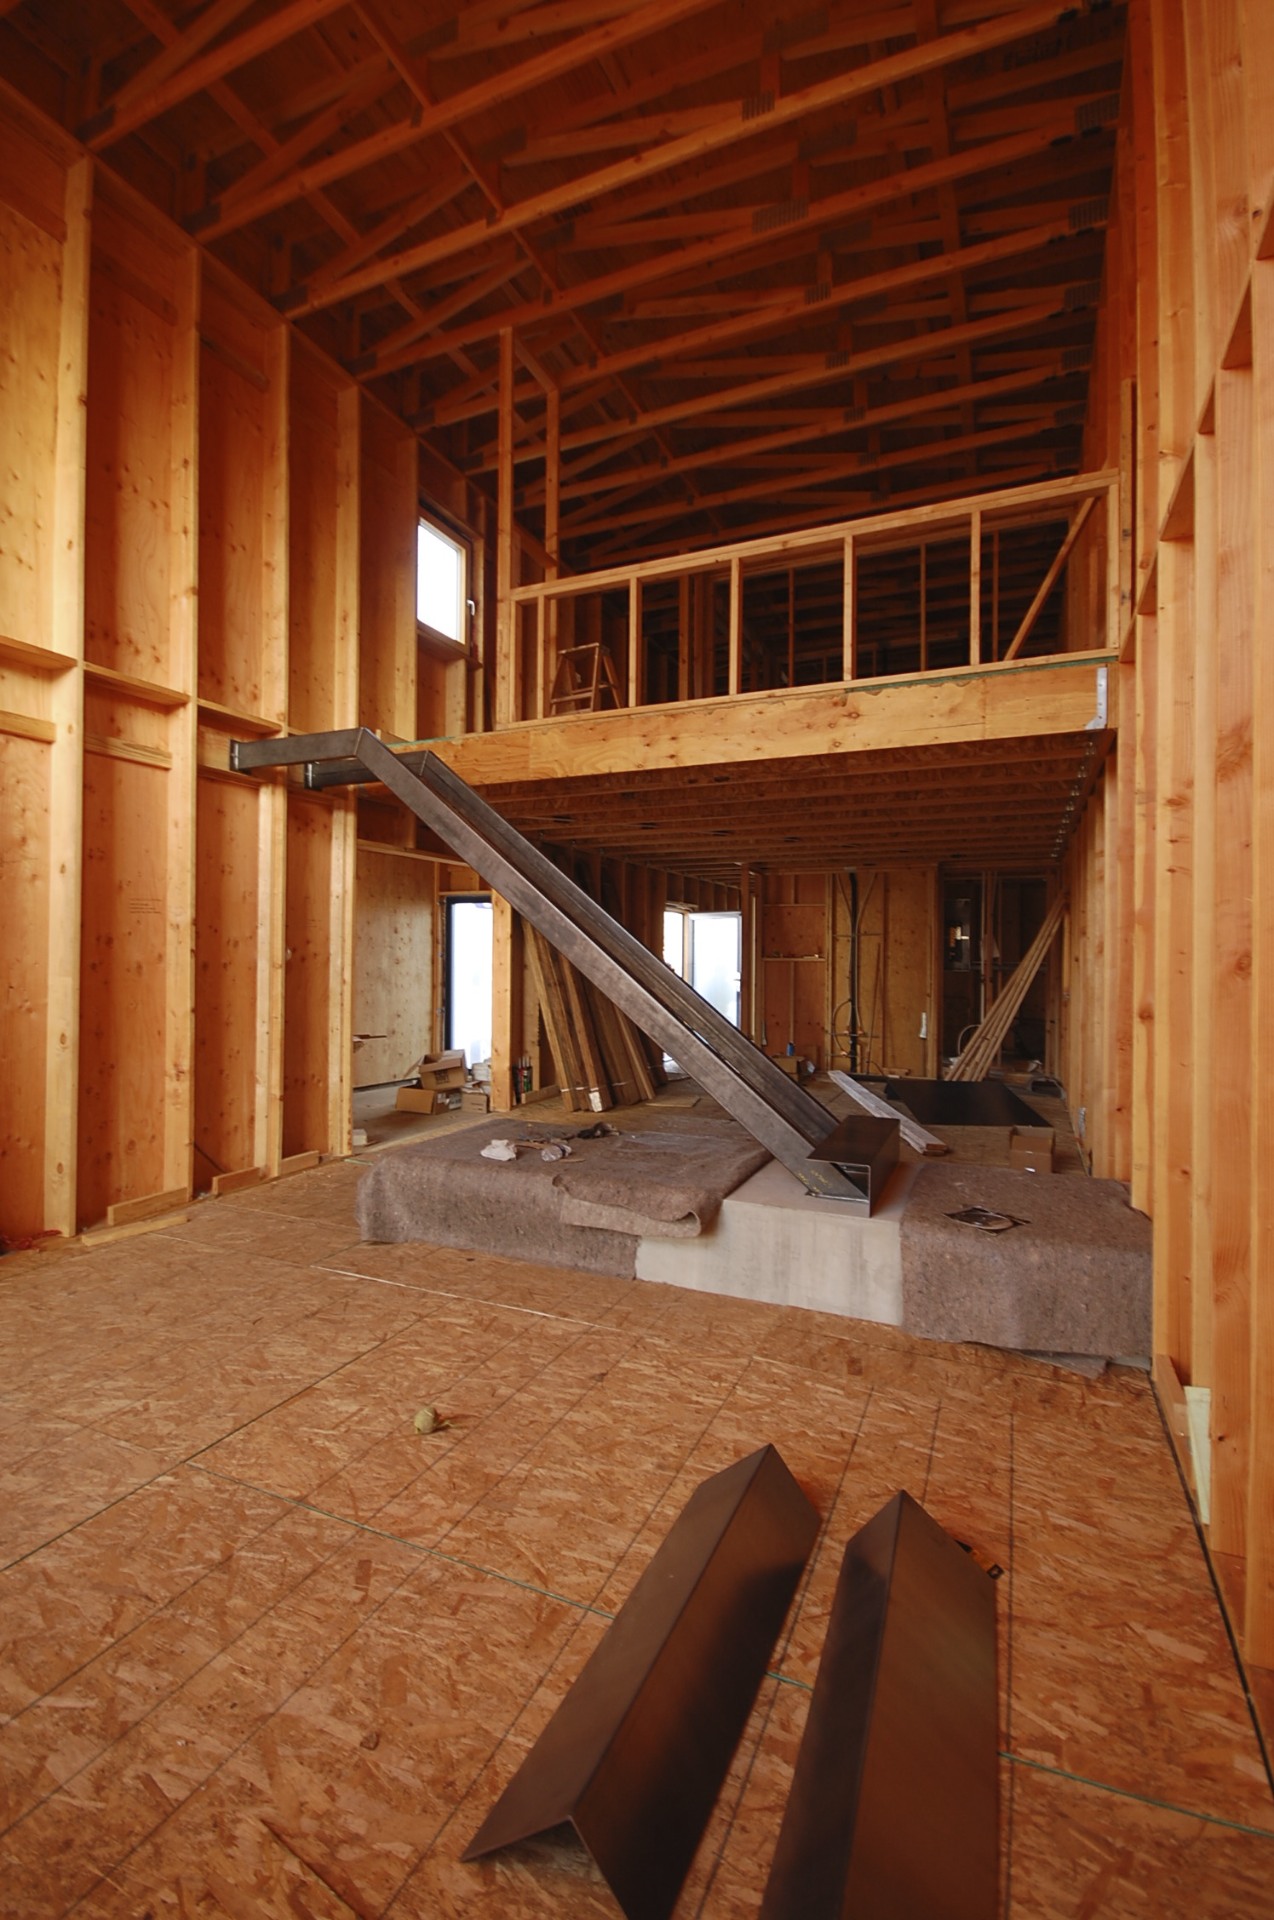
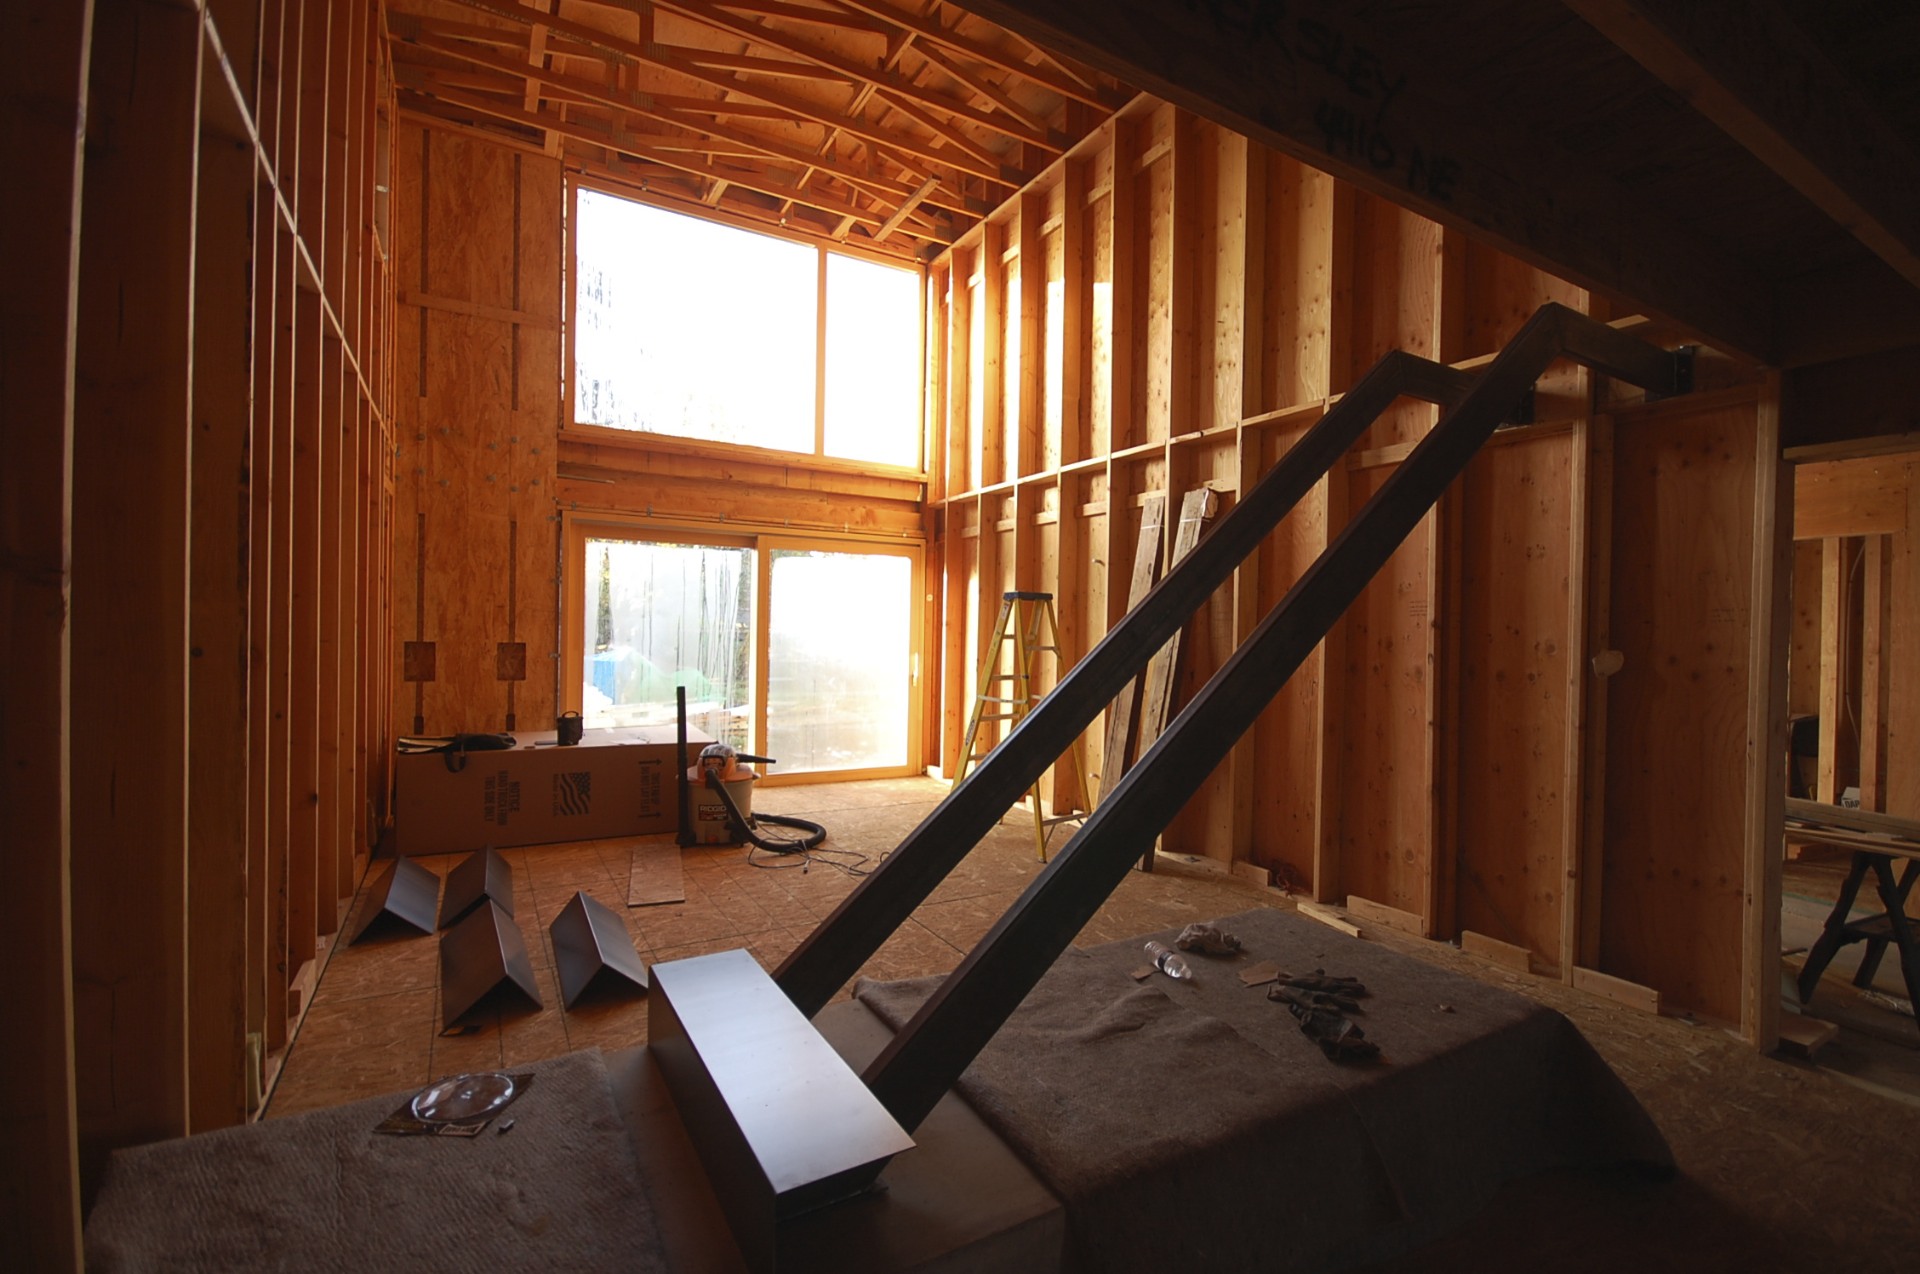
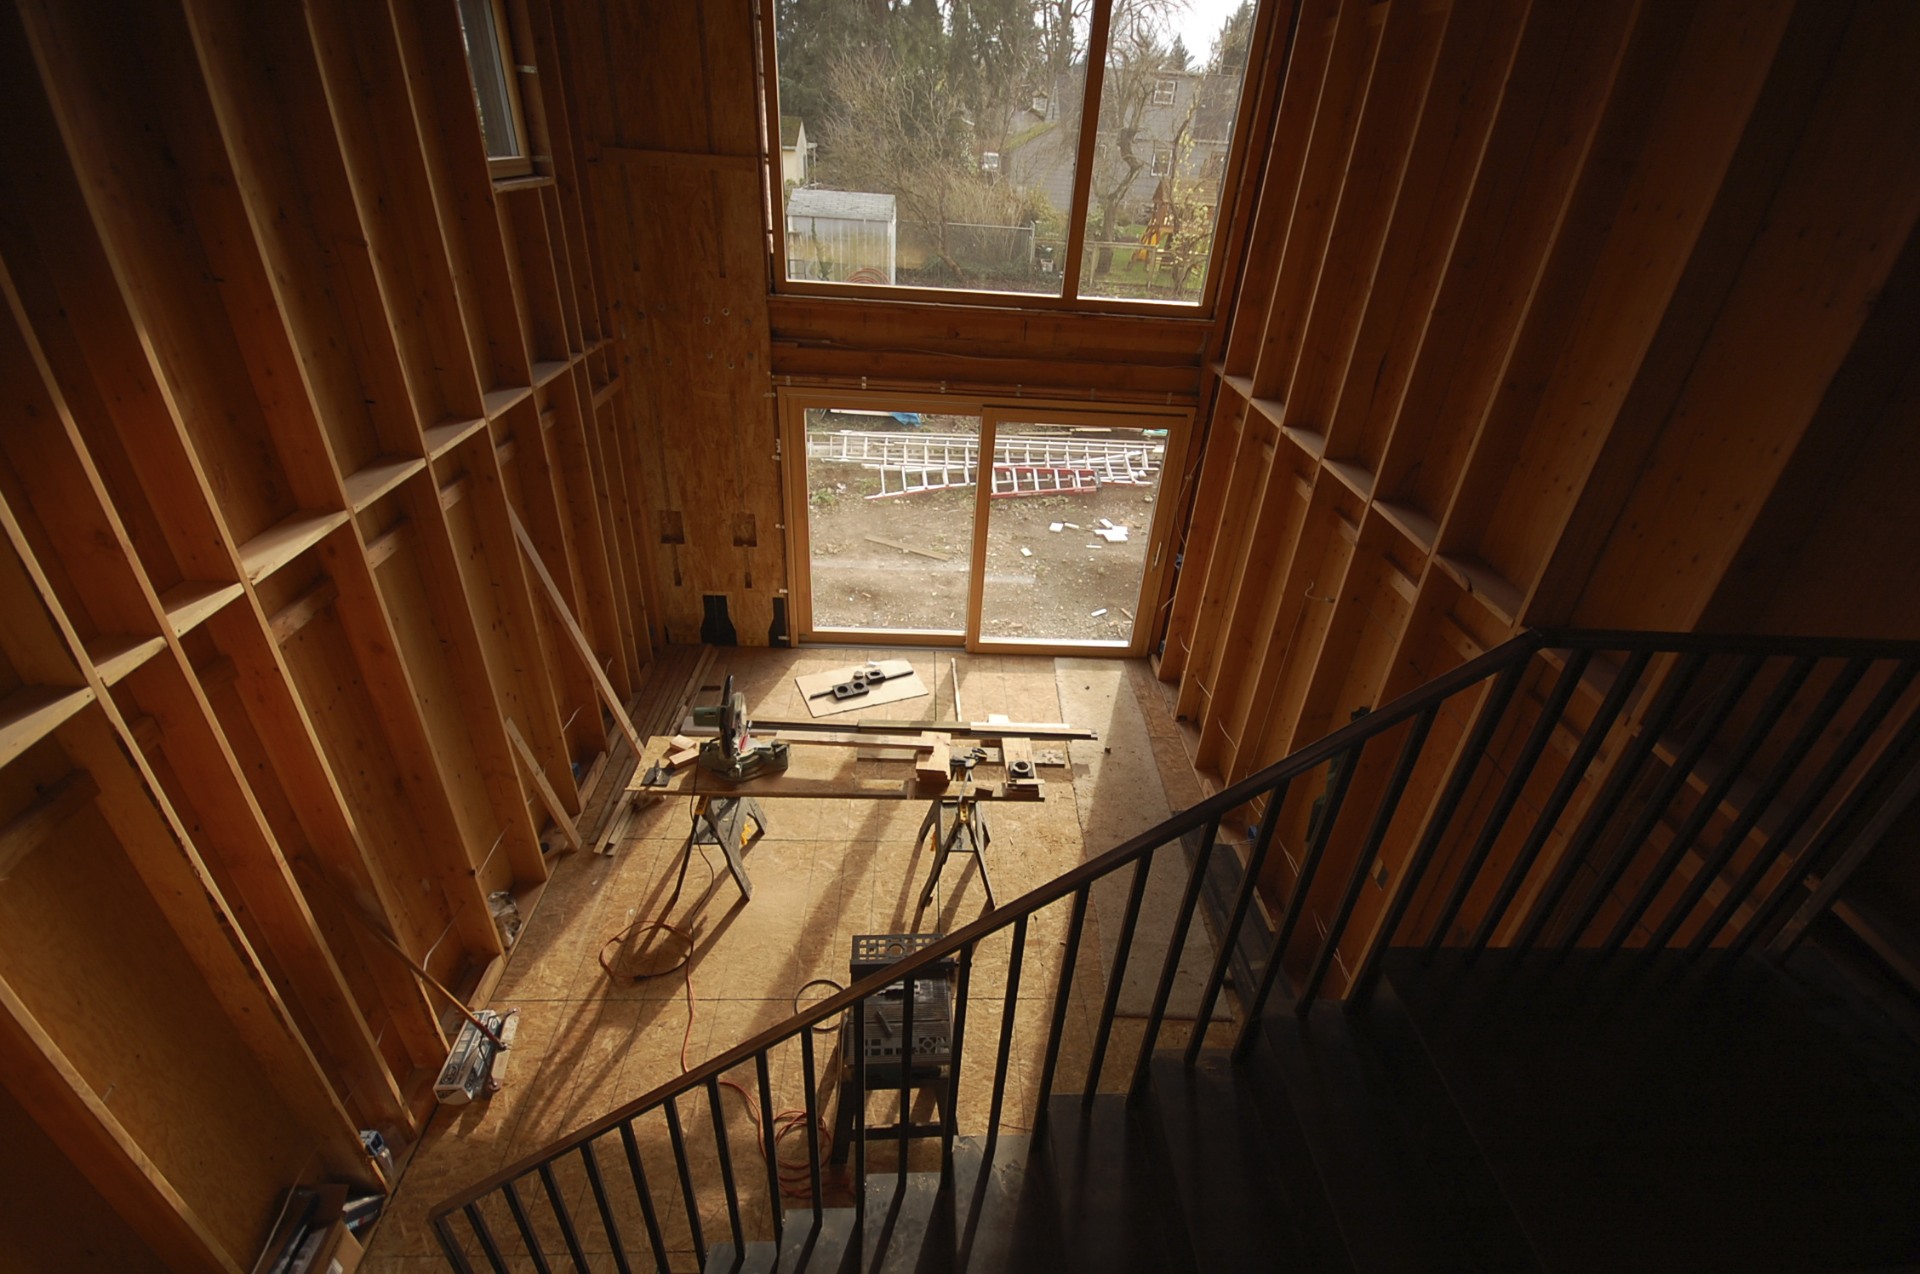
while most of the attention has been focused on the insulation, windows and air sealing, the interior stair has made slow but steady progress. DSC_0837

DSC_0838

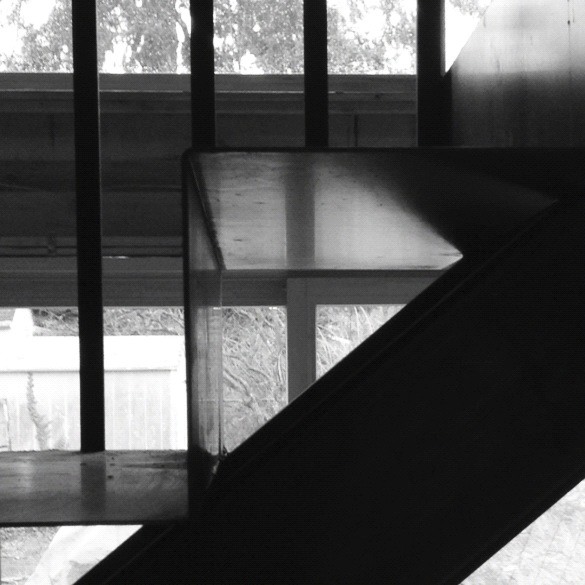
stringers are tube steel bolted to concrete landing and wood wall

DSC_0839

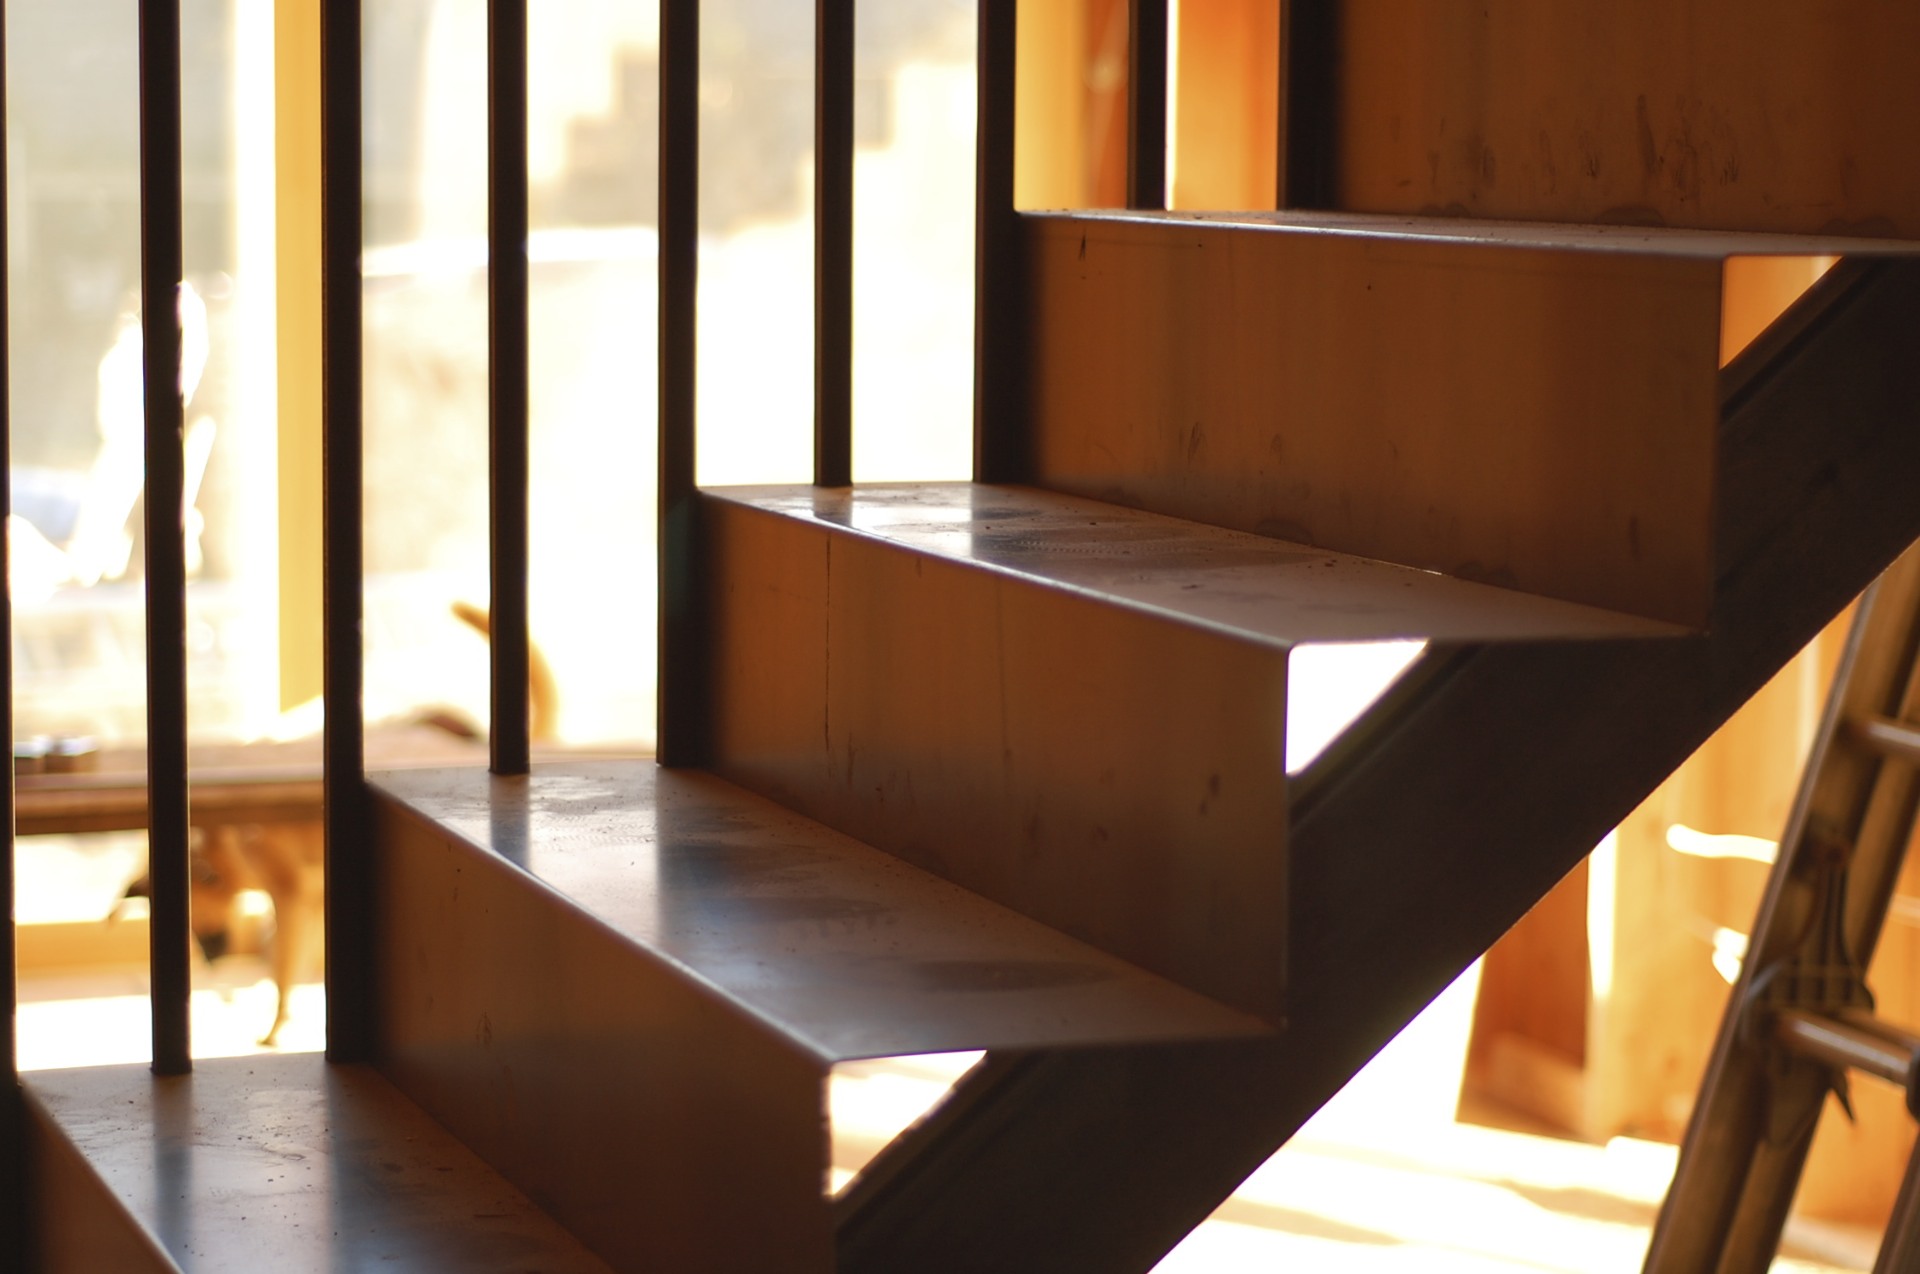
tread risers are 1/8" thick bent plate steel

DSC_0841

DSC_0851

everything is fit up and welded in place

DSC_0986

guardrail is 1" sq tube steel verticals

DSC_0908

DSC_0983

DSC_0999

steel will be left natural with all the signs of fabrication exposed

DSC_1001

a clear coat will be applied at completion

IMG_1696

still more to go but we think it's coming along nicely.

thanks to alameda metal works for their fine work.

framing for efficiency

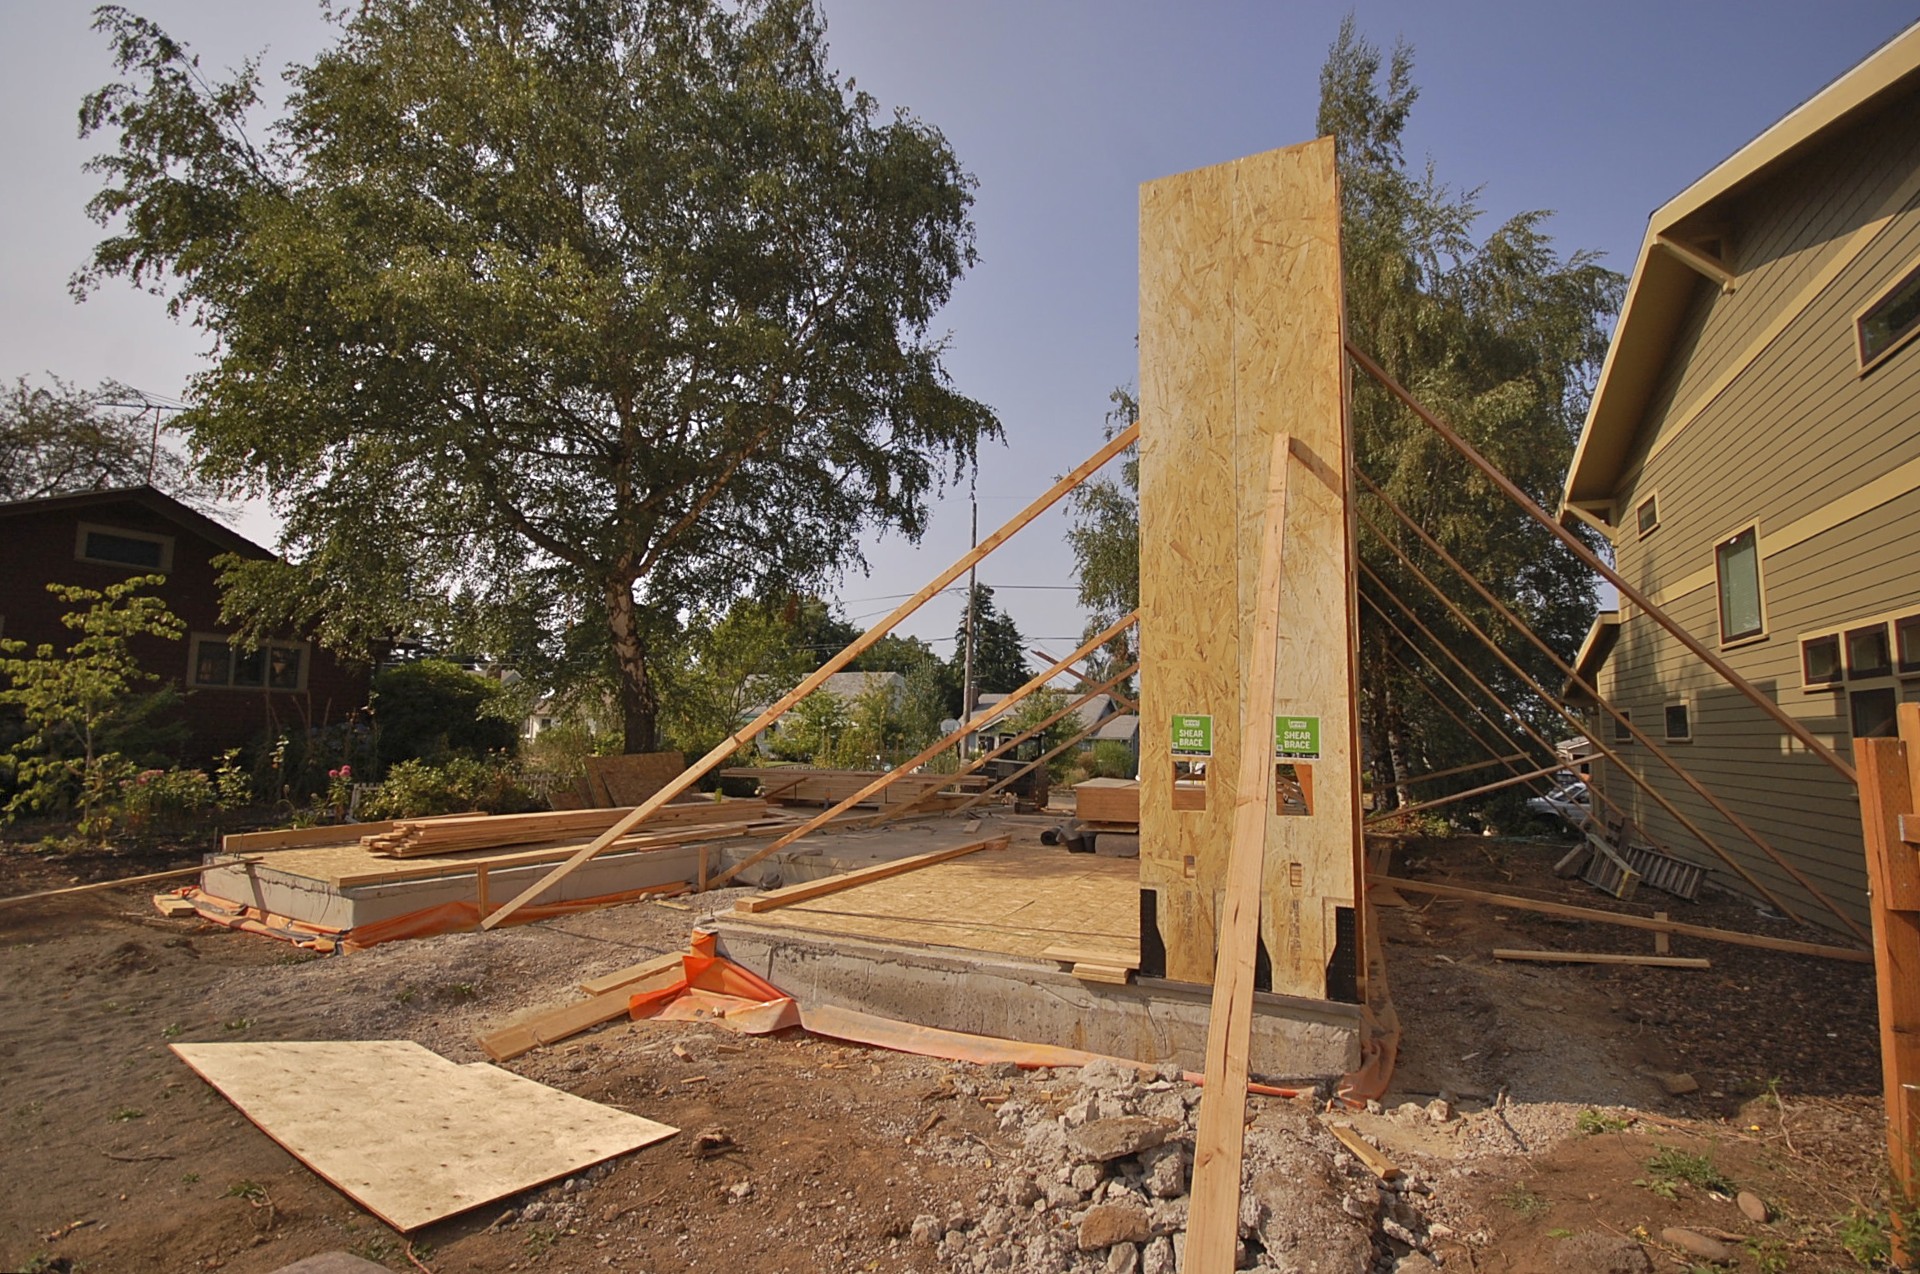
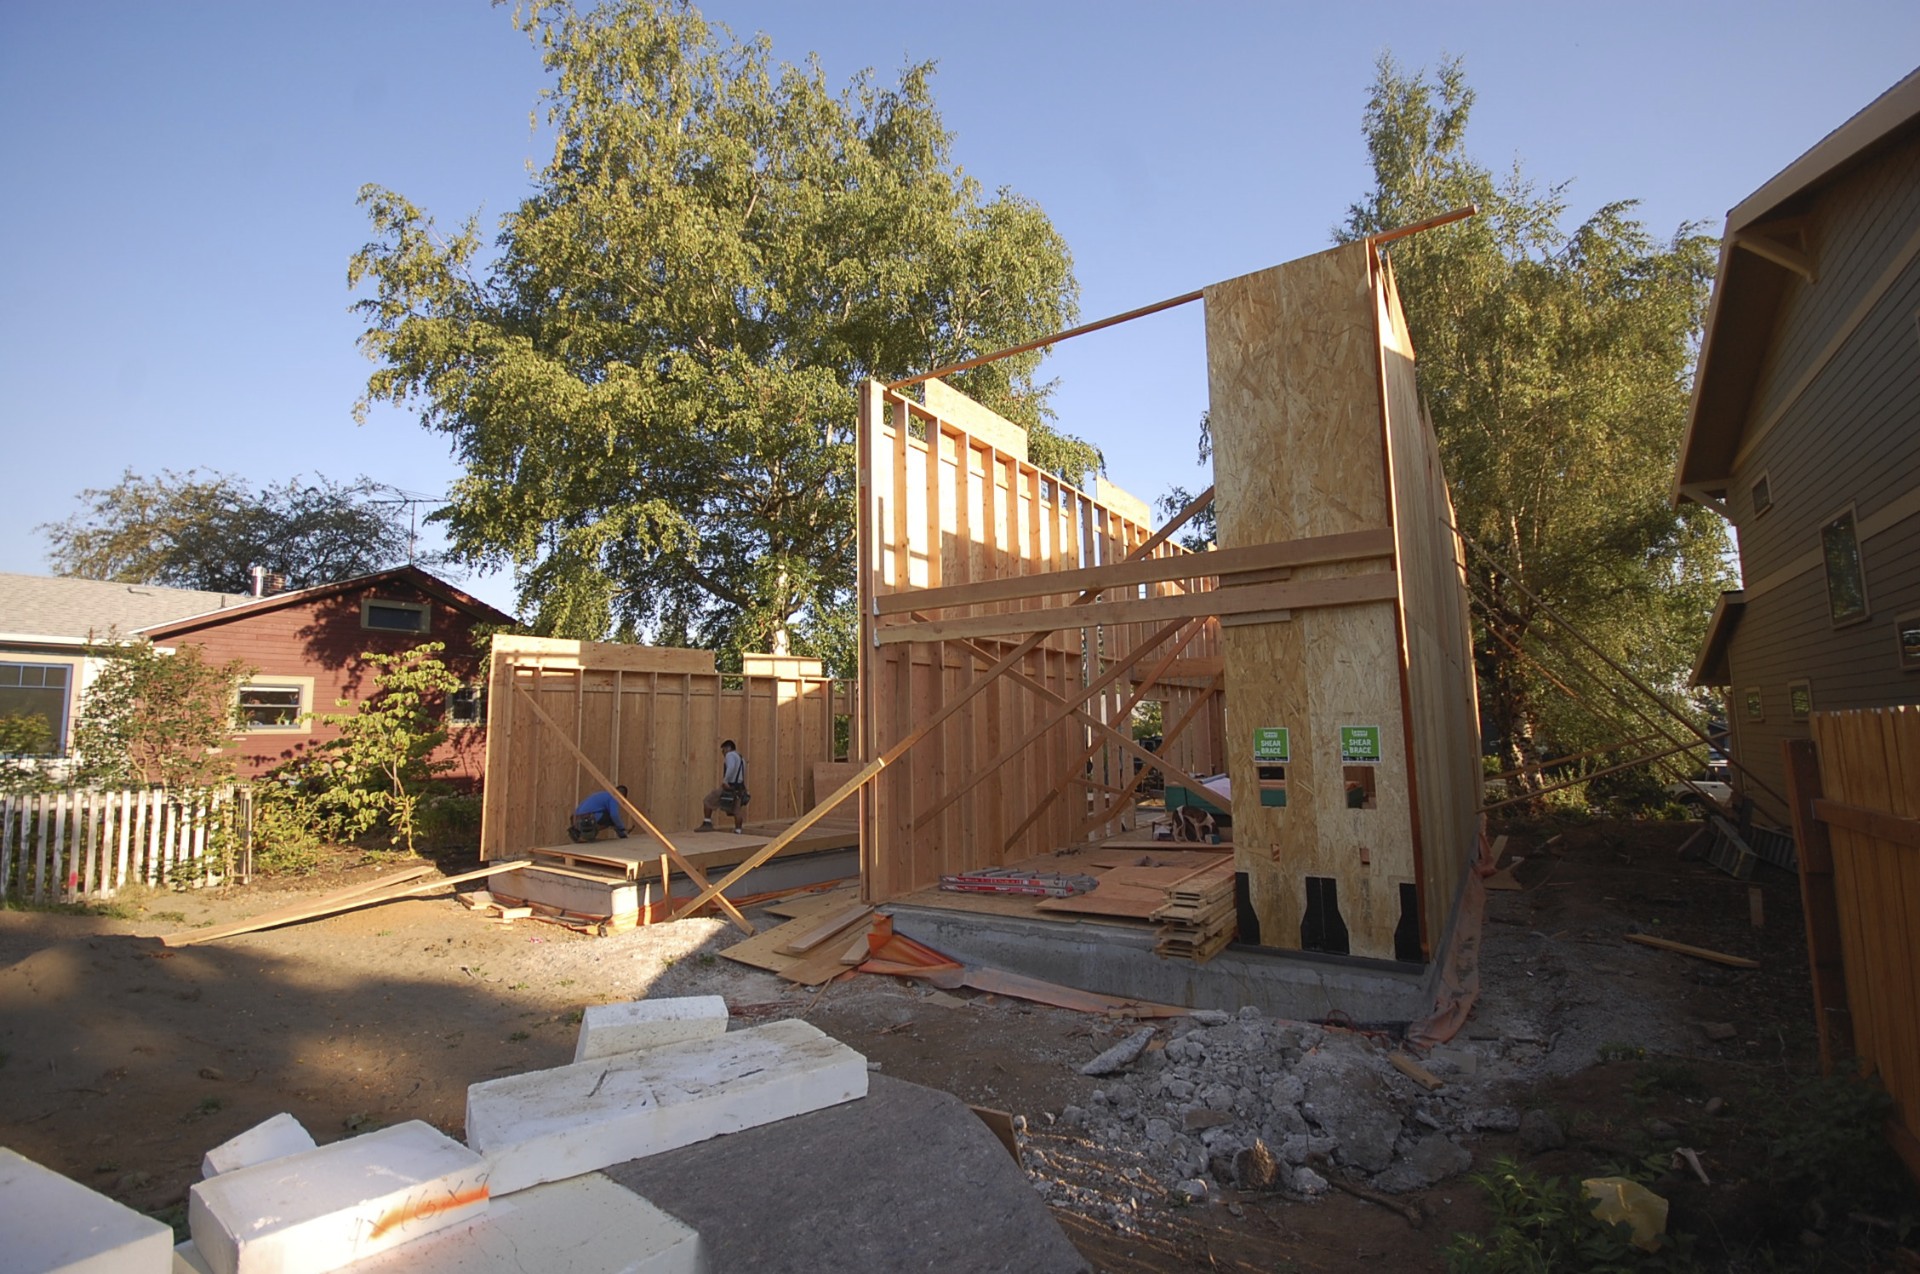
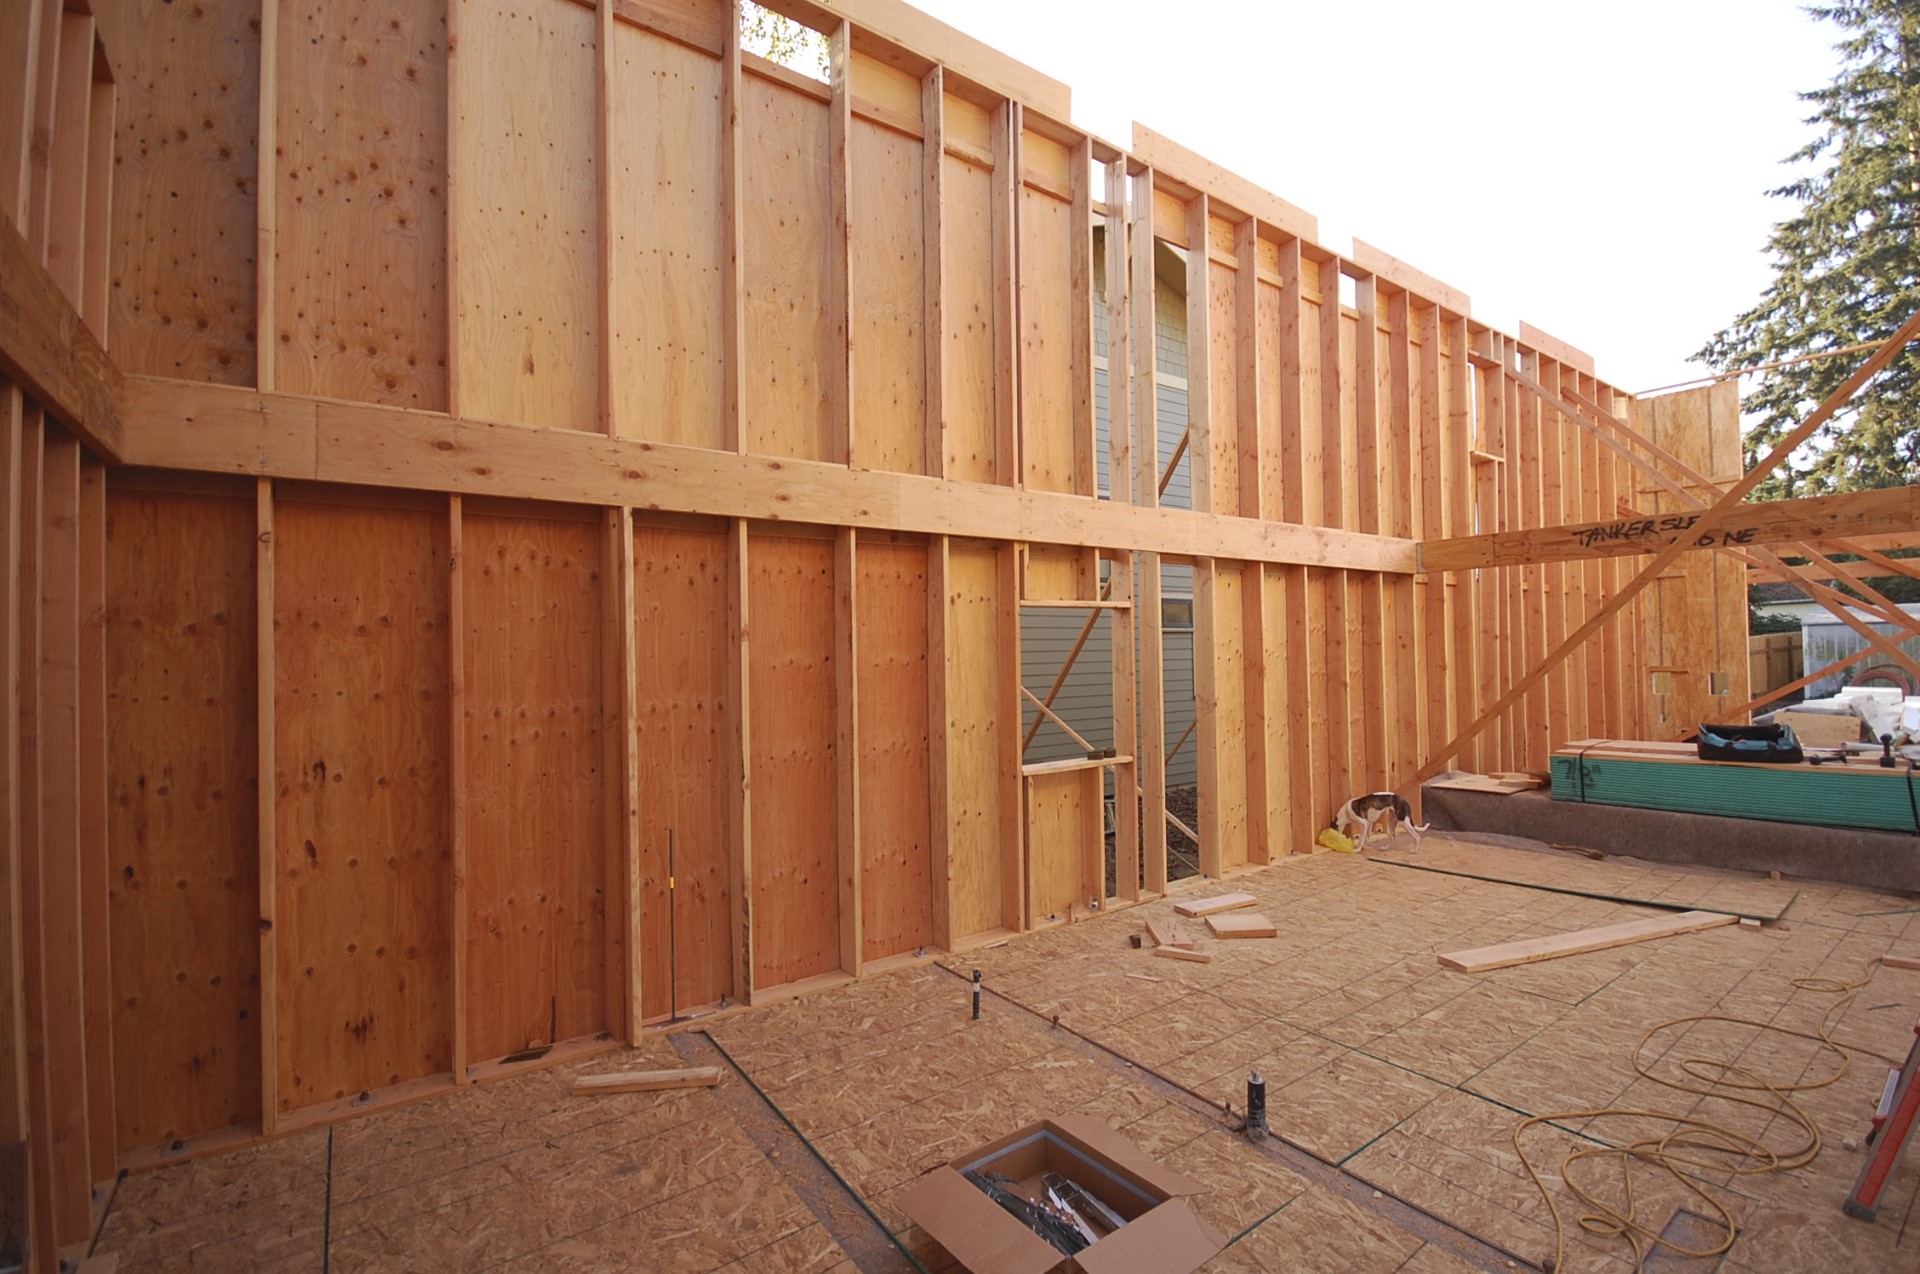
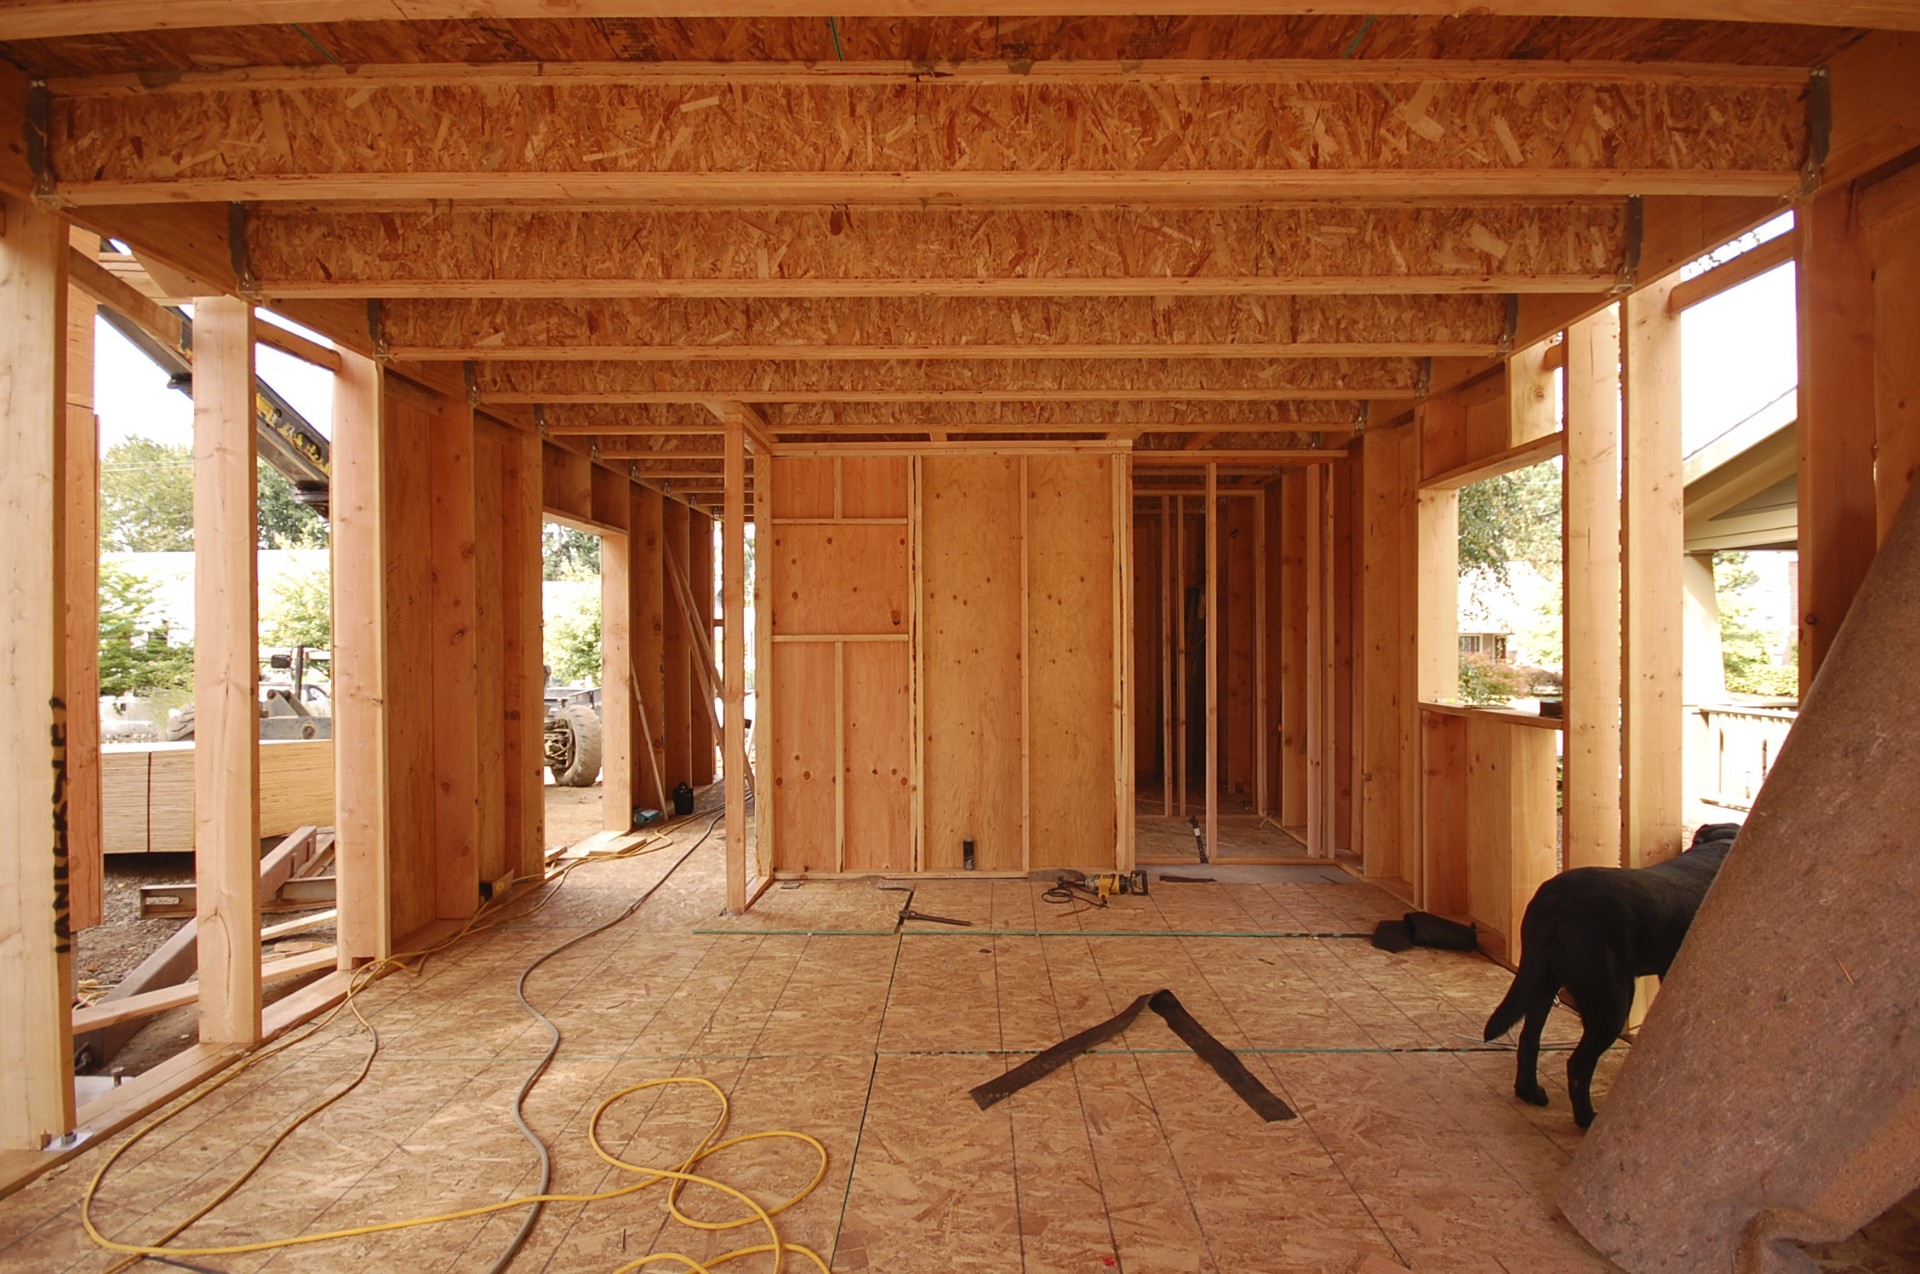
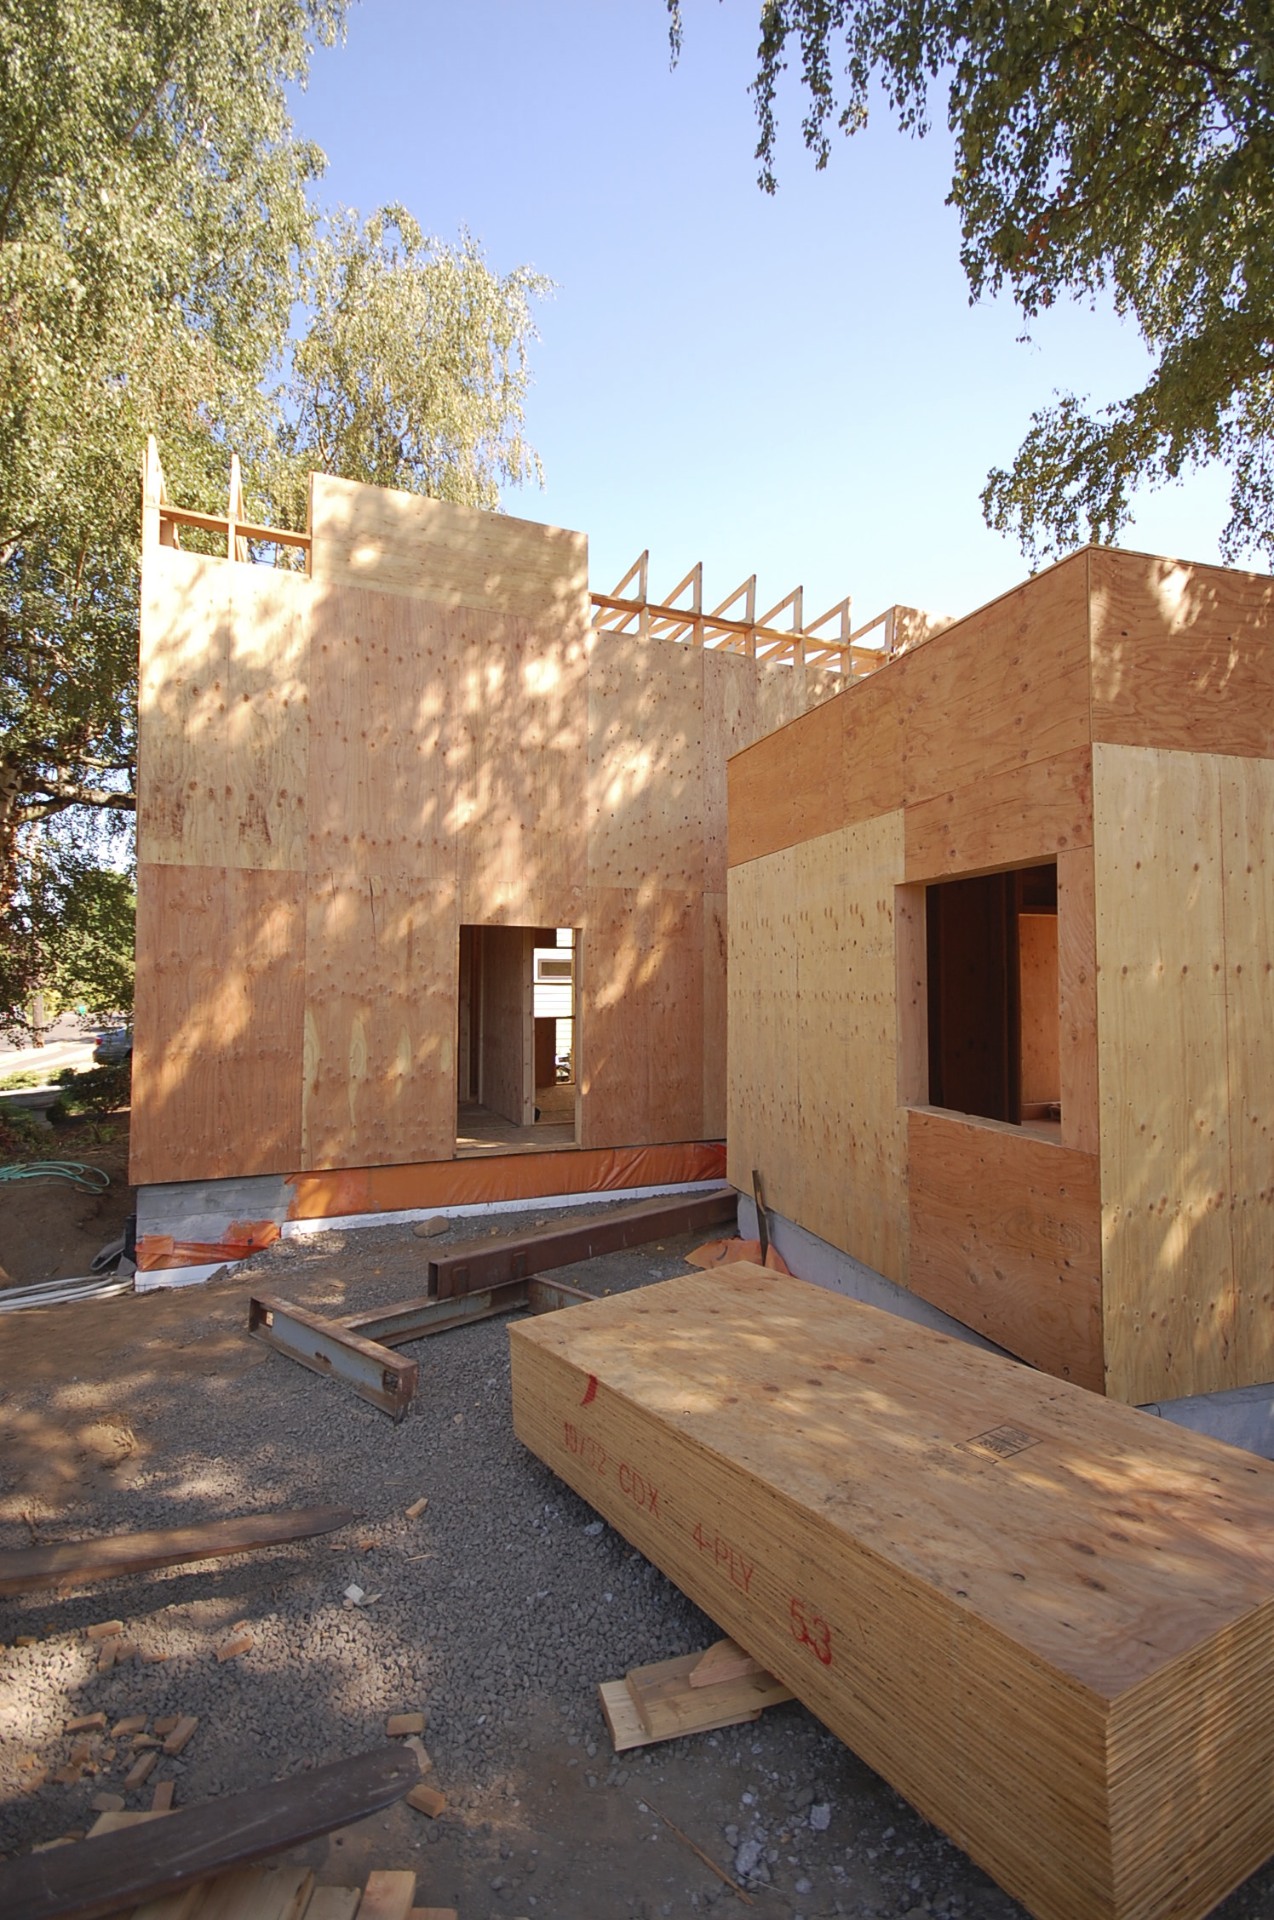
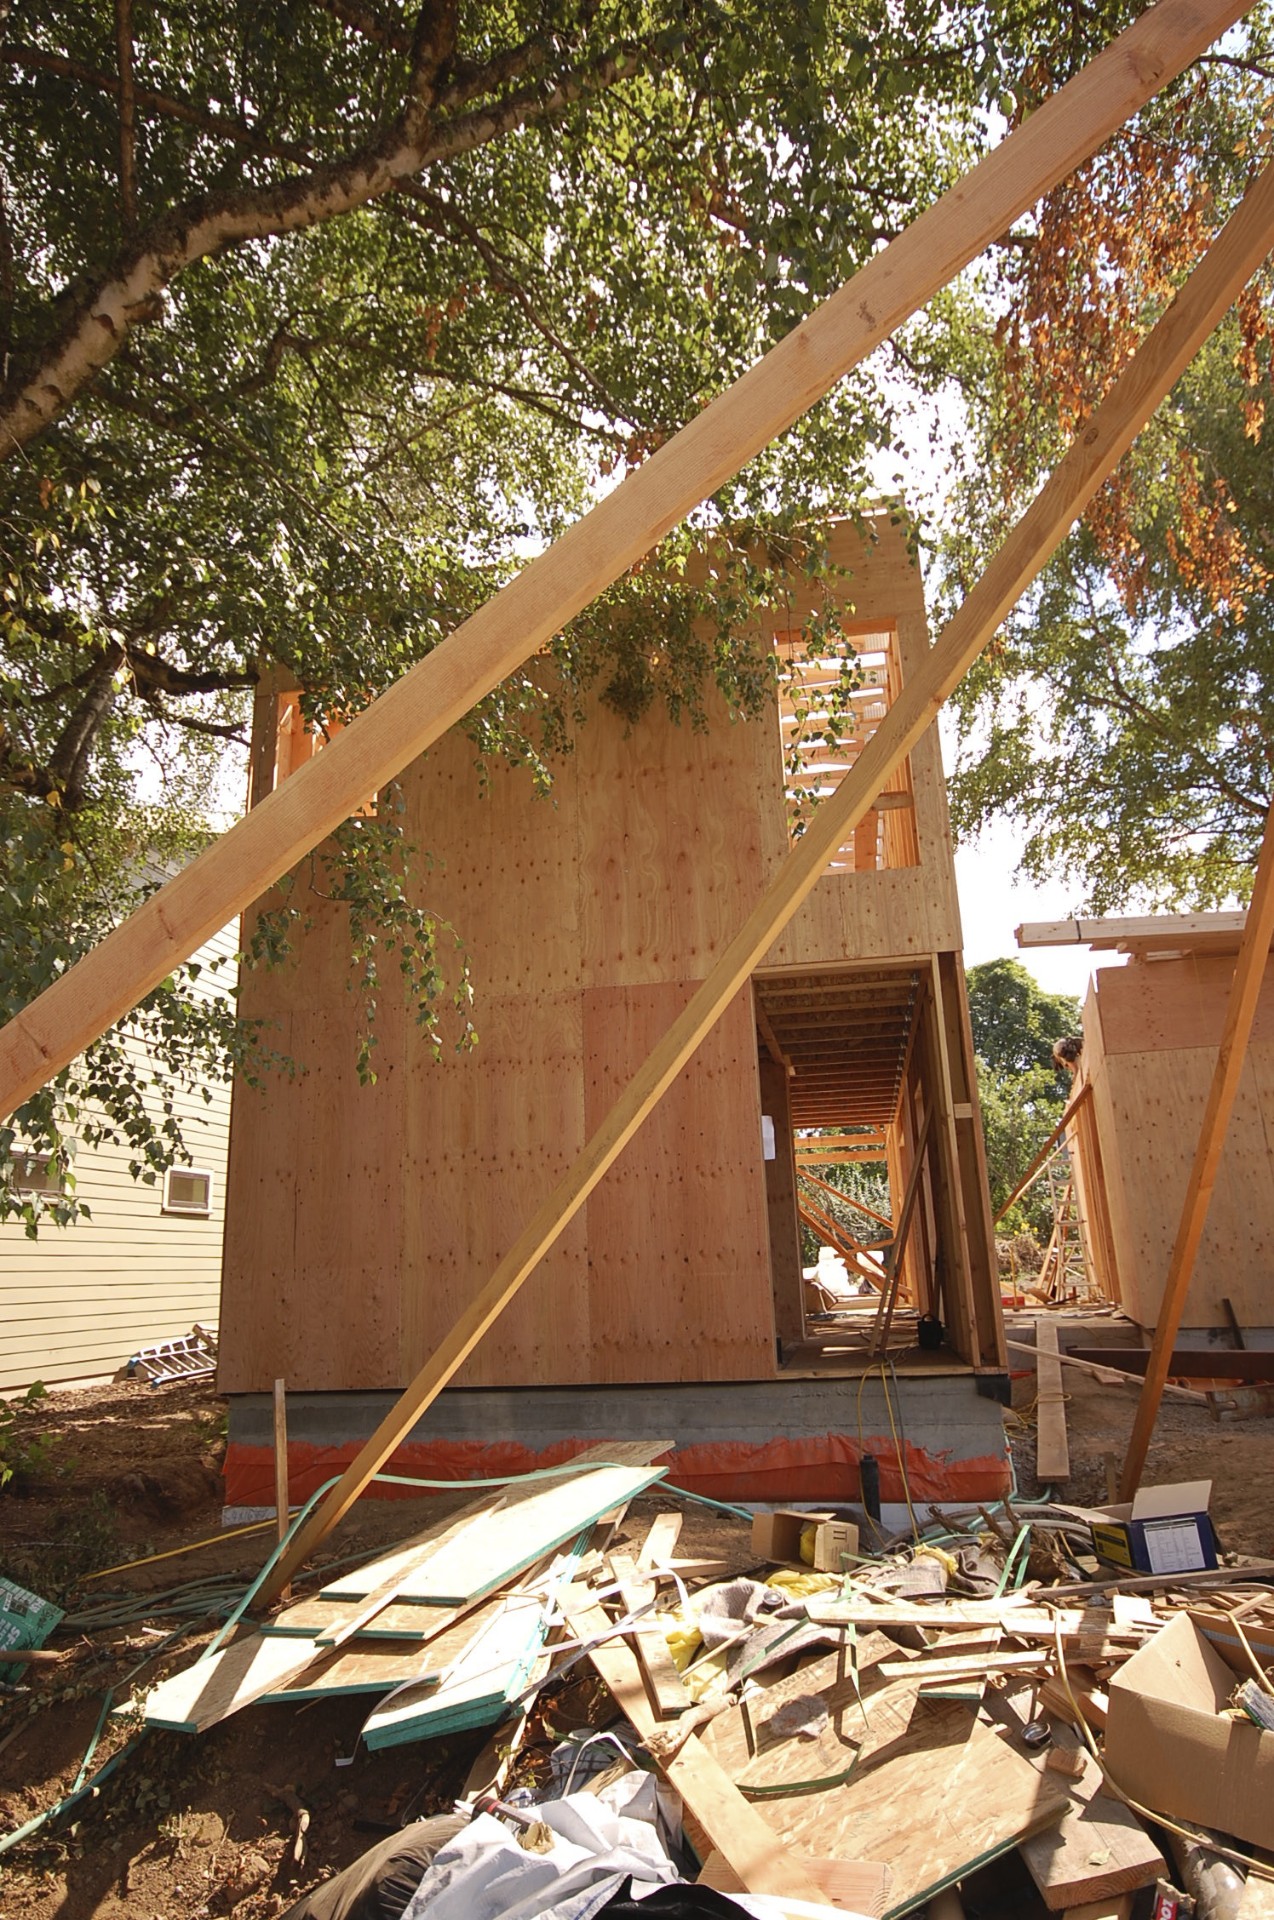
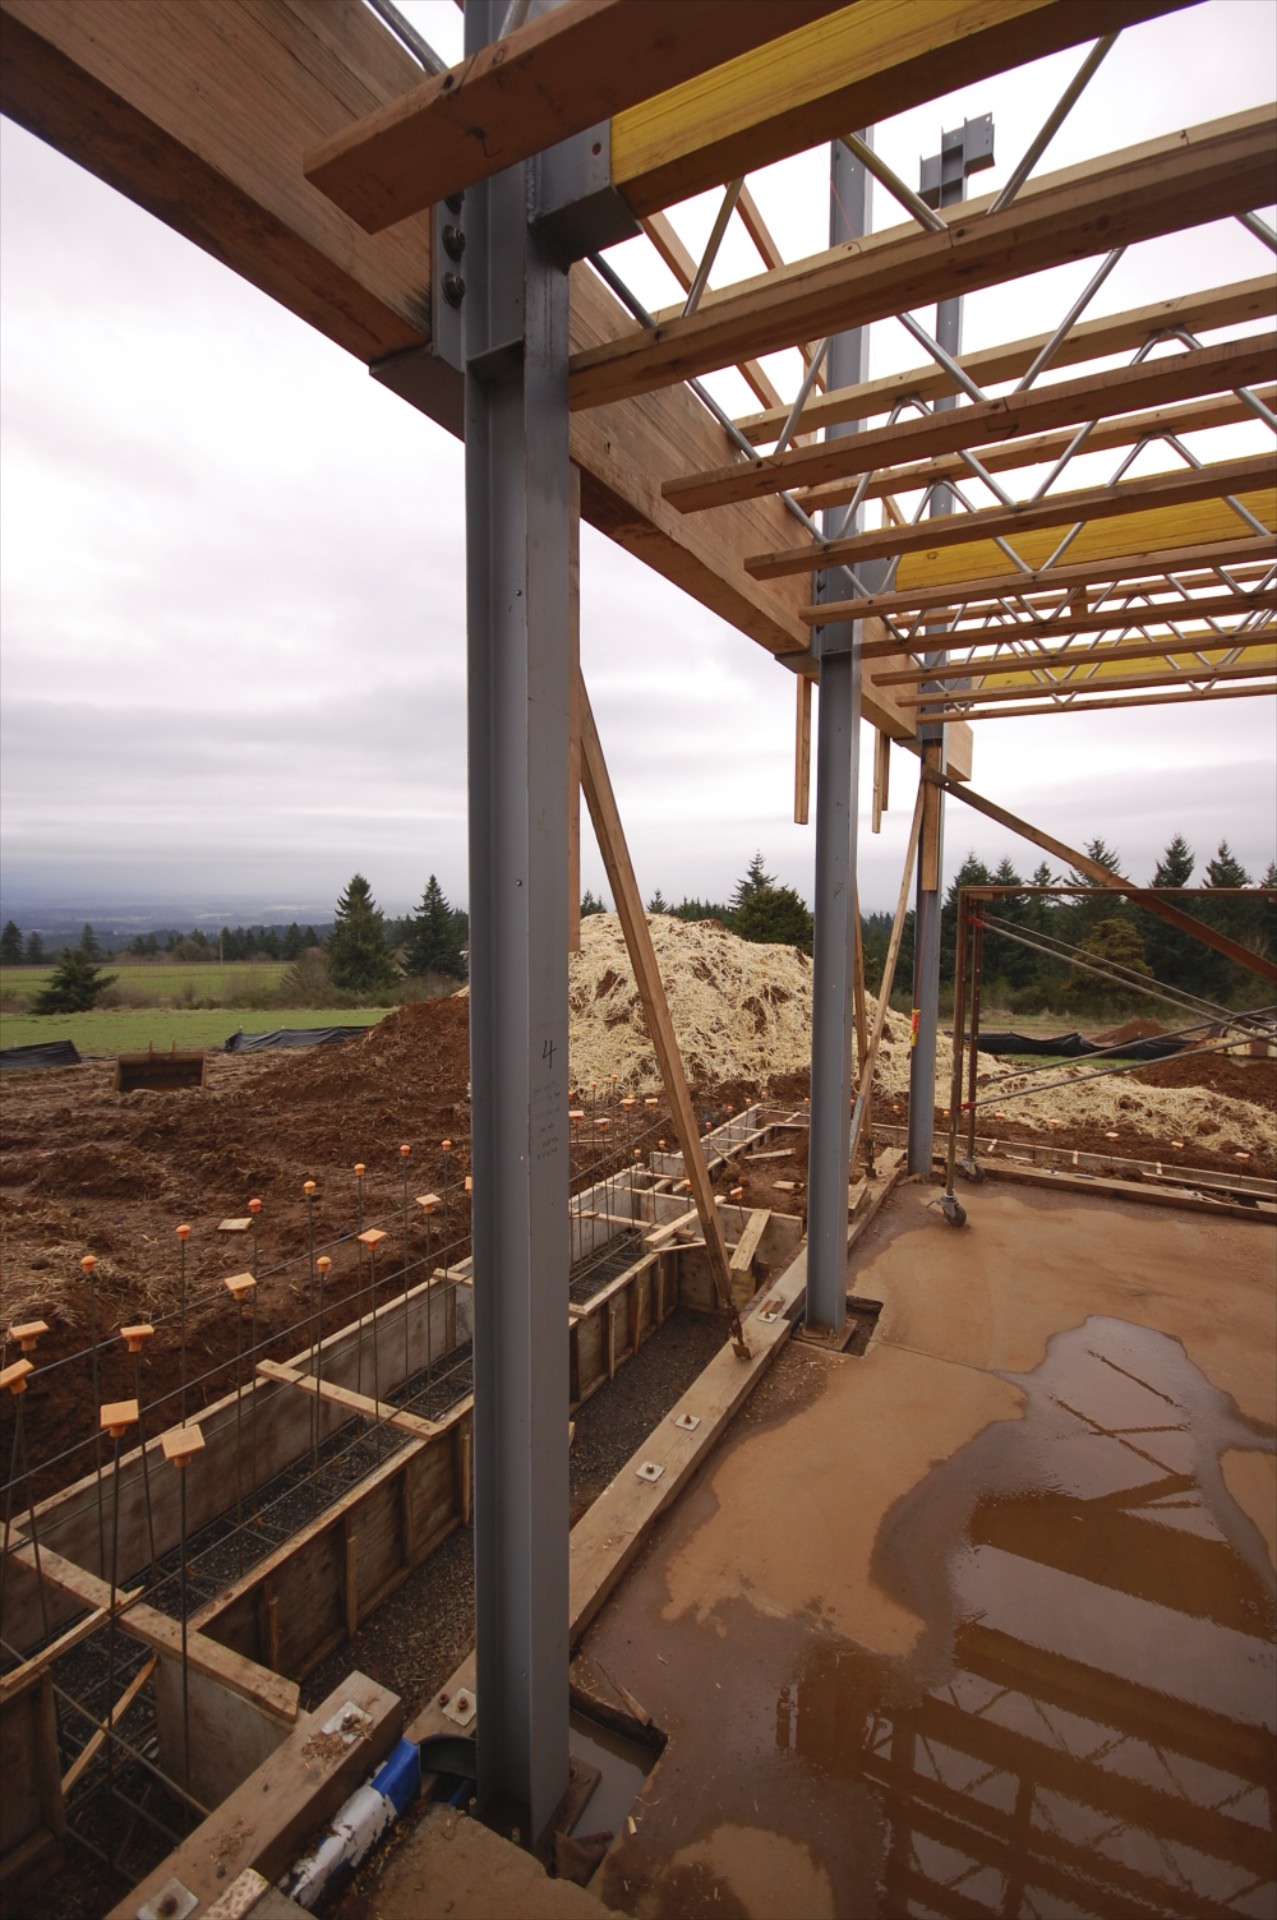
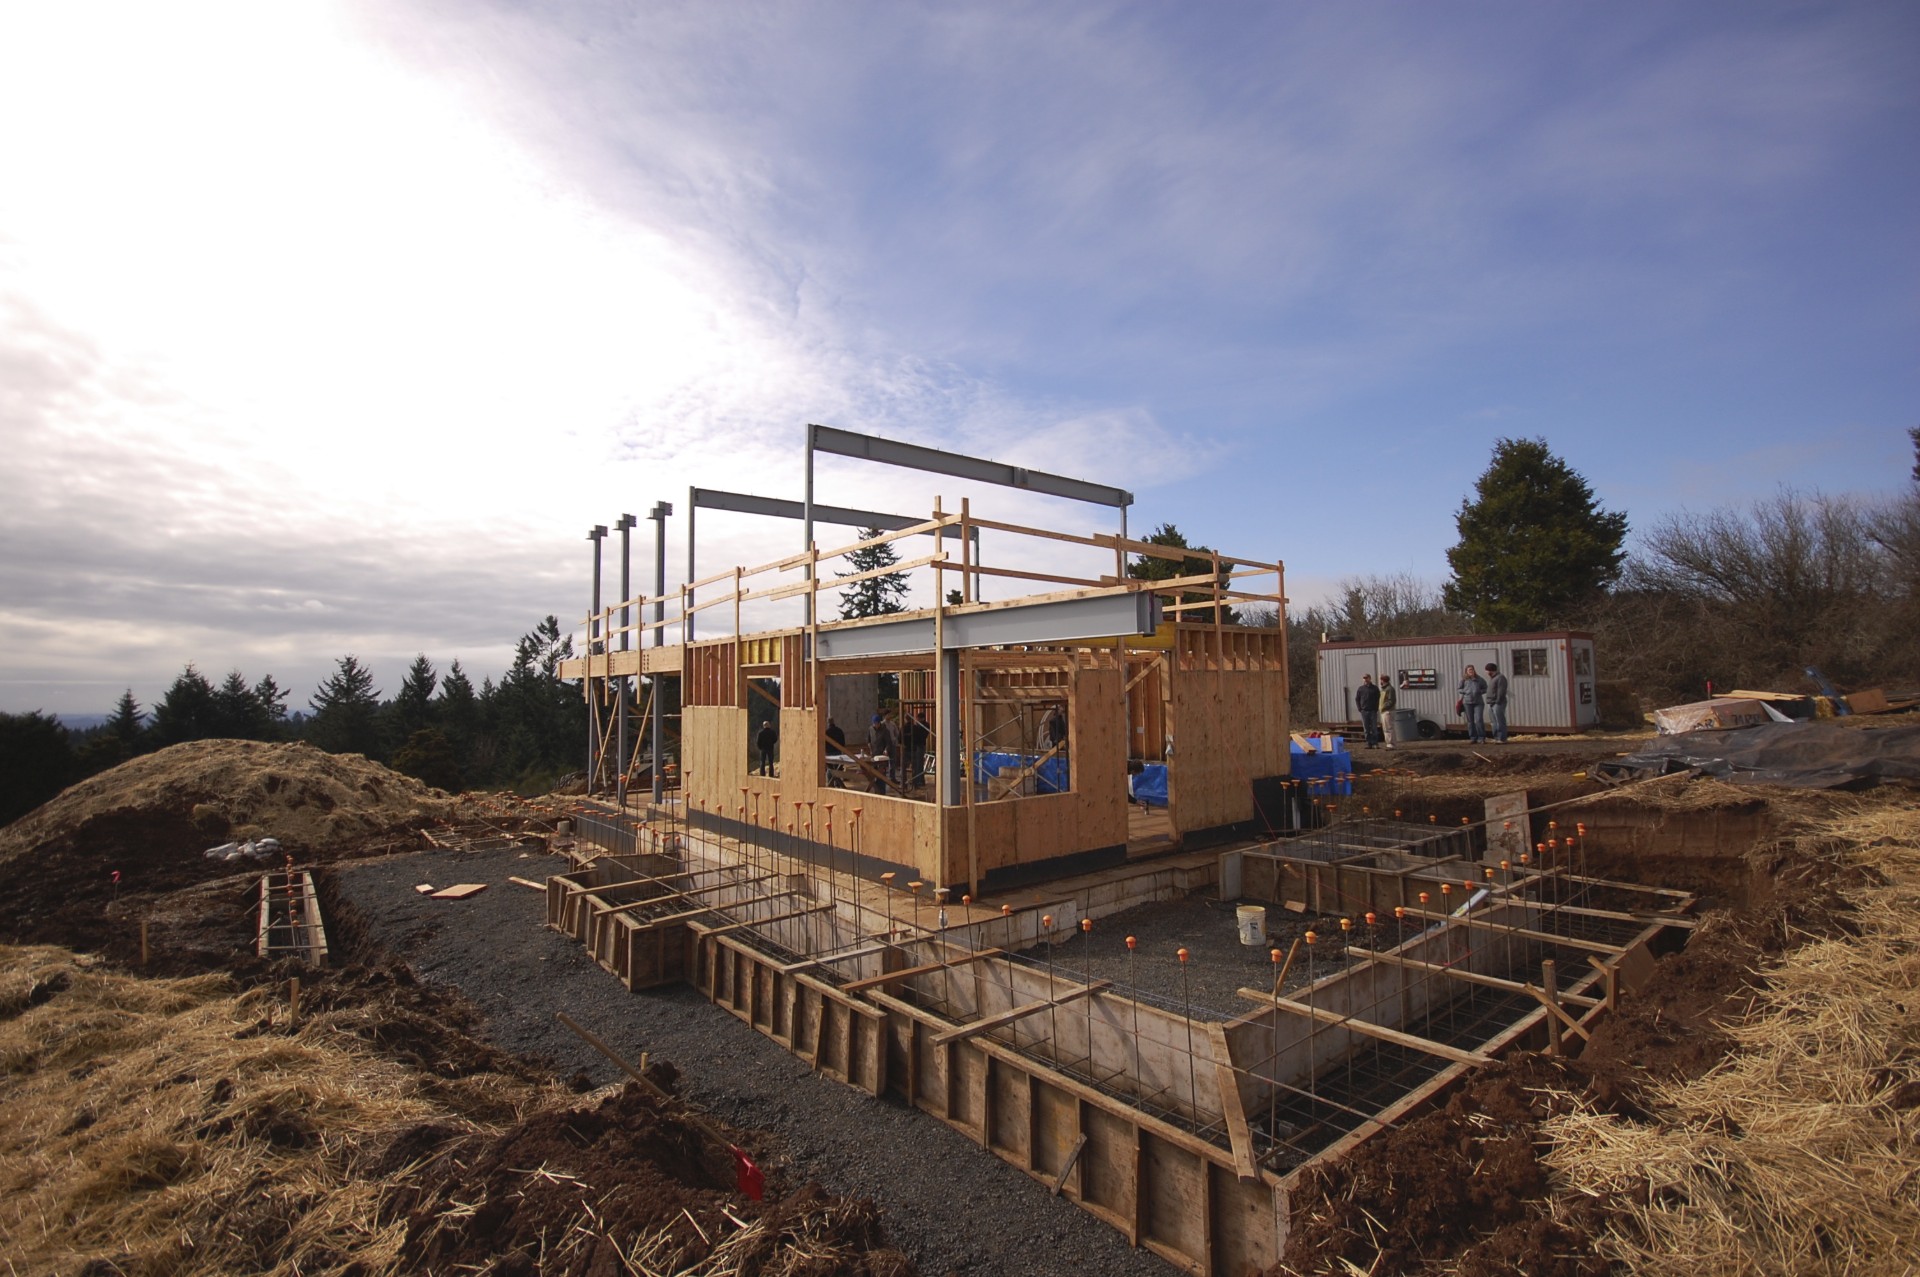
framing has been moving along at skidmore passivhaus since we placed our slab on grade. the house is quickly taking shape thanks to dam framers (doug marshak and crew).

there are a few things that make the framing on this house just a little different from the typical house:

  • untreated bottom plates on 30lb building paper
  • 2x8 wall studs at 24" o.c. (roof trusses align)
  • balloon framed 2 story walls
  • upper floor hung from ledgers
  • single top plates that interlock at the splices
  • open corners with minimal blocking
  • open web trusses with sloped top and level bottom
  • header free openings (except for the living room doors)
  • long walls on plywood module

All of this results in more space for insulation!

Plus there's less wood used and less material cost.

Some of the many next steps include:

  • taping the plywood with SIGA to create the air barrier
  • installing the single ply membrane roof
  • prepping the rough openings with Prosoco Fast Flash
  • roughing in plumbing, HRV, and electrical

Check back soon for updates.

in situ architecture

notes on placing an exposed slab on grade

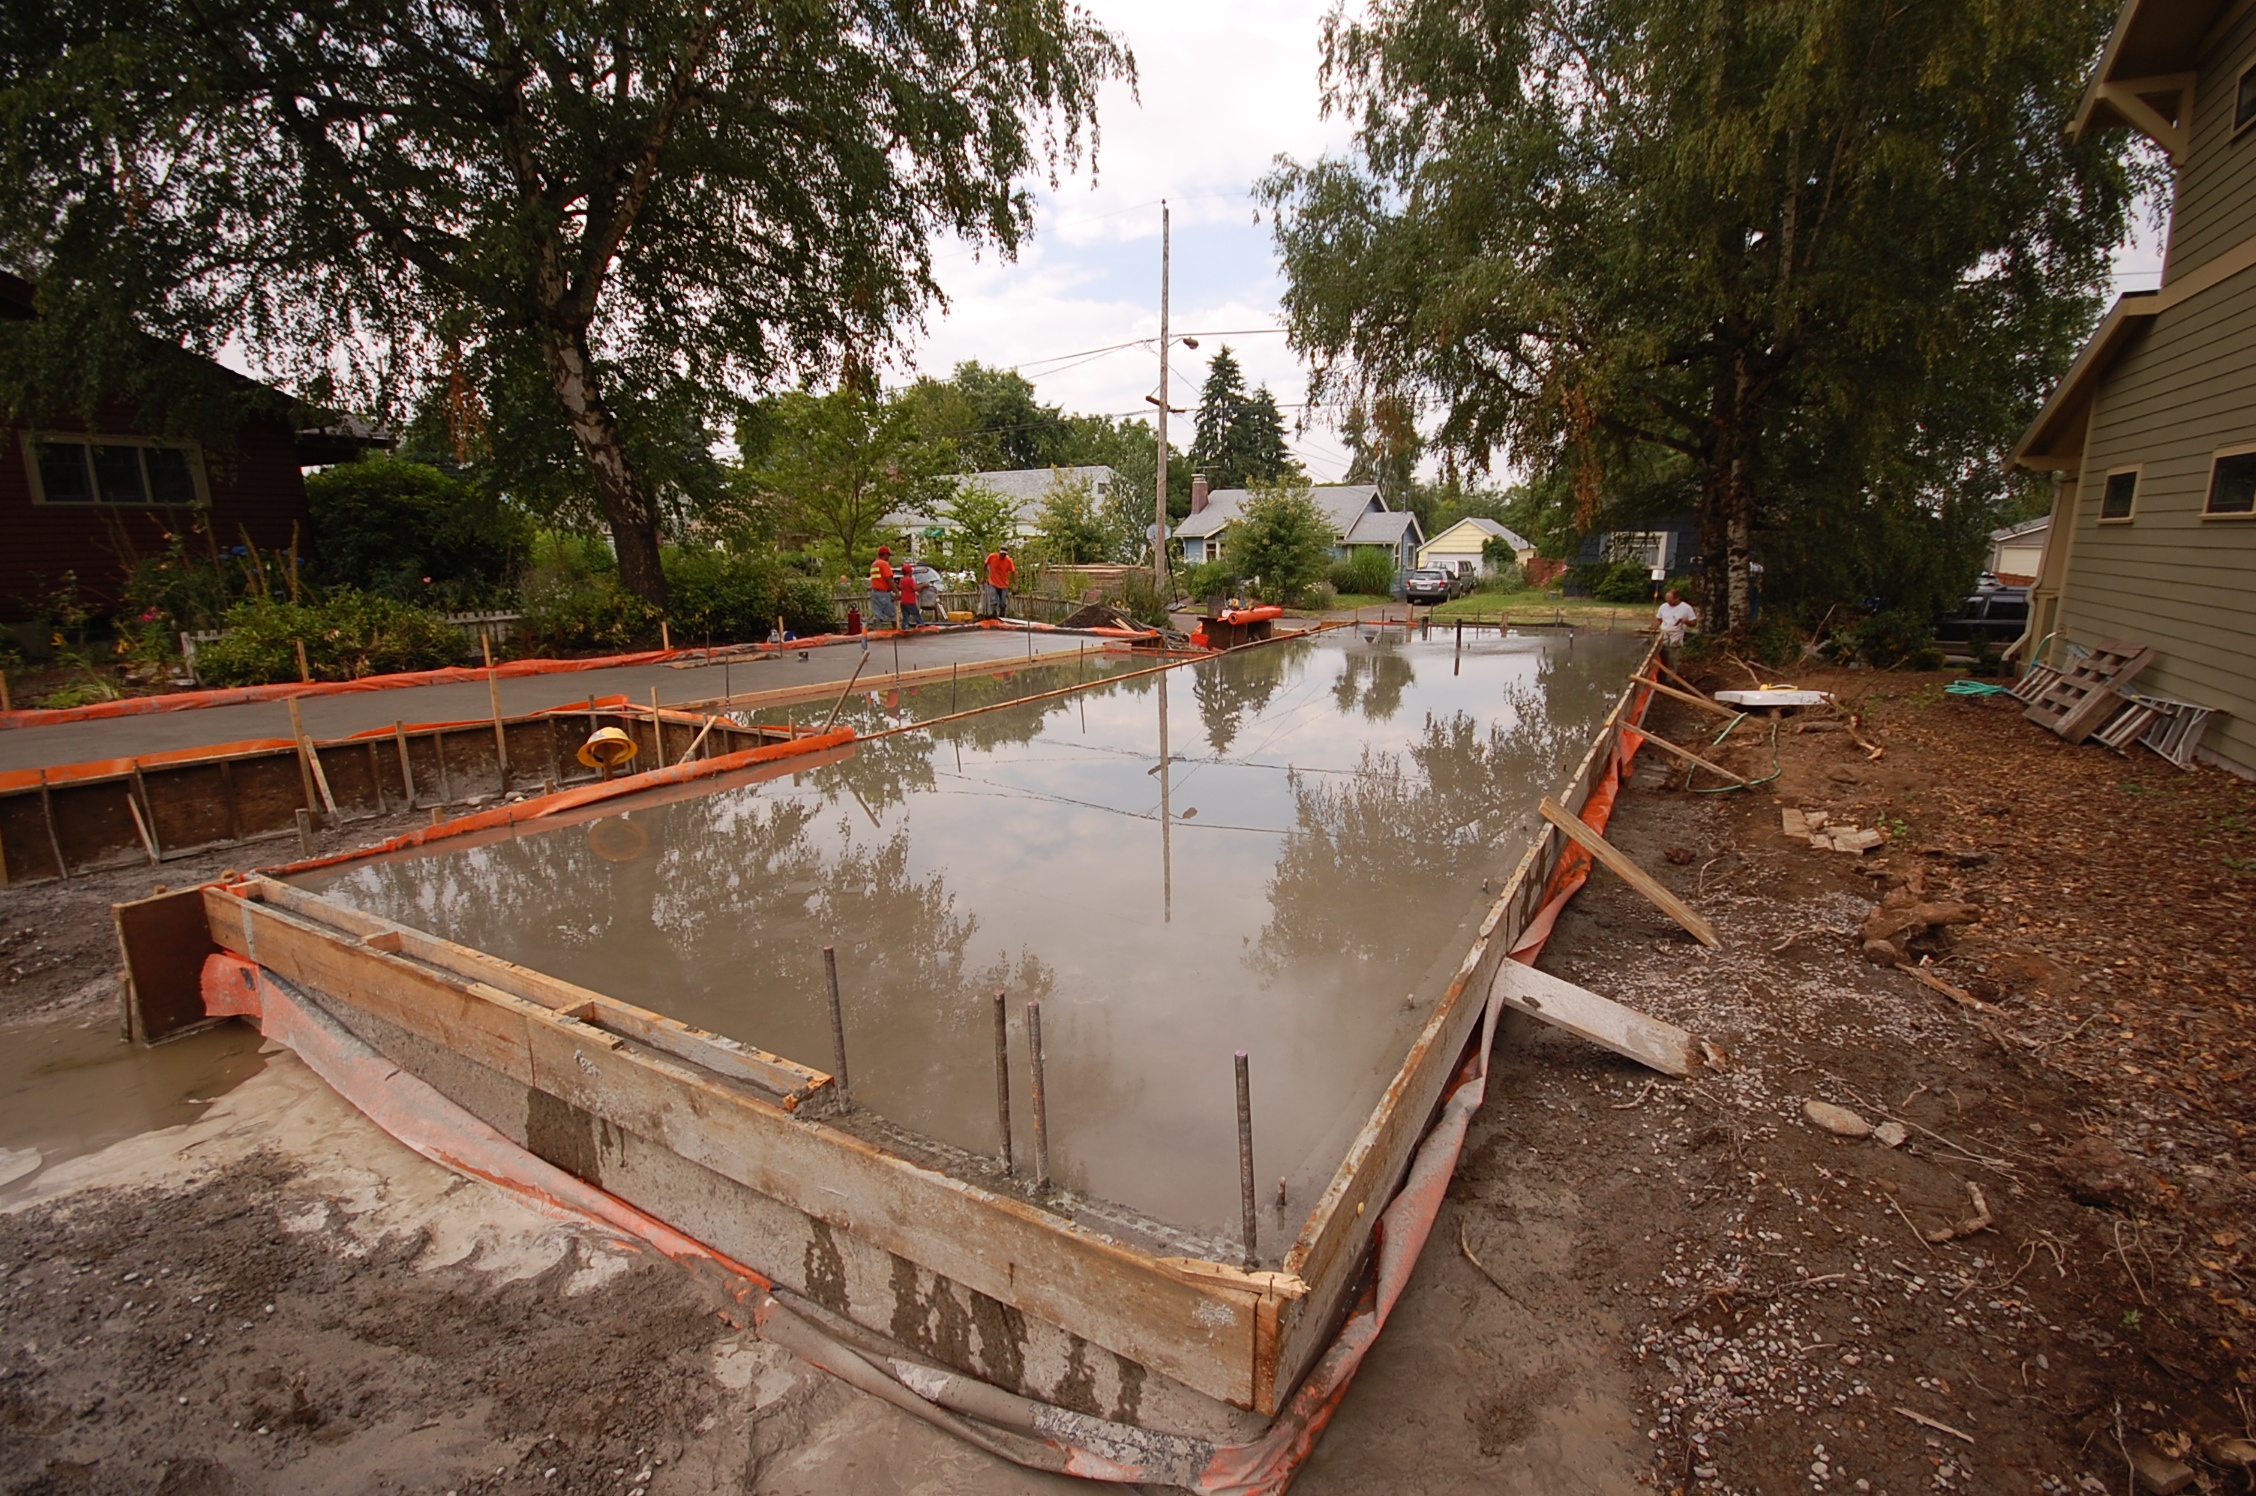
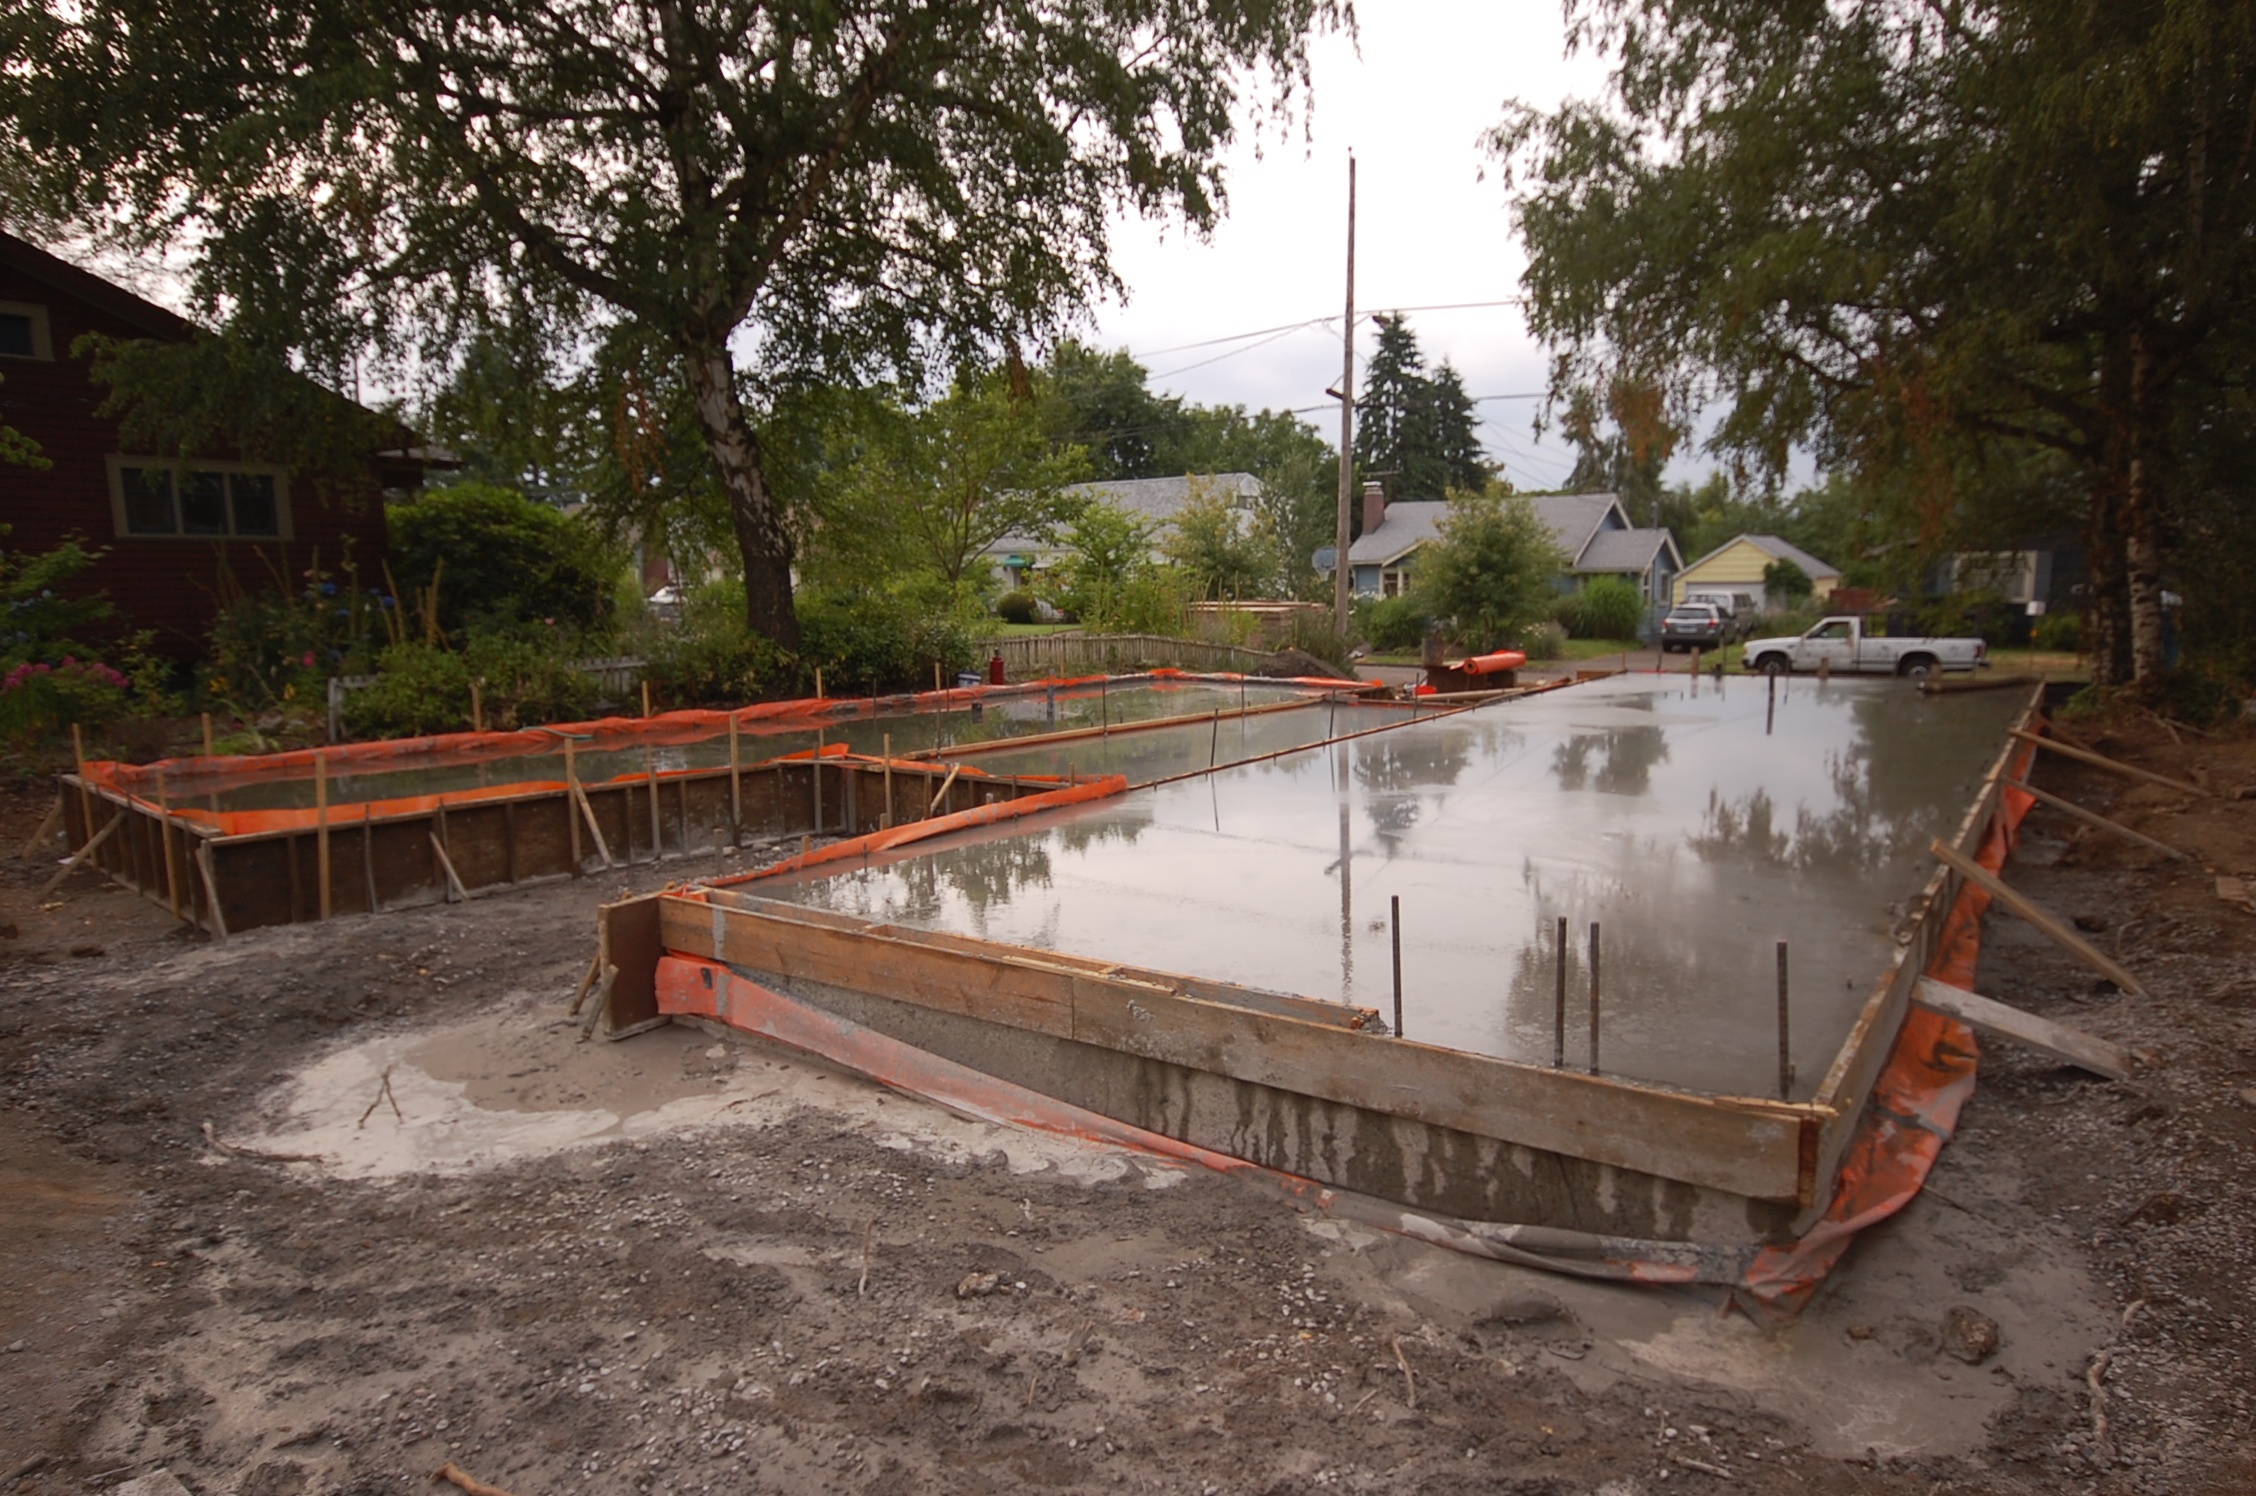
Here are some quick notes on our Exposed Slab on Grade (placed on top of continuous 15mil vapor retarder and 4" of eps insulation): Placing concrete on a continuous vapor retarder definitely ups the degree of difficulty when it comes to finishing and curing the slab.  Water in the slab can only move out the top, meaning the slab can dry unevenly, crack, and even curl.  To compensate we are trying a wet "flood" cure.

We decided to use fiber mesh reinforcing and eliminate the steel reinforcing altogether from slab.  Apparently the fiber can make finishing trickier, but it typically results in strong slab with less cracking and for a bit less cost.

The type and location of joints is always a question - we even considered for awhile not using them and letting the slab crack more randomly (it will crack).  In the end we decided to use a tooled joint (in this case made with a custom tool from another project) and to place them strategically under walls so they are barely visible.  Tooled joints can be made almost immediately before cracking can happen whereas sawcuts have to wait until slab is firm enough to handle the saw, and potentially after random cracks have already occurred.  Saw cuts also have a risk of spalling, but when they are executed properly they certainly look best.

After knocking around options for curing the slab, we decided to go old school and use a wet flood method.  The idea is to cure the slab slowly and evenly by keeping it wet and cool, allowing it to gain as much strength as possible before subjecting it to the stresses that occur when it dries out.  The slab edge formwork was already above the top of the slab, so it was relatively easy to keep the slab underwater.  It uses a fair amount of water as there are minor breaches in the perimeter formwork dam, but it eliminates the use of expensive chemical curing compounds.

So far we have kept the slab wet for 5 days (flooded most of the time) and we're still babysitting it.  It's time to get set up for the last small concrete pour (a plinth for the stair which doubles as a landing), so the wet curing will come to an end. Only time will tell what the result will be, and we'll never know if our methods were better or worse.

breaking ground on skidmore (passive) house

After many many months (years really) of scheming and planning, we finally broke ground on our new house.  A lot has happened since our last look at the project in passivhaus progression.  It took us a bit of time to get our house ready for sale, but we eventually sold it, found a great house to rent complete with chickens, moved, and are getting settled in our temporary digs. First up was getting our delinquent and non-responsive tenant out of the house.  We got our first (and hopefully last) taste of the eviction process.  A few checks and a couple of weeks later we took possession and had a close up look at the sorry state of the house.  Next we removed some of the existing trees.  A few were unhealthy, a few were in or too close to the footprint, and a couple were creating massive shade.  While we struggled with this decision and upset at least one neighbor, in the end we decided it was best in the long run to remove the largest Oak in the backyard.  It was sad to see it come down but the lot has been transformed back into a sunny paradise and we hope over the next decade to develop a well designed and much more beautiful landscape.

While the first bank we approached about construction financing had favorable rates and seemed easy to work with, the process quickly turned sour as they began to question first the green roof, then the single ply membrane, separate structures, and finally the lack of a garage.  In the end it became apparent that they didn't get it and it was time to try another route.  At the same time, we decided that the separate structures created some domestic challenges in addition to lowering the value of the property in the eyes of the bank, so we quickly redesigned the house to incorporate the space between the buildings as interior living space.  Although it adds more square footage and cost, it does make for a better surface to floor area ratio and had a favorable impact on our PHPP calculations.  We then approached a local bank with our revised design complete with green roof, no garage, and modern aesthetic, and it was basically smooth sailing right up to the loan closing.  Aside from their annoying tagline, so far I have nothing but good things to say about my experience with my local bank.

The permit process went a little more smoothly.  After responding to a simple structural checksheet, answering some questions from the plans examiner about the Passive House specific details, filing a required Operations and Maintenance agreement for the ecoroof with the County, and smoothing out some internal confusion at the city about an existing cesspool tank and drywell, we got our new building permit as well as demolition permits for the existing house and garage.  Next up was testing for Asbestos; the demolition contractor was required to have paperwork certifying that the debris was free from Asbestos.  Somewhat to my surprise, Asbestos was found in a number of unusual places including window glazing, caulking at the roof penetrations, and drywall compound.  Another check and about a week later the Asbestos was abated and demolition could finally begin.

Here's a quick progression of what's happened over the last 2 months:

Trees are cut and asbestos abatement in progress.

House and garage are gone!

Old tanks are decommissioned and building area is stripped.

Building pad is prepped with compacted gravel.

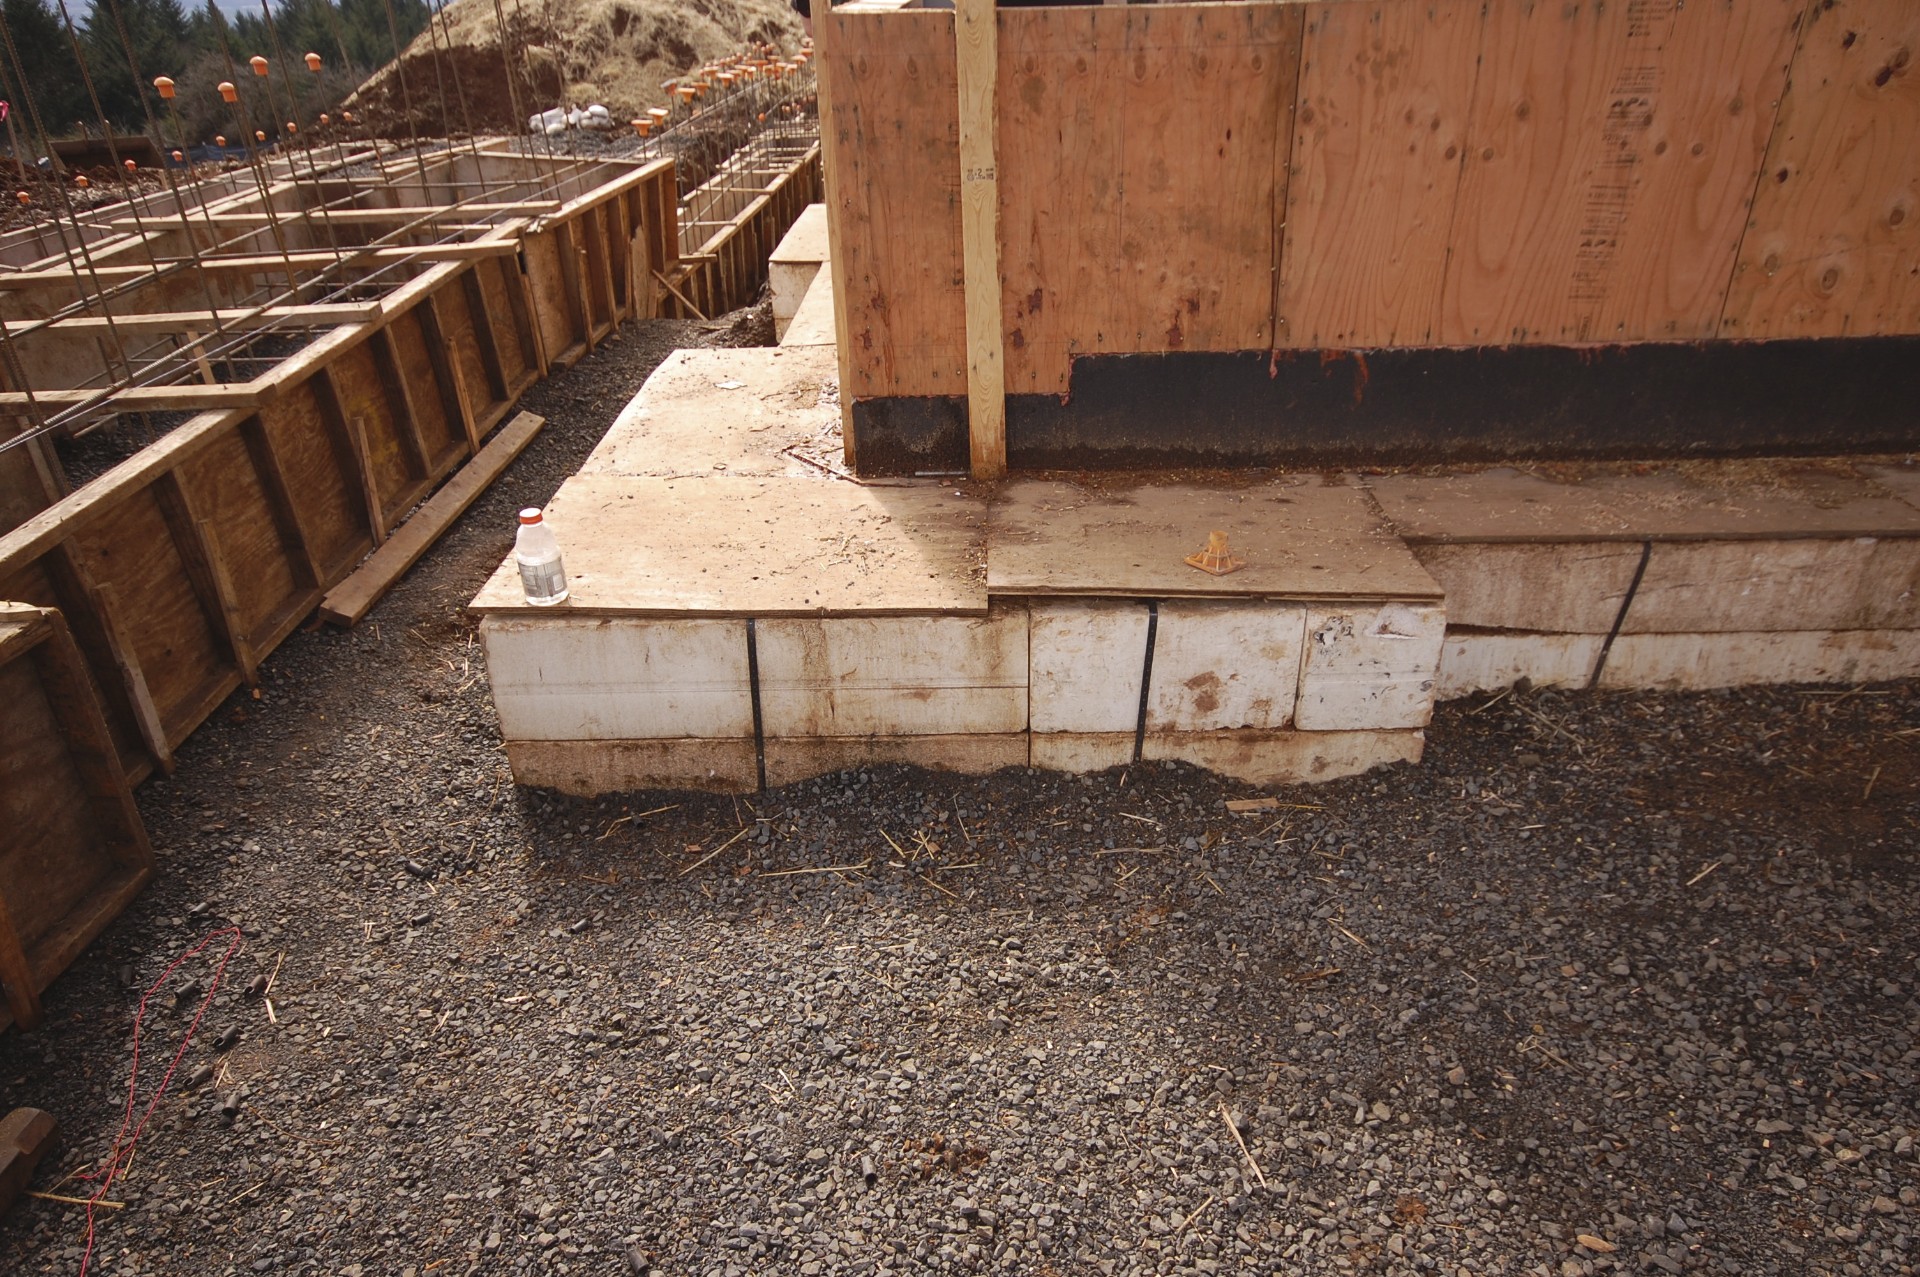
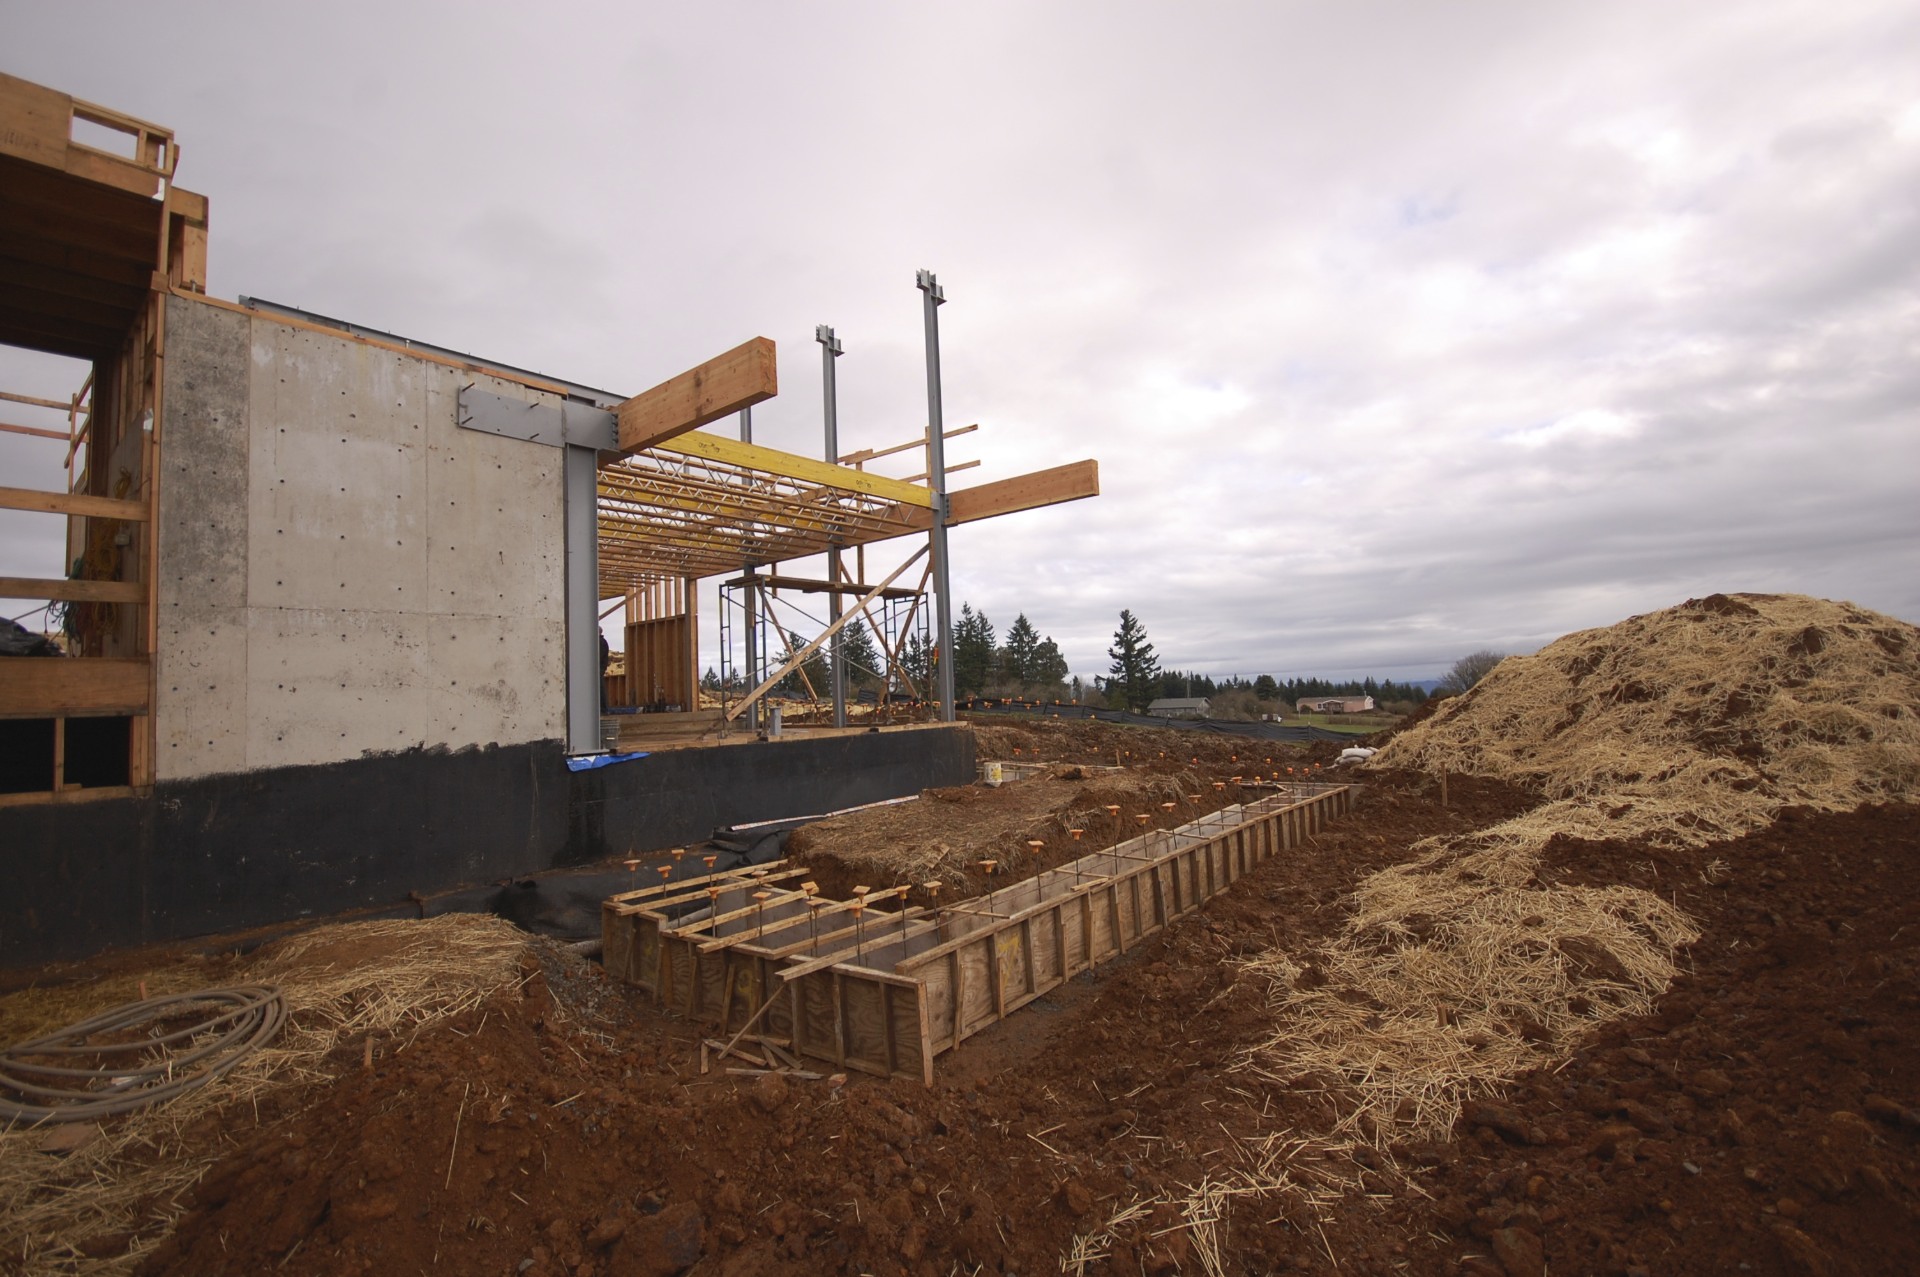
Footings are formed, EPS placed and moisture barrier taped.

Concrete is placed in footings.

Gravel backfill is placed and compacted underslab.

Underslab EPS insulation is getting set on sand bed.

Now that we've started, there's much to talk about.  Some possible ideas:

- A better way to build an insulated slab on grade?

- PHPP calculations and optimization of systems

- PH certification:  PHIUS+ vs PHA

- Passive House Windows

There are many people to thank for their help (directly and indirectly) in getting us to this point.  Here are just a few:

- Aaron and Mike at Brute Force Collective

- Dan Whitmore at Blackbird Builders

- Florian at Zola European Windows

- Don Tankersley Construction

- John Russell (Concrete) Construction

- Matt at Zehnder

- Skylar at Hammer and Hand

- Ryan at Earth Advantage

All for now.  Check back soon.

Jeff

www.insituarchitecture.net
forest lane residence

we recently whipped up a design proposal for a new residence in the northwest hills of portland.  we had a great time with it but unfortunately it looks like this one will be staying on the shelf.  let us know if you want to take it for a spin.

www.insituarchitecture.net

karuna house in construction

toured the ambitious karuna house yesterday. this design driven single family residence is striving for minergie-p-eco, passivhaus, and leed platinum.

while this looks like it will be a great looking modernist house and there is much to applaud, the massive amount of foam does suggest that it has been shoehorned to meet minergie-p-eco and passivhaus.
exposed rigid insulation shows the thermal break at a door threshold.  a gypcrete topping slab with radiant heat is planned for the main floor.
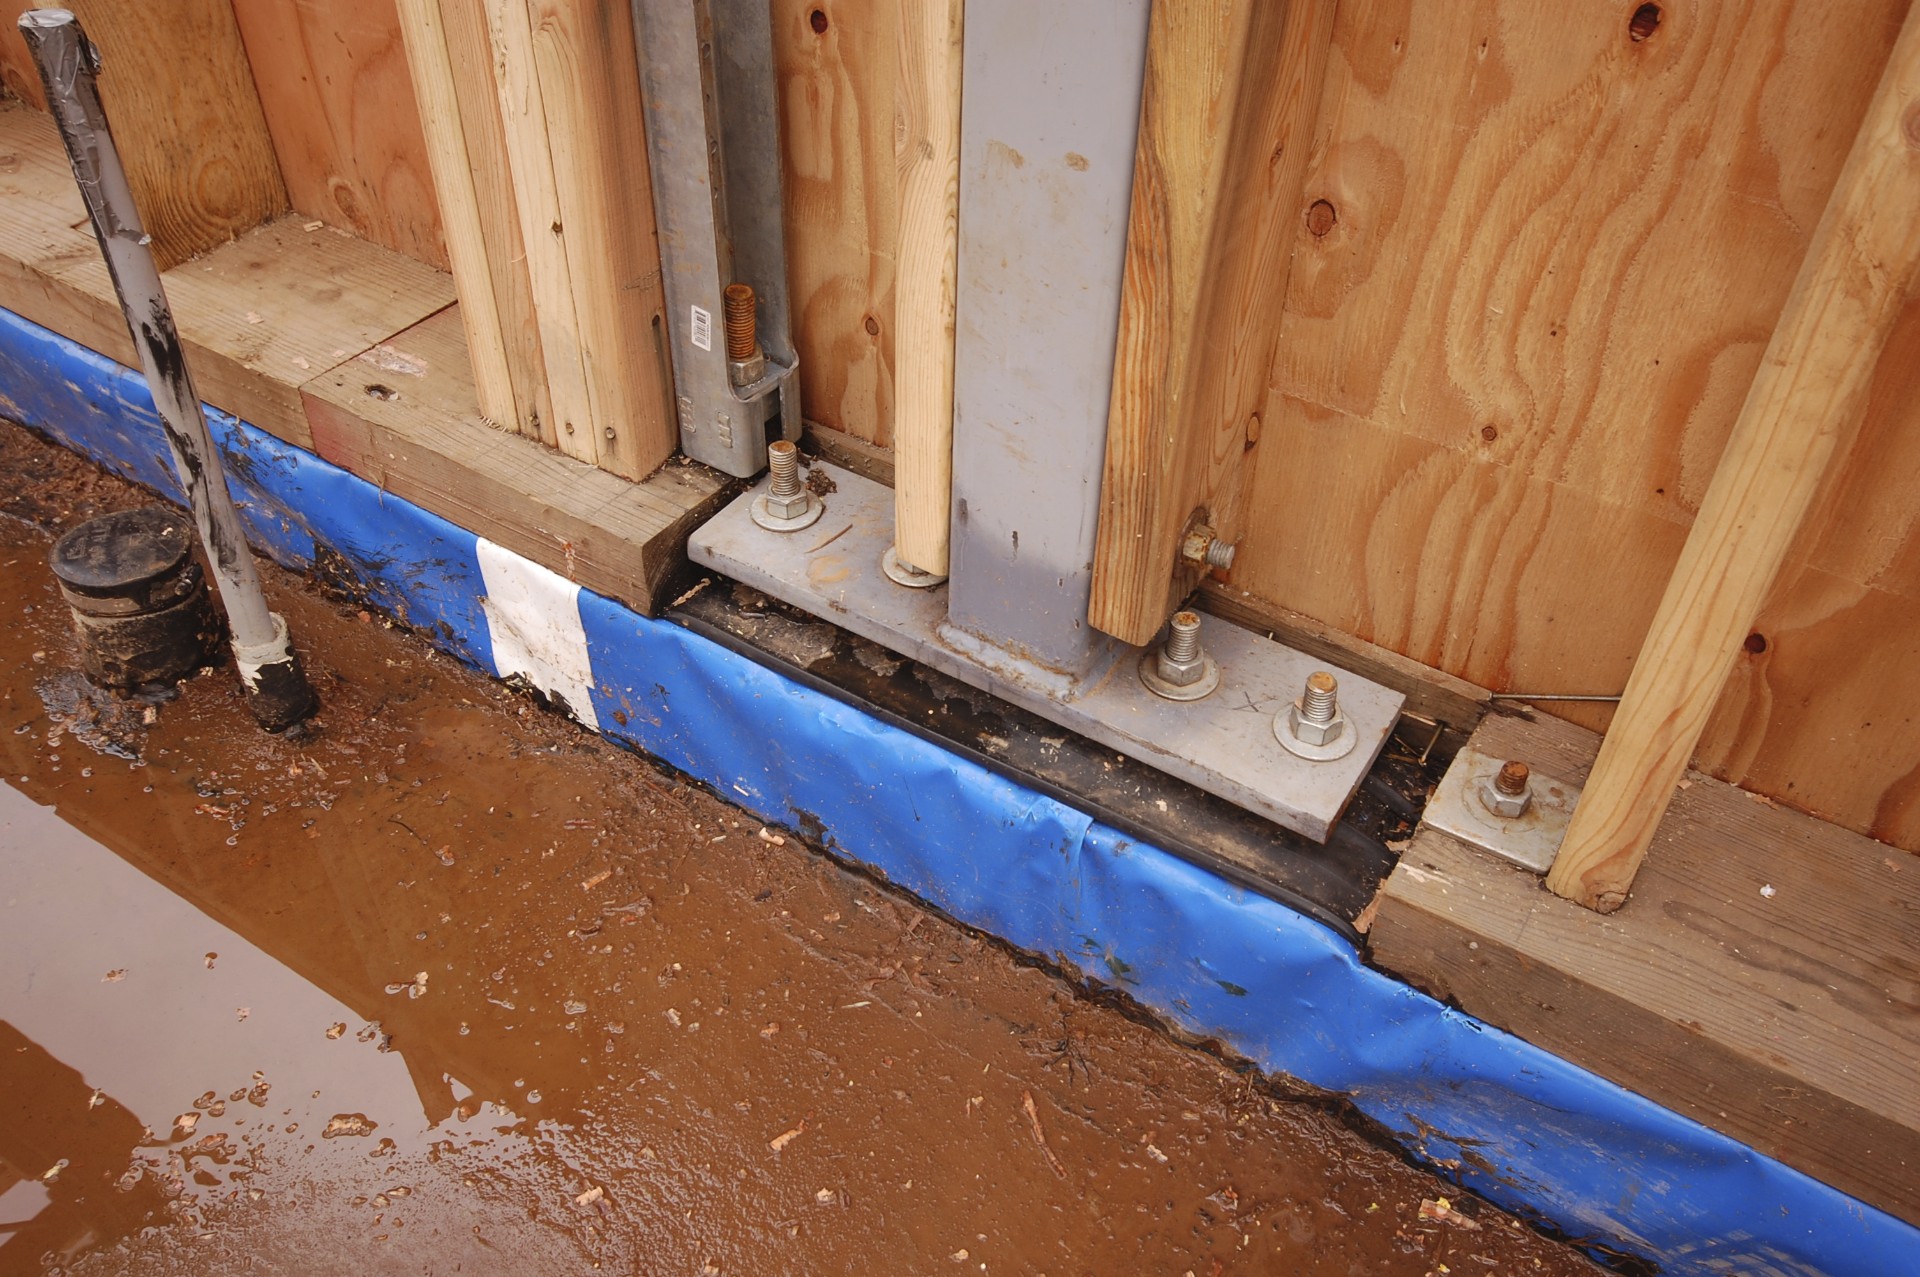
note the blue underslab air-barrier (15mil raven) wrapping up and over the stemwall and the epdm gaskets under the plates (visible at the steel base plate yet to be grouted).
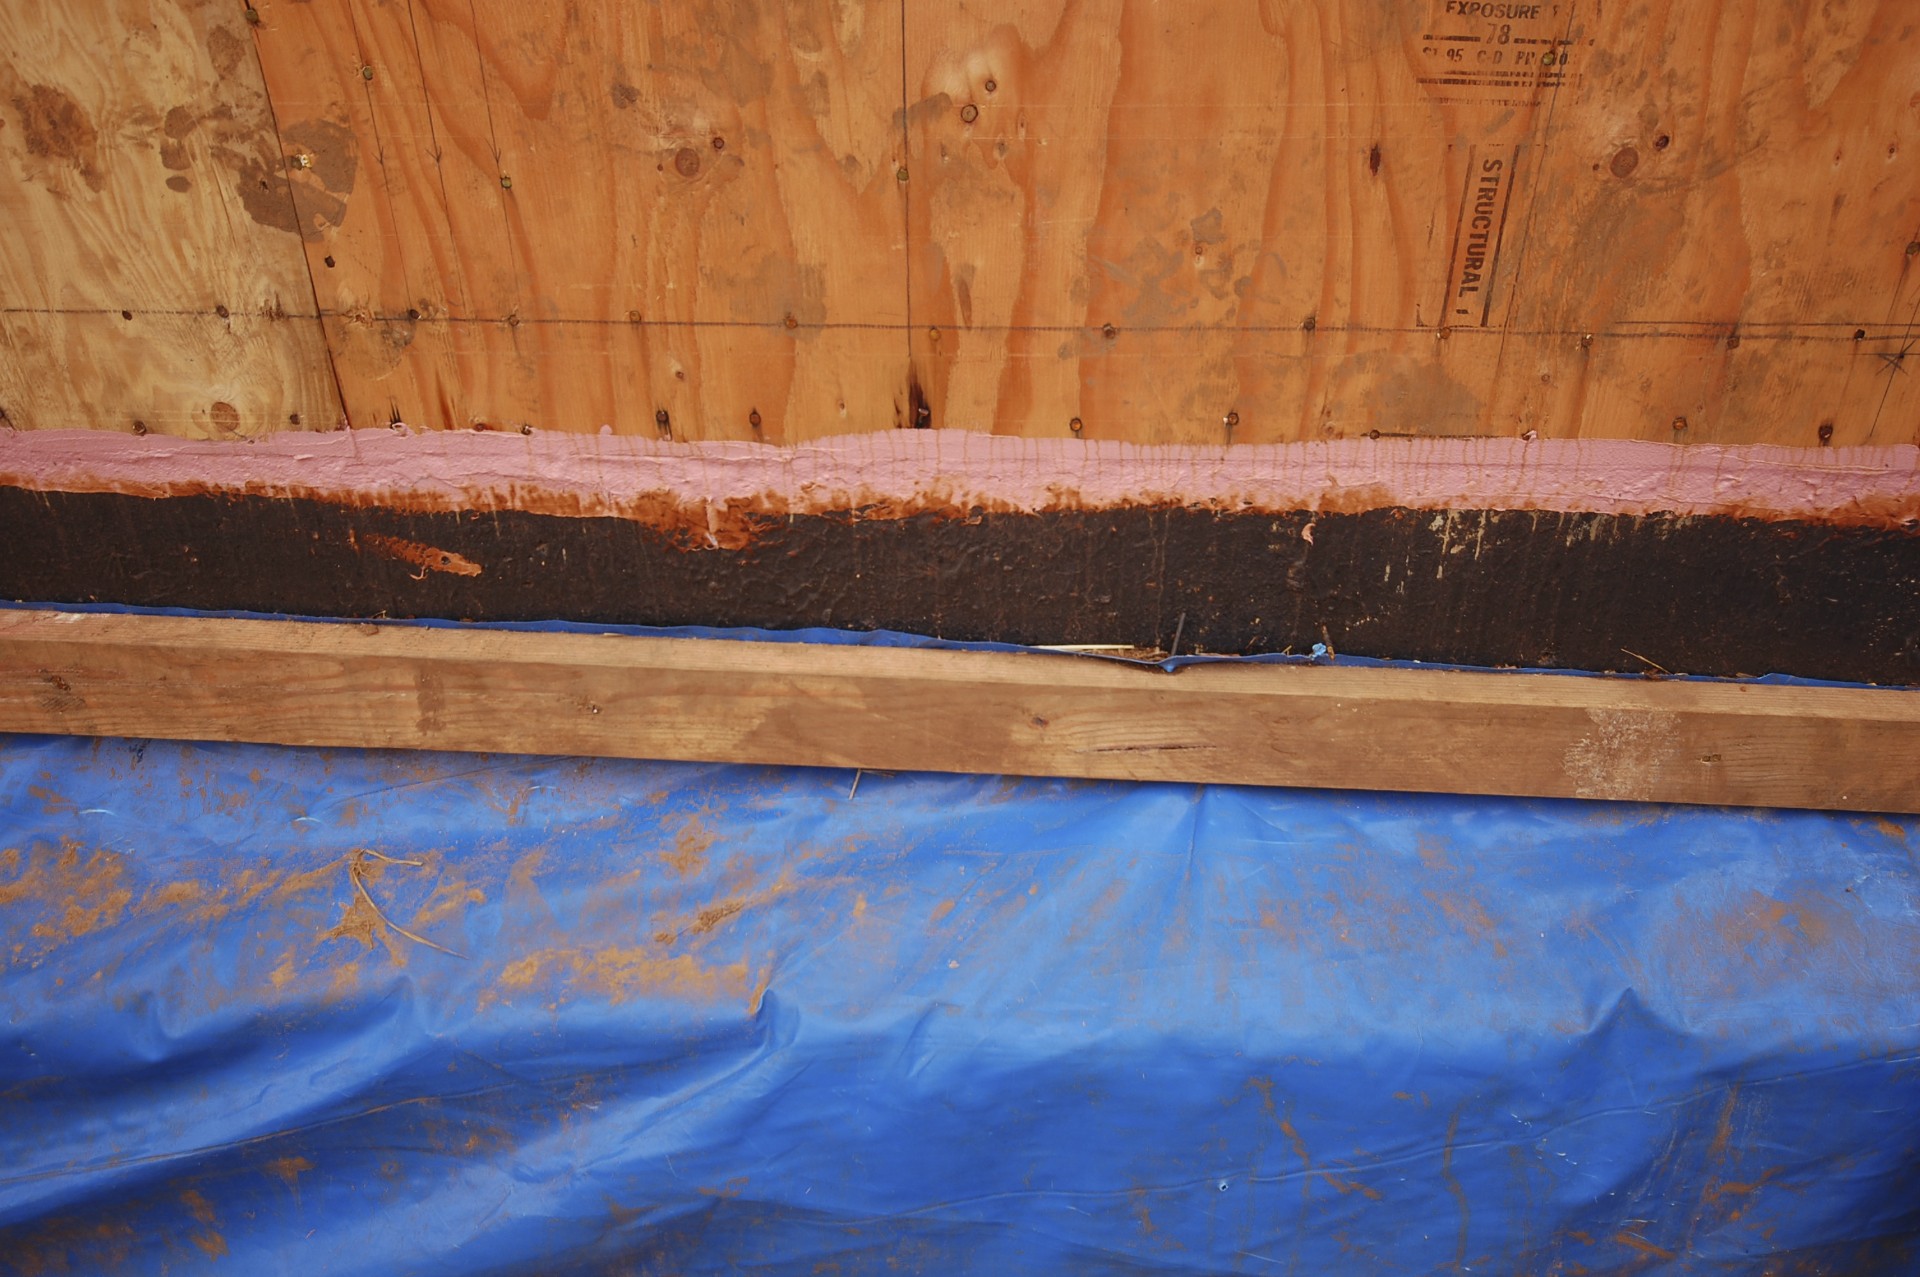
the house uses prosoco's r-guard air and weather-resistive barrier system.  the pink joint and seam filler is used to seal the plywood sheathing and plate to the trimmed air-barrier under the plate (the blue raven here is just temporary protection of the insulation).  the entire sheathing surface will be coated with cat 5, a roller applied air and weather resistive barrier.

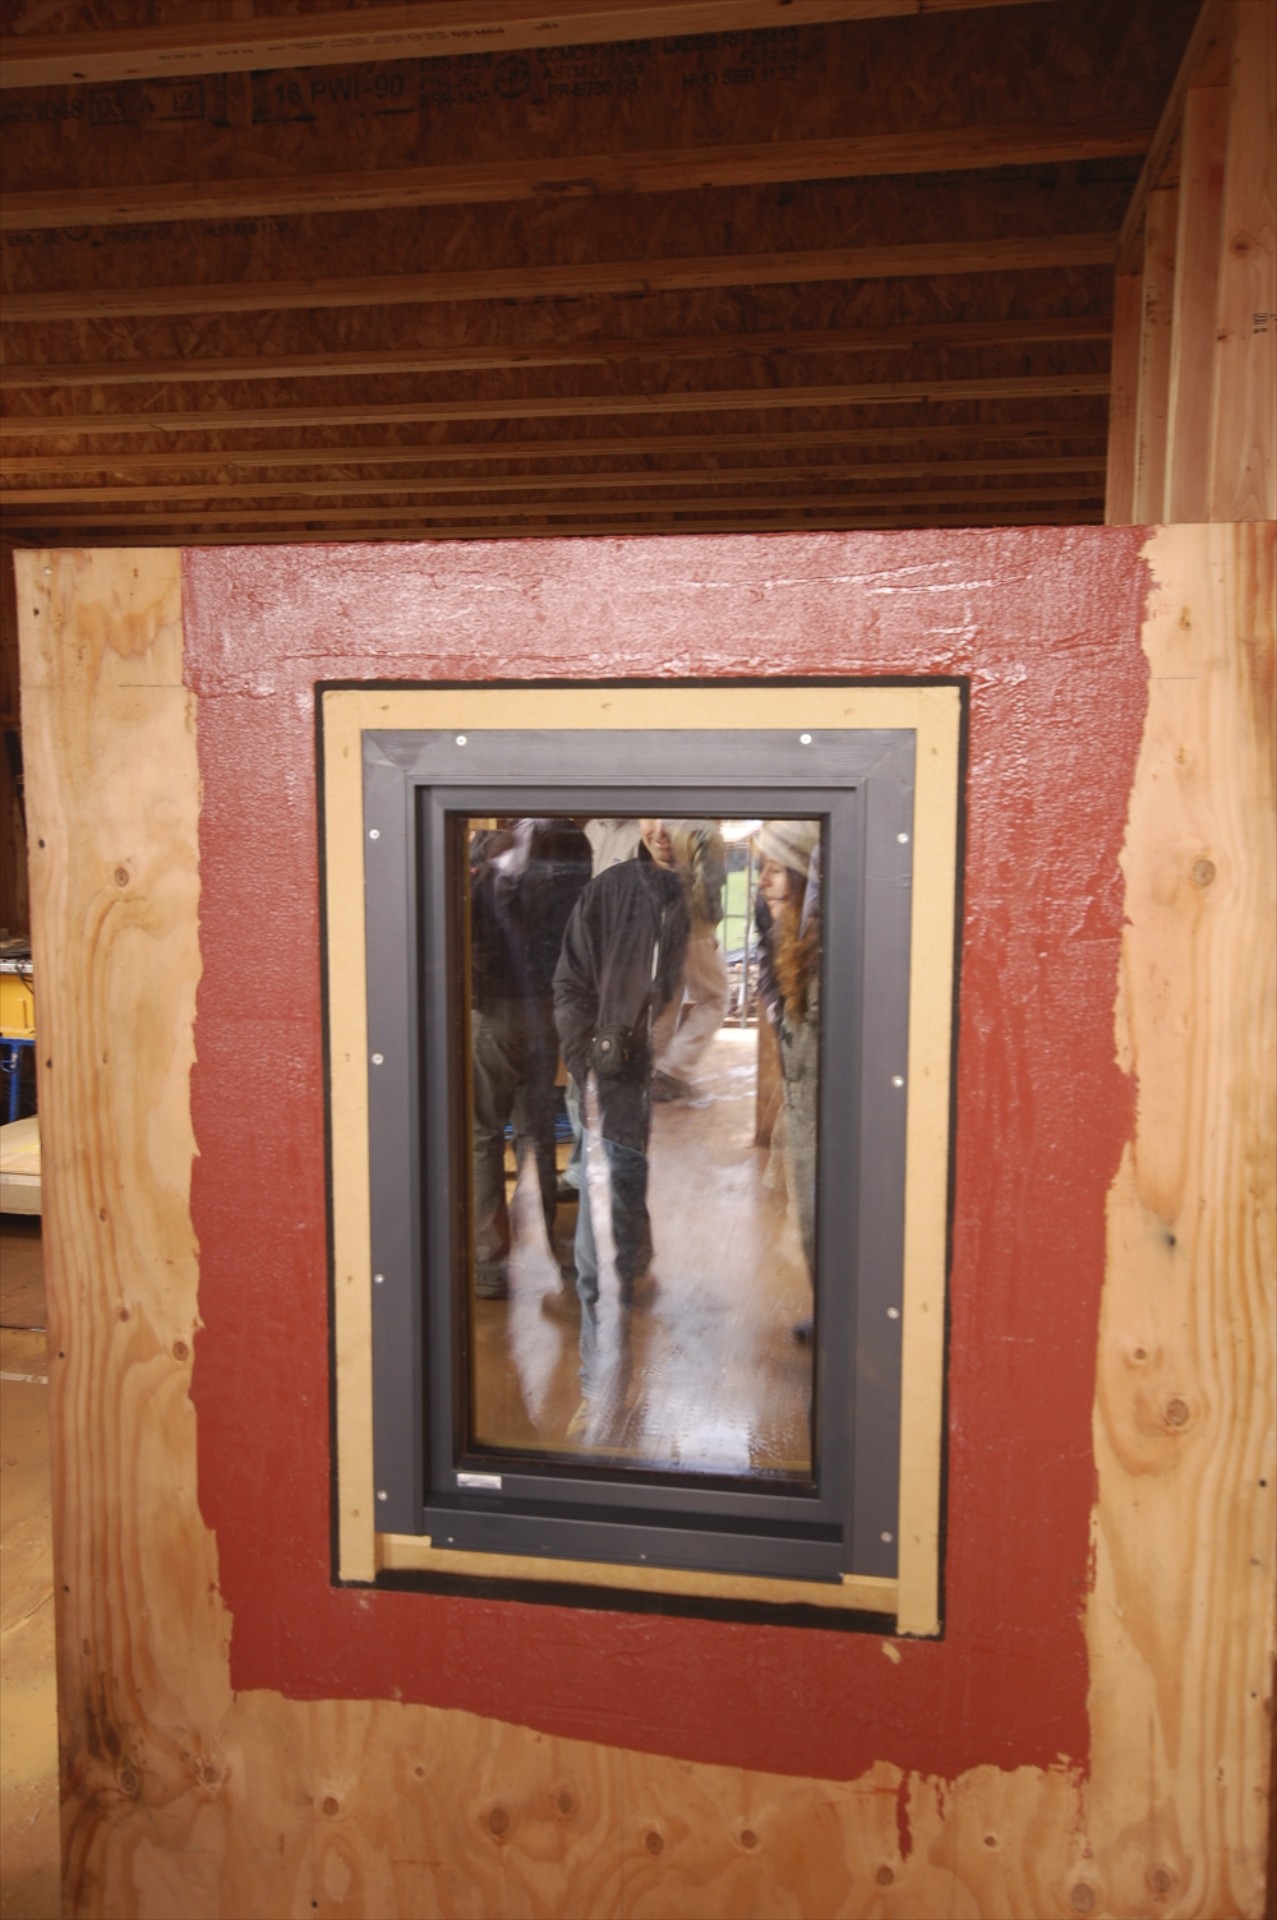
the window mockup uses the prosoco fast flash system around the rough opening that will be tied into the cat 5.  the beautiful optiwin alu3holz is installed with tremco trio expanding foam around the window perimeter, and will be overinsulated on the exterior for a minimally exposed frame and exceptional install PSI.  an aluminum sloped sill will screw attach to the bottom of the frame.  the team is planning to construct a complete mockup in prosoco's test chamber to ensure the assembly performs as planned.

the windows will use glazing with a whopping .66 shgc on the south elevations with .50 shgc for the other orientations.

the house has been designed by holst architecture with green hammer as the PH consultant, and is being built by hammer and hand.  check out more on the project here and here.

construction update

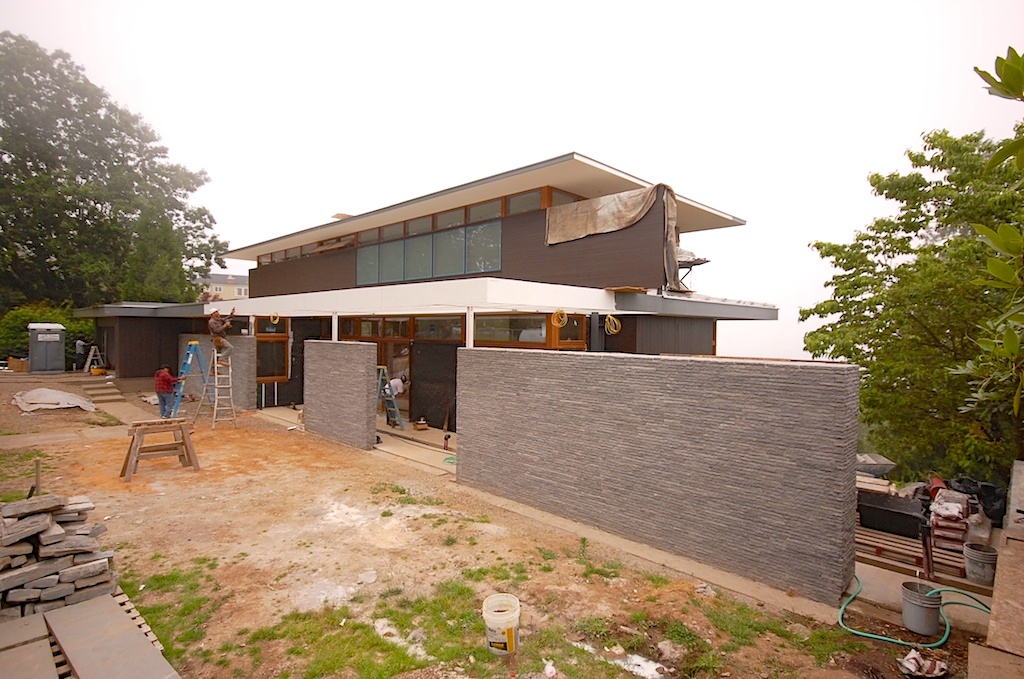
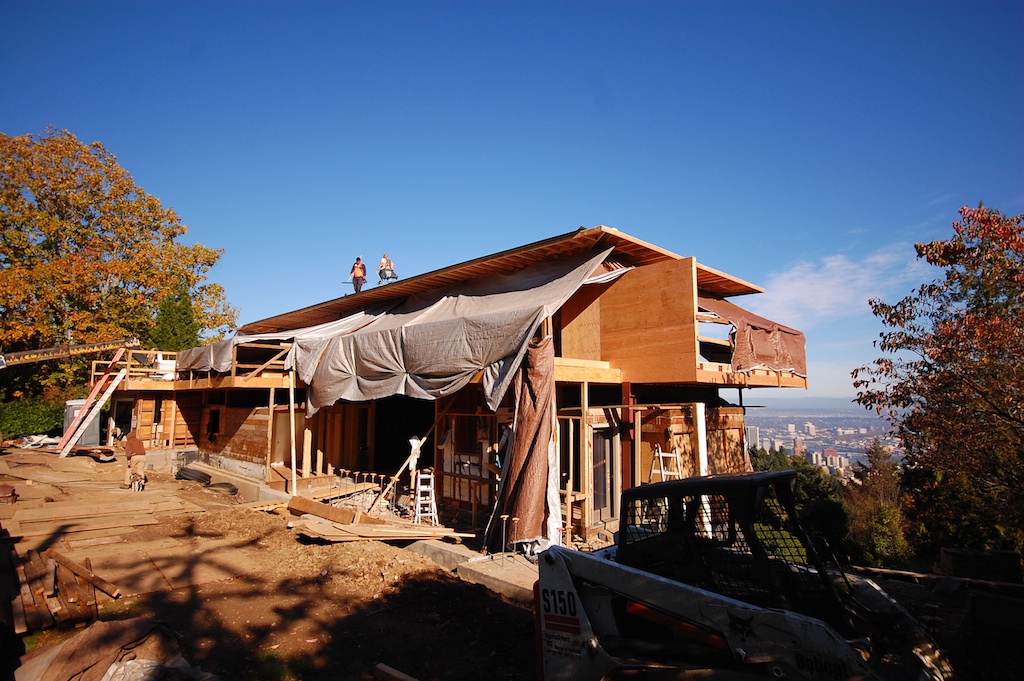
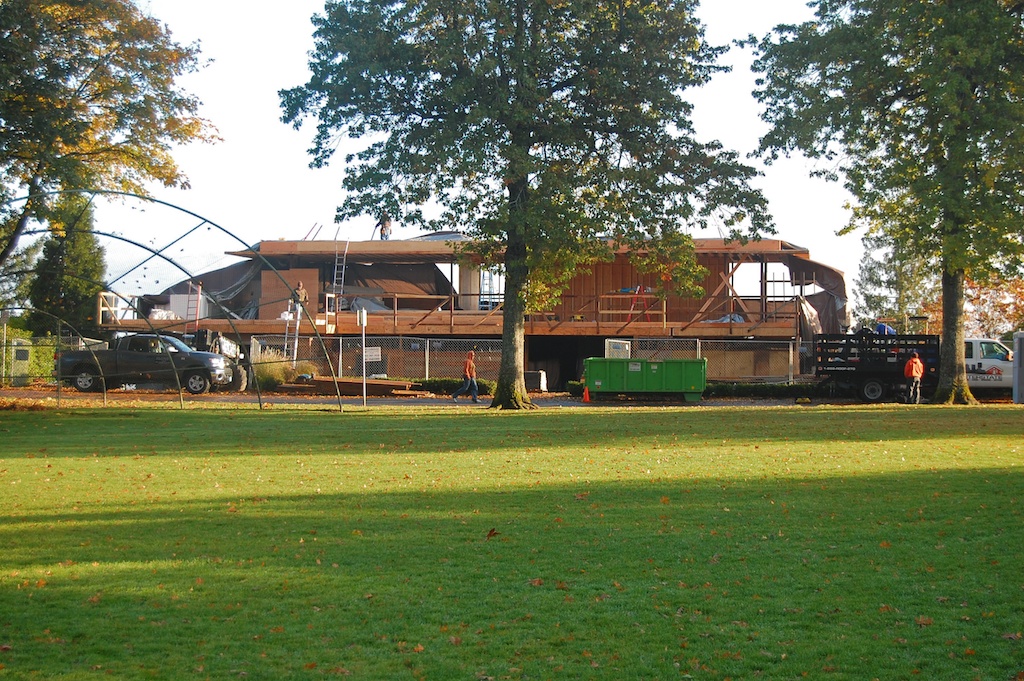
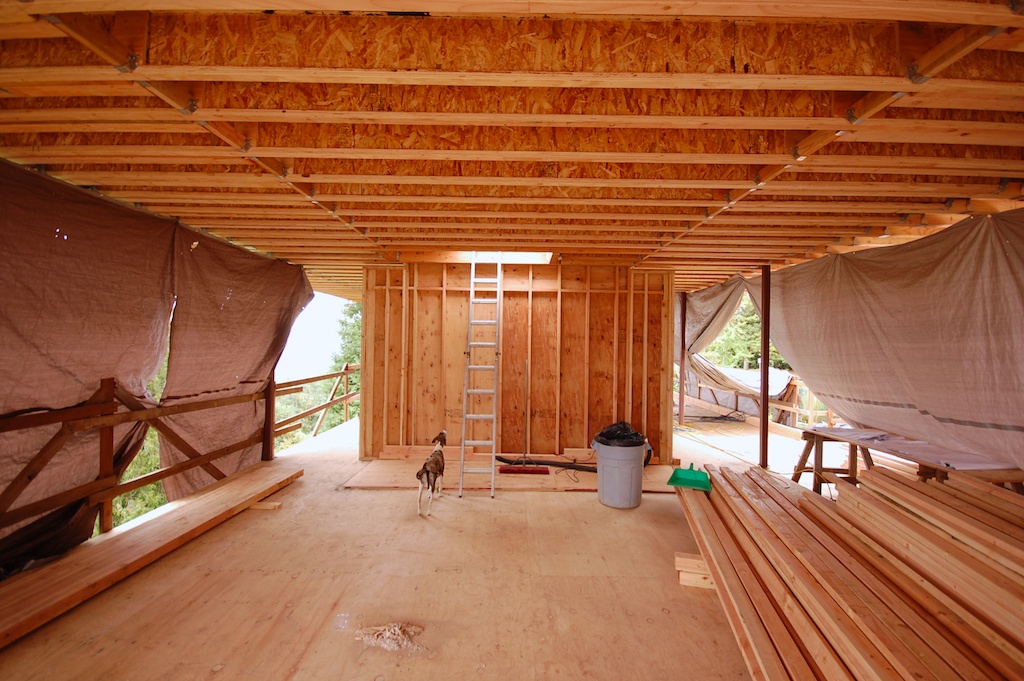
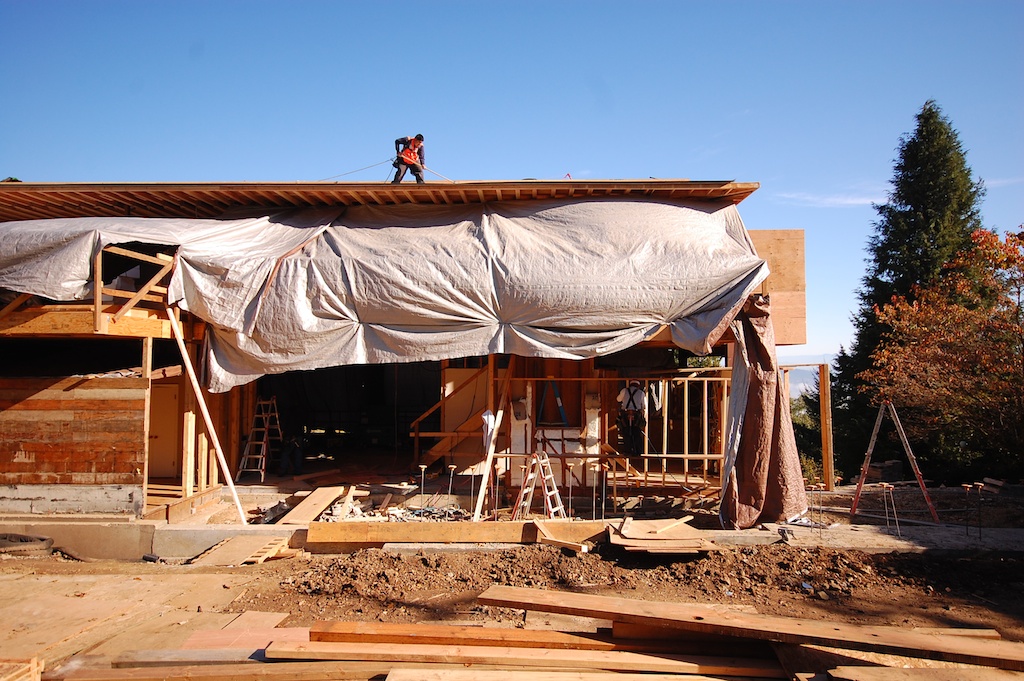
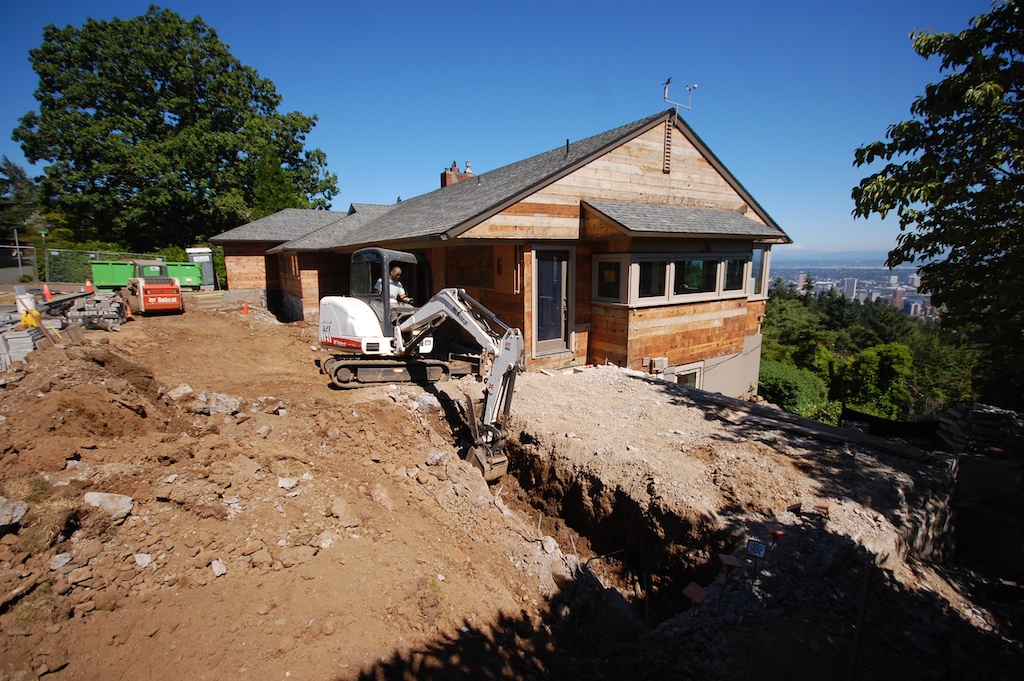
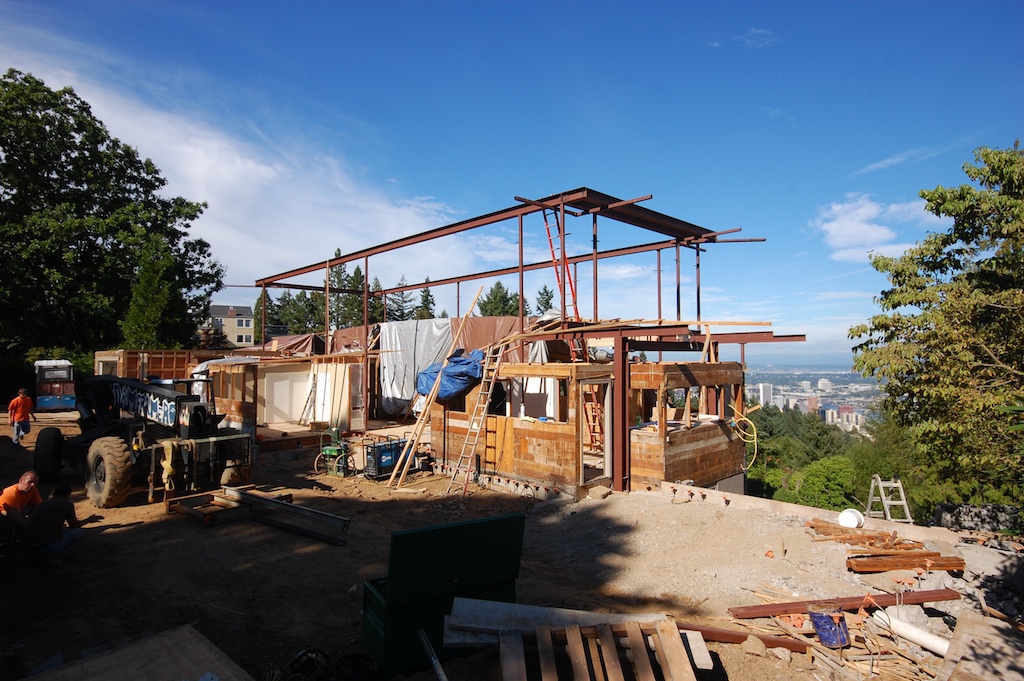
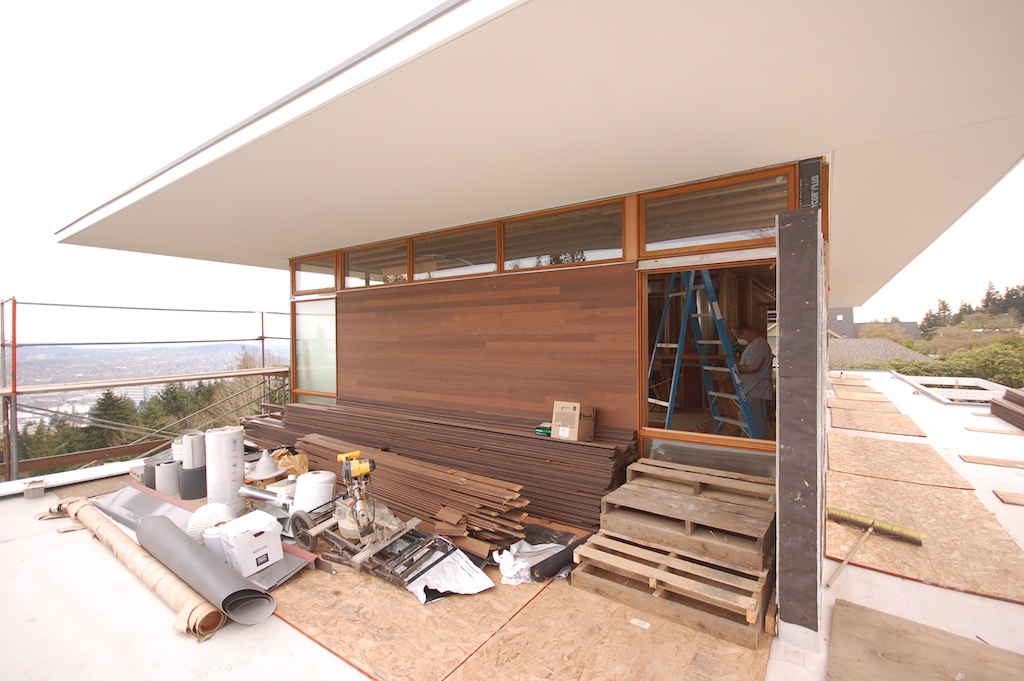
work is progressing on the council crest residence in southwest portland.  see last month's post titled the process of (de)construction for a first look at the project.  here's a quick look at roughly one month's worth of progress:

glimpses of the composition taking shape

view from the park

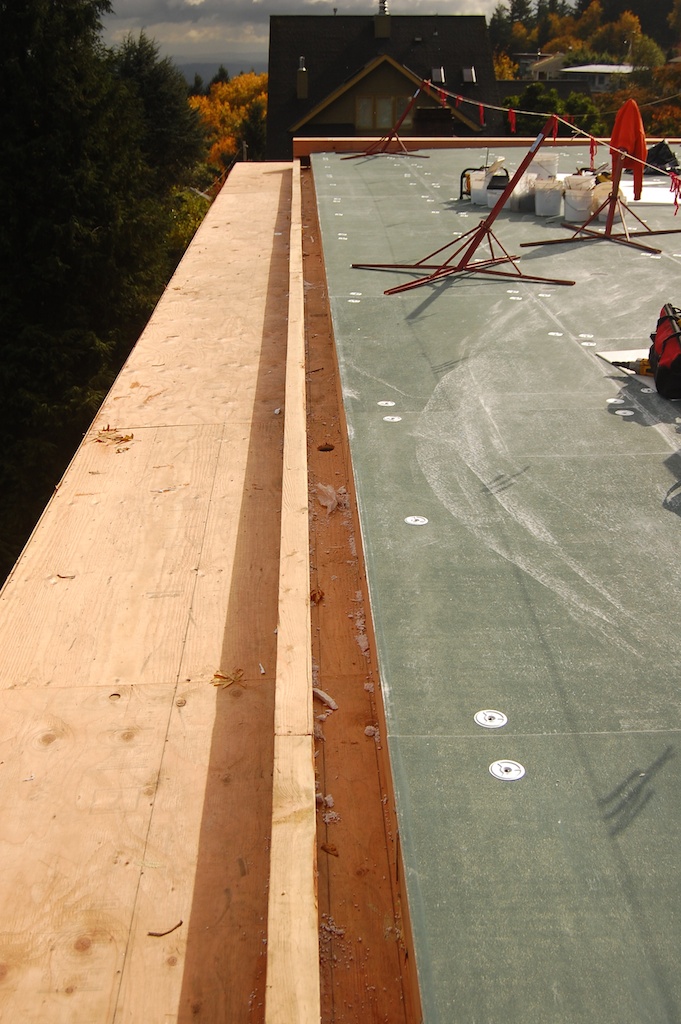
upper roof deck getting ready for tapered insulation

interior framing begins

gutter framing with insulation / protection board progressing

www.dtcportland.com

process of (de)construction

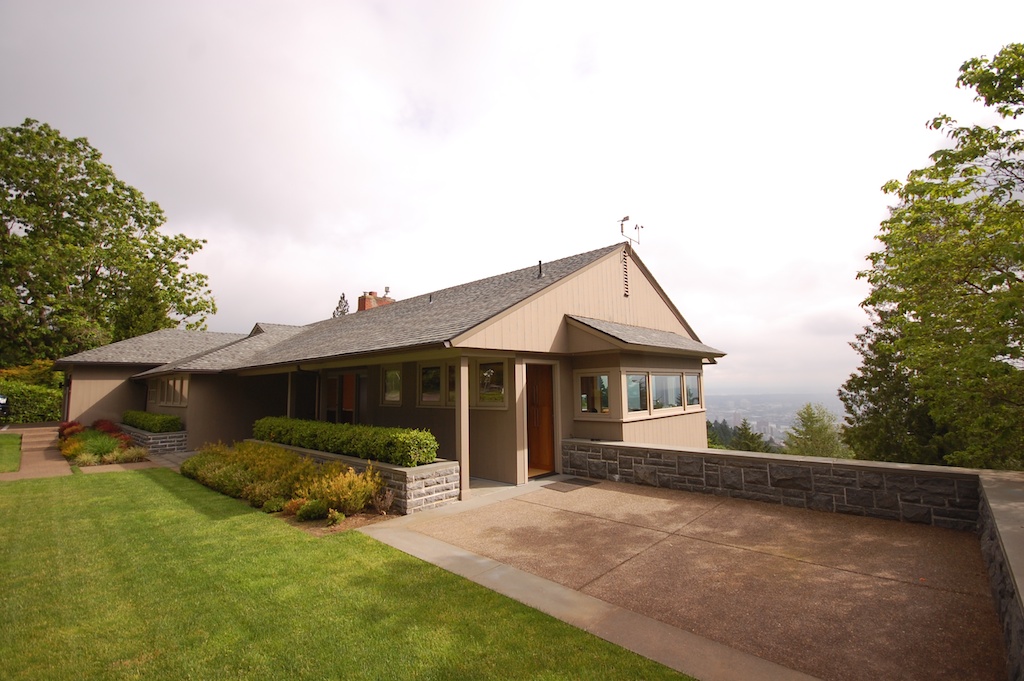
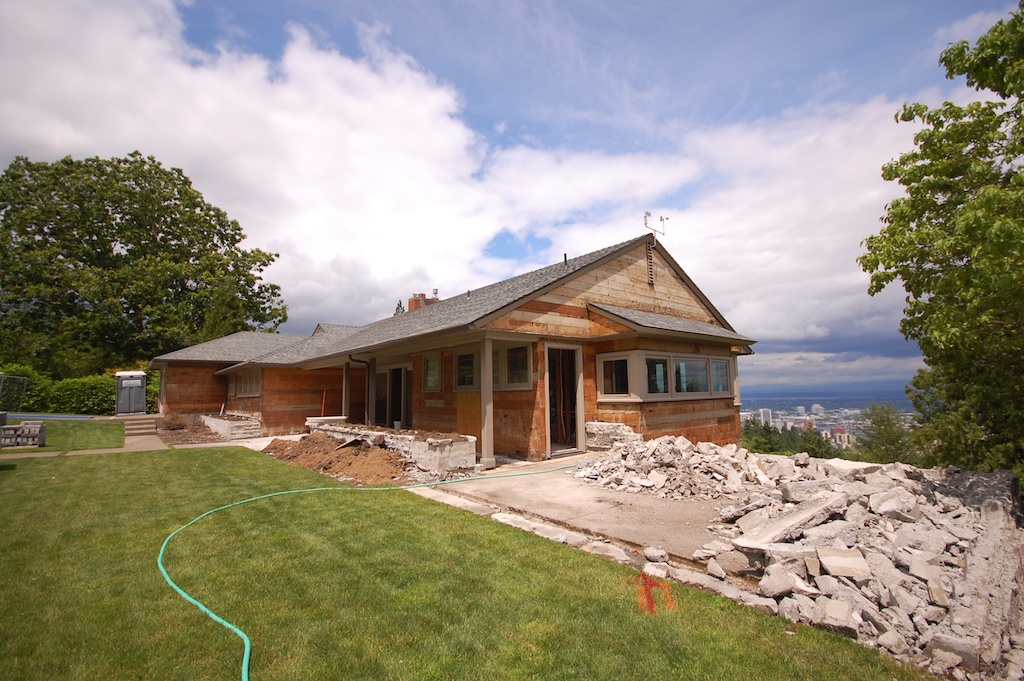
over the past year, i've had the pleasure of teaming up with one of portland's finest residential contractors, don tankersley construction.  although i'm working outside of my usual role as architect/designer, this has been an equally challenging and rewarding experience and one that will certainly inform my own architectural work.  one of our most recent projects to start is an extensive remodel of a residence located in the southwest hills of portland.  the remodel has been designed by bohlin cywinski jackson architecture of seattle.

check back frequently for updates as construction progresses.